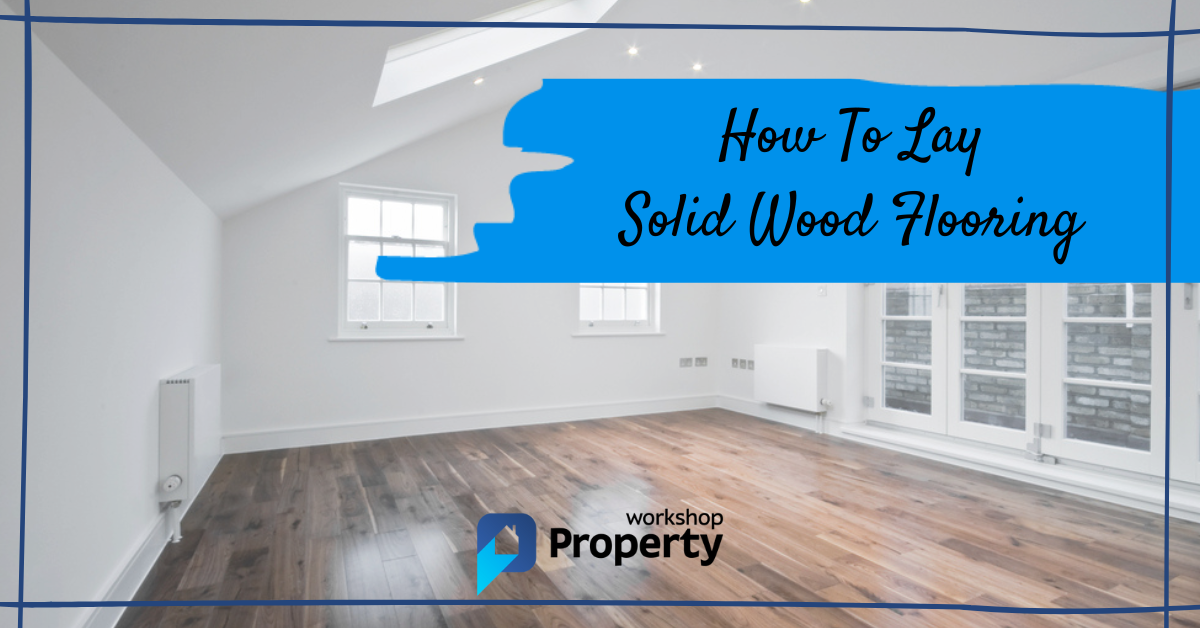
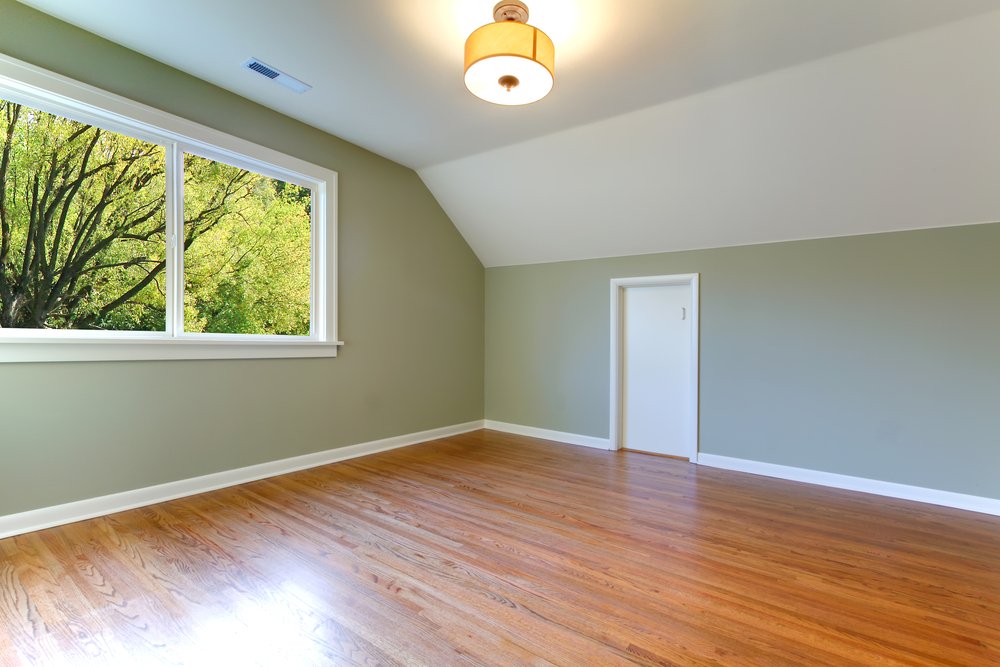
A solid wooden floor will last many years, adding character and style to your home.
Fitting it is one of the more process-driven DIY jobs, which is why we’ve created this step-by-step guide on how to lay solid wood flooring.
The process will vary depending on your property’s construction and sub-floor, but some steps — and tools — are universal…
Tools & Materials
Don’t be daunted by the length of this list. Many of these tools are only relevant to specific scenarios. For instance, you won’t need a plane if your doors have a good clearance height above the floor.
Tools
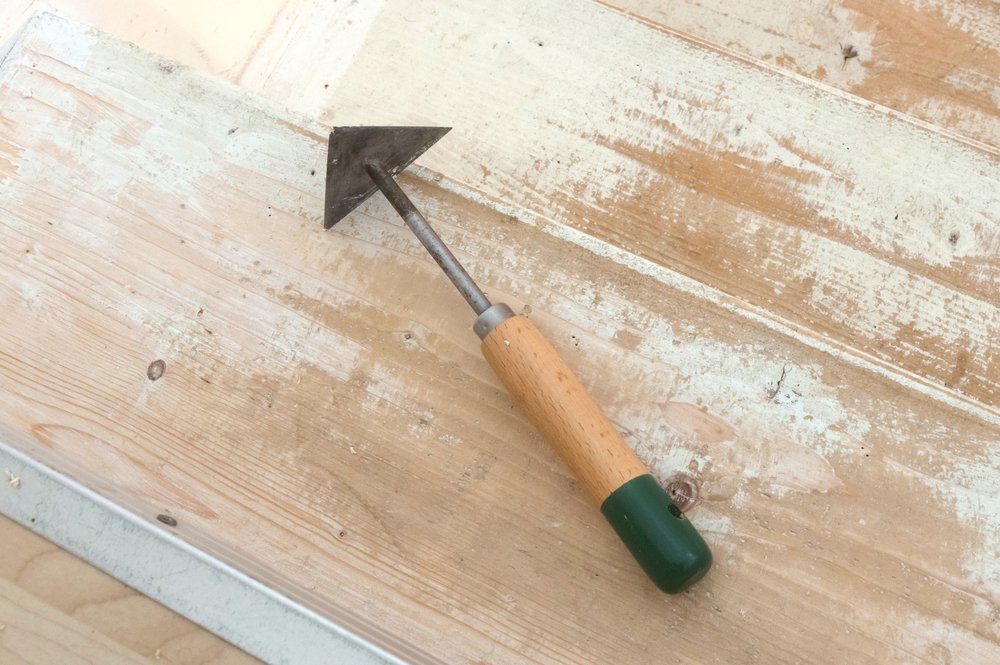
- Tapping block
- Workbench with clamps
- Hammer or rubber mallet
- Jigsaw
- Dust mask
- Goggles and gloves
- Knee pads
- Spirit level
- Measuring tape
- Spacer blocks
- Power screwdriver (as an alternative to adhesive)
- Nail gun (as an alternative to screws or glue)
- Tension straps (optional for larger areas)
- Screwdriver and flat wood drill bits (for radiator pipe holes)
- Trowel (if using adhesive)
- Hacksaw (if using beading)
- Plane (if shaving doors)
- Chisel (if trimming architraves)
Materials
- Wooden boards
- A pencil
- Adhesive mix (if boards aren’t self-adhesive)
- Tension straps (for more extensive floors)
- Threshold bar/s (optional)
- Beading (if leaving the skirting boards in situ)
- Nails (if using a nail gun)
- Screws (if using a power screwdriver)
How To Lay Solid Wood Flooring — Step-by-Step Instructions
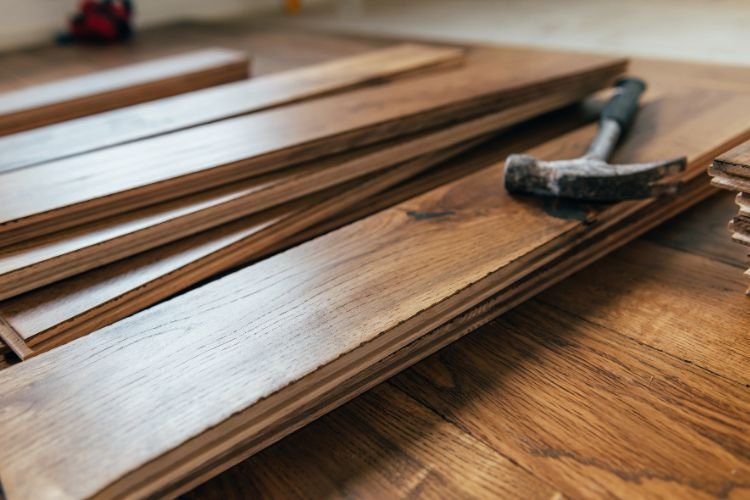
Your first task is to choose a preferred type of timber from the hundreds on today’s market. American/European oak is the most enduringly popular option, though walnut’s rich tones and maple’s durability are also highly prized.
We’re focusing on solid wooden boards in this guide. If you want to go down the laminate route, check out our guide to laying laminate floor in an L-shaped hallway. In either case, order about 10% more wooden floorboards than the area’s overall measurements suggest. This is to accommodate offcuts and planks which need shortening.
Leave the flooring boxes indoors for a few days before installation in a well-ventilated space (not piled up in a corner) so they expand to the ambient temperature. Attempting to fit them straight out of an unheated warehouse or outbuilding could see them expanding in situ and buckling.
Check each plank for damage, setting any marked or damaged ones aside. You could position planks with minor faults in low-visibility areas, such as under a sofa, or use the good end of a plank damaged in one corner to fill a gap.
Get into the Groove

Most solid wooden planks have a tongue-and-groove design which allows them to slot together like jigsaw pieces. This makes installation far easier, so we recommend choosing flooring with this fitting system.
Note: Some systems require you to apply glue to the grooves on each board. The manufacturer’s instructions will explain if it’s necessary.
If you don’t want to choose tongue-and-groove boards, your options for securing the floor into place involve pushing boards together and applying adhesive underneath them or fixing them with hidden nails or screws. The latter technique is demonstrated in this Charlie DIYte video, though it makes removing the boards difficult and unsuitable for installation onto concrete floors.
If you adopt this approach, you’ll also need a power screwdriver or an angled nail gun. Fine Power Tools provides a detailed analysis of angled nail guns, including comparisons against the better-known straight nail gun.
Cutting Tips
We recommend cutting solid wooden planks in a well-ventilated space away from where they’ll be laid, as the dust has an annoying habit of collecting in the gaps you’ll create between boards and walls/skirting. Once fitted, it’ll be hard to extract this dust, even with a powerful vacuum cleaner.
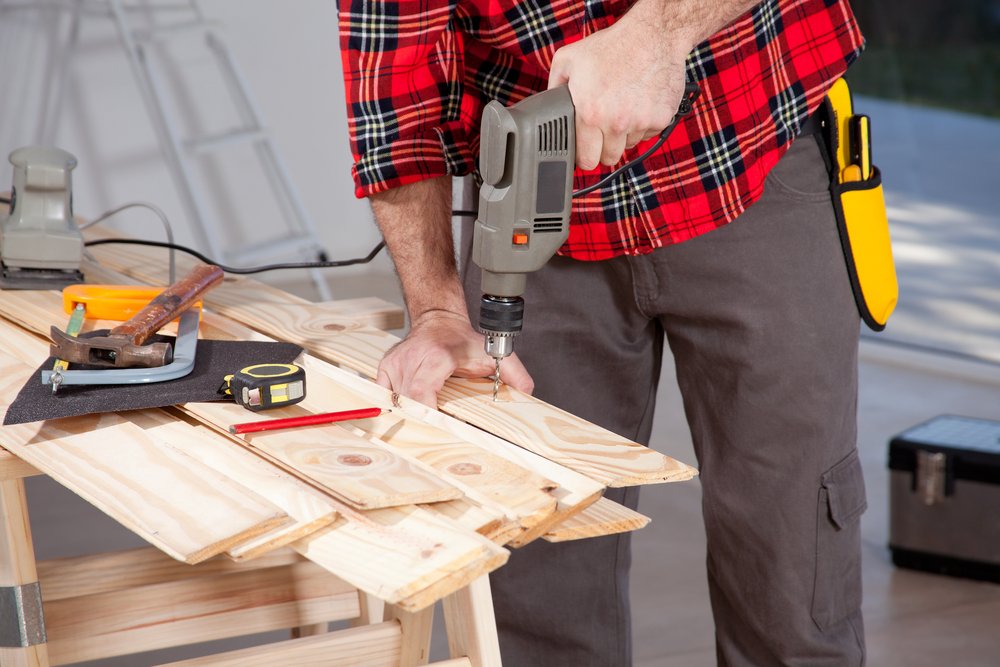
Affix each plank into a vice or clamp, closely following any measurements you’ve previously marked with a pencil.
Pro Tip: Always wear a dust mask and goggles when cutting solid wooden planks since clouds of fine particles will float into the air. You might not see them, but your lungs will feel them.
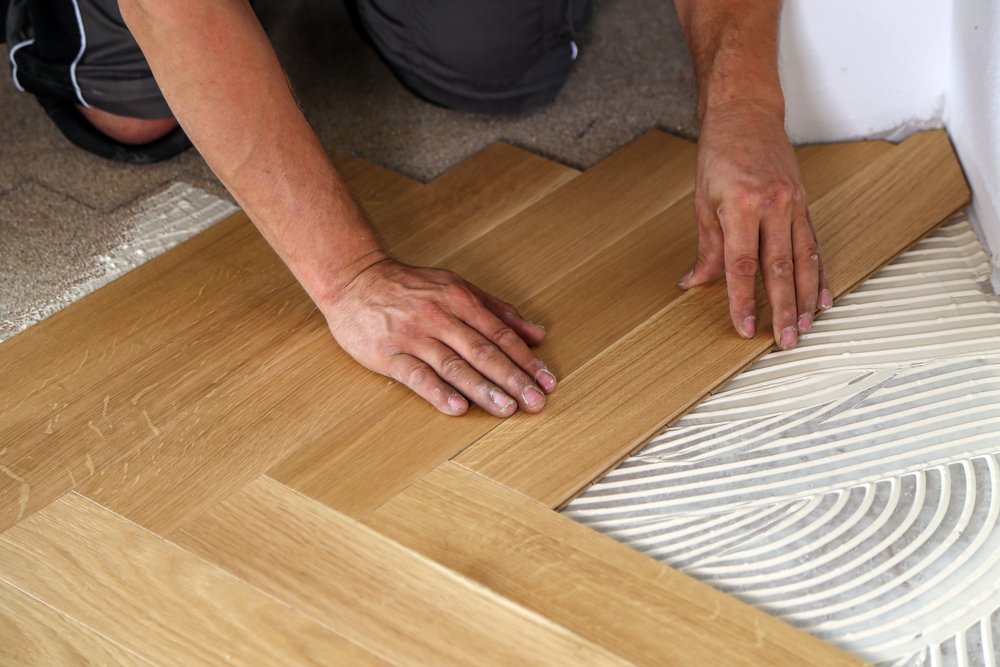
You’ll need to do a lot more cutting if you opt for a herringbone effect (as shown in the photo above). It creates a stylish appearance but requires more precision, generating more offcut waste. Follow the manufacturer’s instructions about installation techniques, though the principles listed below should still apply.
1. Strip out existing flooring
If you’re laying solid wood flooring directly onto sanded floorboards, jump to stage 2. Otherwise, you’ll need to rip up whatever is in situ. The aim is to create a smooth and level floor, so take great care to remove protruding staples and nails.
Pro Tip: Check for dampness in concrete floors by taping down a polythene sheet overnight. If condensation forms on the underside, you have a damp problem. You could also use a professional moisture meter to check for dampness. A damp-proof membrane may be needed if moisture is detected. You can learn more about how to moisture-proof concrete floors in this Nick Squire video.
2. Check the floor is level

Your floor must be level to support solid wooden flooring. If the floor is uneven, you must source and fit large plywood sheets to create a level subfloor. Use the spirit level to check these sheets are level as you lay them.
In period properties that have experienced protracted subsidence, creating a completely level floor may not be possible. If there’s a natural slope, make it consistent throughout the room rather than dipping or rising at one end/corner.
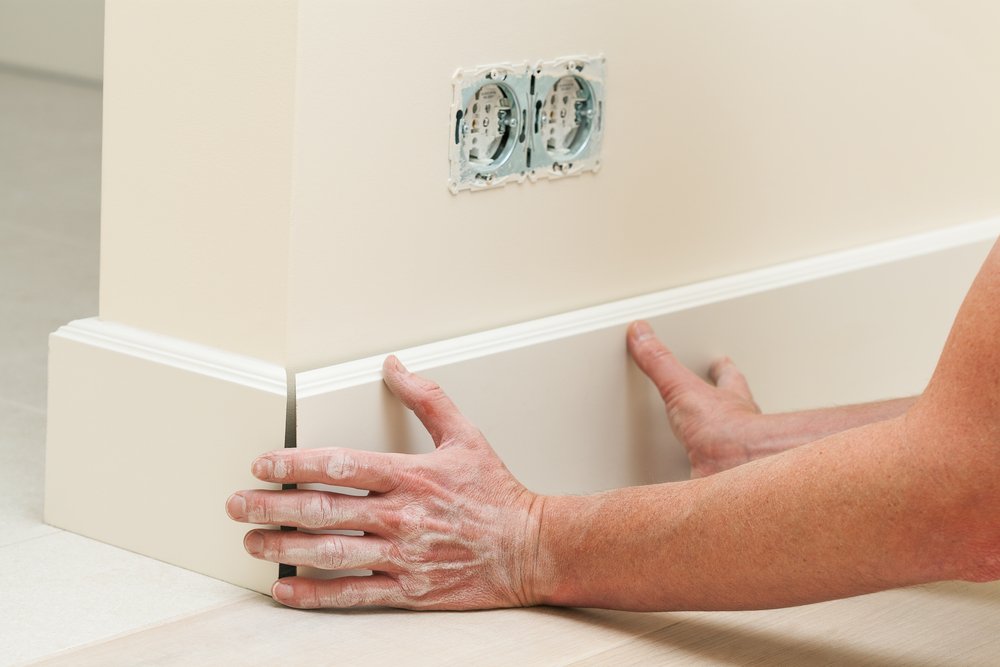
3. Remove skirting boards (optional)
The best finish to solid wooden flooring is achieved when it disappears under skirting boards. However, removing and refitting skirting is a major undertaking and can damage the plasterboard.
The alternative is to invest in beading of a similar colour to the solid wood flooring itself. This is cheaper, easier and much quicker, but it looks less stylish. Read our recent guide about the relative merits of beading versus skirting boards.
4. Fit underlay
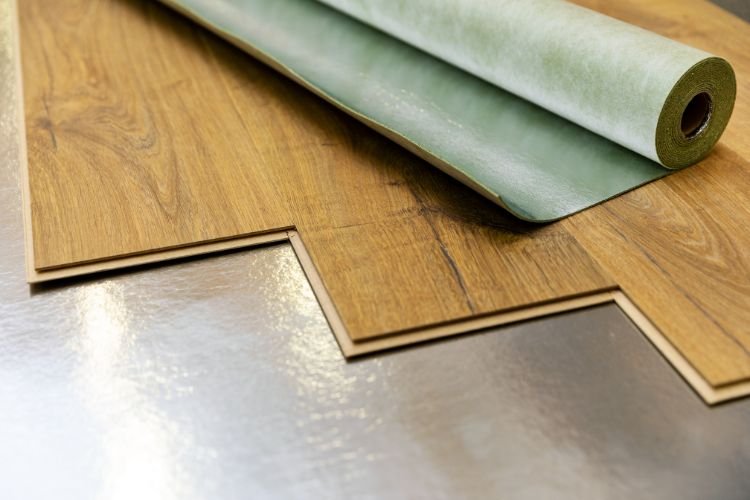
A damp-proof membrane is essential when installing solid wooden flooring directly onto concrete.
Experts disagree on whether underlay is beneficial on top of the membrane, but we recommend it. You don’t want a wooden floor to bounce, but it should feel supported and stable. Our choice is a good quality felt/foam underlay, while underlay boards are another option.
Always leave a 1cm expansion gap around the edge of the room, up to the skirting boards or (if removed) the wall. Spacer blocks are ideal for this.
Position underlay at right angles to the direction the boards will extend, with the latter usually running towards the main window or external door to minimise the visibility of joins.
Tape the underlay together — we explain how to do this in our laminate flooring guide.
5. Check your heights
Take a plank and position it on top of whatever underlay or base you’re working on. Push it into every doorframe and check whether that door will open without fouling. If not, remove the door and shave sufficient timber from its base before rehanging the door.
Do the above before laying wooden planks and discovering you’ve trapped yourself in the room!
6. Position your first plank

Start in one corner of your flooring area, usually at the opposite end to the entrance door. If you’re using self-adhesive planks, peel back the plastic film; if you’re using adhesive, lay a strip that’s two planks thick.
Some manufacturers recommend you place the tongue side against the first wall, while others advise you to have the groove abutting the wall. Closely follow any supplied instructions when laying proprietary planks.
Position the first wooden board along each wall-facing edge, clamping two spacer blocks between it and the wall. This gap will be covered by beading or skirting boards, allowing the timber to expand without warping or buckling outwards. Press the plank down firmly for a moment.
7. Finish the first row, and start the second
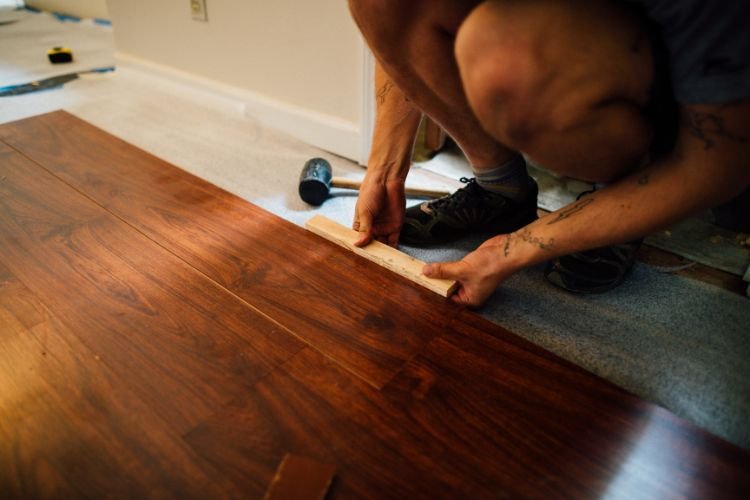
If you’ve chosen flooring with the tongue-and-groove installation method, the second plank should slide into it from a shallow angle — usually 20 or 30 degrees.
Continue laying planks until you reach the end, tapping each new plank into place with the rubber mallet. If you don’t have a soft-edged hammer, use a piece of rubber or wood as a buffer to tamp the newly laid plank into place without damaging it.
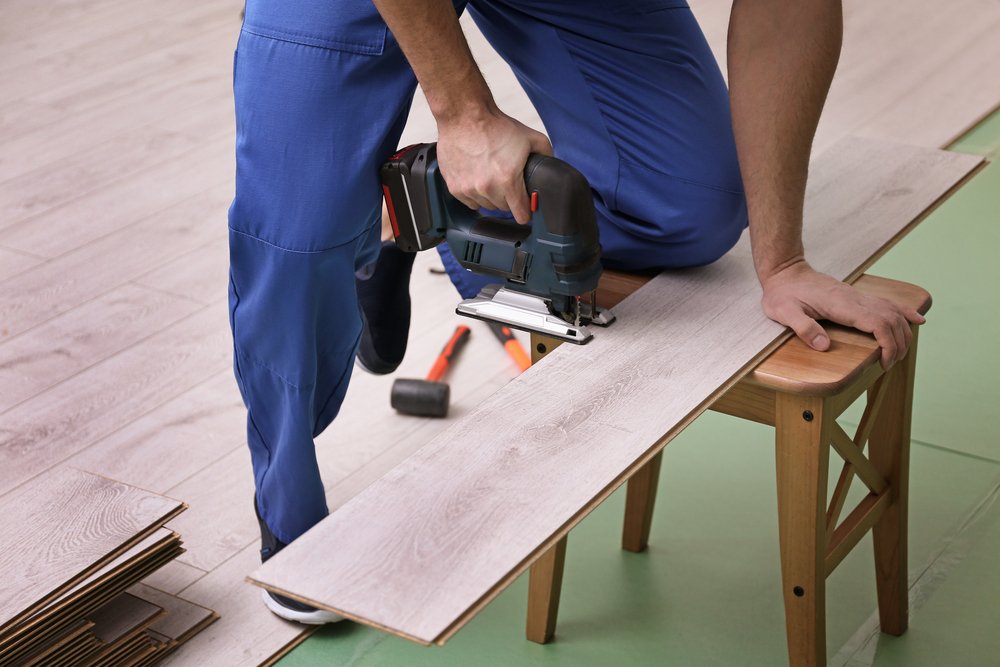
The final plank will probably need trimming using the jigsaw — a hacksaw is a low-tech but far more physically demanding alternative. Drop it into place once you’ve measured and cut it to size.
Pro Tip: Always cut the far end of a plank, allowing the nearest end to slot neatly into the tongue and groove pattern shared with its predecessors.
Next, return to where you started. Cut a new plank in half, or use an offcut from the first row if there’s one more than 300mm long. This will comprise the first plank at the beginning of row two. Continue laying planks to the far end again, slotting each one into the plank behind it and the one/s beside it.
Staggering the dividing lines between one row of planks and the next maximises the floor’s collective strength and rigidity. It also looks more attractive!
8. Continue across the floor
Lay a full plank at the start of row three, a partial one at the beginning of row four, and so forth.
If using self-application adhesive, apply enough for two board widths at a time. Don’t put it down and go for lunch since it’ll start drying out in around 30 minutes.
Installing a tension strap once you’re five or six boards deep will help secure the partially laid floor sections and prevent them from moving as you tap more boards into place.
Pro Tip: Avoid walking on newly laid boards for at least two hours while they bed in and any adhesive or glue sets.
9. Trim the final row lengthways
Unless you’re very lucky, the final row of boards will need to be narrowed to fit in the remaining gap.
As with the end pieces along each row, double-check your measurements and mark where they need to be trimmed in pencil before accurately cutting along the lines.
Once again, leave a 1cm gap around the edge. Ensure you don’t cut along the tongue side if that’s the side which will slot into the penultimate row!
10. Install a threshold bar
A threshold bar divides one room from the next, forming a neat bridge between different floor coverings or materials.
With so many permutations and bar designs, we advise cutting your chosen bar to size with a hacksaw before glueing or screwing it firmly into place once the last wooden plank is laid.
Starting at 0:57, this video guide to threshold bars includes advice on what to do if the flooring on opposite sides of the doorway is at different heights.
11. Refit skirting boards or install beading
Once the flooring is laid, you can reinstate the skirting boards you removed in stage 3 to achieve a seamless finish.
Alternatively, use the nail gun to secure sections of colour-coordinated beading into place between the floor and skirting board. Cut sections of beading at a 45-degree angle to ensure seamless edges in corners.
Never apply nails through beading into the wooden boards; this will prevent the latter from expanding. Nail the beading to the wall or skirting board instead. You can often get a neater finish by glueing beading into place.
12. Apply polish or varnish (optional)
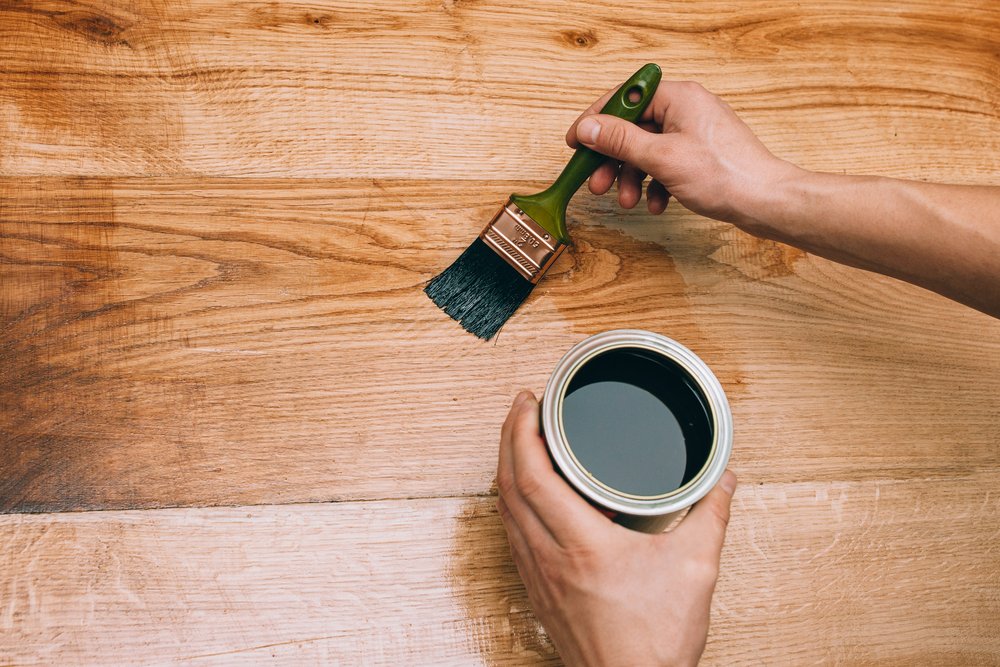
Solid wooden floors are normally supplied pre-treated, but you may want to give your newly finished floor an extra shine. We recently published an in-depth guide to the relative merits of waxing, oiling, staining or varnishing solid wood.
Pro Tip: Dragging heavy furniture across your new floor could scratch or dent it. Tilt each piece of furniture back and affix felt pads along any metal edges or feet. As well as protecting the floor, these items will be easier to move.
If you’d like a visual guide to the 12 steps above, watch the video below:
Object lesson
We have just described how to lay solid wooden flooring in a room without intrusions.
However, many rooms have radiator pipes disappearing into the floor, while doorways are inevitable. Every room has these components in different places, so you’ll encounter them at varying stages of your floor fitting. That’s why we’re covering them here, explaining how to deal with them whenever and wherever they arise…
How to lay solid wooden flooring around doorframes
1. Trim architraves
Placing a flat-bladed saw on top of a wood plank and pushing it against the doorframe will indicate how much height must be trimmed off the architrave base.
Keep the saw resting on the plank and move it back and forth to cut a notch to the required height. You might need a hammer and chisel to chip away extra pieces of timber on each architrave.
2. Cut individual planks to size
To fill a gap between freshly laid wooden planks and another type of flooring, trim down a spare plank and slot it into the gap. Don’t worry about millimetre precision since you’ll position a threshold bar on top.
If you haven’t laid flooring here yet, you might want to shape this board to wrap around the architrave and extend into the middle of the doorframe. Double-check your measurements, mark in pencil, and trim with the jigsaw.
Pro Tip: Don’t push planks as far as they’ll go under the architraves. I.e. leave a few millimetres around the edges for them to expand. This extra space also makes fitting the second board easier as you have more room to manoeuvre.
How to lay solid wooden flooring around radiator pipes
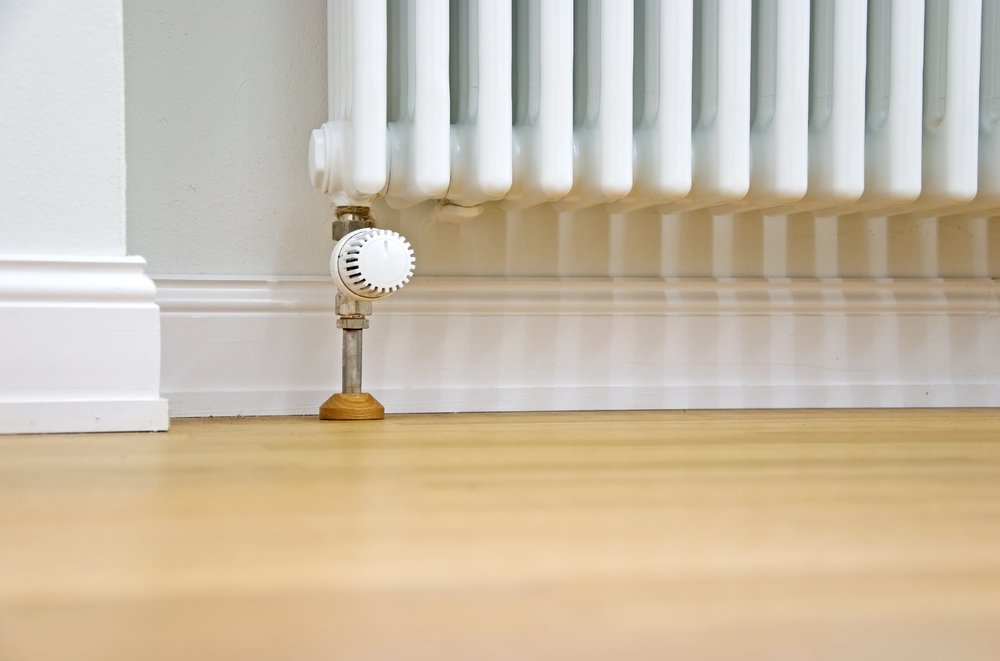
1. Measure where the hole needs to be
Place your uncut plank beside where it’ll be situated, using a ruler to measure where the centre of the pipe will fit.
Measure the pipe’s diameter and draw a circle of comparable size on the plank. Most modern British radiators have 15mm diameters but make your hole slightly larger to allow for modest expansion as the heating system turns on and off.
2. Draw wedge lines
Draw two lines from the sides of the circle towards the nearest edge of the board, moving slightly further apart as they approach the edge.
3. Cut along these lines
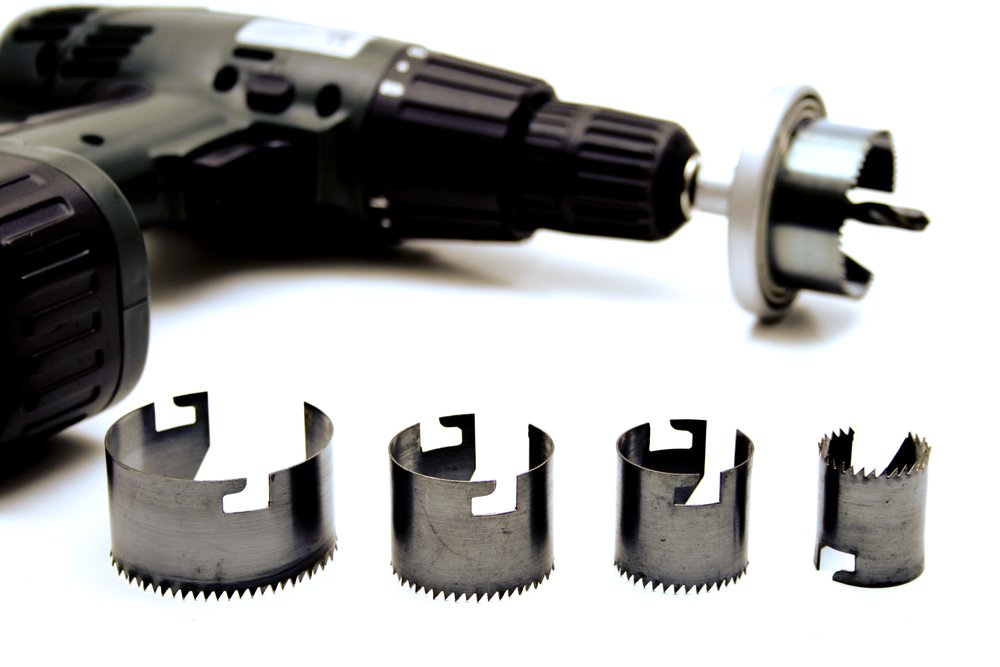
Use a spade or flat wood drill bit of the appropriate diameter to bore a hole into the plank where the pipe hole is indicated.
Next, use the jigsaw to cut out the wedge leading up to it. Keep this wedge aside — you’ll need it later!
4. Slide everything into place
If your measurements are correct, your wooden board should slot into its immediate neighbours while the radiator pipe fits neatly into the circular hole.
Fill the gap between the back of the pipe and the skirting board/wall with the wedge from step 3, sticking or glueing it into place. The radiator pipe should now be surrounded by wood.
Final Thoughts

Whether working in an awkwardly shaped hallway or a perfectly square bedroom, you now know how to fit a beautiful, long-lasting solid wood floor.
To keep your flooring looking its best over the coming years, check out our guide to the best floor varnish for wooden floors.