
I’ve never liked sanding, but I understand from years of DIY experience it’s a crucial part of prep work. So in this guide, I share my top 20 sanding tips that will help you sand like a professional carpenter.
Types of Sandpaper
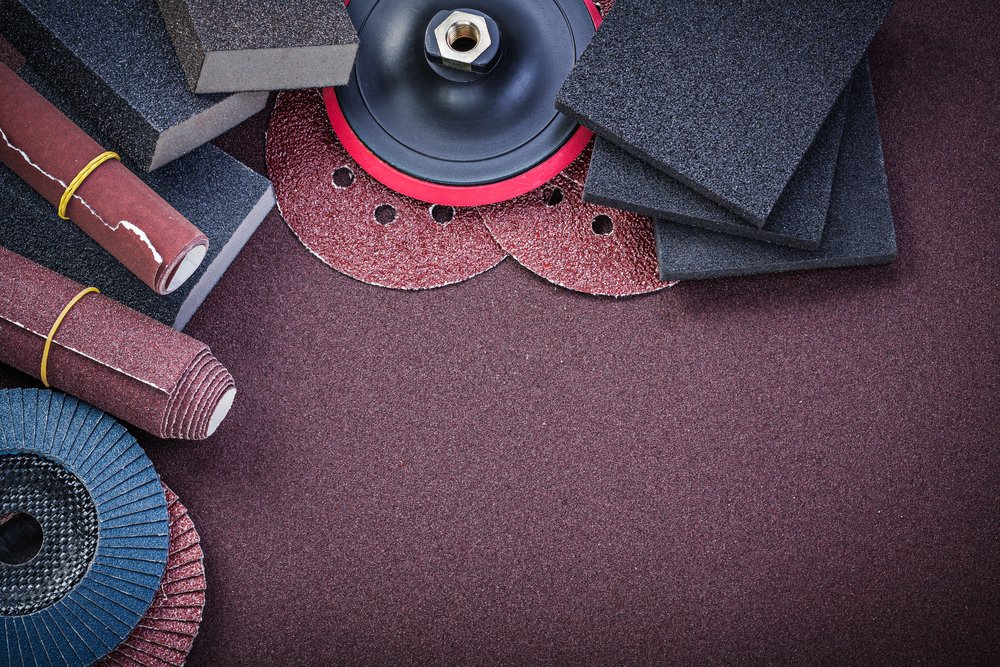
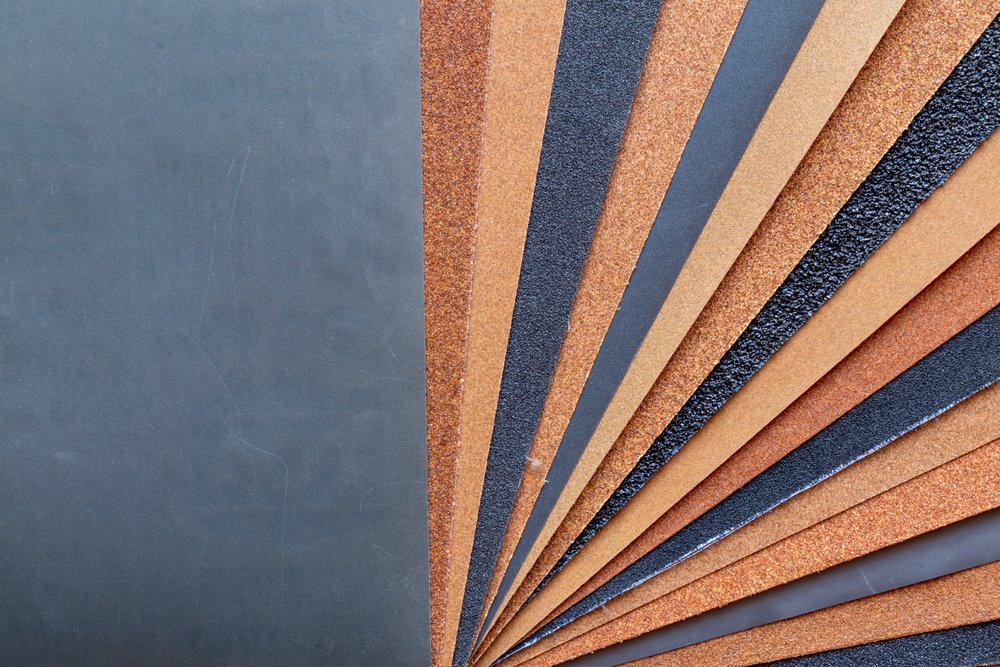
Before we get into the gritty world of sanding, let’s look at the different types of sandpaper.
Dry Sandpaper
Dry sandpaper is ideal for surfaces like wood, plaster, and metal. It comes in various coarse grades, giving ample scope for a superior finish.
Furthermore, it’s relatively cheap, easy to use, and readily available. The only disadvantage is you can’t get it wet, hence the name.
Wet/Dry Sandpaper
This type of abrasive paper is perfect for wood, metal, fibreglass, and plaster walls.
The wet element helps to reduce dust because the dampness and thickness of the sheet traps particles.
Adding a small amount of water to the surface you’re sanding helps create a lubricant that polishes the material, leaving it super smooth.
Power Sander Sandpaper
This sandpaper comes in every guise, but it typically consists of a drum, belt, or disc rather than packs of multiple sheets like the wet/dry variety.
Remember to follow the manufacturer’s handbook to determine the type of sandpaper that suits your power sander for the best results.
Garnet Sandpaper
This type of paper is constructed from semi-precious stones and is perfect for untreated or unseasoned wood and removing light scratches.
However, garnet sandpaper wears out faster than other varieties, so it costs more in the long run.
Pro Tip: Garnet sandpaper is perfect for hand finishing rather than large-scale sanding tasks.
Emery Sandpaper
This hard-wearing alternative to other sandpapers is excellent for hand and power sanding.
Emery sandpaper comes in various grit levels, meaning it can remove rust and paint with coarse-grade paper and polish and smooth with finer paper.
Aluminium Oxide Sandpaper
Aluminium sandpaper is one of the more common types available and is excellent for plastic, metal, plasterboard and wood.
It can also be helpful when hand sanding but is more frequently used with power tools thanks to its hardiness and longevity.
Silicone Carbide Sandpaper
Choose silicone sandpaper to remove larger volumes of material faster, including rust and paint.
It also works well on metal, wood, and plastic but doesn’t last as long as other sandpapers because of the amount it removes.
Furthermore, it’s an excellent sandpaper for heavier, soiled surfaces because it prevents the paper from overloading.
Zirconia Alumina Sandpaper
This variety of paper is perfect for painted surfaces, metal, and fibreglass.
Its ruggedness makes it better suited to power sanding, and it’s typically sold in drums, belts and discs.
Ceramic Alumina Sandpaper
Ceramic Alumina sandpaper lasts longer than other varieties and is excellent for power sanding because it comes in discs, belts, and drums.
Abrasive Sponges
Abrasive sponges are typically used for lighter DIY tasks such as finishing and shaping awkward contours.
However, you can also use abrasive scourers for lightly sanding wood and other materials. The main advantage is the ability to mould the sponge to almost any shape or contour, making it better for detailed sanding.
They don’t remove as much material as sandpaper but are excellent at producing a smooth finish.
Sandpaper Grades and Uses
Here’s a handy guide to the various sandpaper grades and when to use them.
| Sandpaper Grit | Best Uses |
|---|---|
| P40 to P60 | Uneven surfaces Old paint and varnish Rough or freshly cut timber |
| P80 | Hardwoods Light scratches Saw blade burns |
| P120 | Softwoods Prep for enamel and polyurethane paints |
| P180 | Raised wood grain fibres Irregular surfaces Prep for latex and acrylic paints |
| P220 | Second/third level sanding Surface finishing Prep for clear wood stain |
| P320 | Sanding between paint coats Third/fourth level sanding Wet sanding |
| P400 | Final surface finishing Smoothing topcoats Prep for finishing oils |
| P600+ | Prep for polishing Metals and plastics Fine wet sanding |
Hand Sanding vs Power Sanding
Hand sanding can feel like a pointless exercise, especially when there are powered options. However, hand sanding allows you to perform detailed work that power sanders can’t.
Power sanders have their place, but they’re a poor choice when working on unusual shapes, contours, and tight angles.
Try power sanding stair railings, and you’ll understand why hand sanding is necessary. Hand sanding also allows you to perform a final finish with superior results to those achieved with a power tool.
Power sanding is best for substantial projects like flooring, stairs, and large furniture like tables and cabinets. Power sanding removes the bulk of the material and allows you to hand sand for the detailed work.
Pro Tip: Use fingernail emery boards when working on highly detailed sections. It gets into tight spaces that other sandpapers can’t reach.
Hand Sanding vs Power Sanding — Pros and Cons
| Hand Sanding Pros | Power Sanding Pros |
| Great for detailed work Works on unusual contours Cheap and easy to master | Better for larger projects Efficient at removing material Works better on flat surfaces |
| Hand Sanding Cons | Power Sanding Cons |
| Slow progress Punishing on your hands and wrists Not suited to more extensive projects | It doesn’t allow for detailed work Messy Not suited for contours and shapes |
Safety First

Sanding is messy, exposing you to harmful particles that cause lung, eye, nose, and throat issues.
Wear goggles and a face mask, preferably with filters to trap the tiniest particles. Failing to take such simple precautions could lead to longer-term issues.
According to the Health and Safety Executive (HSE), carpenters and joiners are four times more likely to develop asthma than other workers.
11 Hand Sanding Tips
Hand sanding is the best way to get professional results on awkward shapes and intricate surfaces.
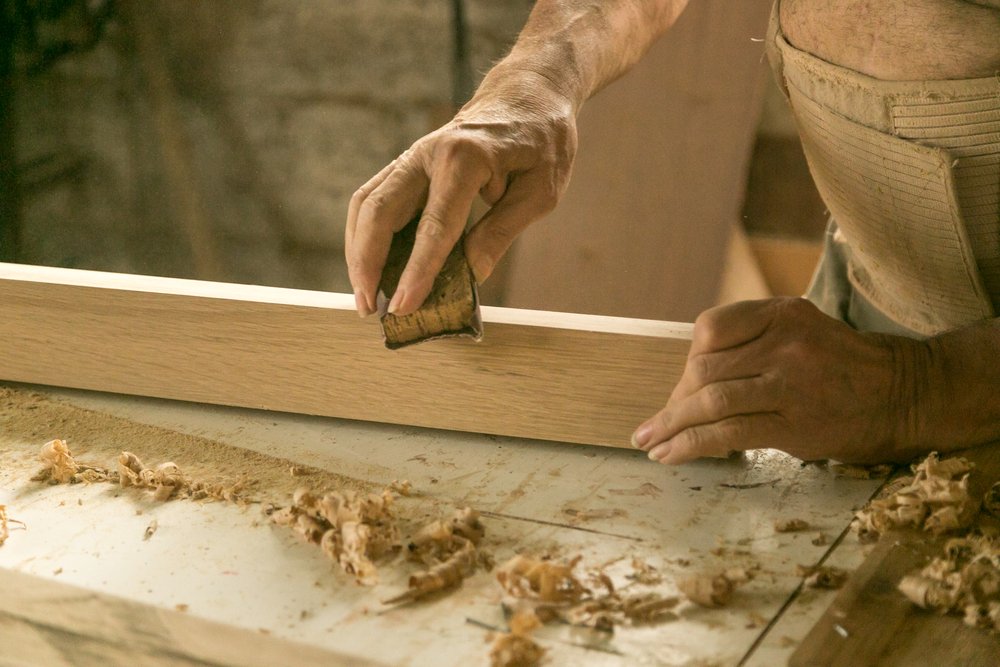
1. Go with the Grain
If you’re working against the grain, you’re doing it wrong. Working with the grain is the accepted rule, followed by generations of woodworkers.
Working with the grain prevents tearing and cross-scoring, which causes the surface to scratch and look messy.
It doesn’t matter much if you paint the surface, but it’s crucial for staining or varnishing.
2. Work Through the Grits
It depends on your project which grit level is best, but there are two general rules:
- Start with coarse paper to remove large amounts of material like paint or rust. It doesn’t matter at this stage if you mark or scratch the surface — the main aim is to remove surface imperfections.
- When you’ve cleaned the surface with a coarser grain paper, switch to a finer grit. This approach increases the quality of the finish as you move to finer sandpaper. Start with 80, 120 or 220-grit dry paper and increase the grade to 320 or higher for the smoothest finish.
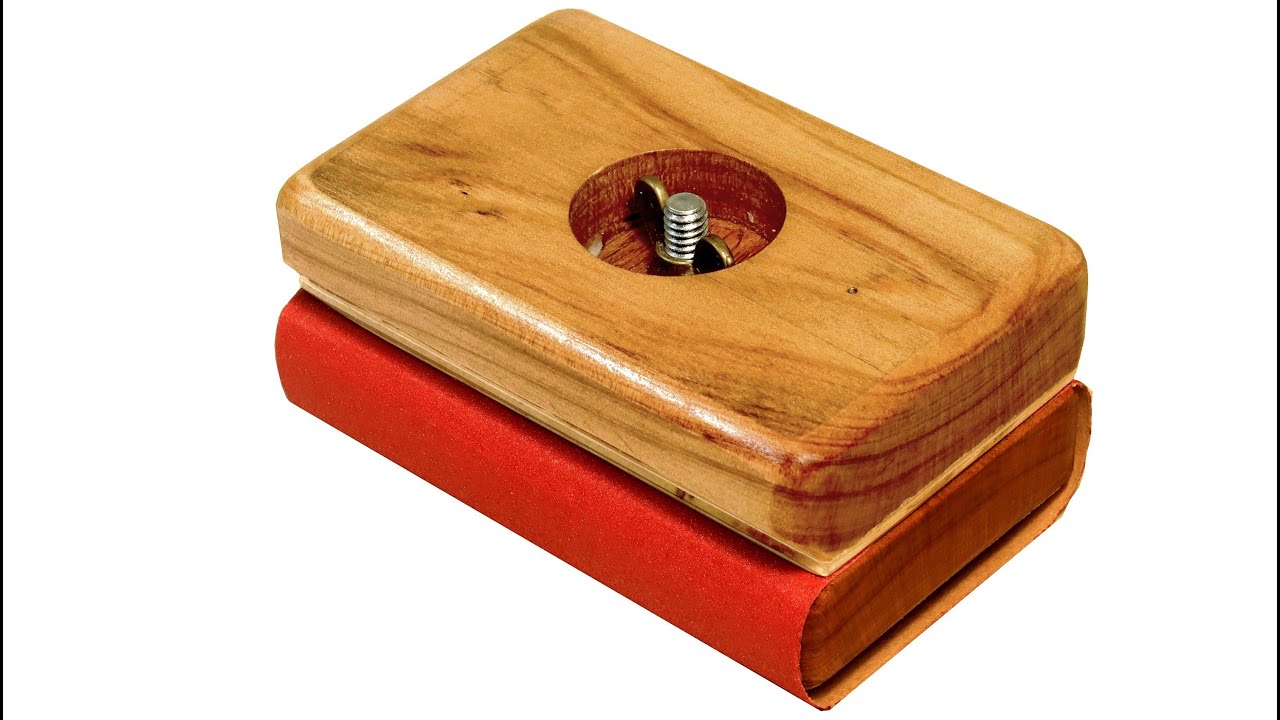
3. Use a Sanding Block
A sanding block makes it easier to keep even pressure when sanding flatter surfaces. It prevents you from “scooping out” and creating an uneven finish.
Sanding blocks are cheap to buy and readily available. They’re also easy to master and evenly distribute the weight pressure as you work with the grain.
The video below by Alan’s Wood Shop shows you how to make a custom sanding block.
4. Use Non-Clogging Sandpaper
When sanding resinous woods like pine, it’s always better to use a non-clogging sandpaper.
One of the best non-clogging varieties is silicon carbide. It has a unique ability to prevent heavy loading, preserving the abrasiveness for longer on heavier-soiled surfaces.
5. Use Quality Sandpaper
Buying value-range sandpaper can be more expensive because you may go through two or three times the amount by the time you’ve finished the project.
Quality brands cost more, but they generally last longer.
6. Know When to Go Wet
Use water for a glass-like finish between paint coats. Wetting wooden surfaces lifts the grain, enabling a smoother finish.
Wet and dry sandpaper and silicon carbide are the two best options when using water because they handle the conditions and reduce clogging on the sandpaper.
7. Choose a High-Quality Workbench
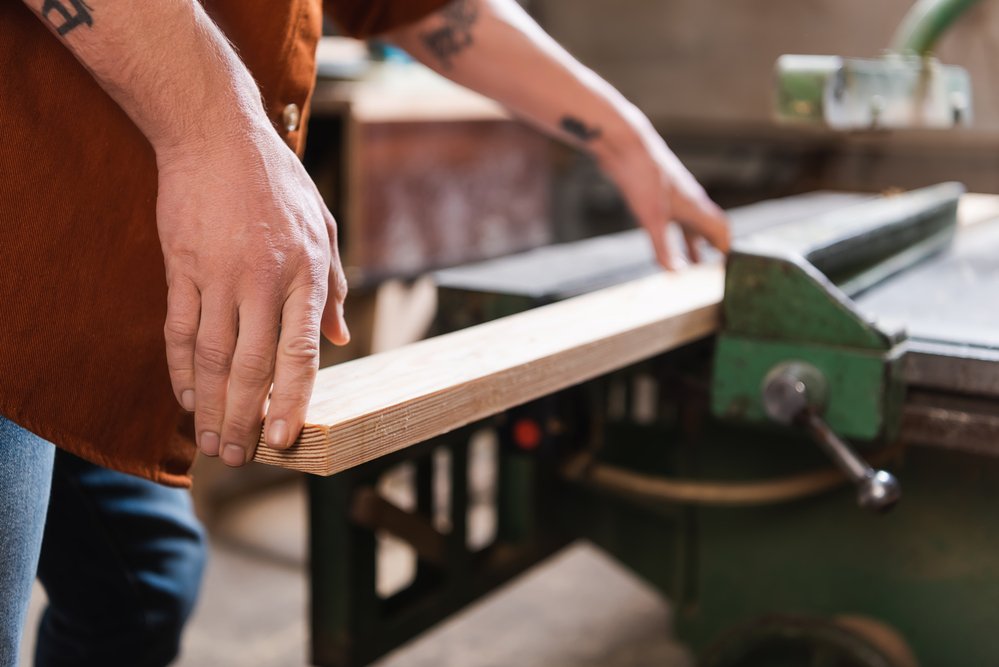
We can’t ignore the value of an excellent workbench in our sanding tips.
A stable, multifunctional workbench makes life so much easier. You can clamp your workpiece, work on different angles, adopt a comfortable standing position, and work on a flat, stable surface.
8. Use Foam Pipe Insulation
When sanding awkward or unusual shapes, using a length of foam pipe insulation is a cheap hack because it grips the sandpaper, and you can mould it to any shape or contour.
Cut pipe insulation easily with a sharp knife, and you can sand convex and concave shapes like coving, concave skirting boards, door, and window frames.
Pro Tip: Plastic water pipes are another valuable tool for curved sanding. Fix sandpaper to the pipes using spray adhesive, and you’re ready to start sanding curves.
9. Use a Putty Knife
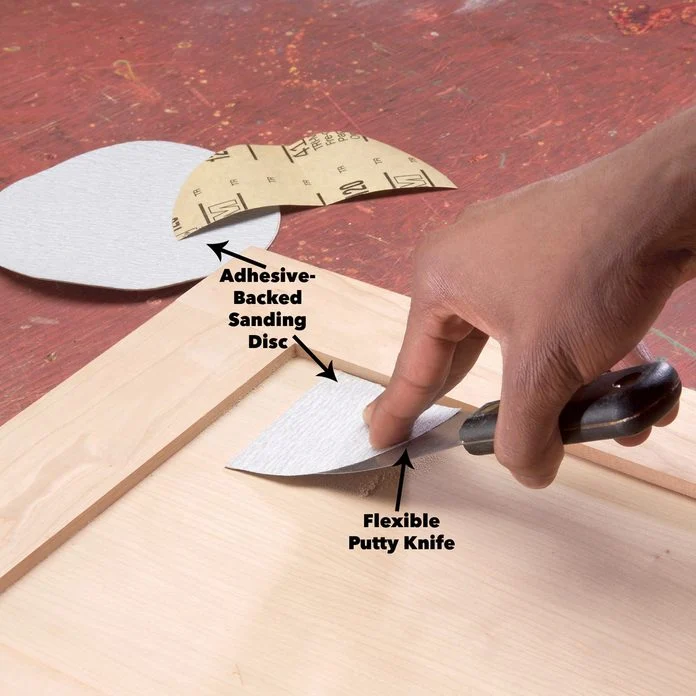
Sticking sandpaper to the back of a flat-bladed putty knife like this Ragni 3-inch model helps you reach tight spots and clean edges.
Cut an adhesive-backed sanding disc to size, apply it to one side of the knife blade, and press it in place.
Once it adheres, you can start sanding corners and joins that require a neat finish. This technique is invaluable for working on antique furniture or intricate window frames.
10. Use Abrasive Scouring Pads
Scouring pads are not only for washing up; they’re another valuable tool when sanding.
While they may lack the abrasiveness of sandpaper, they’re excellent at removing minor blemishes on contoured surfaces.
11. Duct Tape is Your Best Friend

Apply duct tape to the back of your sandpaper and then cut it into thin strips. Duct tape adds strength, preventing the sandpaper strips from tearing.
Use these thin strips for decorative mouldings on stair spindles (see Fig. 2 above) and other lathe-turned features.
9 Power Sanding Tips
Power sanding is a lot faster than hand sanding, but what you gain in speed, you may lose in accuracy.
1. Choose the Right Sander
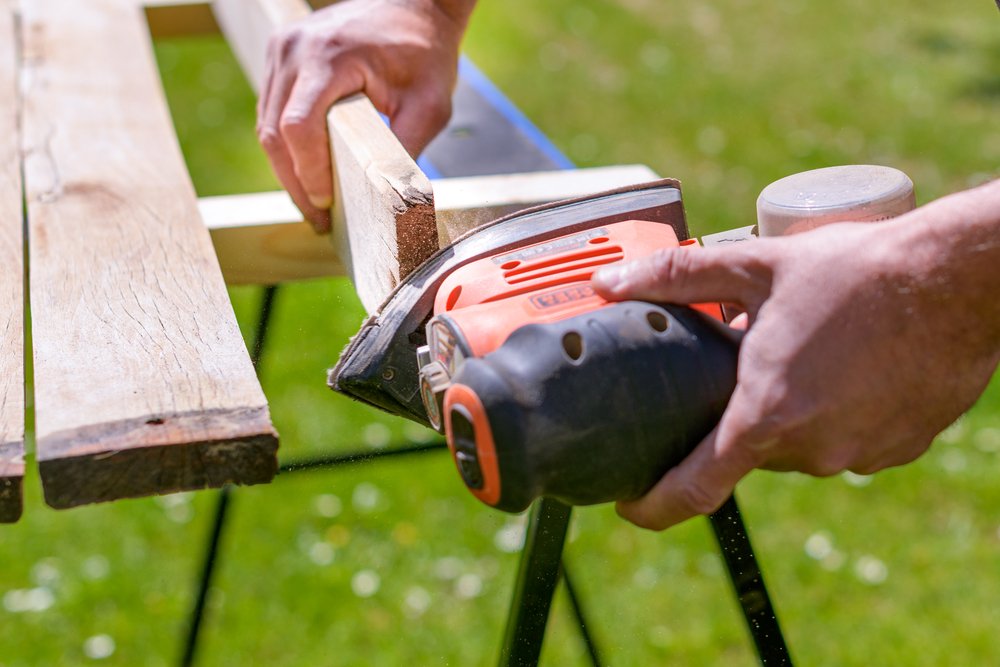
It sounds simple enough, but some power sanders are unsuitable for specific sanding jobs. For example, don’t choose a detailed orbital sander if sanding vast surfaces because it’ll take forever.
A belt sander is your best friend when covering larger areas, especially floors, walls, doors and tabletops. A handheld orbital sander is better for detailed work, especially a model with a pointed edge like the one in the image above.
The video below by Peter Millard shows you the different types of sanders for your project.

2. Mark Sanding Areas
Marking out areas you want to sand with pencil lines ensures you remain accurate and don’t stray into areas where you may damage other surfaces. This approach is handy when making spot repairs where only a small part of an object needs attention.
You can also use a pencil to show you where you’ve sanded and where you haven’t. Lightly scribble pencil marks across the entire surface of your project, and as you work, you can see where the pencil marks get rubbed away by the sander.
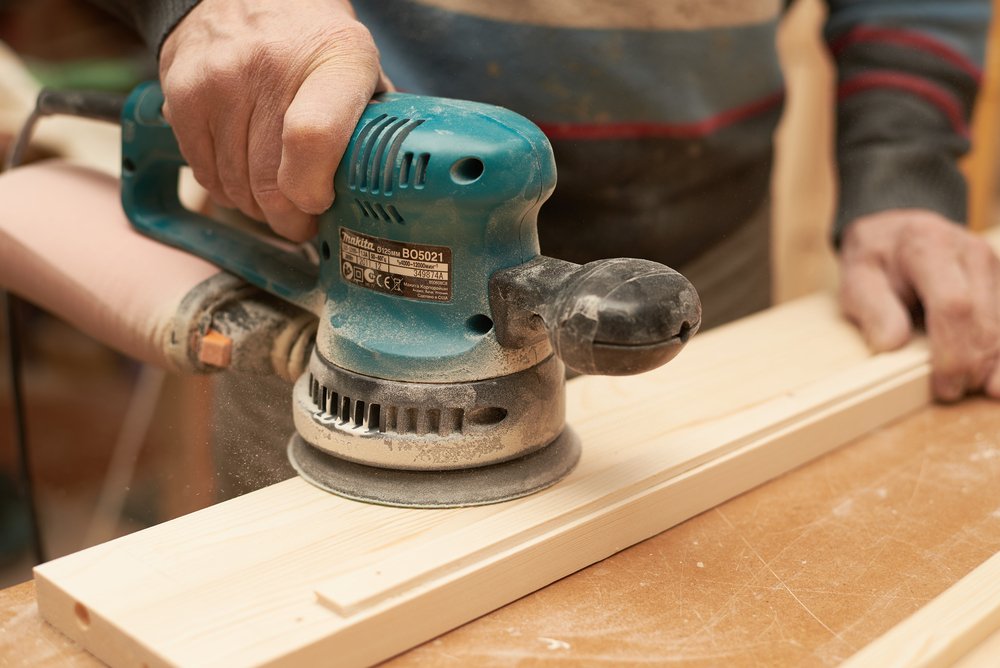
3. Use Dust Collection

Dust collection improves air quality and removes debris from the work surface, making it easier to see what you’re working on while reducing clean-up.
Most hand-power sanders have a bag collector (see image above) that attaches to a vacuum chute. Although easy to attach and remove, these bags often require emptying mid-project, slowing down the sanding process.
Other, more expensive professional-grade models attach to a vacuum system that collects dust in a much bigger central canister.
4. Work with the Grain

The same principles apply whether sanding by hand or with a power tool.
Working with the grain ensures minimum ripping and scratching, leaving your surfaces as smooth as possible.
If you work against the grain, you’ll scuff the surface and ruin the finish.
5. Take It Slow
Achieving the best finish is not a sprint. It’s about taking your time to get professional results.
Avoid applying too much pressure on the sander and complete the job over several passes rather than trying to do it on one sweep.
If you apply heavy pressure, you risk gouging out the surface, creating an uneven finish.
6. Go Cordless
Battery-operated models allow you to move unhindered around your project, which is a significant advantage when working on something substantial.
There’s also a health and safety element, as cords and wires get in the way, causing a trip hazard or potential electric shocks if they snag in the sander.
7. Label Sanding Discs
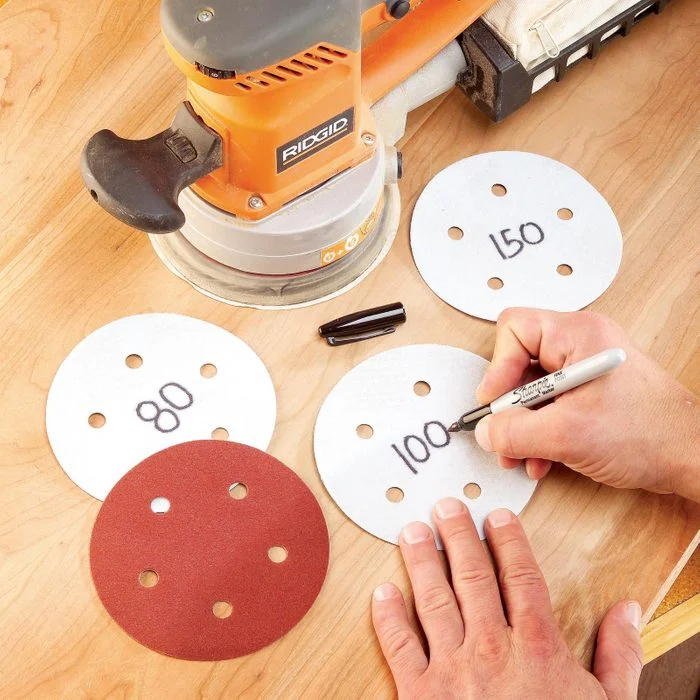
Sanding discs look the same, so write the grade on the back for easy identification. Use a Sharpie or permanent marker (as shown in Fig 3 above).
Note: The manufacturer labels each disc, but the print fades after several uses.
8. Use a Shield/Barrier
When sanding a surface that adjoins with another (e.g. flooring and skirting board), it’s almost impossible to avoid damage to the adjoining surface when the sander gets close to the edges. These scratches and scuffs are also tricky to remove.
To avoid this problem, press a strip of metal flashing or laminate against the protected material. As the sander gets close, it scuffs this barrier rather than the adjoining surface.
9. Use a Rug
Once you’ve sanded one side of your workpiece, you risk scratching it on a rough workbench when you flip it over to sand the other.
To prevent this from happening, lay an old rug on the workbench to cushion the workpiece against scuffs and scratches. It also helps to minimise vibrations from the sander, reducing hand and wrist stress and dampening noise.
Pro Tip: If you don’t have an old rug, use an old towel, curtain, or handy rag you may have lying around.
Final Thoughts
Hand sanding is better for small or fiddly workpieces, while power sanding removes more material, making it ideal for larger tasks.
Above all else, take health and safety seriously. Wood dust is toxic and can cause permanent lung damage. So remember to use a dust extractor, face mask and goggles.
If the prospect of a significant sanding project fills you with dread, find top-rated carpenters in your local area using Rated People.