I was once tasked with converting a garage into a bedroom. My first job was removing oil spillages and paint splatters before making the floor suitable for new flooring.
On closer inspection, I could see the concrete sloped from back to front, so my next job was to level the floor.
In this DIY guide, I share the same process I used and explain how to level a concrete floor.
Sand/Cement Screed or Levelling Compound?
Before you begin, you must first establish the size of the slope.
Levelling compounds, sometimes called latex screeds, are suitable for flat floors with no more than a 1 in 300 slope. That’s a 10mm drop in a 3m length. For anything steeper than that, consider a sand/cement screed. For advice on getting a professional in for this, check out our guide on how much to screed a floor.
In this guide, I describe how to level concrete floors where the maximum thickness at any point is 25mm. Most latex levelling compounds are suitable for thicknesses up to 10mm, but adding a sharp sand filler can increase this.
Tools and Materials
Gather all the tools and materials below before levelling your concrete floor.
Tools
- 2x large (25 litres) mixing buckets
- Squeegee
- Plasterer’s trowel
- Moisture meter
- Brush and/or wet & dry vacuum cleaner
- 1.2m spirit level
- 1.5m straight edge/tamping beam
- Angle grinder
- Combi drill
- Paddle drill attachment
Materials
- PVA primer sealer
- Latex screed compound (ensure you choose a compound that suits your requirements)
- Water
- Sharp sand for thicker screeds — see Step 3b (equal in amount to the latex compound)
Pro Tip: For older floors, you may also need:
Health and Safety Measures
Chemicals like paint stripper can cause burns when mixing, so wearing the correct PPE is essential.
Wear goggles and rubber gloves to protect your eyes and skin. Wear a face mask to prevent breathing in cement dust. Mix these products in a well-ventilated area.
How To Level A Concrete Floor
Follow the 4 steps below to level a concrete floor like a pro.
Step 1: Check the Levels
There are two issues to look out for — slopes and undulations.
Sloping Floors
The floor may appear flat, but the incline could cause problems when you fit new doors or skirting boards.
In this case, look for a product that will level the floor, going from a thin layer at one end to relatively thick at the other.
Undulating Floors
The floor may be flat but contains many peaks and troughs.
These floors are problematic if you cover them with something rigid like laminate or tiles. Carpet is much more accommodating, but flexible flooring like vinyl can look unsightly if all the undulations show through.
You could have a combination of both issues, but the same solution applies to all. You must use a levelling screed.
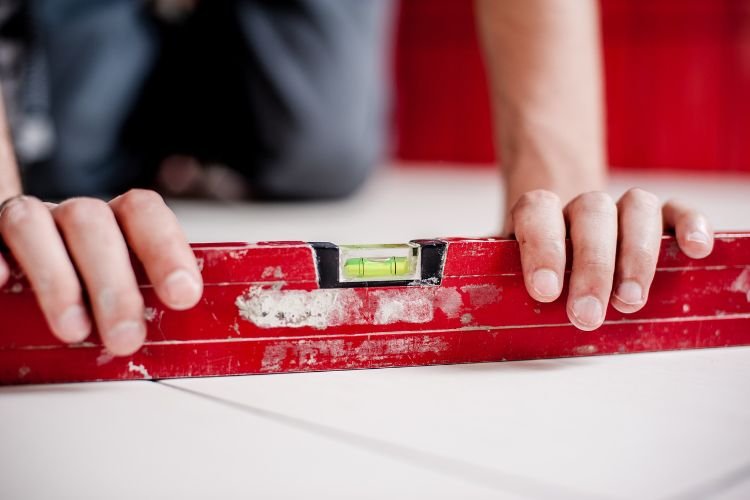
Checking for Levelness
To check the overall floor levelness, you need a long spirit level — 1.2m is a good length over most floors, but 800mm will suffice for smaller rooms.
1. Use a golf or tennis ball to see if there’s a fall in any direction. Place the ball at various locations to see which way it rolls.
2. Check along the edges by placing the spirit level on the floor against the wall. See which way you must tilt it to level the bubble. Repeating this along the length will tell you if the whole floor is sloping or only a part of it.
3. Check the middle of the room in both directions using the same technique as step 2.
4. Check randomly across the floor for any high or low spots. High spots will cause the spirit level to rock, whereas low spots will produce a space below the spirit level.
Step 2: Prepare the Sub-floor
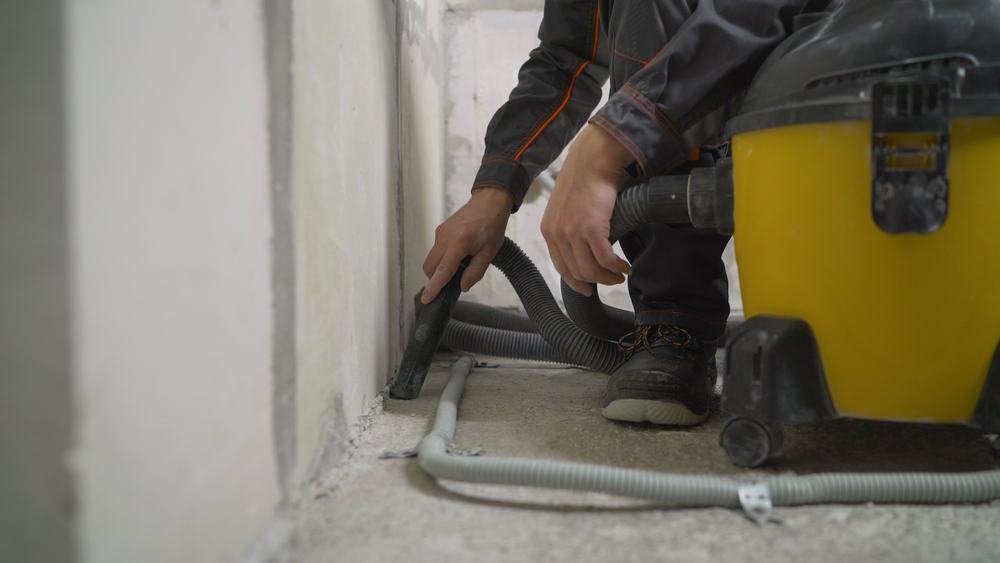
1. Clean the floor thoroughly using a stiff brush. Before you do so, I recommend dampening the floor with a spray gun to keep down the dust. I don’t advise using a domestic vacuum cleaner, but if you have a wet & dry vac, that would work well.
2. Fill any cracks. Cracks in the concrete can be a sign of movement, so to ensure no further movement, leave it a few days before continuing.
3. Grind down any high spots, as this will reduce the overall thickness of the levelling screed.
4. Check for dampness using a moisture meter — you may need a DPM.
5. Remove any grease and oil using a paint stripper.
7. You may need to fix a temporary batten at the door threshold to prevent the screed from leaking out.
Step 3a: Applying the Levelling Screed — Less Than 10mm
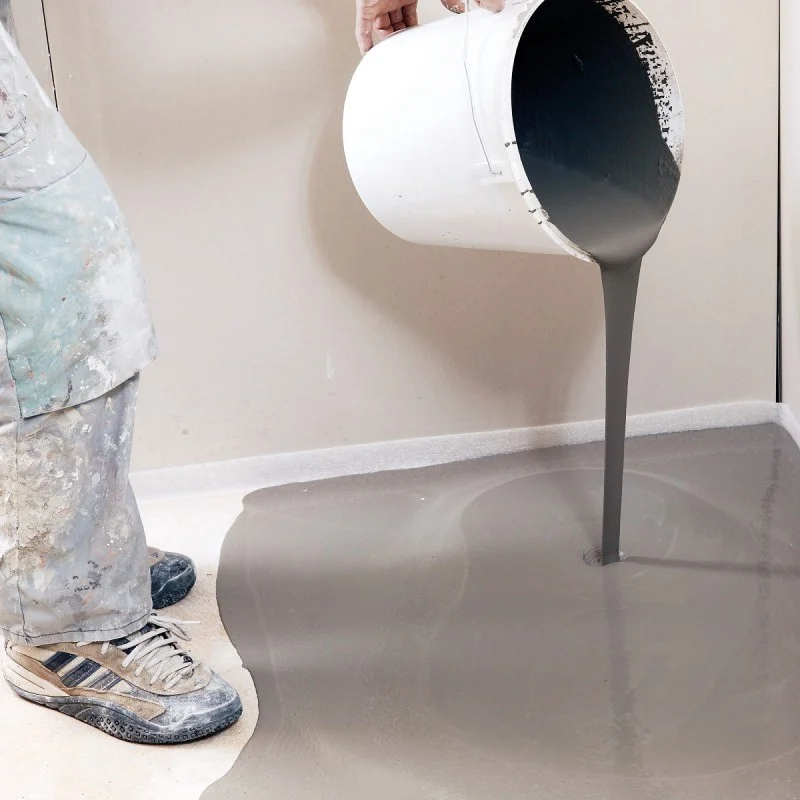
When the thickness of the levelling screed is less than 10mm at any point, follow this process:
1. Mix the latex compound with water. Only mix enough to use in one session. An average mix is 1 part water to 5 parts cement, so a 25kg bag requires 5 litres of water.
2. Use the drill with the paddle attachment at a slow speed to mix the ingredients. Avoid over-mixing, as this aerates the compound, leaving air bubbles in the screed.
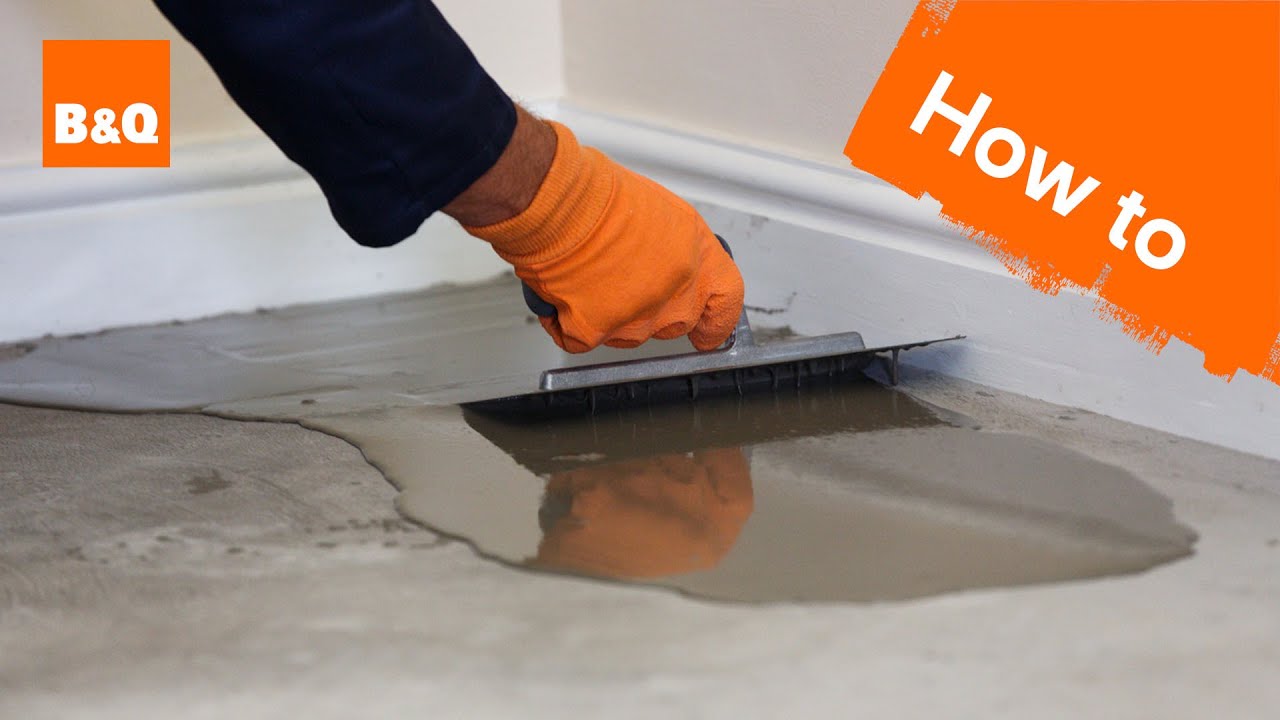
3. Pour the mix onto the concrete floor — check the drying time (as shown on the packaging) because once it hardens, you can no longer work it. Start at the furthest point away from the door.
4. The latex compound will find its level, but to help it along, spread the screed evenly using a squeegee and/or trowel.
5. Work the compound into the edges and corners to prevent high spots or dips. Any trowel marks should even out after a few minutes to leave a smooth finish.
6. Work your way towards the door and then out.
7. Allow the screed to dry. The drying process can take as long as 24 hours, depending on the screed’s moisture content and the humidity in the room. In most cases, you should be able to walk on the floor after two hours.
Step 3b: Applying the Levelling Screed — More Than 10mm
If you have a sloping floor that is more than 10mm out of level, you must build up the screed using these steps:
1. Mix the levelling compound as in Step 3a, but add 1 part sharp sand to 1 part compound.
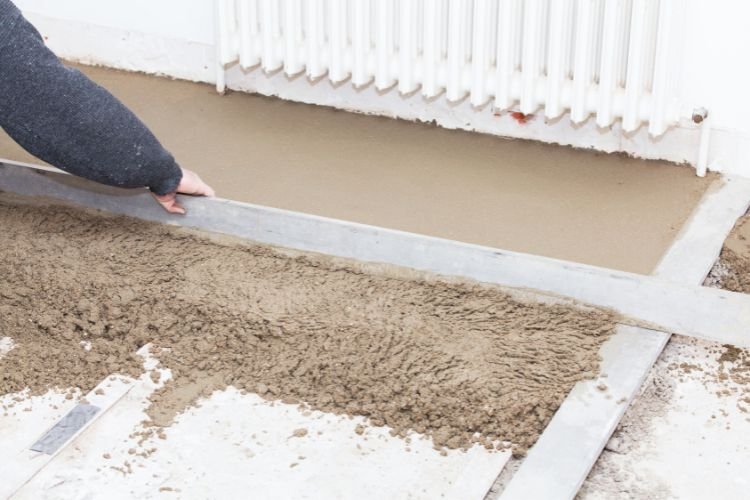
2. To get a level floor, lay screed lines along the concrete. These are strips of screed around 50mm wide, 1m apart.
3. Use a long spirit level and a trowel to ensure the top of the screed lines are level in both directions and set to the right thickness.
4. Allow the screed lines to set firm enough so they don’t deflect under pressure. Use your thumb to judge the firmness before moving on.
5. Mix more of the compound and pour between the screed lines. As in Step 3a, start at the furthest point away from the door.
6. With your trowel, level off the compound using the screed lines as a guide. Use a straightedge to achieve the right level, tamping down lightly to remove any air bubbles while working from side to side and towards you. The video below demonstrates this technique:

7. Leave for 24 hours before walking on the newly laid screed.
Pro Tip: You may find that this method leaves the floor unsightly because the screed lines dry quicker than the infill screed, causing shrinkage cracks to appear. If this is an issue, lay a thin (2–3mm) levelling screed over the top, as in Step 3a.
Step 4: Finishing Off
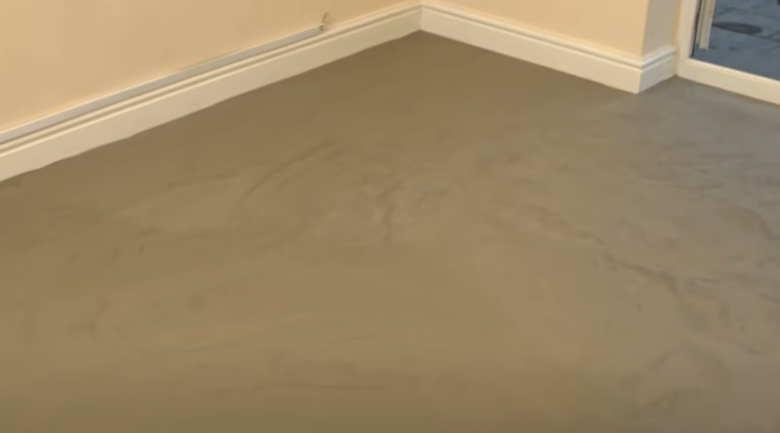
Once dry, your concrete floor should be ready to accept whatever finish you want to apply, and we have plenty of flooring guides to help you with this part.
Note: Most flooring finishes (e.g. carpet, engineered wood, etc.) tolerate slight undulations and imperfections, so don’t be too concerned if your screed has a few air holes. These holes are only an issue if you plan on painting your newly laid levelling screed.
Below is a list of common floor coverings with links to our guides for further advice:
- Laminate flooring
- Engineered wood
- Vinyl
- Carpet
- Quarry or ceramic tiles
Final Thoughts
Whether you’re looking to convert a garage or replace the existing flooring on a concrete slab, this DIY guide shows how easy it is to level a concrete floor to accept whatever flooring finish you desire.
Plenty of videos are available if you prefer a more visual guide. These two videos by B&Q cover all the main points:

If you still don’t feel confident enough to do this job, use Rated People to find top-rated professionals in your local area.