In the Victorian heyday of British housebuilding, hallways were usually straight and long. In response to their predecessors’ focus on symmetry, Edwardian architects and builders adopted wilfully asymmetrical designs like L-shaped hallways.
This trend continued into the Art Deco movement, leaving us with a surprisingly high proportion of homes whose hallways aren’t even on nodding terms with the word ‘rectangular.’
Knowing how to lay laminate flooring in an L-shaped hallway requires a different mindset than a conventional reception space. We’ve outlined the practicalities of laying laminate in such an irregular space to simplify what could otherwise be a challenging process.
But first, let’s consider which tools and materials are required…
Tools and Materials
These are the critical components required to fit any laminate floor successfully:
Tools
- A jigsaw for cutting planks to shape (you might also want a hand saw for manual trimming)
- A rubber mallet or soft-edged hammer for tapping planks into position
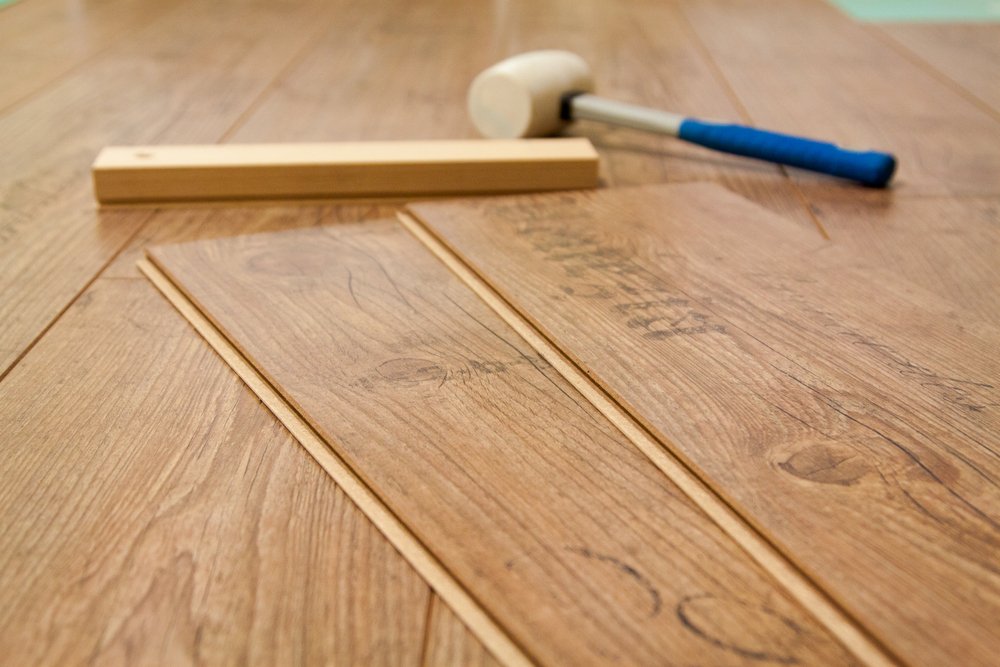
- A laminate installation kit, typically including a hammering block and spacers
- A large spirit level and measuring tape
- A pencil
- Knee pads – laminate planks are deeply uncomfortable to kneel on
- Goggles and gloves – freshly-cut laminate boards can harbour nasty splinters!
Materials
- Underlay. We recommend using thermal underlay for laminate flooring, as it prevents imperfections while retaining heat. By contrast, low TOG ratings allow underfloor heating elements to remain efficient.
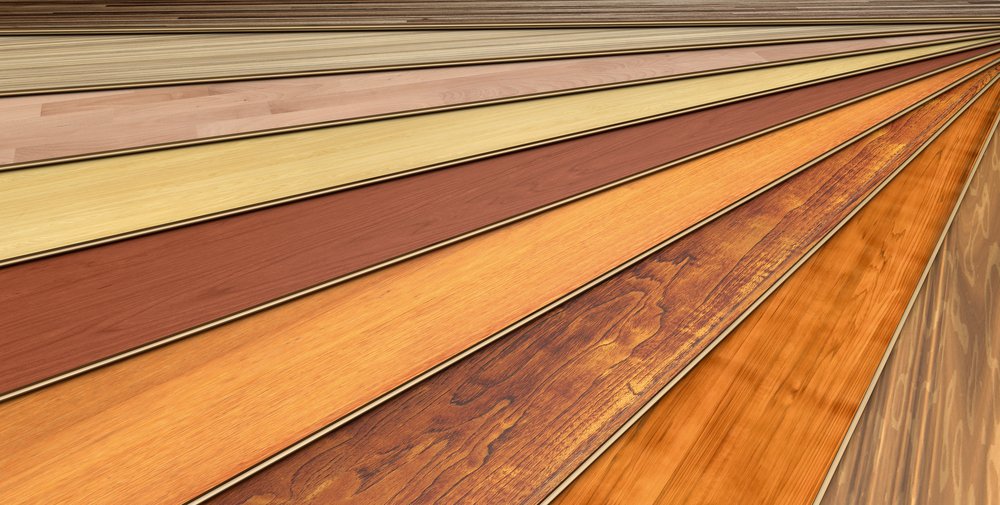
- Boards. Budget, colour/pattern preferences and brand loyalty will limit your choice. If you’re renovating a buy-to-let property, you’ll probably have a different flooring approach than your home. Either way, order 15 per cent more laminate than your hallway’s total floor space to cover wastage and damage.
- Beading. Typically measuring at least 12mm, beading is necessary if you’re laying laminate up to skirting boards instead of underneath them. Furthermore, look for beading which matches the colour and grain of your flooring – any mismatch will seem jarring.
You can find out how much fitting laminate flooring costs in our comprehensive price guide, alongside money-saving tips.
How To Lay Laminate Flooring — Step-by-Step Instructions
Before starting work, consider how your laminate flooring will tie in with the existing room.
Are you going to remove the skirting boards and reposition them above the laminate or apply beading?
The latter is cheaper, simpler and poses fewer risks of complications (skirting boards may snap during removal or necessitate redecoration and even replastering). However, tucking laminate under skirting boards creates a far more stylish aesthetic, while beading often attracts dust and fluff.
Next, decide which way your boards will run. We recommend fitting them lengthways extending up to the front door as this placement reduces the light impact on the joins between one row of planks and the next.
Leave boxes of laminate planks indoors for several days to adjust to the ambient temperature. Lay them flat and not stacked more than three boxes high. Installing them within hours of delivery from a cold warehouse could see them expand after they’re installed, bulging and straining against skirting boards or beading.
1. Remove existing flooring
Strip out existing flooring, extracting any staples or nails that may get left behind.
Smooth the floor as much as possible – even the best underlay can’t entirely cushion lumps and bumps.
Dispose of all your materials and thoroughly extract dust from the air before opening your new boxes of laminate flooring.
2. Open the boxes of laminate
Study each plank closely for damage. Minor surface scratches or fractional splinters along the edges are okay – they’ll endure worse once laid – but significant cracks or chips render them unusable.
Set aside any damaged planks and report them to the supplier with photographic evidence they were damaged in transit before being laid (use the unlaid floor as a backdrop).
3. Always read the supplied instructions
The manufacturer’s instructions shouldn’t contain any major surprises, but you could regret ploughing on without checking if your chosen planks require specific techniques. For instance, Rapid Fit and Twin Clic laminate boards lock together differently.
4. Install the underlay
You must lay underlay at a 90-degree angle to the direction of the boards. If using a foam underlay, you may need to seal joints with waterproof tape.
B&Q have prepared a video on fitting underlay onto a new-build’s concrete floor.
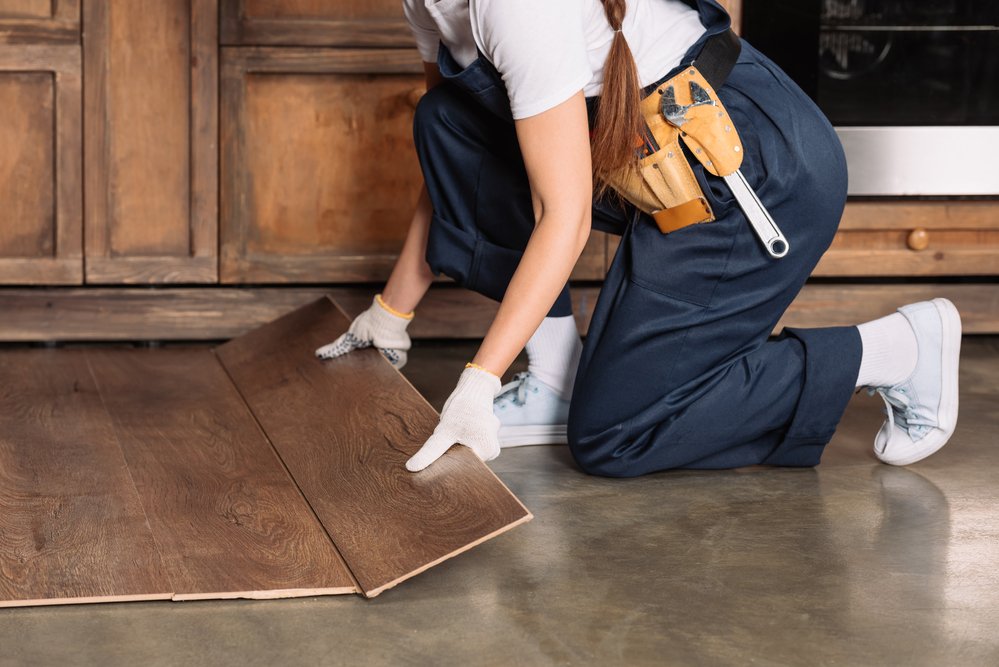
5. Start laying the planks
Begin beside the front door in one corner of the hallway, with a straight wall beside you and a spacer block in situ.
The spacer’s small gap (typically 10mm) will be covered with beading or skirting boards. This gap gives the flooring the necessary space to expand and contract, so leave the same room around radiator downpipes, stair risers and cupboards.
If you need to cut a plank to fit, trace the necessary shape on the back with a pencil and use the jigsaw to cut it slowly. Do this elsewhere in the house to avoid dust settling on a part-laid floor.
6. Click or tap
Click each plank into the one ahead of it, or tap it into place with the hammer if it’s a tongue-and-groove design.
Lay one row at a time, ensuring everything fits snugly before returning to the door and adding a second row of planks.
Each plank on the second row should start midway along the plank beside it, reducing the chances of future buckling or rupture.
7. Move into the alcove
Start on the L-shaped area when you’ve fitted the last row of planks along the main section of the hallway.
Follow the same principles. I.e. a plank neatly abutting a spacer block against a skirting board or wall. As before, each plank must end midway along the adjacent plank.
Pro Tip: You may need to temporarily remove one or two boards to ensure a snug fit for planks going into doorways.
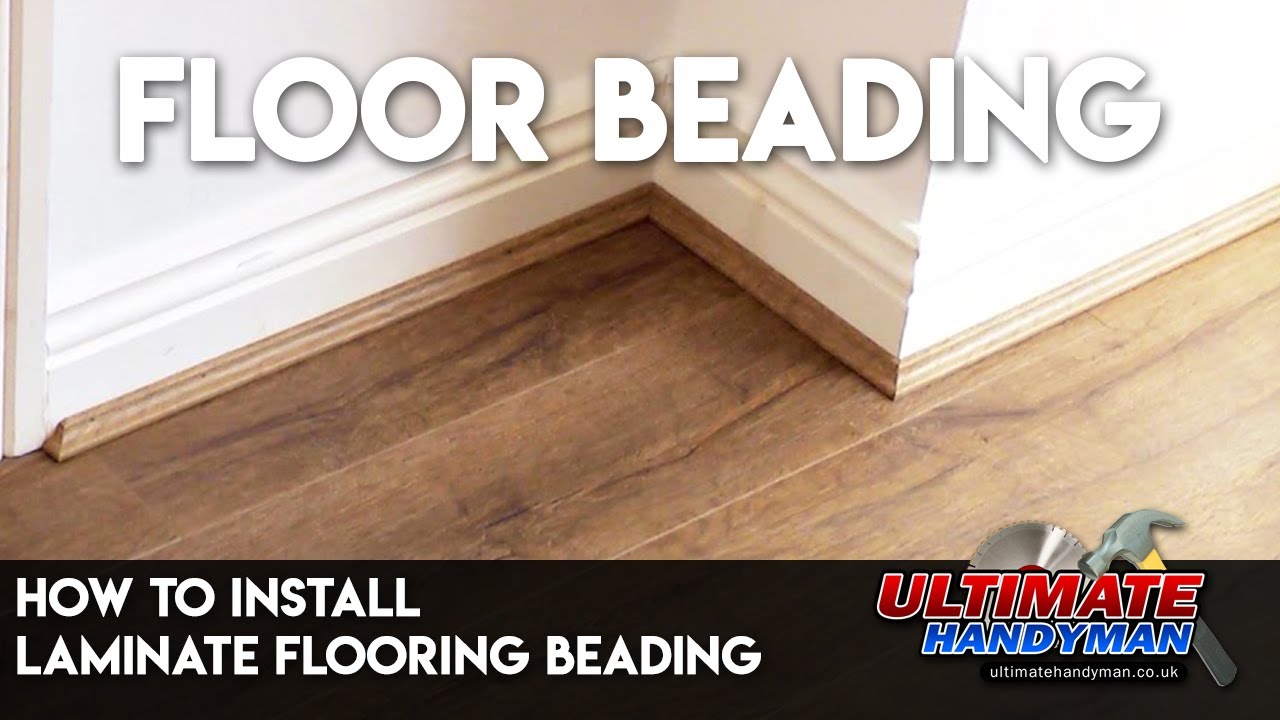
8. Apply the edging
Once you’ve installed the boards, apply beading across the spacer gaps or lay the pre-removed skirting boards on top.
When wrapping around a corner, ensure you cut new sections of beading or skirting at 45-degree angles so they join up with a neat 90-degree seam.
The edging must be consistent throughout the hallway, and the beading should extend along the bottom of a stair riser.
You can study the intricacies of applying laminate floor beading by watching the video below:
Final Thoughts
With so many variations in hallway shapes and flooring options, there are equally wide disparities in the practicalities of fitting laminate flooring yourself.
The level of professionalism you’re after will also have an impact. Removing and then refitting skirting boards gives a far neater finish but requires much more work (and potentially redecoration) than applying beading around the edges.
Finally, don’t restrict yourself to the range of laminate boards in your local flooring or DIY store. You’ll find a far more comprehensive selection of laminate flooring online.
You can also apply stylish flourishes to less expensive (and less heavily lacquered) laminate boards. For example, we’ve recently detailed how to whitewash laminate flooring.
FAQ
Below are answers to frequently asked questions about laying laminate flooring in an L-shaped room.
How do you lay laminate flooring in an L-shaped room?
Start at the longest point of the room, and work sideways in complete rows of laminate planks. Finish this long section before starting on the space’s shorter (but broader) area.
Which way should the flooring be in an L-shaped room?
Start beneath the primary light source and extend the planks away from it. Laminate looks better when light travels along the grooves than when it cuts across it.
Which way should laminate flooring run in a hallway?
We recommend laying laminate flooring towards the front door or main entrance.
The only exception might be if there’s a significantly larger light source on a side wall. Even then, you want the effect of flooring stretching away from you as you walk into the hallway from outside rather than numerous rows forming a barrier.
Can you stagger laminate flooring in a hallway?
Always stagger laminate flooring so the end of one plank sits midway across the planks on either side. This striking visual effect reduces joint strain, minimising the chances of subsequent buckling.