Like many DIY enthusiasts, my first attempt at fitting skirting boards was a disaster! However, after several more attempts, I finally perfected the process.
So if you want to learn from my experience, follow this step-by-step guide on how to fit skirting boards like a pro.
Tools and Materials
Every DIY project starts with planning, which means gathering the right tools and materials. I’ve split them into three sections for ease and added safety considerations.
Tools
- Tape measure.
- Pencil.
- Decorator’s knife.
- Coping saw.
- Mitre box.
- Hand saw (tenon).
- Combination square.
- Hammer.
- Drill.
- Workbench.
- Pipe/cable detector.
Materials
- Wood adhesive.
- 220-grit sandpaper.
- 8-gauge screws.
- 6mm Wall plugs for masonry walls.
- 40mm lost head nails (for plasterboard).
- Decorator’s caulk.
- Wood filler.
- Overalls or old clothes.
- New skirting boards.
Safety
- Goggles.
- Face mask.
How To Fit Skirting Boards
Before we get into the cutting and fitting processes, let’s break the room into sections and discuss internal and external corners.
Divide and Conquer
Split the room into sections (see example below) and measure each section. Remember to measure twice so that you only have to cut once. Allow 20% extra for errors.
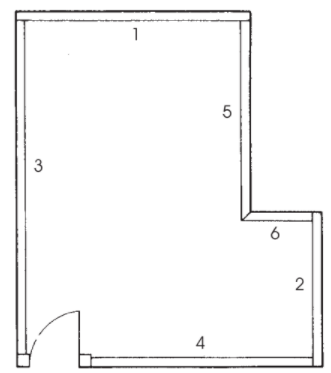
Pro Tip: Follow the rules in this guide when determining the board fitting sequence.
Internal and External Corners
Internal corners point away from you (Fig. 1), and external corners point towards you (Fig. 2)
When cutting internal corners, you have two options — Mitre or Scribe.
Internal mitre joints are easier to execute than scribed joints. However, scribed joints offer the neatest finish but are tricky to master.
How To Mitre Internal Corners (option 1)
I like to use a tenon saw because it’s light and easy to control. They also have between 10 and 14 teeth per inch (TPI), which gives you better control over the direction and depth of the cut.
Safety Tip: Always wear a face mask and goggles when cutting wood, as sawdust is toxic. According to the UK Government, carpenters are four times more likely to suffer from asthma and lung conditions than other workers.
- Pick a section with an internal corner. Using a pencil, mark the section length on the skirting board.
- Clamp the skirting into the mitre block. Using the mark from step A, cut the board at 45 degrees. The decorative side of the skirting must face you for a neater finish.
- Place the board against the wall section to check it fits.
- Repeat the process on the adjoining board section, cutting 45 degrees in the opposite direction.
- Repeat steps A to D for the remaining sections that have internal corners.
| Advantages of Mitred Internal Corners | Disadvantages of Mitred Internal Corners |
|---|---|
| Faster than scribing. | More likely to have gaps. |
| Easier to execute. | Not as neat. |
| Ideal for beginners. | More significant wood shrinkage gaps. |
| Fewer error margins. | Requires more filler. |
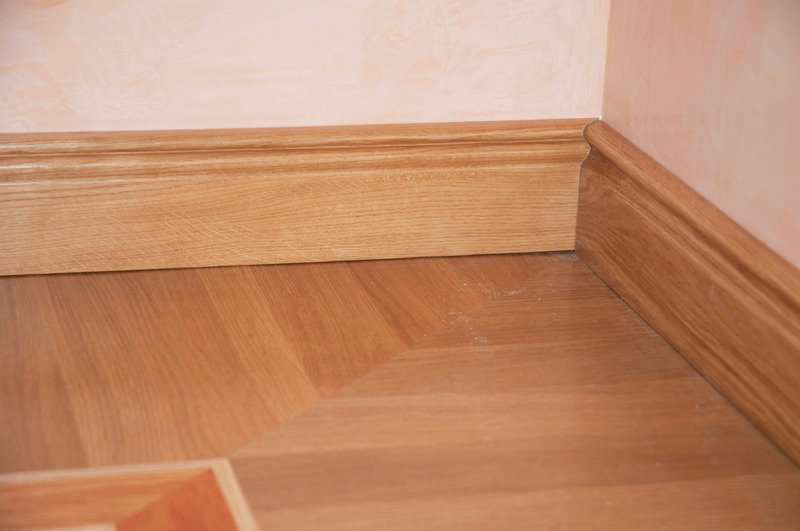
How To Scribe Internal Corners (option 2)
The cleanest finish is a “scribed” edge, where one board section has a profile that corresponds with the edge of the opposing section.
Note: Scribe joints are tricky, making the process hard to visualise. I highly recommend watching the video after the steps below to see the whole process.
- Pick a section with an internal corner. Use a pencil to mark the section length on the board’s top edge.
- Using the mark from step A, cut the board at 45 degrees. This cut reveals a precise outline of what needs removing for the two board sections to fit snuggly.
- Using a fine tooth floorboard saw, angle the blade for a slight back cut, and remove the main area of the 45-degree profile (see 1:38 in the video below).
- Using the same saw, make two more cuts — a small vertical cut from the top edge and a diagonal cut (see 1:52 in the video below).
- Using a coping saw (ensure teeth point towards the handle), carefully cut the curved part of the 45-degree profile (see 2:02 in the video below).
- Fine-tune the curved cut using 120-grit sandpaper wrapped around a wooden spoon (or power file).
- Check the scribed edge fits snuggly with the 90-degree edge of its opposing section. If not, make adjustments where necessary.
- Repeat steps A to G for the remaining sections that have internal corners.
The video below by Charlie DIYte demonstrates how to scribe internal corners:

Scribing your cut enables the two sections to sit snugly and reduces gaps as the boards dry over time.
| Advantages of Scribing Internal Corners | Disadvantages of Scribing Internal Corners |
|---|---|
| Neater Finish. | Requires pro-level skill. |
| Reduces shrinkage gaps when the board dries. | It takes longer to execute. |
| Looks professional. | Error margins are higher. |
| Requires minimal wood filler | Daunting for beginners. |
How To Cut External Corners
External corners are easier to cut because the join faces towards you, so they need fewer adjustments.
Note: The images in this guide will help you visualise the process below.
- To ensure you have enough wood and the external joints meet, place the board against the wall, with a few centimetres overshooting the corner (see Fig. 4 below).
- Draw a 45-degree line on top of the board, starting from the corner of the wall (see Fig. 4) and ending at the decorative face. Check this angle with the combination square for accuracy.
- Use the combination square to draw a 90-degree pencil line from the top edge to the bottom edge of the board’s decorative face. This line should start where the line from step B ends.
- Place your board in the mitre box. Cut along the pencil line using a hand saw, following the 45-degree angle marked on the top.
- Make the same 45-degree cut on the opposing section, and your edges should fit together neatly.
Fitting Skirting Boards
Now you’ve measured and cut the boards, you’re ready to start fitting them. The method you use depends on the type of wall you have.
Some modern homes have plasterboard stud walls, while older homes may have brick walls. We’ve described both, so only follow the steps relevant to your wall.
1. Mark the Boards
Flip the skirting boards and draw a pencilled arrow indicating the contoured top edge. It’s a simple trick to avoid errors down the line. If you have boards with a decorative finish, this is less important because it’s obvious which is the top and bottom.
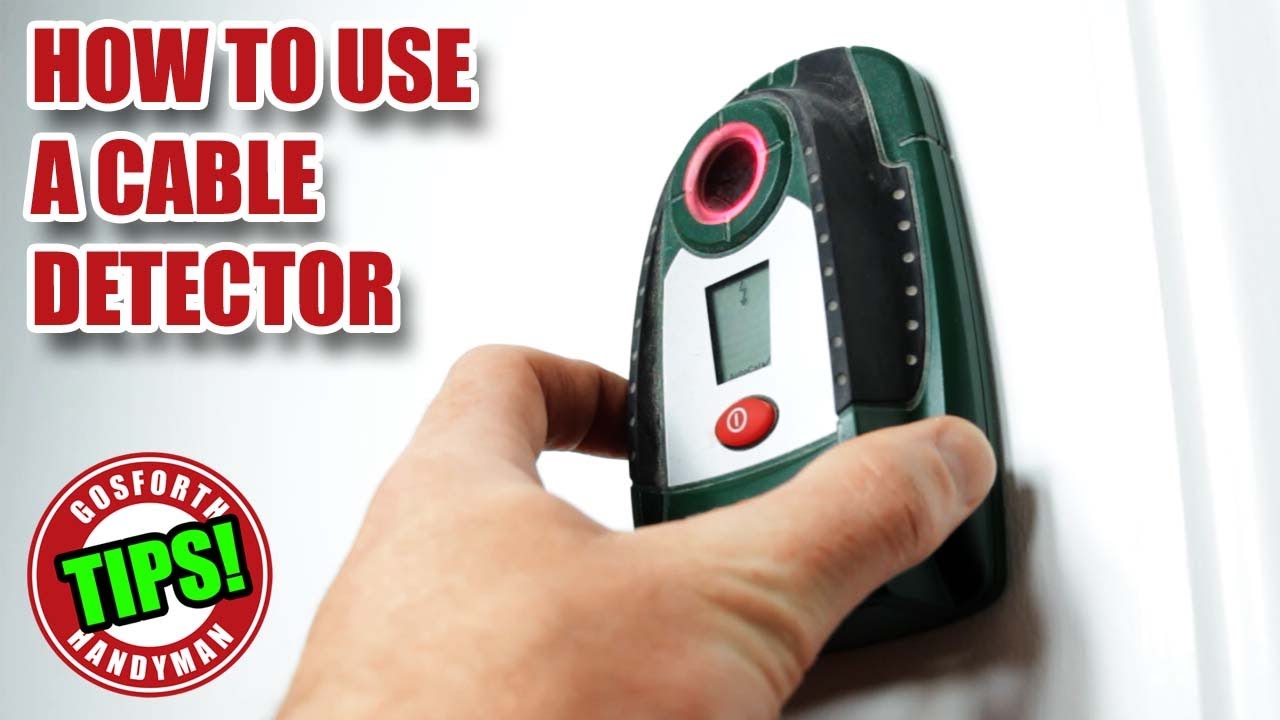
2. Check for Wires and Pipes
Avoid nasty surprises and use a pipe and cable detector to find hidden pipes and electrical cables. You can pick them up reasonably cheaply online or from DIY stores. Each work slightly differently, so check the manufacturer’s instructions before use.
This video below by Gosforth Handyman demonstrates how to use a detector device:
3. Check for Studs
If fitting to a masonry wall, you can skip this step and go straight to step 4.
You should have a setting on your detector that allows you to locate wooden studs behind a plasterboard wall. The studs give you a secure base to attach the boards if you’re using screws or nails.
4. Attaching Skirting Boards to a Masonry Wall
For masonry walls, you’ll need 6mm wall plugs and 8 gauge screws.
Measuring and Marking
Mark the location of each screw on the board with a pencil. Starting at one end, mark one screw location 25mm from the top and another 25mm from the bottom. The second mark should roughly be in line with the first mark.
Repeat this process along the skirting board length with each pair of screws 500mm apart.
You’ll also need to leave a 3mm expansion gap between the skirting and the floor if you fit laminate flooring at a later date. Or leave 5mm if you plan to fit carpet because the fibres will disguise any gaps.
Note: Ideally, lay your flooring before fitting the skirting. You also need to take precautions when you paint the skirting board to avoid getting paint on the carpet.
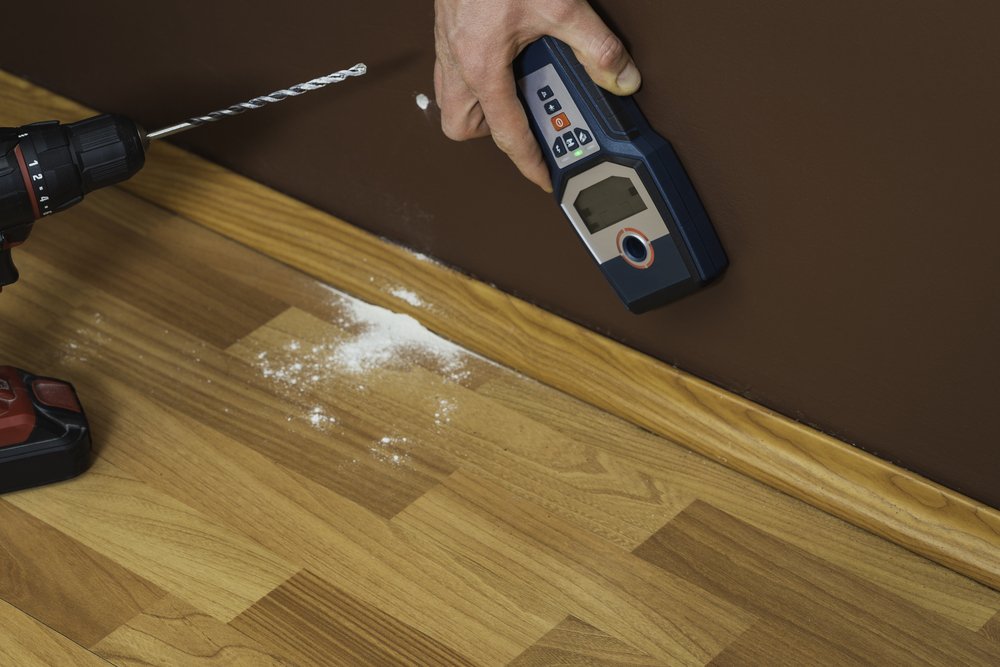
Drilling and Fitting
Hold the board against the wall. Using one of the pencil marks and a 6mm drill bit, drill a pilot hole through the board and into the wall.
Partially insert an 8-gauge screw into a 6mm wall plug and push it into the pilot hole. Tap the screw head with a hammer to force the plug through the board and into the wall.
Tighten the screw until the head sits below the board’s surface. Repeat this process for all the remaining pencil marks.
Pro Tip: Countersink the hole in the skirting board so the screw head sits below the wood surface for a neater finish. This approach helps later when filling the holes.
5. Attaching Skirting Boards to a Stud Wall
Use a hammer and nails for plasterboard walls.
Once you’ve located the studs, starting at one end, tap two 40mm lost head nails through the board and into the centre of the stud. Fix the first nail 25mm from the top and the second 25mm from the bottom of the board, keeping them inline for neatness. Repeat this process along the board’s length, only where there are studs.
Builders typically space studs 400mm or 600mm apart, so once you’ve nailed the first two, it should be a simple elimination process working out the correct distance between studs.
6. Glueing the Skirting Board
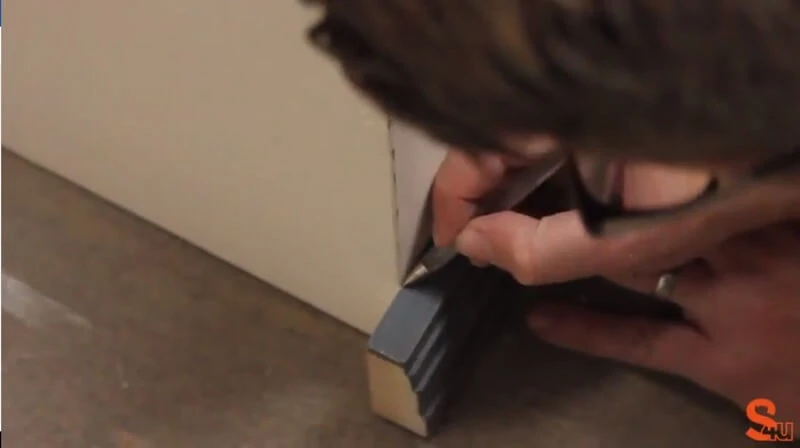
The final method (and the quickest) is to use wood glue. Load the adhesive into a cartridge gun and cut the end at 45-degrees to make it easier to control.
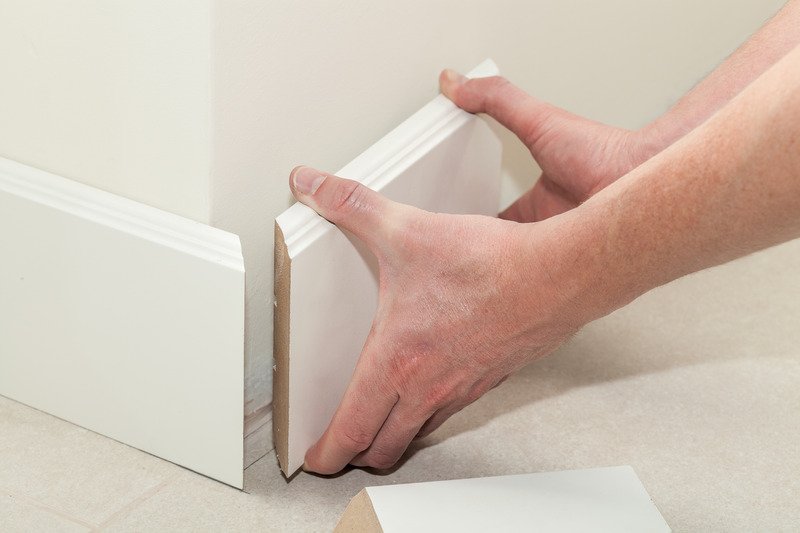
Spread the glue generously along the back of the skirting board, then press it against the wall until it bonds.
For awkward sections such as behind radiators, you may need to cut the board to size, place it in situ and spread the glue into the gap between the wall and the board. Remember, it doesn’t have to be pretty, just effective.
Pro Tip: If your wall bows, attach a few holding nails or screws in addition to wood glue. Use weights to hold the skirting board in place while the adhesive cures.
The video below by The Carpenter’s Daughter helps you visualise the glueing process in tricky spots.

7. PVA Between Joints
Skirting boards typically come in 2 to 2.4-metre lengths, so there’s a possibility that you’ll need to join two planks. The best way to do this is to mitre the joints so they fit snugly without a visible line.
Glue together the first joint’s mitred edge and the second joint’s adjoining mitred edge with PVA. Repeat this process, working anticlockwise around the room until you reach the other side of the room.
8. Caulk the Gaps
Load the caulk tube into a sealant gun and cut the end at a 45-degree angle to make it easier to control the caulk.
Drag the tip over the top edge of the skirting board butting against the wall. Wet your finger and smooth as you go to ensure the caulk goes into every gap.
Pro Tip: If you don’t want to use your finger to smooth the caulk, use a wet cloth instead.
Caulking like a pro takes practice, and the video below by Charlie DIYte demonstrates the correct technique:

9. Fill and Smooth Nail/Screw Holes
Grab the wood filler and a decorator’s knife and fill the exposed holes where the screw and nail heads sit.
Follow the instructions for drying times, then smooth it with 220-grit sandpaper. You’re now ready to start painting or staining.
Final Thoughts
Skirting boards finish off a room, so while it’s tempting to rush this project, the more time you take, the better.
If you want to see the whole process in action, watch the video below by Charlie DIYte:

Once you’ve installed a few skirting boards, you’ll get the hang of it. However, if the idea of doing it yourself fills you with dread, check out Rated People for local experts.