Always pay attention to mould and mildew in your home. I know from experience how dangerous inhaling the spores can be, having spent 2 weeks in hospital with pneumonia. I had a severe damp problem following a flood a few months earlier, and continuing rainfall made it difficult to dry out my home.
The dehumidifier helped eliminate most of the airborne moisture, but the walls were still wet beneath the surface, making it an ideal breeding ground for fungus.
To prevent you from going through the same experience, I’ll show you how to paint over mould (and mildew) and, more importantly, eradicate the root cause.
What’s the Difference Between Mould and Mildew?
Mildew is a form of mould with a flat grey appearance and a powdery texture.
Mould is much darker, usually black and often feels slimy. Mould also has a pungent, earthy smell, whereas mildew smells musty.
It’s possible to have both in the same room, but mildew prefers humid conditions such as bathrooms. Mould can grow under any damp conditions at most temperatures.
Knowing the difference between mould and mildew is essential because the treatment method varies. I.e. mildew sits on top of the surface, so you can remove it using a strong household cleaner and a coarse sponge. However, mould penetrates the surface and is much more difficult to remove.
What Causes Damp?
Damp can be caused by condensation or water leaks. It may also result from rising or penetrating damp. Our guide on the types of damp shows you how to deal with each issue.
Regardless of the cause, you must take preventive action to avoid recurring problems. This action may involve calling in professionals.
Tools & Materials
Ensure you have all the tools and materials below before painting over mould and mildew.
Tools
- Sanding block
- Sponge and bucket
- Spray bottle
- Funnel
- Scraper and filler knife
- Roller and extension pole (if you paint the ceiling)
- 25mm and 50mm paintbrushes
- Ladders (if you paint the ceiling)
- Paint kettle and paint tray
- Paint stirrer
Materials
- Filler
- Masking tape
- Stain blocker
- Emulsion paint for walls and ceiling
- Oil or water-based paint for woodwork and metalwork (if required)
Health and Safety Measures
When dealing with mould or mildew, the main hazard is ingesting spores, which can lead to serious health issues. Therefore, always wear a face mask.
When cleaning with bleach or similar products, avoid skin contact and wear a face mask to prevent breathing in the fumes.
You may also need eye protection when spraying these products, as aerosols release gasses and particles into the atmosphere.
How To Paint Over Mould and Mildew — Step-by-Step Instructions
If you want to paint over mould and mildew like a pro, follow the 4 steps below:
Step 1: Eradicate the Root Cause
It’s not enough to paint or paper over the mould or mildew. You must first find the cause and eradicate it.
In most cases, increasing ventilation and reducing the air’s moisture will be sufficient, but if the cause is rising or penetrating damp you must seek professional advice.
While it’s possible to insert a chemical damp-proof course yourself, you can’t provide a guarantee should you decide to sell your house in the future.
Mould growth on an upper-level ceiling may be caused by condensation, but if it’s patchy, it’s most likely the result of a roof leak or blocked/defective guttering. Whatever it is, you must fix this before progressing any further.
Adding insulation to your walls and roof also helps reduce the risk of condensation. In particular, pay attention to the roof space. If you haven’t been up there for a while, remember that loft insulation deteriorates over time, so it may need topping up.
Check our guide on insulating your home to learn more about insulation and its benefits.
Pro Tip: If you have condensation in your loft, this could be due to ventilation pipes passing through the ceiling. Our guide on how to fit a condensation trap shows you how to eradicate this problem. After you’ve installed the trap, follow our guide on drying out a loft suffering from condensation.
For further advice on condensation, damp and mould, visit the Centre for Sustainable Energy website.
Step 2: Prepare the Surface
The next step is removing mould or mildew from the wall or ceiling.
I recommend using diluted white vinegar and a sponge with a scourer on the reverse side for mildew. If you don’t have white vinegar, any household disinfectant will do. Follow these steps:
- Mix the white vinegar with water in equal amounts in a bowl.
- Dip the spongey side of the sponge in the solution and wipe off the powdery mildew.
- Turn the sponge over and use the scourer to remove more stubborn stains.
- Finish off using the spongey side to remove all residue from the surface.
For mould, you need something more substantial. It isn’t enough to remove the stain; you must kill off the spores that have penetrated the surface. While undiluted white vinegar does a good job eliminating mildew, it’s ineffective on some types of mould.
You can buy mould killers such as this one by Zinsser, but I find ordinary bleach works just as well. Here’s what to do (don’t forget your PPE):
- Open doors and windows or turn on a fan to ventilate the room.
- Protect any surfaces that can become damaged or discoloured by the bleach.
- Mix 2 parts bleach with 10 parts water (always add the bleach to the water to avoid splashing).
- Pour the solution into a spray bottle. You may need a funnel for this.
- Spray the surface where the mould is visible and a bit beyond to ensure the whole area is covered.
- Leave to dry for around 1 hour.
- Wipe the area clean with a sponge or cloth and water. Some advocate using hot water, but I’m not sure this makes much difference, as the bleach should have killed off the spores.
Pro Tip: Do not mix vinegar with any other product, especially bleach, as this can create toxic chlorine gas.
NOTE: These methods only work effectively on non-porous surfaces such as plaster. Mould spreads its roots below the surface on porous surfaces such as bare wood, which can lead to rot. In this case, the only solution is to cut out the affected material and fill it.
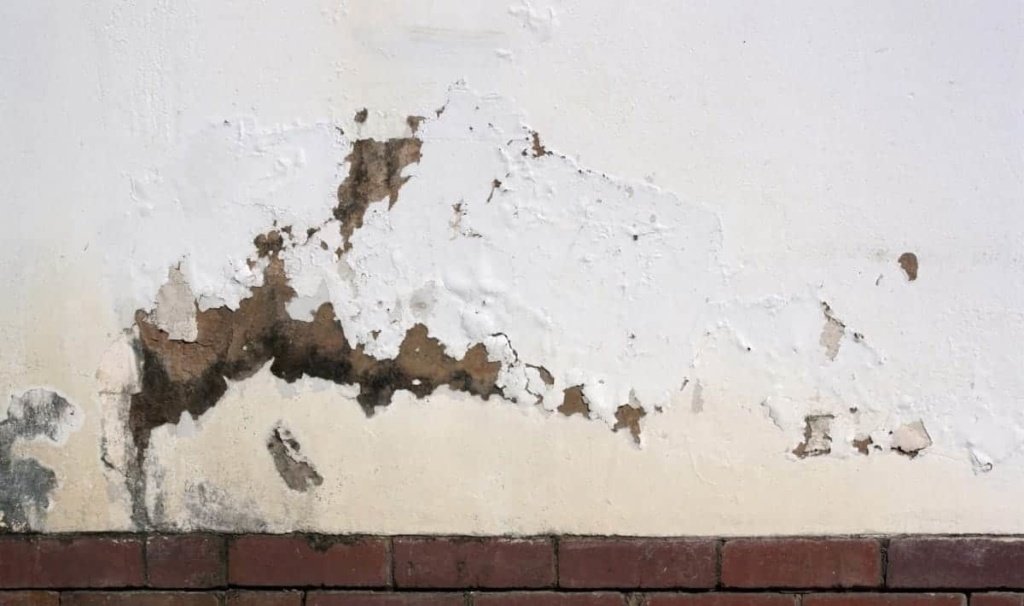
The final preparation stage is removing flaking paintwork and efflorescence (that fluffy white stuff). You can do this job with a scraper or a wire brush, but you may find it leaves an uneven surface that you must even out using filler.
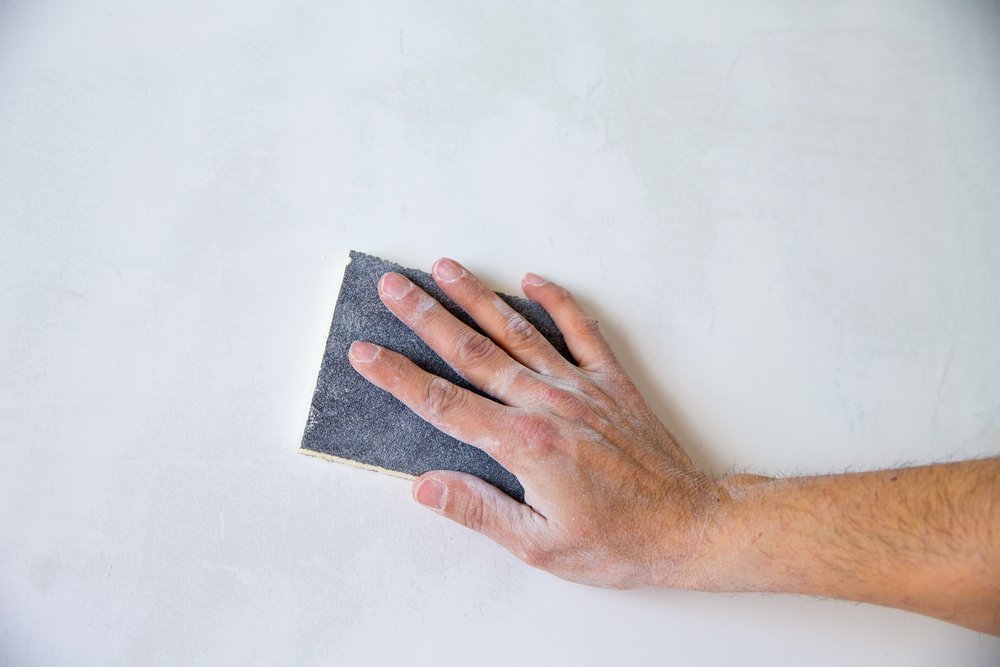
Finish off by sanding down the wall to leave a smooth, clean surface, ready for the next step.
Step 3: Prime the Surface
I recommend using an oil or spirit-based stain blocker to ensure no residual mould spores materialise. These are very effective at covering all stains and preventing them from bleeding through to the finished surface.
Stain blockers come in tins and aerosol cans, but tins are better for large areas because you can use a brush or a roller. One coat over the affected area should suffice, then allow to dry for 45 minutes, or as the manufacturer recommends.
Step 4: Decorate the Room
Before re-decorating the room, check out our guide on preparing walls for painting, or if you intend to re-paper the walls, our guides on removing and hanging wallpaper.
Pro Tip: In areas without natural ventilation, such as a bath or shower room with no openable windows, go for paints and primers with a low VOC (volatile organic compounds). These are inflammable and give the paint a strong odour as it dries out.
Check out our guides to the best bathroom paints and anti-mould paints to ensure the mould doesn’t return.
To paint the room, follow these steps:
- If you want to paint the ceiling, start with this. If it’s only the walls that need painting, skip this step. I prefer using emulsion paint and a roller on an extended pole, then cutting in using an angled sash brush.
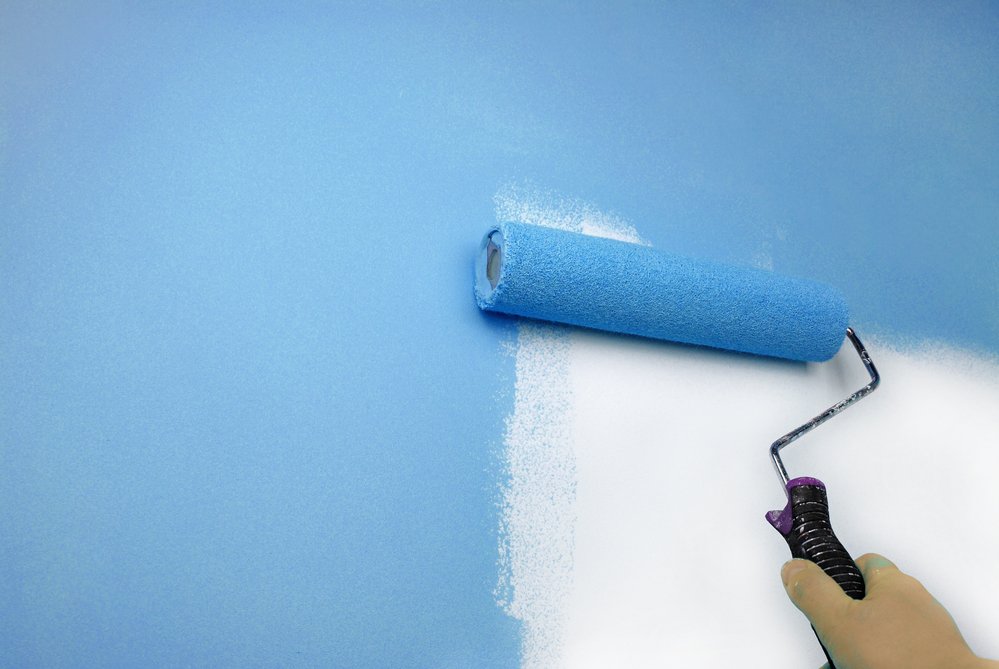
- Apply the first coat of emulsion to the walls and allow it to dry. It only needs to be touch-dry before you move on to the next step. Again, I prefer to use a roller (main sections) and a cutting in brush (edges).
- Apply a second coat of emulsion to ensure complete coverage and an even finish.
- Paint the skirtings, door frames and architraves, masking the walls and floor to prevent overpainting. I recommend oil-based paint for these parts because it’s harder-wearing than water-based paint. However, check the VOC rating.
- Paint the door and any pipes and radiators last.
For more details, refer to our guide on painting a room.
Final Thoughts
There are four main stages to painting over mould and mildew; Eradicate, Prepare, Prime and Decorate.
The steps above walk you through all four stages, but tackling the root cause that leads to fungal growth is by far the most important, so don’t rush this crucial step.
For a visual guide of the steps above, watch the video below by Charlie DIYte:
Pro Tip: If you’ve discovered mould or mildew in your bedroom cupboards, check out our guide to preventing condensation in built-in wardrobes.