From covering up repairs to freshening up dulled surfaces, exterior paint can transform your home and give it a new lease of life.
Below, we explain how to paint a house exterior in 9 easy steps, including choosing the right paint and knowing when to break out the roller…
Why Paint a House’s Exterior?
Painting a house exterior achieves the following:
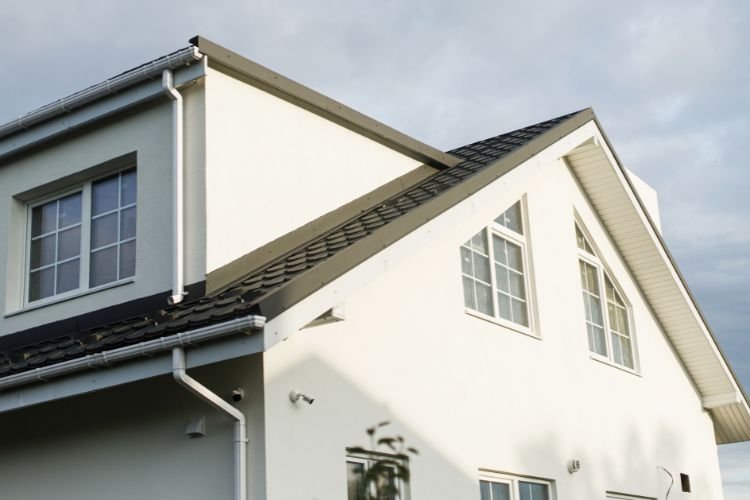
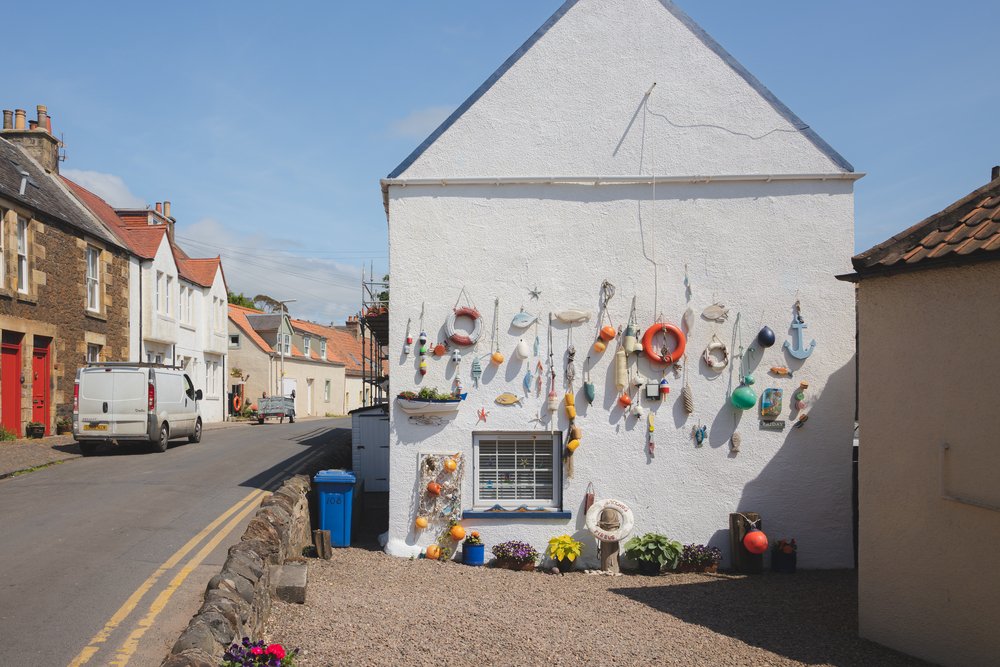
- Adds character and a fresh appearance to faded pebbledash or disguises dull grey cement.
- Protects brick and stonework from the weather and wear & tear.
- It improves heat retention by reducing water ingress into porous materials like sandstone.
The existing condition of your house will influence the job and the tools & materials you need. For example, suppose you have an older property that’s been painted before. In that case, applying a new coat of masonry paint is easier than stripping it back to the original exposed surfaces. Or, if previous owners used paint to disguise poor repairs, these need to be fixed properly before painting (we cover this in step 2 below).
Tools & Materials
These tools and materials are necessary to paint an external wall and repair cracks or holes. If your property’s outside walls are pristine, such as immediately after building an extension, you can bypass the first two steps in the guide below.
Tools
- Long-handed soft-bristled broom
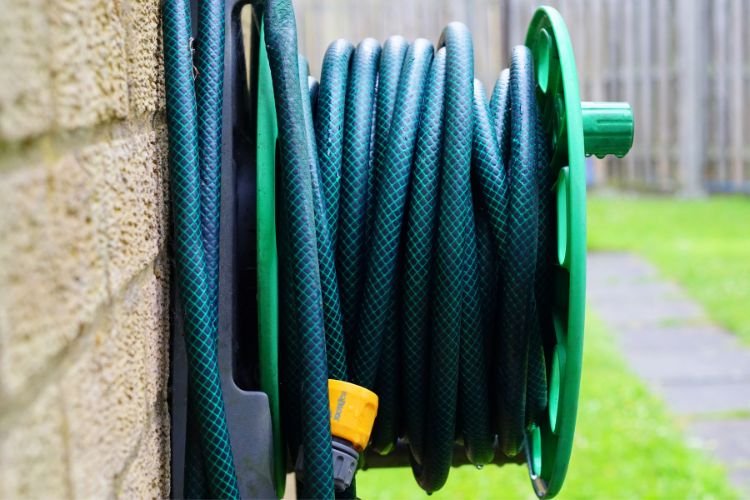
- Hosepipe and spray nozzle (not a power washer, which might cause damage)
- Large paint roller on telescopic handle
- Adjustable stepladder
- Medium-sized paint brush (5cm is ideal)
- Bucket or paint scuttle
- Safety goggles
- Gloves
- Wire brush
- Scraper (if there are any cracks)
- Sandpaper (if there are any cracks)
Materials
- Outdoor masonry paint (see paint selection below)
- Household detergent
- Primer (if the wall is new)
- Sealant (if there are any cracks)
How To Paint A House Exterior — Step-by-Step Instructions
The old phrase ‘fail to prepare, prepare to fail’ is particularly relevant when applying exterior paint.
You can only achieve a nice finish if your walls are in top condition. For this reason, the first two steps focus on preparation.
We recommend wearing old clothes, safety goggles and a hat without a brim — baseball caps could obscure your vision at crucial moments. Old clothes are advisable since outdoor painting is messy…
Paint Selection
We recommend choosing an exterior masonry paint that’s water-repellent and breathable.
Acrylic masonry paints are water resistant, but paints with silicone resin formulation tend to last longer and offer more weather resistance. They’re more expensive, though.
Smooth masonry paints deliver a silky finish, whereas textured paints are better for bumpy surfaces or covering recently repaired cracks.
You’ll need roughly five litres of masonry paint to cover 75 square metres of wall, but a second coat will halve the achievable coverage.
While colour is a personal choice (and may be influenced by neighbouring properties or local planning laws), it’s best to use neutral shades for external painting. White and cream tend to show up dirt, whereas a beige or honey colour adds character to your property without prematurely discolouring.
White Paint
If you use a brilliant white finish, it’ll only look great for a while, as white walls discolour more quickly than any other shade. Therefore, you’ll have to repaint more frequently than if you’d chosen a different colour scheme.
Pro Tip: Most masonry paint works on any surface, but check the manufacturer’s instructions to ensure it’s compatible with your desired finish.
1. Clean All Exterior Surfaces
Paint won’t bond with a vertical surface if obstructions are in the way.
Start your preparation by running a soft long-handled brush over every part of the wall, working from the top down. Clean the brush if it becomes coated in cobwebs or dirt.
Pay particular attention to areas with vertical overhangs — soffits, the undersides of windowsills, inside of doorways, and so forth. Debris build-ups are often at their worst here.
Next, take your hosepipe and spray the walls thoroughly, using a jet nozzle to increase the pressure by concentrating water flow. Don’t be tempted to use a pressure washer since it could damage anything from existing render to old mortar.
If you spot any loose render or flaking paint after the hose-down, use a spatula or wire brush to remove it. Sand down any rough edges left behind.
Pro Tip: Diluted detergent is excellent for removing stains, such as those caused by rusty water weeping from boiler overflow pipes. Removing mould and algae sometimes requires a combination of methods, including a fungicidal wash in extreme cases.
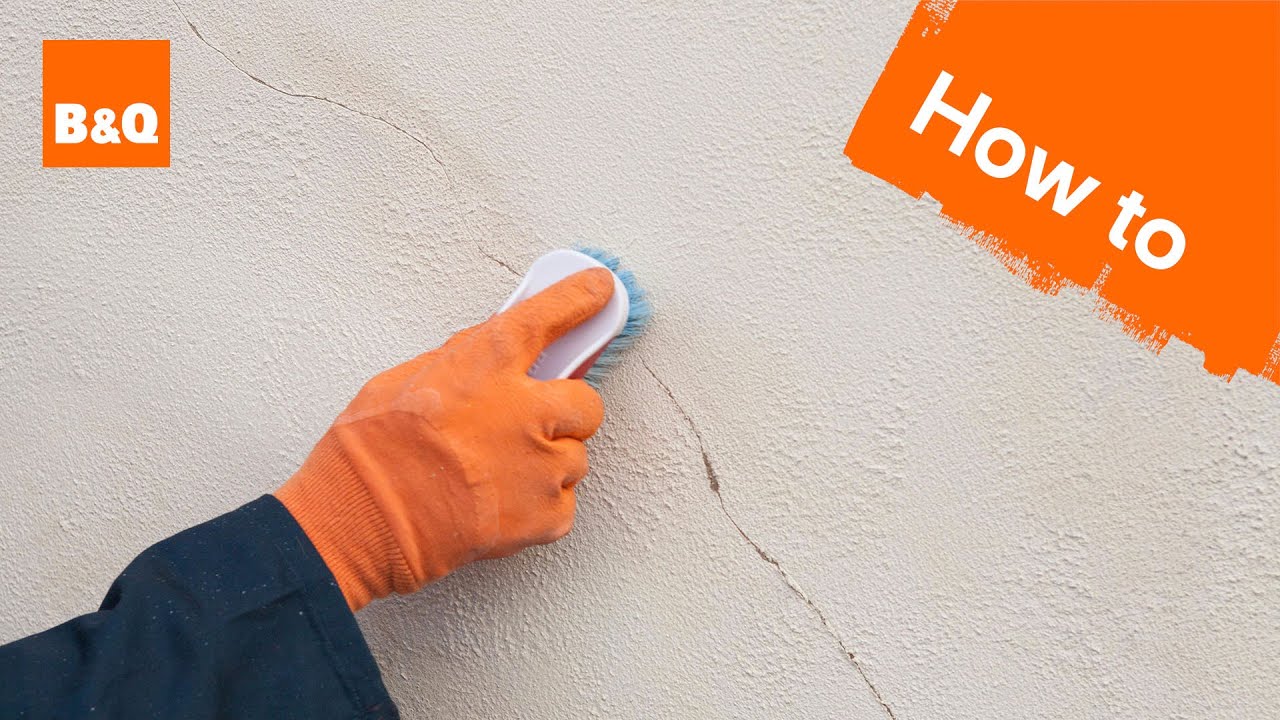
2. Repair Any Damage

Once the walls have been comprehensively cleaned and washed, leave them to dry and look closely for cracks or holes. Cracks are often caused naturally over time by settlement, but any significant gaps must be filled.
Pro Tip: Since clean exterior walls don’t stay that way for long, use quick-drying ready-mixed masonry filler to save time.
Apply filler through the filler tube nozzle or on a spatula. Leave it to dry and then sand it down to create a similar finish to the surrounding wall.
Some renders and bricks are smooth, but others have textured surfaces that are harder to replicate. A stiff-bristle paintbrush is perfect for creating small pits and peaks, or you could invest in a mortar rake whose rough blade naturally creates rough surfaces.
If the hole you’re filling is more than 1cm deep, build the filler in separate layers and allow each layer to dry thoroughly before moving on to the next steps.
These first two stages are summarised in the B&Q video below:
3. Cover Surfaces Which Won’t Be Painted
As with interior painting projects, some external surfaces need masking. For instance, you don’t want to get cream masonry paint on black downpipes.
Below are some common steps for protecting exposed external surfaces from unwanted paint:
- Cover gutters with polythene tubing taped into place.
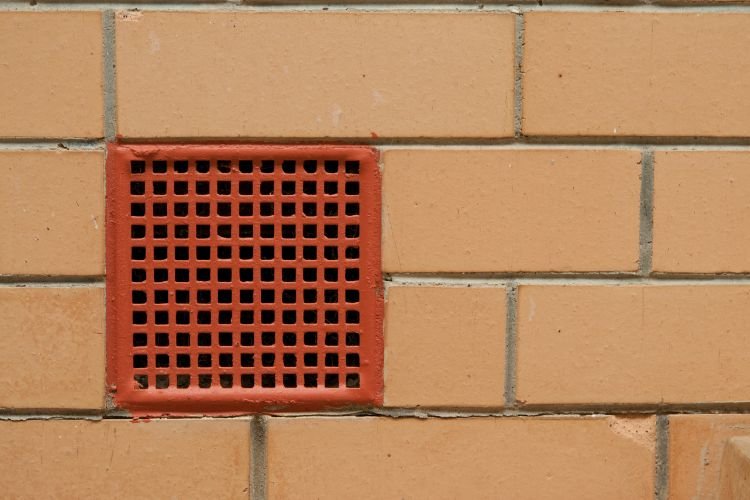
- Use masking tape on extractor vents or air bricks.
- Protect plants with lightweight dust sheets.
- Cover tiled windowsills or other exposed surfaces with torn-up plastic sheeting or old newspaper.
4. Wait For Dry And Mild Conditions
Some outdoor paint can’t be used below two degrees centigrade, while others deliver streaky and disappointing results if applied in the rain.
You can complete all three stages listed above in damp conditions, but you’ll need it to be dry from now on…
It isn’t necessary to do all the external painting in one day. Start with the least visible wall to refine your technique and avoid making early mistakes on more visible walls.
5. Check Your Paint Hasn’t Separated

Depending on its composition, some masonry paint may separate on standing.
If you lift the lid and notice discolouration or congealing, use a mixing paddle attached to a power drill to blend it quickly. You can see an example in this Charlie DIYte video from 7:08 onwards.
If the wall has already been treated or painted, you don’t need a primer when applying masonry paint to an external wall. Primer is only essential if using paint directly on exposed brickwork or fresh rendering.
Pro Tip: If you plan to reuse any remaining paint, use a butter knife to open the tin. A screwdriver could buckle the plastic seal and prevent the paint from being stored with an airtight seal. Also, storing a resealed tin upside down prevents a skin from forming across the surface.
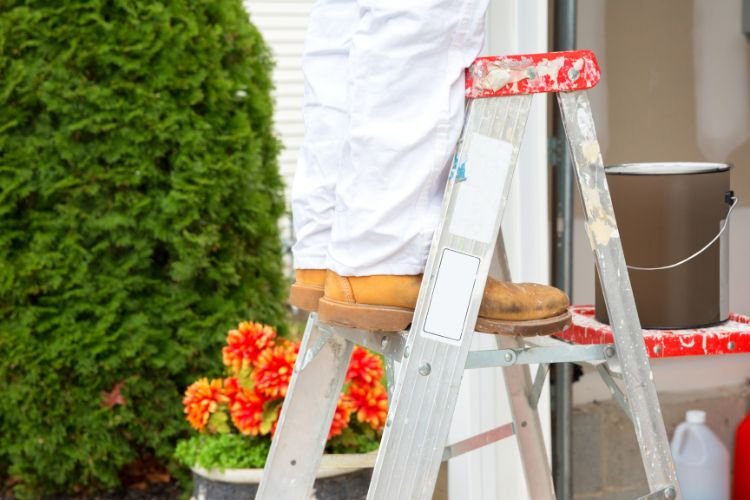
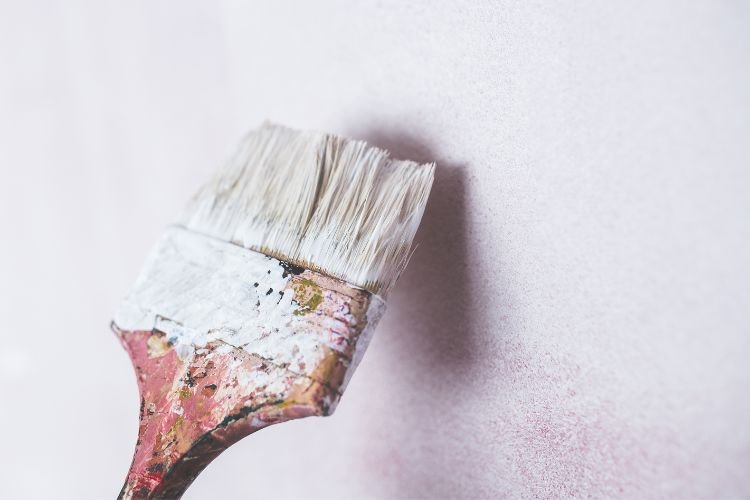
6. Tackle Edges First
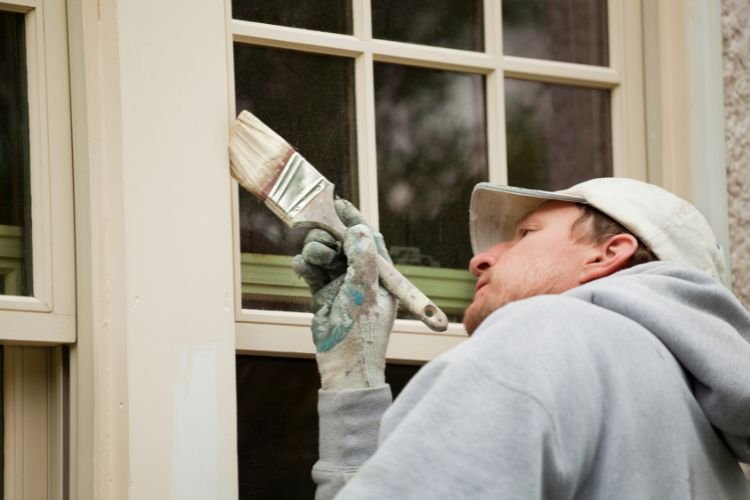
When you’re ready to start painting, take your best paintbrush and carefully work around the edges of your wall. If you want absolute precision, it’s worth investing in a dedicated cutting in brush. Note: It’s better to regularly reposition a ladder than struggle to achieve neat results at arm’s-length.
The best method for covering a wall is to blend horizontal and vertical strokes to avoid any ‘grain’ being visible in the paint. Experts often claim it’s easier to work from right to left if you’re right-handed, but work in whatever direction you feel most comfortable.
Don’t become disheartened if it’s taking a long time to do the edging work, as this is the most time-consuming part of painting exterior walls. Everything else is quick by comparison.
Pro Tip: Pour your paint into a small tub lined with tin foil so you can comfortably hold it with one hand while painting. When you’re finished, lift out the foil to minimise cleaning. Alternatively, invest in a paint kettle which attaches to your ladder, freeing up one hand at all times.
Achieve a stippled effect by tapping the brush edges against the wall at 90 degrees rather than making the usual vertical and horizontal strokes. This technique is briefly shown in this B&Q video from 1:28 onwards.
7. Cover Any Remaining Areas
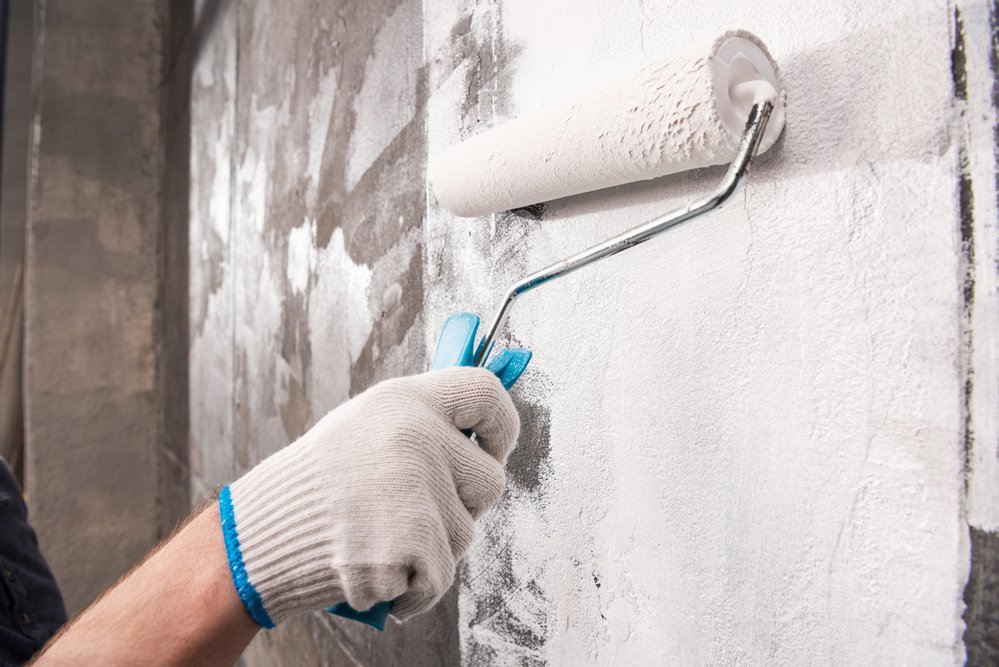
Fitted to a telescopic arm, a nine-inch roller comfortably tackles a two-storey wall and covers a surface three times faster than a similar-sized paintbrush.
It’s possible to buy 18-inch rollers, but these are only suitable for large surfaces like a gable end with few openings.
Pro Tip: You could buy or rent a paint sprayer instead of rollers. However, this is only advisable if you have large exterior surfaces to cover or regularly repaint.
Whether you’re using a roller or a paint sprayer, don’t over-apply paint since it’s liable to drip onto you or the ground. Apply masonry paint thickly, hoping one coat will suffice, but two or three may be required.
Techniques for effective brushing and rolling are demonstrated in the video below from Homebase:

8. Remove Protective Materials
Once the paint has thoroughly dried, remove any protective coverings from downpipes, windows and other decorative features.
If you inadvertently damage the new paint surface while removing the protective materials, lightly patch it once it’s touch dry. If you’re unfortunate enough to get it on a windowsill or frame, check out our guide to removing paint from uPVC window frames.
9. Clean Equipment
Because it has a different composition to internal matt or satin/gloss paint, masonry paint often requires more specialised cleaning.
A small wire brush works wonders scrubbing a paintbrush, while scrapers are excellent at scraping paint off rollers before washing out any remaining residue.
Pro Tip: Spraying a hosepipe onto a roller while mounted to its handle helps dislodge paint by spinning it around at speed. Always ensure you’re standing at arm’s length!
You can’t throw unused paint in the bin. Contact your local council for disposal instructions.
Final Thoughts
Proper preparation is the secret to successful exterior house painting. This prep work includes removing dust and dirt, smoothing off flaking render and filling cracks. Once you’ve completed these essential steps, painting an exterior wall is no more challenging than painting a room.
If you don’t fancy doing this job, check out our exterior painting cost guide, which breaks down typical DIY costs versus hiring pros.