Buying an old property that has fallen into disrepair can be a great way to snag a bargain in today’s hot property market. However, neglected properties often suffer from wet or dry rot, which can make properties uninhabitable.
This guide will show you how to treat wet rot and dry rot without hiring a professional.
Tools & Materials
Tools:
- Chisel
- Drill
- Paintbrush/Sprayer/Scraper/Sealant gun
Materials:
- Boron or Permethrin woodworm treatment
- Plastic wrap
- Wood filler
- Spare timber
- Dry rot paint (optional)
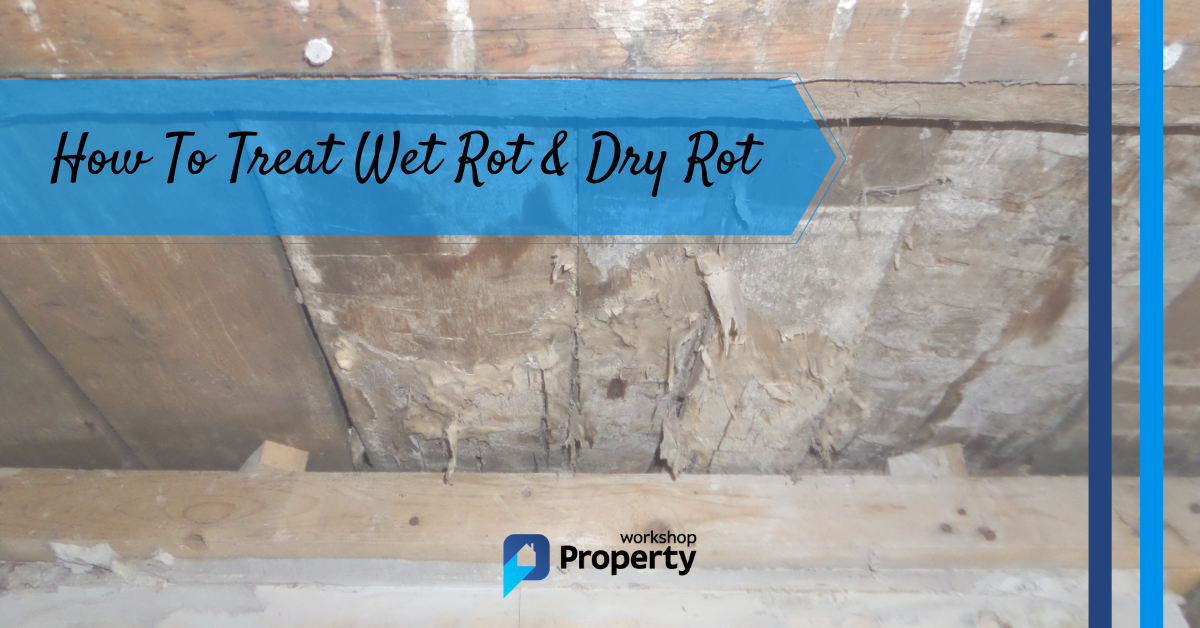
How To Treat Wet Rot & Dry Rot — Step-by-Step Instructions
Follow the steps below to treat wet rot and dry rot like a pro!
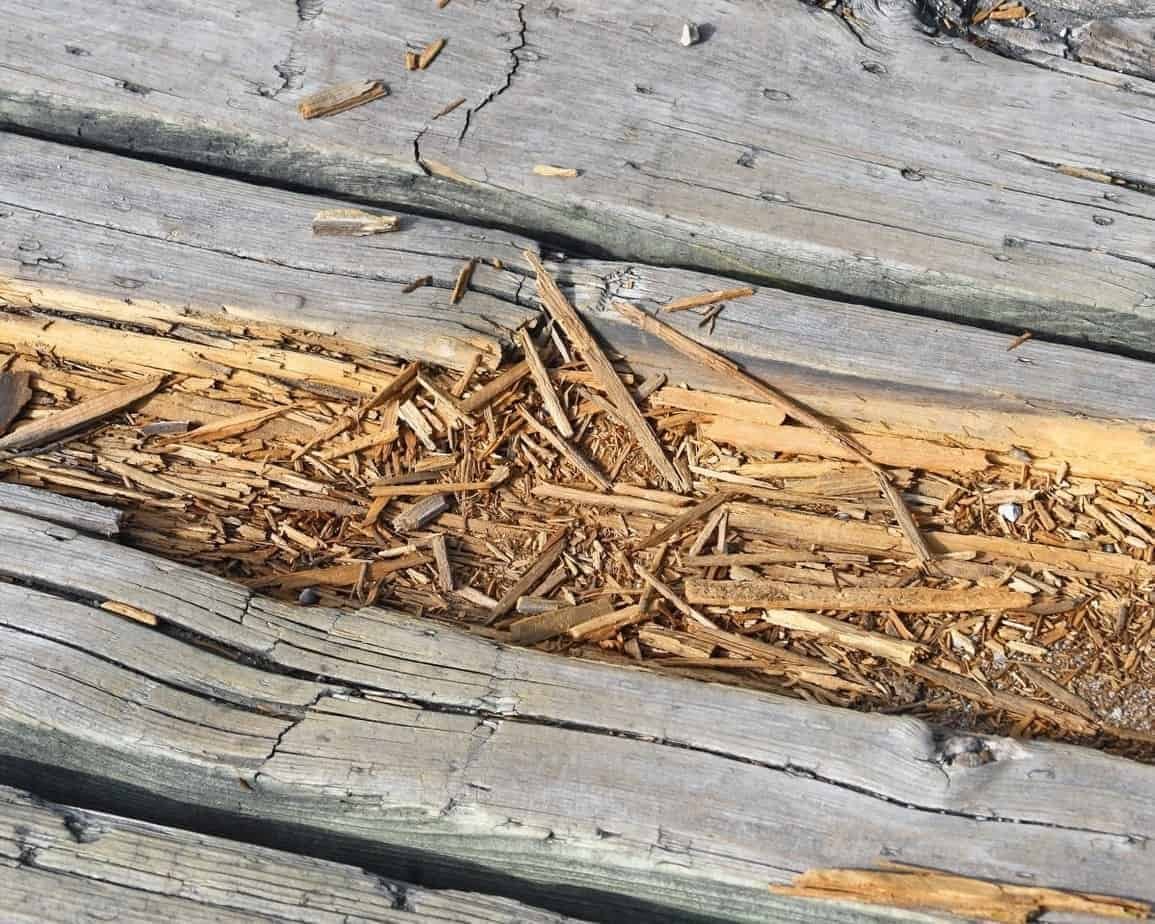
1. Identify Wet Rot and Dry Rot
Wet Rot
- Wet rot has three varieties. Coniophora puteana has dark grey/brown/black stands and stays flexible when dry. Fibroporia Vaillantii has thick white strands, while Asterostroma has thin white strands.
- Wet rot Mycelium sheets are always bright white.
- Wet rot produces tiny mushrooms that are beige and is caused by wood-boring weevils, identifiable by the fine sawdust they leave behind.
- Wet rot has an earthy smell and will cause the paint to flake off. The wood will be soft to the touch.
- Small cracked squares across the wood are the final sign of wet rot.
Dry Rot
- Dry rot has white or grey root-like strands. These dry out and become brittle.
- Sometimes rot forms sheets called Mycelium. Dry rot is either off-white, pale yellow or lilac.
- Dry rot produces flat spores that are red in the centre with an off-white surround. Dry rot spreads using these red fungal spores.
- The final sign of rot is cracking across the wood. Large misshapen cracks indicate dry rot.
Pro Tip: Masonry can also be affected by dry rot. Check out this advice page from Permaguard for more information.
2. Choose a Treatment Method
The remedies for dry and wet rot differ slightly. Wet rot has an extra step where the treatment must be applied to the surviving wood. For more information on treatment options and costs, please check out ‘How Much Does Woodworm Treatment Cost?‘.
Boron Based Treatment
Boron treatment is easy to apply, safe for animals, and water-based, making it odourless. It comes in a solution for large patches and a gel for heavily infested areas or places where extra water would be a hindrance. Using a large paintbrush, coat the area with the solution.
Boron Epoxy paste and rods should be used where the timber will be permanently wet. The paste is squeezed into the gap left by rot, and rods are inserted into the length of the timber.
The treatment kills the spores and hardens the wood, preventing the rot from returning.
Permethrin Based Treatment
When permethrin is applied to the surface with a brush or a spray gun, it seeps about 5mm deep, effectively targeting larvae and adult beetles. Permethrin surface treatment works well with the Common Furniture Beetle, but it’s less effective for Deathwatch beetles as they burrow deeper into the timber.
The best way to kill the Deathwatch infestations with permethrin is to inject a gel solution into the timber. Although it’s possible to do this by injecting the gel into existing exit holes, drilling new holes often yield better results.
The downside of permethrin treatment is that it’s highly toxic. If you choose this method, you should wear a mask, eye goggles and gloves during the application process and vacate the area for a couple of hours afterwards. Due to its toxicity, permethrin should be avoided if you have kids or pets.
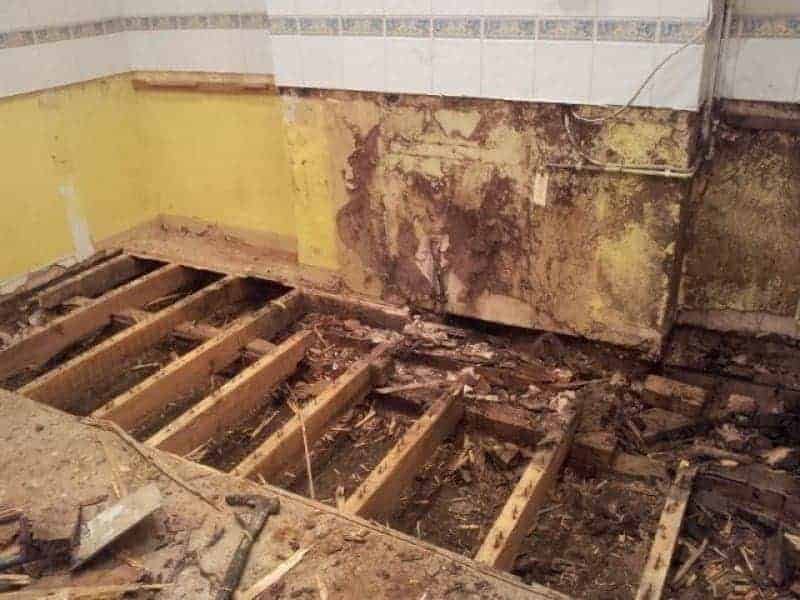
3. Remove Rot
With a chisel, scrape out rotten sections of timber. If the wood is rotten through, cut out section with a hand saw. Drill evenly-spaced holes in the remaining timber to help the wood absorb the treatment.
If you have dry rot, skip ahead to step 7.
For wet rot, continue from step 4.
4. Prepare the Remaining Wood
Drill evenly-spaced holes in the remaining timber to help the wood absorb the treatment.
5. Apply Treatment
Mix the solution according to the manufacturer’s instructions and paint on with a large clean brush. Epoxy pastes will need to be spread with a palette knife or inserted using a sealant gun.
6. Let Dry
Leave to dry, covering with plastic wrap if the area will be exposed to moisture during the drying time. This is usually two hours, but check the instructions on the packet.
7. Replace Wood
If necessary, replace rotted wood by inserting cut timber patches or using wood filler.
For wet rot, you are now finished. There is one more step for dry rot.
8. Prevention (dry rot only)
Apply dry rot paint around affected areas to prevent spreading.
How To Treat Wet Rot and Dry Rot — Final Thoughts
Rot shouldn’t pose a serious problem if treated promptly. It’s a nasty thing to deal with, but once the rot is removed and the wood treated as per the steps above, it shouldn’t return.
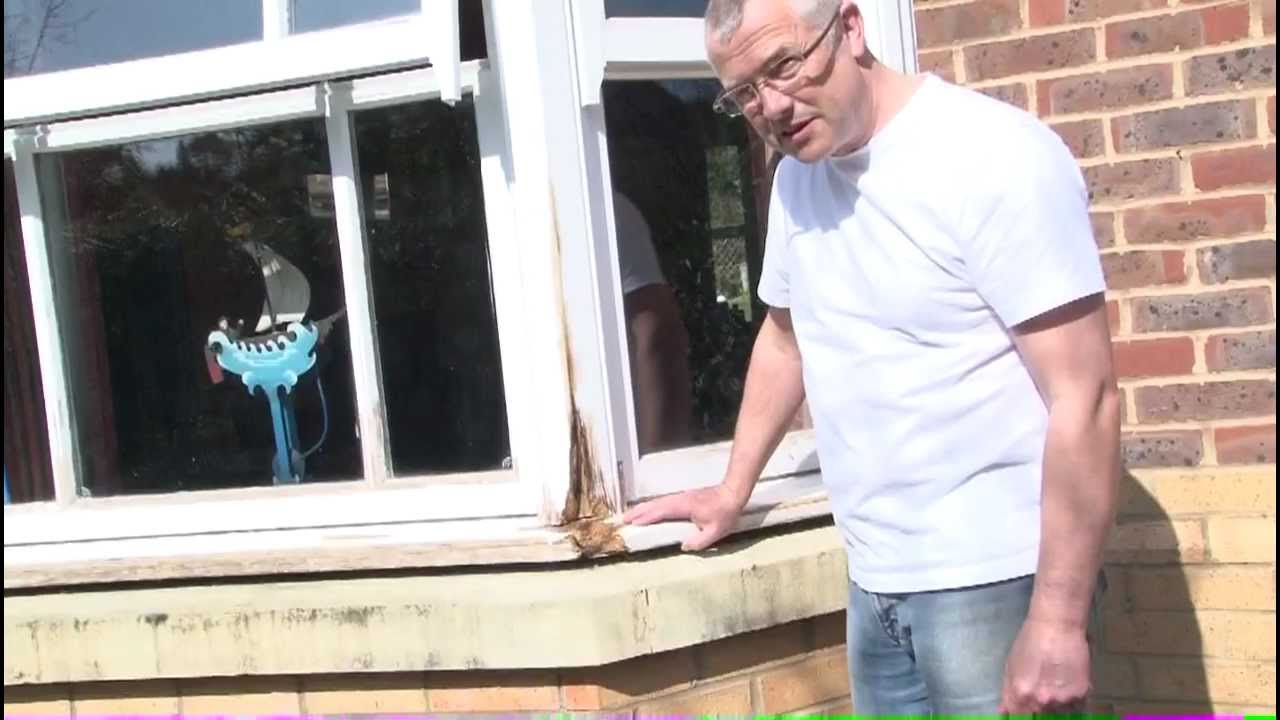
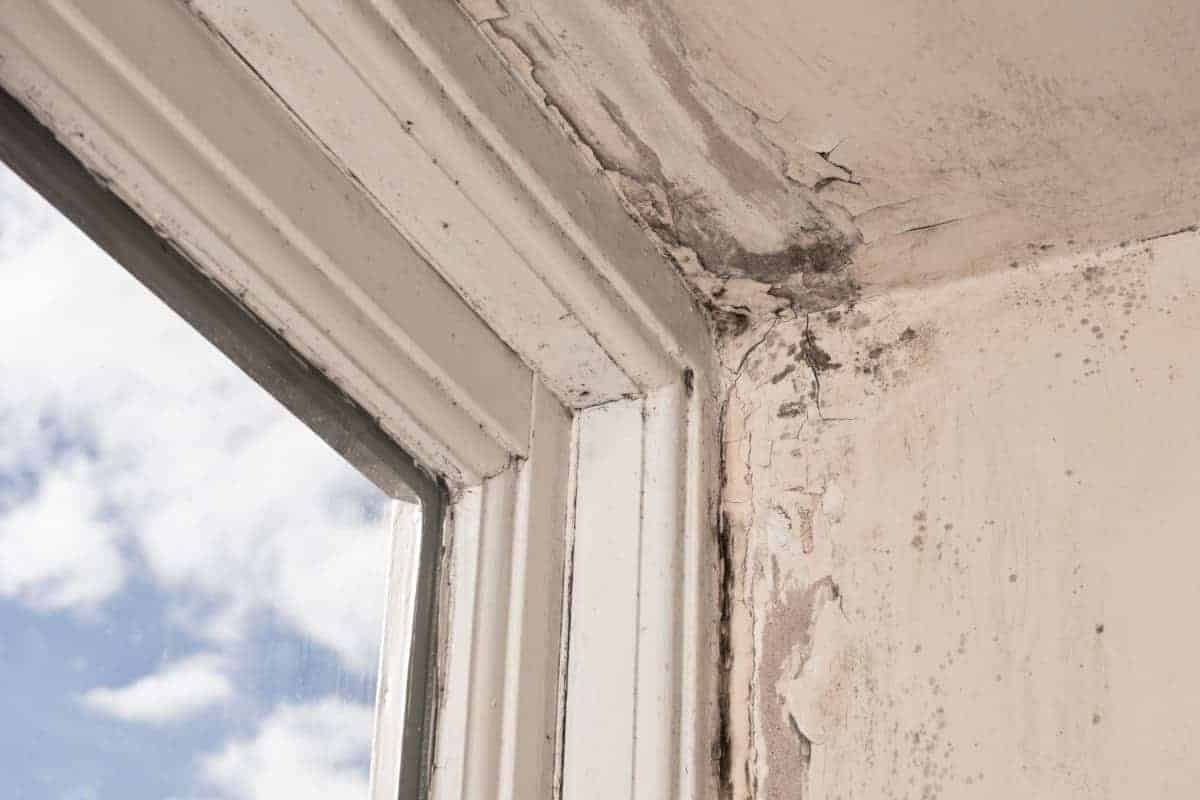
If you still need help, check out the video below, which gives you a close-up view of wet rot on a windowpane and how to treat it. Alternatively, hire a top-rated rot professional in your local area using Rated People.