If you’ve ever wielded a paintbrush in anger, you might approach decorating bathrooms in a similar manner to any other room around the home. However, several factors make bathrooms and cloakrooms unique, regarding how you tackle them and the materials required.
Based on years of experience (and the odd mistake along the way), we’ve assembled a comprehensive guide on painting a bathroom in 8 easy steps. Redecorating the smallest room in the house isn’t always the most straightforward painting job you’ll undertake, but the results can be particularly pleasing.
Tools & Materials
Moisture is the most significant factor when choosing paint for bathrooms/shower rooms. Steam from hot taps/showerheads and water splashes are particularly troublesome.
This environment can cause conventional emulsion paints to become mouldy or discoloured. Even if you’re redecorating a two-piece cloakroom with a large splashback, water will still get onto the walls as you reach for a hand towel or clean the sink.
For this reason, you should always choose a paint suitable for bathrooms. Manufacturers may market these paints as mould-resistant, moisture-resistant or semi-gloss paint. The label doesn’t matter — what matters is the paint’s ability to resist the droplets and steam generated in any bathroom.
If you decide to go for a standard emulsion, you’ll always need to keep windows open or extractor vents running in the presence of hot water. The consequences of not doing so are outlined in this video by Georgina Bisby.
Tools
- Paint brush
- Paint edger
- Paint roller
- Roller tray
- Sandpaper
- Ladder
- Screwdriver set
- Sponge
Materials
- Moisture resistant paint
- Sugar soap
- Masking tape
- Dust sheets
How To Paint a Bathroom — Step-by-Step Instructions
Before gathering your tools and draping a dust sheet over the toilet, consider the following points when painting a bathroom.
The Colour and the Shape
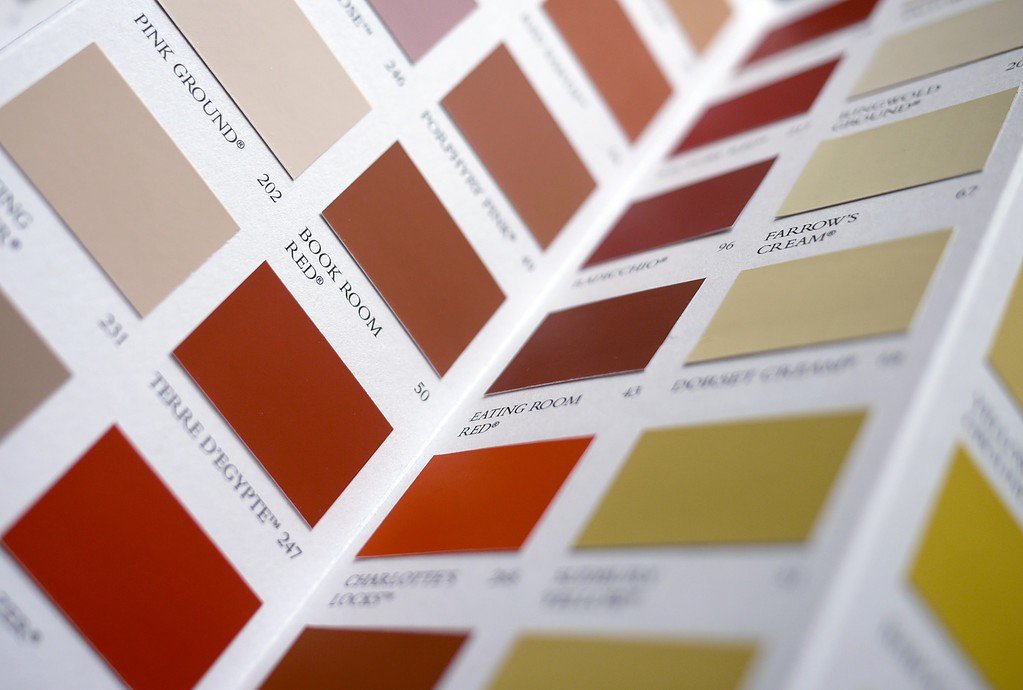
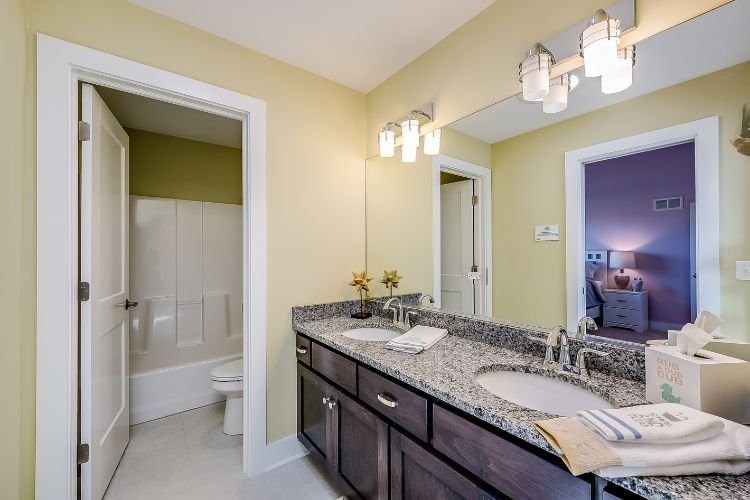
Having already established the need for bathroom paint or mildew-resistant paint, the next most important factor to consider is colour.
If your bathroom has mocha splashback tiles, dark blue will clash horribly, and a purple feature wall could stand out like a sore thumb if the laminate flooring is green.
This decision is particularly relevant if you’re also redecorating a bedroom and want to create that hotel-suite ambience by extending the bedroom colour into an en-suite.
To learn more, we’ve recently published a guide to the best bathroom paints on today’s market, discussing colour ranges and coverage.
Pro Tip: If you’re determined to go for a bold shade like plum, accessorise with matching towels, floor mats and roller blinds.
Bathroom Location and Layout
The next factor to consider is your bathroom’s shape and natural light.
Some cloakrooms and bathrooms are internal, and dark shades don’t work well without natural lighting. Furthermore, bathrooms with external windows receive little daylight if facing onto a neighbouring wall (which they often are), so lighter tones work best.
White and grey work with every other colour, avoiding the conflicts mentioned previously, although they can look clinical and dull.
Blue is popular because it’s already associated with water and relaxation. Avoid picking dark hues because lighter colours make small spaces feel bigger.
Daubing paint samples on your bathroom wall can make it hard to repaint them if you eventually choose a much lighter shade. Instead, apply paint to sheets of A4 paper and hold them up with Blu Tack (not sticky tape, which can rip plaster as it’s removed). You’ll still get a reasonably accurate colour representation without any complications when decorating.
Smoothly Does It
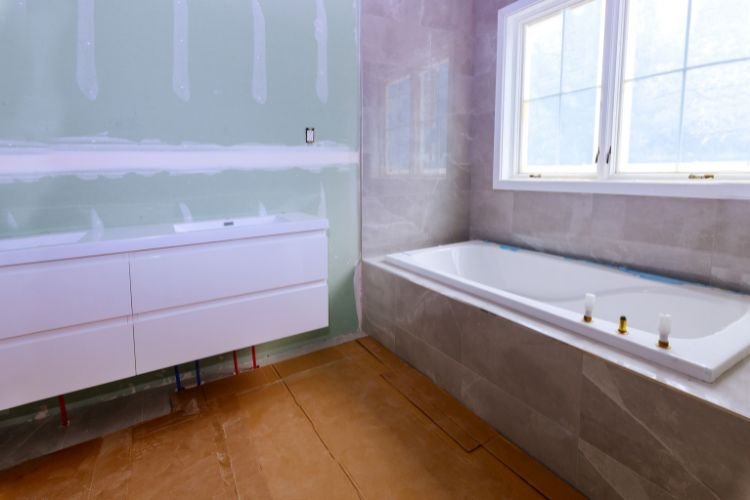
Effective redecoration requires high-quality surfaces, and that’s especially true when painting a bathroom. So this painting project presents a golden opportunity to fill holes and repair cracks — our guide to plastering a wall literally and metaphorically covers this.
Pro Tip: Always undertake plastering several weeks before decorating so the plaster has time to dry.
If you’re applying a light colour over a dark one, a white primer ensures your new paint provides full coverage more quickly. A primer is also essential on freshly installed plasterboard sheeting, ensuring the paint bonds with the wall surface.
Once the walls are in good condition and won’t look damaged or lumpy after the paint is applied, it’s time to start.
1. Remove all removable items
Strip out anything that isn’t tiled or bolted down. The list includes shelves, roller blinds, wall-mounted cabinets, toilet roll holders and mirrors.
Pro Tip: If you’re comfortable removing a radiator, subsequent decoration is far simpler.
If you’re confident in your ability to detach and reattach cisterns and radiators, ensure they’ve been disconnected and drained (you might have to turn off the main stopcock if you’re removing the toilet cistern). Carefully remove any screws or bolts holding them in place, and note where the screw holes are to ensure you reposition it exactly. It’s easy to paint over these holes and then struggle to replicate mounting points.
Removing objects from the bathroom gives you more room to work, making accessing awkward corners easier and reducing your reliance on ladders.
2. Prepare every wall
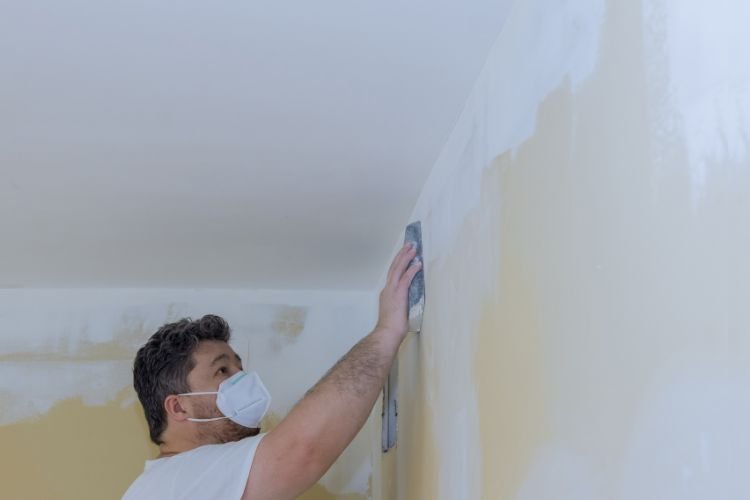
It’s essential to clean bathroom walls before decorating. These rooms are more prone to mould than other apartments and won’t be vacuumed or dusted as much as lounges or bedrooms.
Pay particular attention to the horizontal tile edges that cap half-height tiling, where ingrained dirt often accumulates against the wall. Soap scum, in particular, can harm paint finishes, causing them to peel off and discolour.
After removing toothpaste, shampoo and other gunk, wash the walls with sugar soap using a soft sponge. Follow up with a light application of warm water to remove any leftover sugar soap residue.
Next, lightly scour the walls with a sheet of 120-grit sandpaper. This step creates a better surface for painting on, removing residual paint flakes or excess plaster in the process.
If you plan on painting a windowsill, this is the ideal time to do it, as the room is clean and stripped of non-essential furnishings.
3. Wait 24 hours
Avoid the urge to paint immediately after the sugar soap wash has dried, as residual moisture in the air could compromise the end product.
Instead, wait until the next day, keeping the bathroom out of bounds as far as possible. It’s important not to run a bath or shower during this time. If family members object to this, suggest a trip to the local swimming baths.
After a day has passed, vacuum the floor thoroughly to remove any dust that’s settled following the preparatory work.
Put protective sheeting on the floor if you’re not replacing the existing flooring as part of the refurbishment process. Use masking tape to secure the sheeting onto tiles or skirting boards so it doesn’t move and expose uncovered areas.
Cover any screwed-down dials, knobs, grilles or other extrusions with plastic sheeting or masking tape. You’re now ready to start painting.
Always ensure you maximise ventilation since paint fumes can become unpleasant in small spaces. Open windows, turn on extractor vents, and (providing there’s no risk of children or pets coming into contact with wet paint) leave the door open while you work.
4. Tackle corners
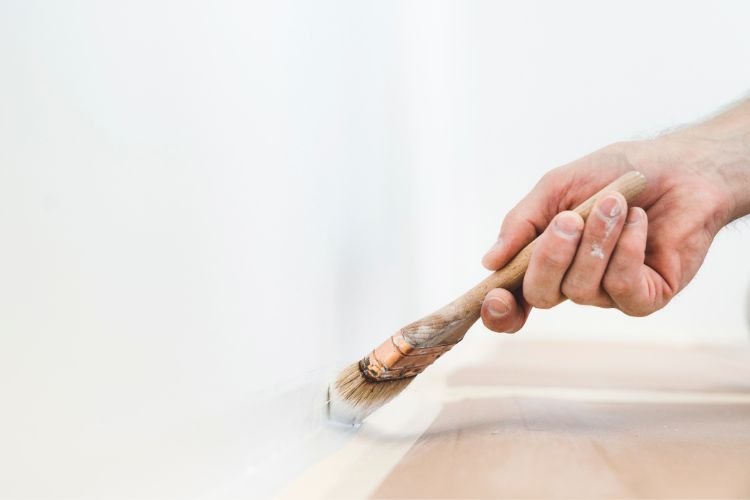
Using the edging brush, apply a small amount of paint to the edges of each wall, starting at the ceiling and working down. In the trade, this process is called ‘cutting in’.
A steady hand should ensure you don’t end up with paint on the ceiling, though some people take the opportunity to paint the ceiling when redecorating a bathroom. Our comprehensive guide to painting a room discusses ceilings in more detail.
Pro Tip: Anyone can roller a blank wall section, but true professionalism comes in getting the corners neatly painted without overlap. Don’t try to make do with an old paintbrush — invest in a dedicated edging or cutting in brush.
5. Paint main wall sections
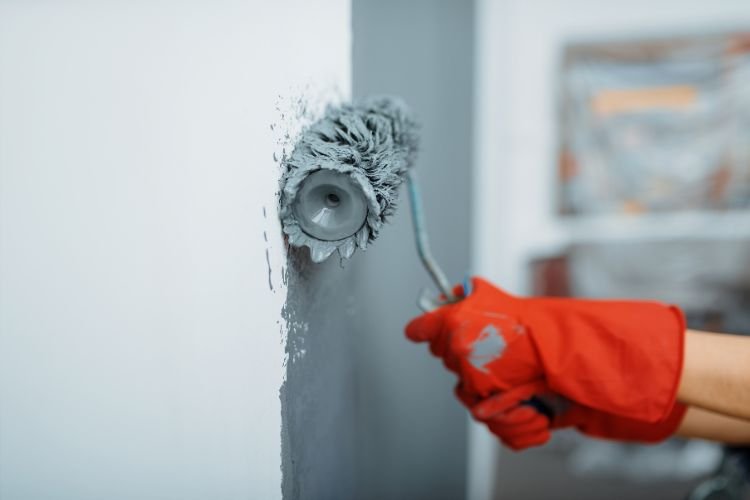
Pour paint into the roller tray and apply modest amounts onto the wall in roughly one-metre square sections. Avoid straight lines — a V or W shape will achieve better coverage with less likelihood of lines being visible later.
Pay particular attention to any ridges that form along the roller’s edge. Try to flatten these out as you go to avoid a stippled effect once the paint dries. At this point, you’ll appreciate the extra effort you put into smoothing the walls.
The texture of the walls will influence your choice of roller. You can paint smooth surfaces with a 1cm roller, whereas tongue-and-groove panelling or textured surfaces require a thicker pile like a 3cm roller. This Howcast video discusses the benefits of using a small roller instead of a full-sized one.
6. Paint around sanitaryware
We suggest removing radiators, but toilets and pedestals are difficult to budge.
If there’s a gap behind a fixed object (such as a ladder radiator), you might be able to paint sufficiently far behind it for nobody to notice where the paint stops. If you’re adopting this method, we recommend wrapping black sacks around exposed components like the toilet cistern. This approach prevents inadvertent paint drips or smears.
You’ll find other valuable tips on painting behind a toilet in this video guide by Trusted House Painter.
Most sanitaryware is fully attached to the wall, so you must work around it. An edging brush and some masking tape is handy here.
Note: Masking tape lets you define neater lines and work more quickly, and you can safely apply it to ceramic and porcelain without damaging it.
7. Rinse and repeat
Wash your brushes and rollers before making a cup of tea. Assuming your chosen paint has a re-coat time of an hour or two, repeat steps 4 and 5 later the same day.
Two coats are usually sufficient, but some paints need three or even four coats to achieve a professional finish. Don’t become dispirited if that’s the case — it’s better to do the job properly than cut corners. Future you will thank you!
Pro Tip: Rather than waiting until the paint is dry to remove the masking tape, remove it immediately after applying the final coat. This approach reduces the risk of dried paint flaking off as the tape’s removed. That, in turn, should simplify the process of final touch-ups.
8. Wait another 24 hours
It’s tempting to start using your new bathroom immediately. However, you’ll enjoy better long-term results if you refrain from allowing steam and moisture to build up within the first 24 hours after decorating.
Once this time has elapsed, reinstate any removed fixtures and fittings, give the room a final vacuum and resume regular daily use.
Final Thoughts
These eight steps cover all the important stages when painting a bathroom. Carefully following them in order is crucial to ensure professional, long-lasting results.
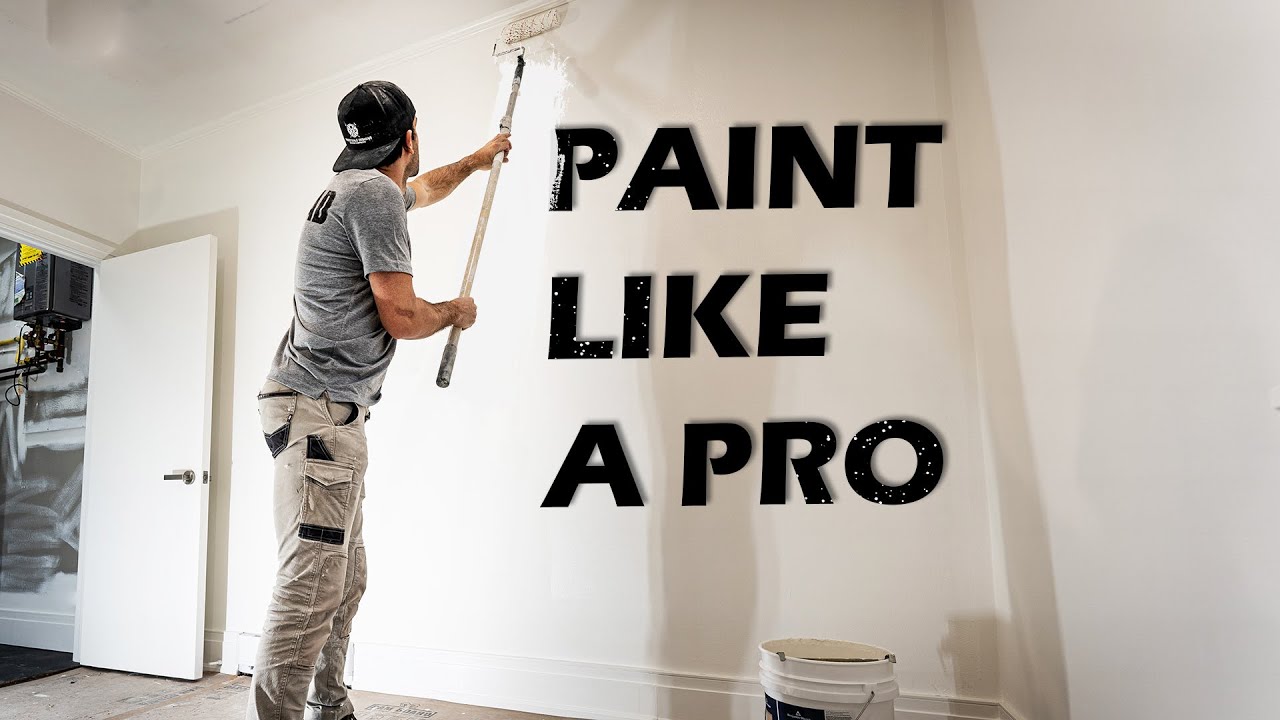
If you want a visual guide to the preceding eight steps, the key points are summarised in the short video below from Zac Builds: