If you’ve ever steamed off wallpaper, you’ll remember the unique smell that accompanies it. It’s been decades since I stripped my first wall, yet the memory of scooping pieces of soggy warm paper into a black sack remains vivid.
Although plenty of internet guides about painting and decorating exist, only some authors focus on the vital preparation steps.
We’ve got the inside track on how to prepare walls for painting and decorating, whether you’re ripping off a dado rail or roughing up new plasterboard to achieve a better paint finish.
Tools and Materials
The precise list of tools and materials required for this task will vary depending on your existing wallcoverings. For this reason, we’ve listed all the relevant tools below, but you may not need them all.
Note: We’ve added parenthesis after some items to identify the related wallcoverings.
Tools
- Spatula or filling knife
- Stepladder.
- Hammer and fine-nosed chisel (for removing dado rails and wooden panelling).
- Steam stripper (for removing wallpaper).
- Wallpaper scorer (for removing washable paper).
- Pliers (for removing nails and bolts).
- Screwdriver (for removing screws).
Materials
- A large basin or bucket.
- Sponge or mist sprayer.
- Black sacks.
- Fine sandpaper sheets.
- Dust mask.
- Gloves.
- Dust sheets (for covering furniture or carpets).
- Sugar scrub or baking soda solution (for wallpaper).
- Stripping powder/liquid (for wallpaper — washing-up liquid can be used as a substitute).
- Wall sealer (for newly plastered walls).
- Flexible filler (for walls with holes in).
Preparing Walls for Painting & Decorating — Step-by-Step Instructions
Walls can exist in various conditions, sporting a mixture of coverings that need removing, so only some of the steps below will apply to your redecoration project.
However, no matter what project you’re taking on, you must be vigilant about one thing when redecorating…
You’re really growing on me
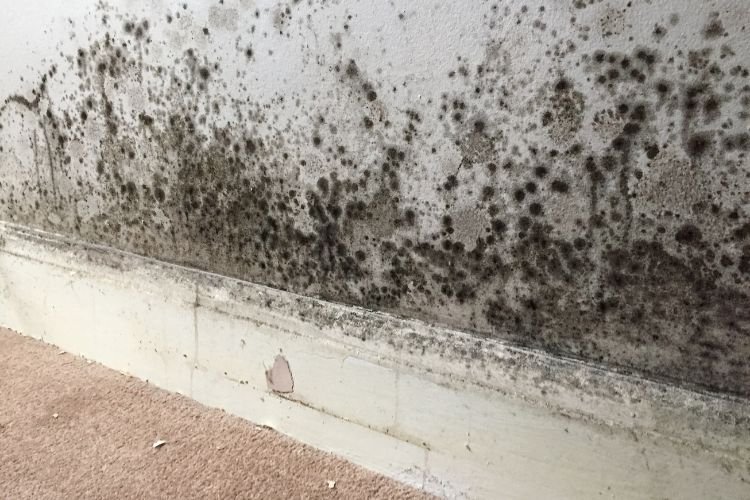
Mould can lurk undetected behind wallpaper, panels or even pieces of furniture.
If you identify any black specks or unexpected moisture while preparing your room for redecoration, wash the wall in a weak bleach solution before applying more solution and leaving it for a few days.
Follow up with a coat of primer with a dash of white spirit. Once that’s dried, use a fungicide paint.
If you’re wallpapering, apply a fungicide solution and leave it to dry before placing wallpaper paste on top.
You can find more advice in our detailed guide to treating damp walls before painting and decorating.
Something bold, something new
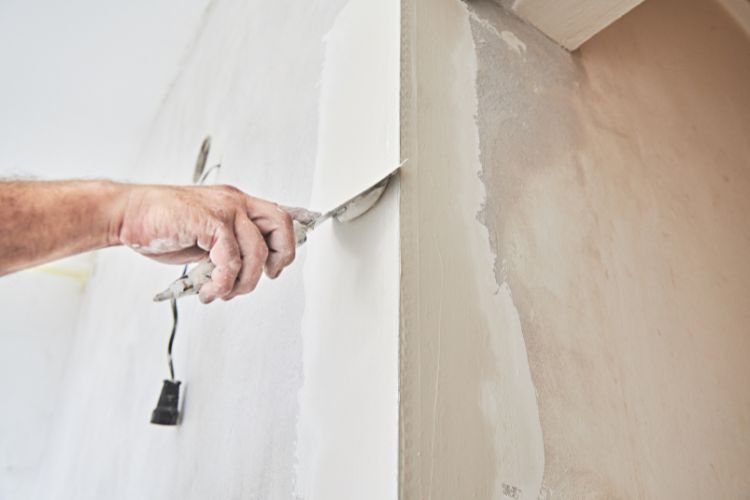
Some of the following stages might not be relevant for freshly plastered walls. However, new plaster can act as a sponge, soaking in several coats of paint if it isn’t appropriately treated.
Avoid this by applying priming paint or sealer to ensure top coats adhere rather than soaking into the plasterwork.
A 60:40 emulsion paint-water mixture will also reduce the sponge-like nature of an untreated new plaster wall, though it may require two preparatory coats.
For more information, check out our guide to painting new plaster.
Papering over the cracks
If non-textured non-vinyl wallpaper has been professionally hung and isn’t peeling, painting or papering over the top can achieve a consistent finish. However, it may take several coats of paint to disguise decorative patterns.
Wallpapering over existing paper can also cause problems if the older paper subsequently begins to unstick or if its surface reacts with the new paste as it’s applied. We always recommend removing existing paper and giving yourself a blank canvas.
If you decide to paper over paper, Spencer Colgan has prepared a guide, starting at 4:02 in this video.
Now let’s consider how to prepare walls for painting and decorating…
1. Remove wall decorations
It’s easier to get the entire room prepped in one go, so relocate any pictures, shelves or wall-mounted objects to a safe location. Next, remove the screws, hooks, brackets and nails, keeping them in place. If you plan on reusing them, store them in an old tin or a sandwich bag, keeping them out of reach of children and animals.
Pro Tip: If you want to reinstate wall decorations in their original locations, mark the holes with wooden cocktail sticks to remind you where to reinsert the screws/nails/hooks after decorating.
2. Remove or cover furniture

Next, drag furniture into the middle of the room, giving you sufficient space to access each wall with a stepladder if necessary.
If there are too many items, move some into adjacent rooms for the duration of decorating, as you don’t want them in the way or getting covered in paint/wallpaper paste!
3. Remove hard objects
By this, we mean dado rails, wooden panelling or any other impediments to redecorating.
You can chip off dado rails with a fine-nosed chisel and a small hammer. Panelling may respond to similar treatment, or you may be able to pull it off. Removal will leave behind fragments of material, which you must score off neatly.
At this point, your approach will diverge depending on whether the wall is papered or not. The following steps relate to a non-papered wall, so if you’re staring at ugly wallpaper or peeling Anaglypta, skip to the ‘Papering Over the Cracks’ section below.
4. Smooth off any rough surfaces or flaking plaster
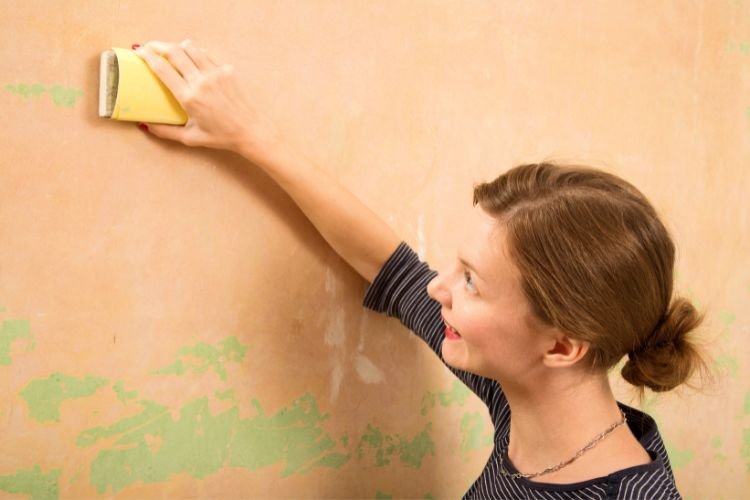
From remnants of panelling to rough plaster around screw holes, your next job is to smooth the walls down.
Use fine sandpaper (not the coarse variety) to gently eradicate any lumps or bumps which might catch the eye even after painting.
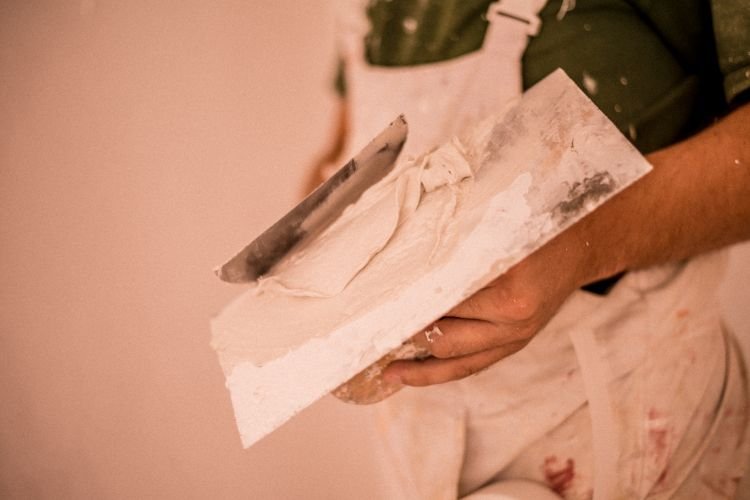
5. Fill any cracks or gaps
The objective is to ensure a smooth surface, so you shouldn’t need a full replastering or skim coat.
Our detailed guide to smoothing walls without plastering explains how to use materials like Polyfilla to fill holes. It also explains how to sand excess filler until your hand glides over the wall.
Pro Tip: Glass fibre patching tape is another time and cost-effective solution.
Wall fillers come in different chemical compositions, allowing you to prioritise a product that gives a fine finish over one that dries quickly or one that changes colour as it dries.
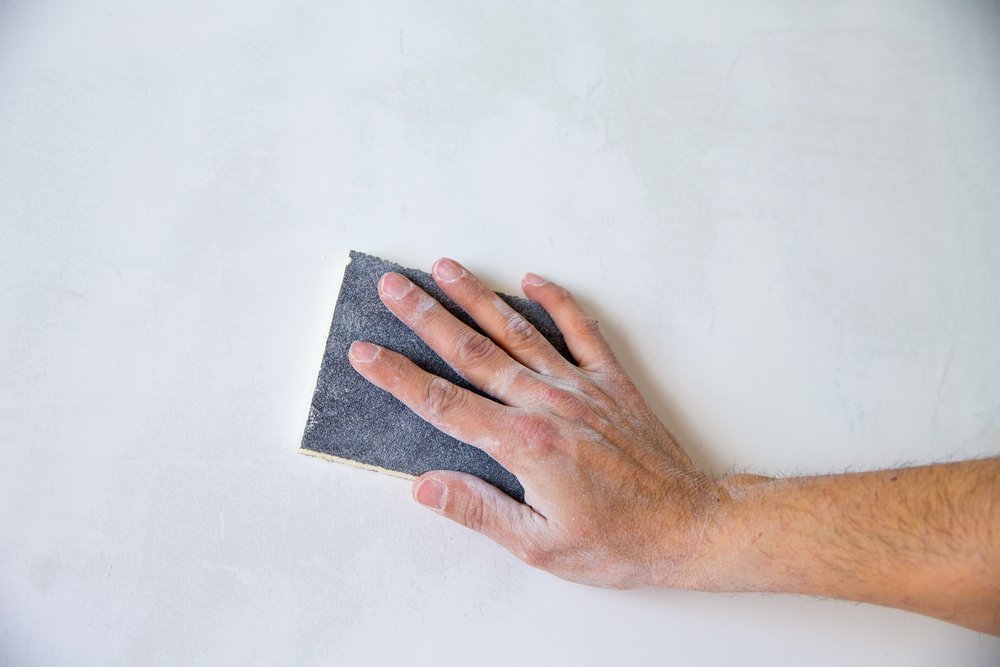
6. Sand the whole wall
Having smoothed off any surface variations, wrap a piece of fine sandpaper around a small wooden block or fold it several times.
Run the sandpaper across every section of the wall you’re painting. This sanding creates a slightly rough surface to bond more effectively with the paint.
7. Wash the wall
A light wash with acidic sugar soap will remove any fingerprints, grease, dirt, and other impurities picked up during previous stages. Follow up with a pH-neutral water wash, and let the wall dry thoroughly.
Once you vacuum up all the dust steps 4, 5 and 6 create, your wall should be ready for painting!
Removing Wallpaper
Given the unpleasant aromas wallpaper stripping often generates, we recommend flinging open all windows and turning off the heating.
Some people may wish to put down sheets over the flooring or drape dust sheets across furniture in the middle of the room.
Ensure you’ve followed the first three steps above before moving on to the stages in this section.
1. Soften washable paper
If the existing paper is washable, penetrate its waterproof coating by running a wallpaper scorer over it.
A wire brush would suffice in an emergency, though it’ll be physically more challenging and could potentially leave score marks on the wall beneath.
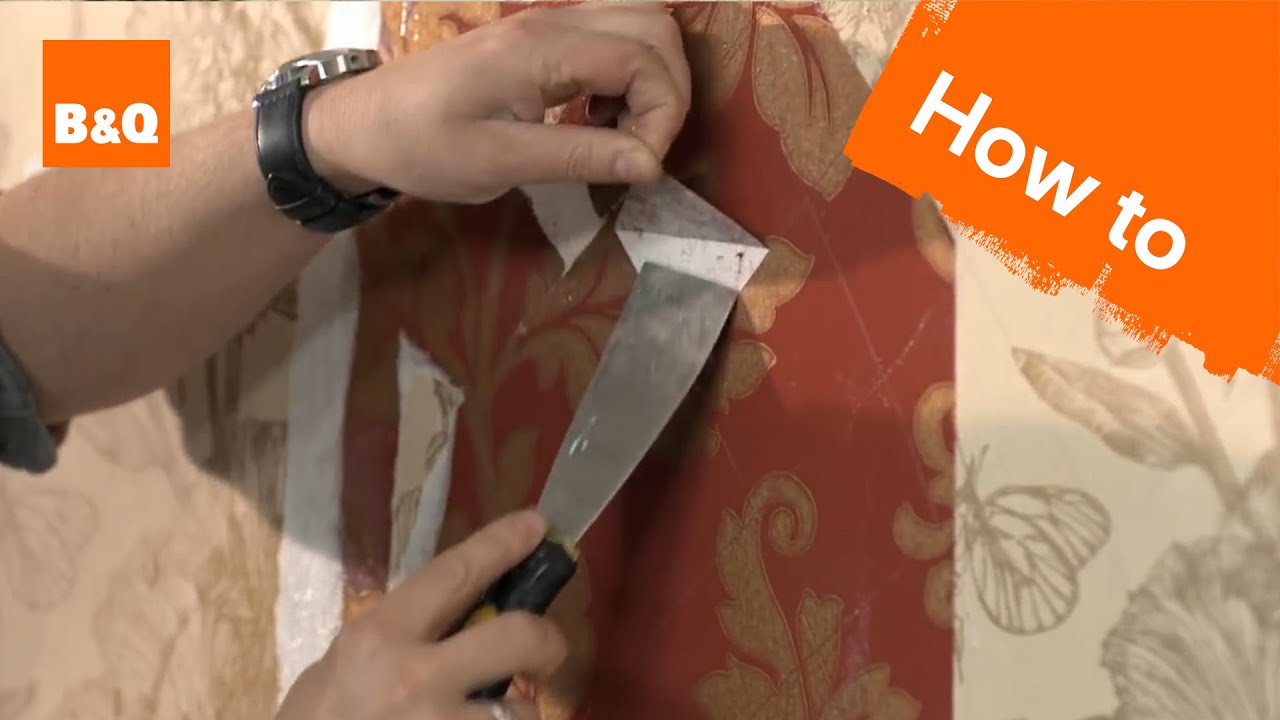
2. Score the paper
Using a spatula or knife blade, lightly score the paper to make removing individual strips easier. The aim is to puncture the paper without leaving marks on the plaster underneath.
Wickes has prepared a guide on the score, soak and strip technique, which you can see in the video below from 3:27 onwards.
There are two main ways to wet wallpaper — steaming and hand-soaking. We offer alternative guides for each method below but always remember to avoid sockets and switches.
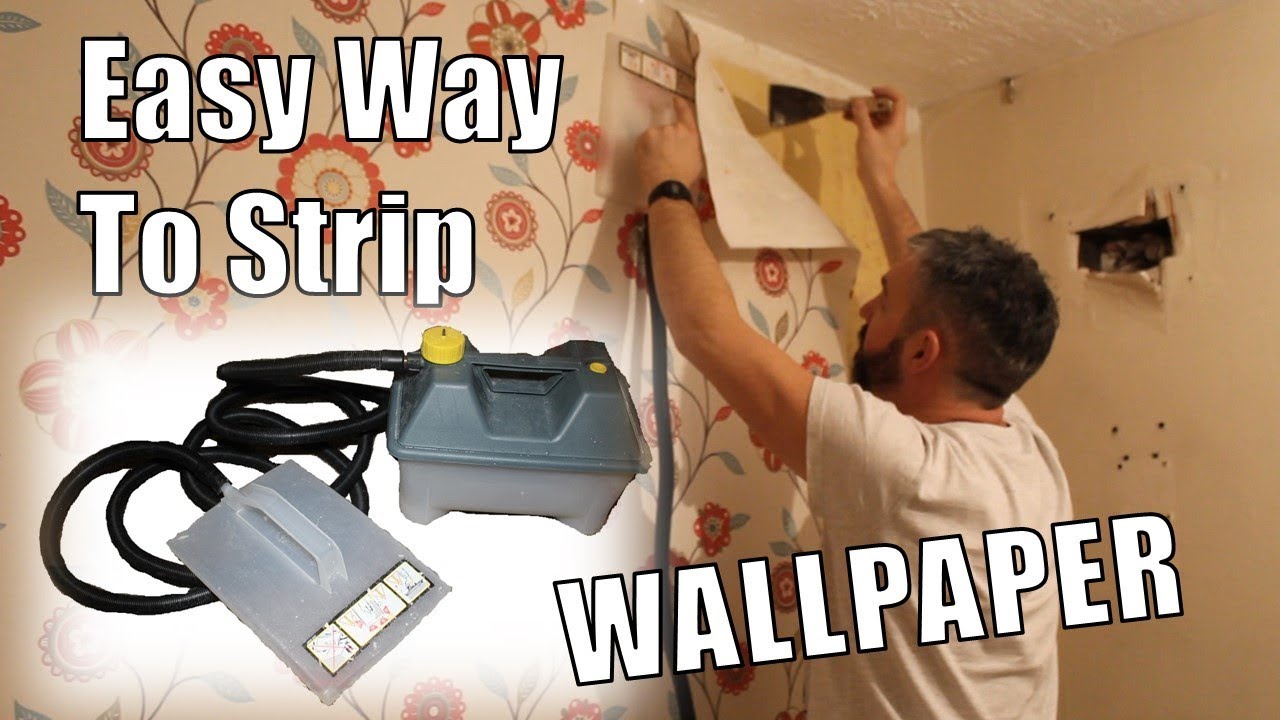
3a. Begin steaming
Hold the steamer’s sole plate or pad against the wallpaper momentarily, allowing steam to soak through the paper to the paste beneath. Covering each drop will take a while, but you’ll quickly learn how wet the paper needs to be.
Pro Tip: Hold the steamer in place with your weaker hand for a moment, then move it up and use a scraper in your dominant hand to remove the paper that’s just been steamed while treating the next section. Always wear long-sleeved clothing and gloves when using a steamer.
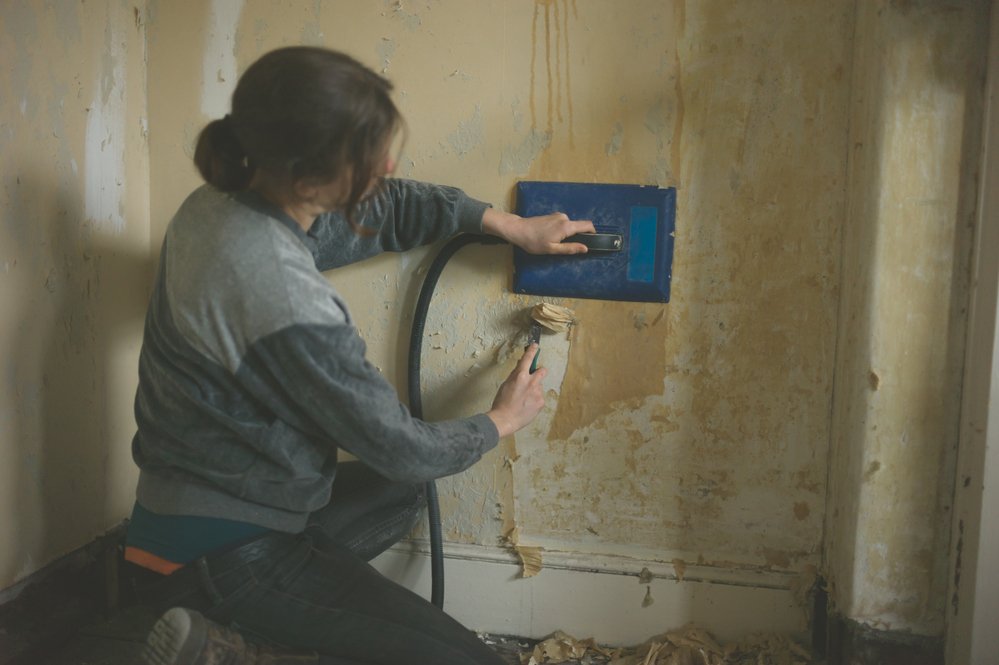
In the video below, CharlieShooters KnowHow explains how to use a wallpaper steamer successfully.
3b. Soak the walls
If you don’t have a steamer, an alternative technique is to wet the walls with a mixture of warm water and either stripping powder/solution or some washing-up liquid.
Application techniques vary — some people swear by sponges, while others prefer spray bottles. Wait a few minutes for the water to absorb before moving on to the next stage.
Pro Tip: This technique also works on the backing paper used on vinyl wallcoverings, though the top vinyl sheet must be pulled away by hand using the bottom corners.
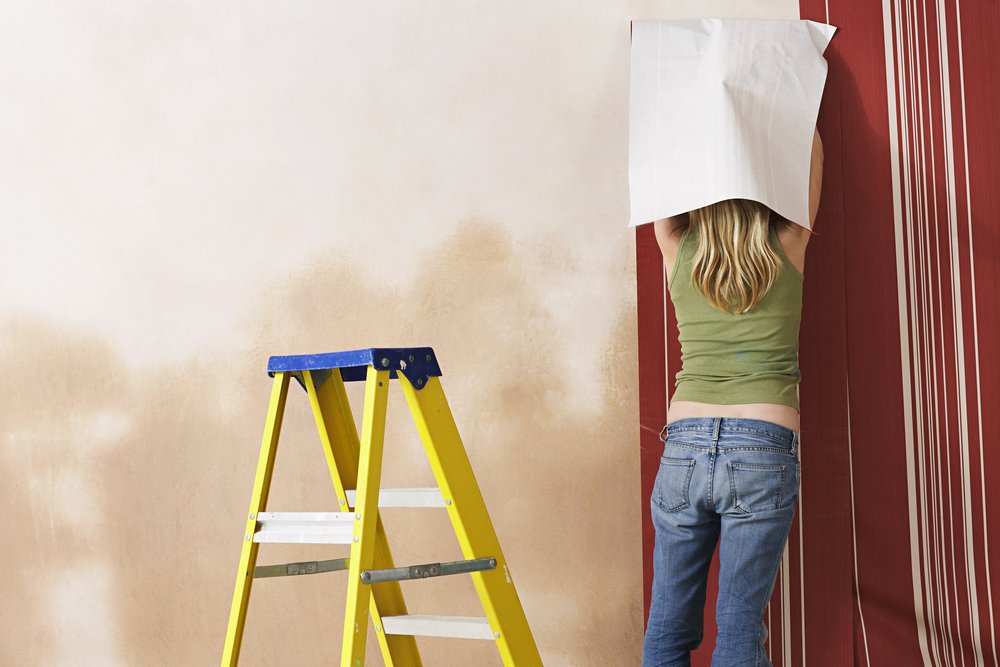
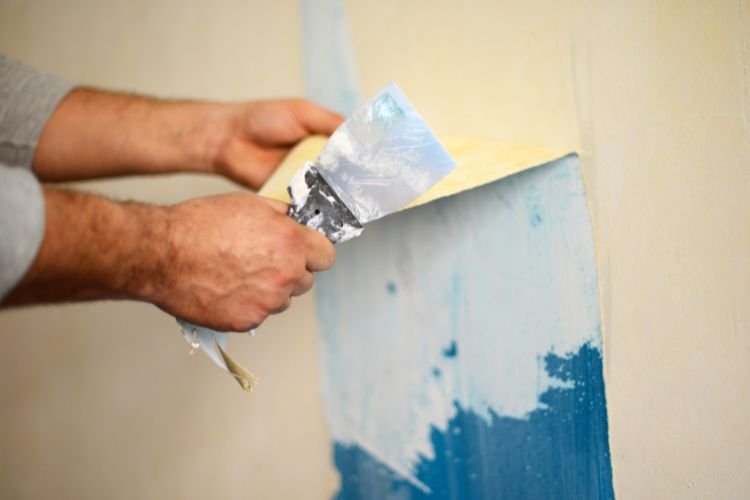
4. Start scraping
Once the paper is suitably damp, slide a flat-edged scraper between the wall and the paper at the ceiling. Let gravity help you as you push down.
If you’ve prepared the paper correctly, it should simply slide off and land in a heap on the floor. Stubborn sections may need a second application of water.
The video below by B&Q explains how to prepare previously wallpapered surfaces (see 5:13 onwards).
5. Discard trimmings
Before wet strips of paper can make floors sticky or damp, scoop them into a thick black sack and remove them from the house.
Discarding this waste in non-recyclable household bins is safe, though several bags’ worth will necessitate a trip to your local council recycling facility (use their general waste skip).
Even old wallpaper paste can be toxic to animals, so you must eradicate it before pets are allowed into the room.
Final Thoughts
Once you’ve completed the steps above, your walls will be clean and dry, smooth and level. But before you move on to decorating (the fun part), ensure your walls are completely dry, and you’ve extracted any dust from the air.
At this point, they’ll be ready for whatever paint or decorations you have in mind, from panelling to paper. If you choose the paper route, check out our ten-step guide to wallpapering.