A few years ago, I completed one of my most challenging DIY projects — adding a shower room to make a bedroom en-suite.
I considered hiring a local builder but decided to do it myself, and I’m happy I did because I learned so much from the process.
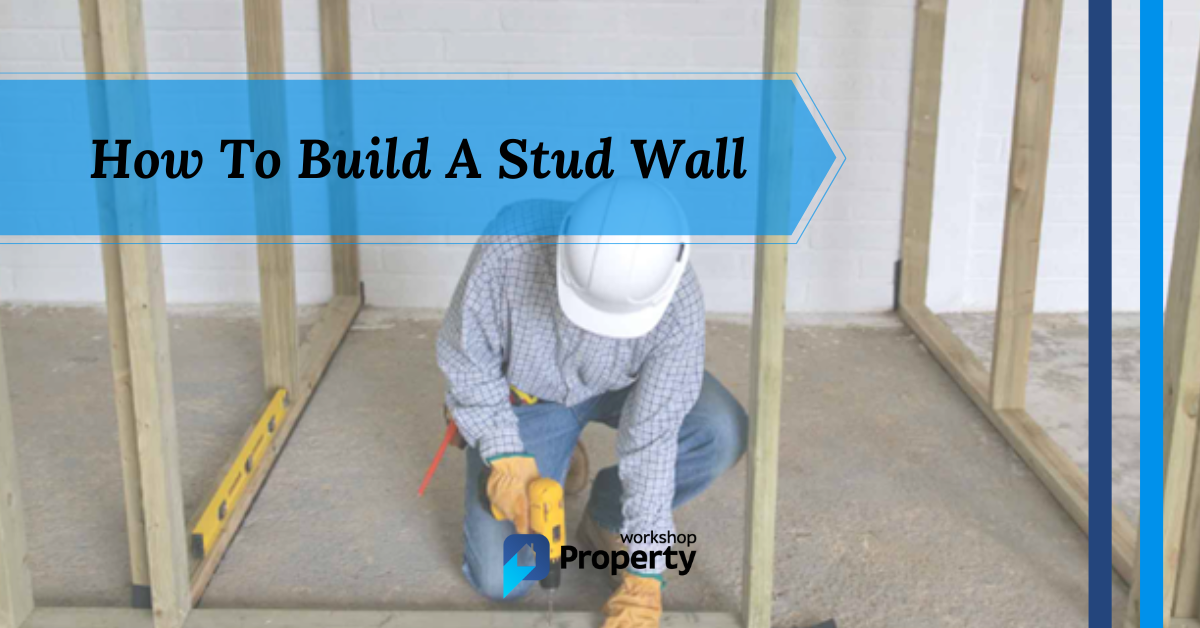
To make this project less challenging for you, I put together this comprehensive guide on how to build a stud wall so that others can benefit from my DIY experience.
Why Do You Need The Wall?
Is it to form a room or to break up an open space? This question is crucial because it determines whether you must get Building Regulations approval.
If you only want to divide a room, maybe a short partition to create a separate space while maintaining the overall open plan aspect, you shouldn’t have a problem. But if you’re creating a room, there are several things to consider:
- Lighting and power sockets in the wall
- Doors
- Sound insulation
- Plumbing
- Lighting and ventilation in the newly created room
If you’re going to use the room as a lounge, bedroom, kitchen or dining room, you need to consider the following:
- Means of escape in case of fire. Avoid creating a room you can only access from another room. (Note: This doesn’t apply to en-suites as these aren’t classed as habitable rooms).
- Fire resistance of the wall and doors. In typical situations, plasterboard provides sufficient fire resistance, but not if you divide your property for multiple occupancies (HMOs).
- Ventilation of the existing room and the newly created space. The rules for this are complicated and are on The Planning Portal website. If in doubt, call in a professional.
- Thermal insulation shouldn’t be necessary as this is an internal wall. However, consider insulation if the wall separates a habitable room from an unheated space such as a garage.
- Sound insulation. If the new wall separates a bedroom or room containing a WC from another room, it will need sound insulation.
What’s the Best Construction Method?
There are two ways to build a stud wall; metal or timber frame.
Metal Frames
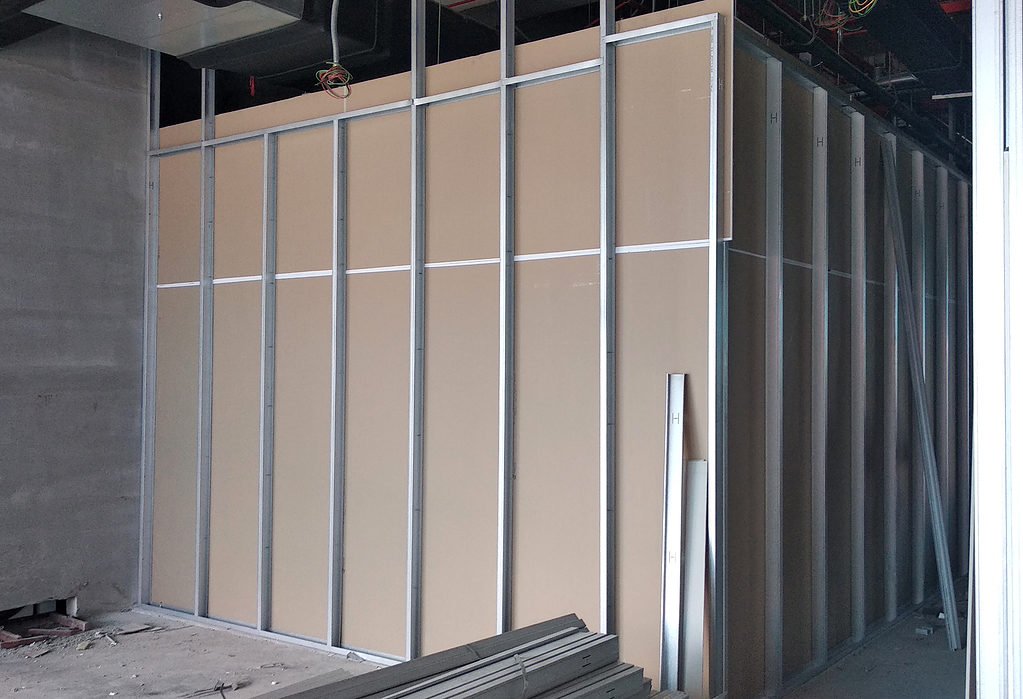
Metal frames are lightweight, quick to assemble and make less mess than timber. Check out this video to see how the pros do it. However, metal frames are more difficult to cut, and the sharp edges are hazardous.
Timber Frames
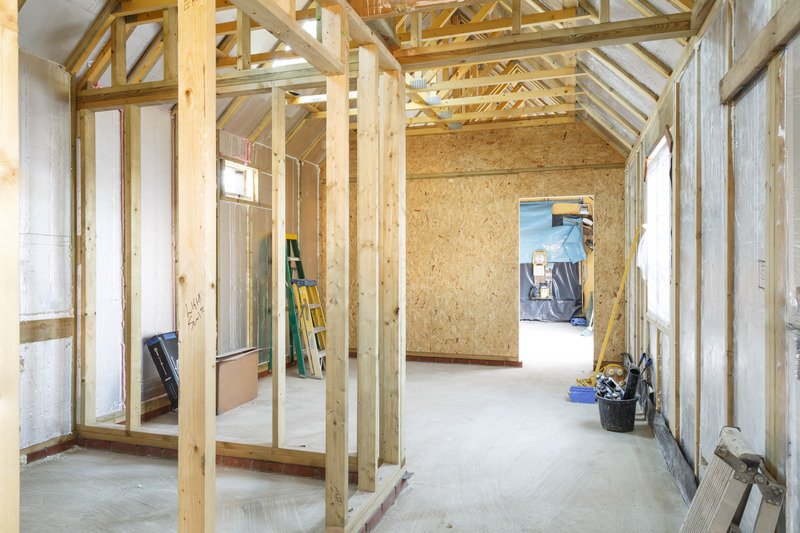
Timber frames are easier to cut to size and cheaper than metal for smaller domestic-scale projects. They’re also easier to fix to, as you can use screws or nails.
For this reason, timber is the best option for a domestic stud wall, so the steps below cover timber construction only.
Some videos I’ve seen, like this one by The Carpenter’s Daughter, show the wall being prefabricated on the ground and lifted into place. This approach is one way of doing it, but I found building the wall in situ much easier.
Tools and Materials
Below are the tools and materials for erecting a timber stud wall.
Tools
- Tape measure
- Spirit level
- Plumbline and chalk
- Adjustable set square
- Pencil
- Wall scanner or multi-detector
- Hand saw
- Keyhole saw for any cutouts
- Wooden mallet
- Combi drill
- Knife with retractable blade
Materials
- Wood for the frame — 89 x 38 CLS for 115mm overall wall thickness
- Door and frame with ironmongery
- Skirtings and architraves to match existing
- Wood screws (various sizes and lengths)
- Drywall screws
- Sound insulation (recommended)
- Plasterboard — 12.5mm tapered edge
Health and Safety Measures
The major hazards are as follows:
- Hitting live cables when drilling into the structure — use a wall scanner
- Cutting plasterboard — wear gloves
- Handling insulation — wear safety goggles, face mask and gloves.
How To Build a Stud Wall — Step-by-Step Instructions
This video shows you what to do for the basic construction, but for the finer detail, stick with this guide.
Step 1: Preparation
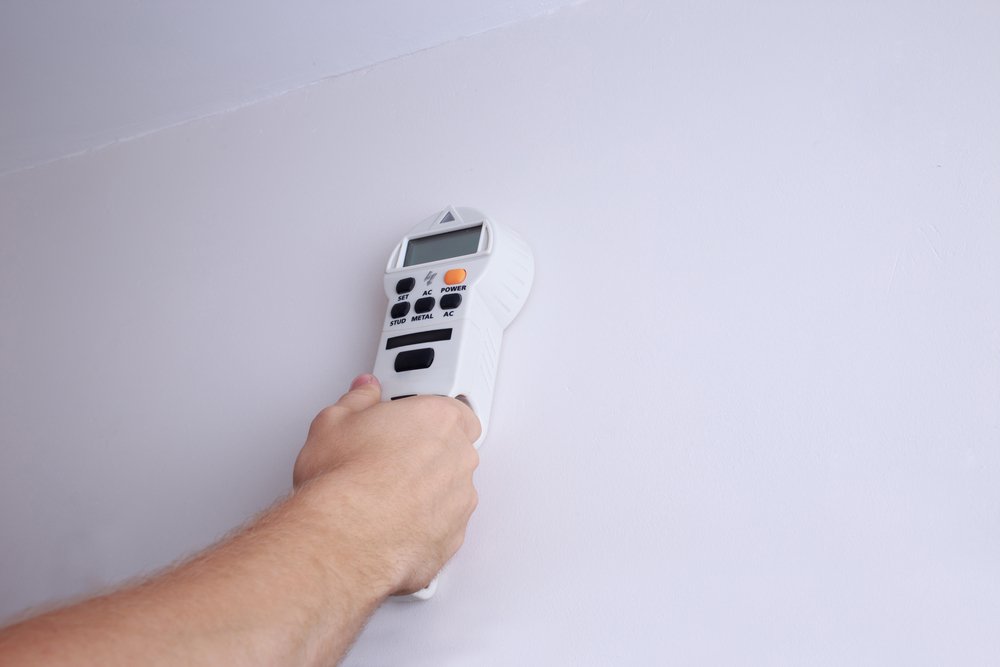
Before drilling into the wall, floor, or ceiling, you must check for buried cables and pipes using a multi-detector. Test in several locations along the new wall line and mark the positions of anything discovered.
Clear the area of loose furniture and cover any fixed items to protect them against dust.
Sketch a rough plan showing where objects like radiators and sanitary fittings will go because this impacts the positions of studs and noggins.
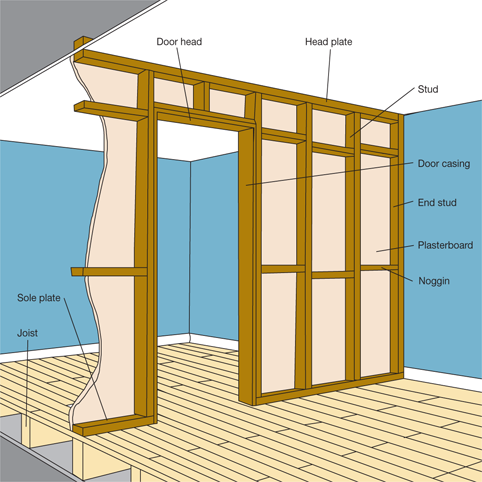
Step 2: Fixing Studs, Plates and Noggins
As an alternative to CLS timber, it’s ok to use scant timber, which is surfaced (not planed) with a planed square edge (PSE), but ensure it’s kiln-dried.
- Mark the position of the first stud. Use a spirit level to make sure it’s vertical. You can use a chalked plumbline (as you would when papering a wall) for this, but I prefer a long spirit level.
- Mark out the position of the sole plate. To ensure this is square against the wall, use the ‘3, 4, 5’ method, or take regular measurements from the flanking wall if it’s more important to be parallel with that.
Pro Tip: Some people ask me, “Do you have to locate the stud wall over a floor joist?” I say, in most cases, no. The sole plate will spread the weight evenly if the wall runs across the floor joists below. If the wall runs parallel to the floor joists, I recommend doubling up on the sole plate to prevent point loads from the studs from causing excess deflection in the floorboards.
- Fix the first section of the sole plate (I found decking screws work well), starting with the longest wall length up to the door opening. This approach ensures that the wall is where you want it to be.
- There will probably be an existing skirting board to contend with, and you can either:
- Remove it,
- Cut out a small section where the wall is to go, or
- Leave it in place and scribe the end stud around it.
I prefer the last method because it doesn’t have to be neat and follow the skirting profile, as the plasterboard will cover it.
- Cut the end stud and the door stud to the correct length — that’s floor-to-ceiling height, less the thickness of the plates.
- Position the head plate and use the studs to hold it. Ensure the studs are vertical in both directions using the mallet to tap them into place. All timbers are loose at this point, so you need a tight fit.
- Fix the head plate — it’s best to fix it to a ceiling joist because the ceiling itself won’t provide much lateral support. If not, and you can get access from above, insert some noggins between the ceiling joists and screw them down into the head plate when all the studs are in place.
- Fix the end stud to the flanking wall. Fix it 100mm down from the ceiling and 100mm up from the floor with 450mm intervals in-between. See our guide on how to build a cupboard for advice on fixing objects to walls.
- Position intermediate studs by following the table below. Check they’re plumb and in line using the spirit level, tapping them with a mallet to make fine adjustments and screw the studs at 45⁰ into the sole and head plates.
- Stagger the noggins to make it easier to screw through the studs. The spacing of noggins depends on the board height. You need support at the top of the board, and somewhere in the middle — 1.2m is ideal because this is the maximum height for light switches, meaning you have space to fit them below.
- You may need to fix additional noggins to support heavy items like radiators and wash basins.
- Continue this process until you hit the other end wall.
Pro Tip: While the studs are exposed, use a length of wood to mark the positions of the studs from the flanking wall or edge of the plasterboard. After everything is hidden, this will be useful later when you want to locate them.
| Plasterboard Thickness | Plasterboard Width | Maximum Stud Centres* | Minimum Nail Size | Minimum Screw Size |
|---|---|---|---|---|
| 9.5mm | 900mm | 450mm | 30mm | 32mm |
| 9.5mm | 1200mm | 600mm | 30mm | 32mm |
| 12.5mm | 900mm | 450mm | 40mm | 36mm |
| 12.5mm | 1200mm | 600mm | 40mm | 36mm |
*Note: Centre of one stud to the centre of the next stud.
Step 3: Electrics and Plumbing
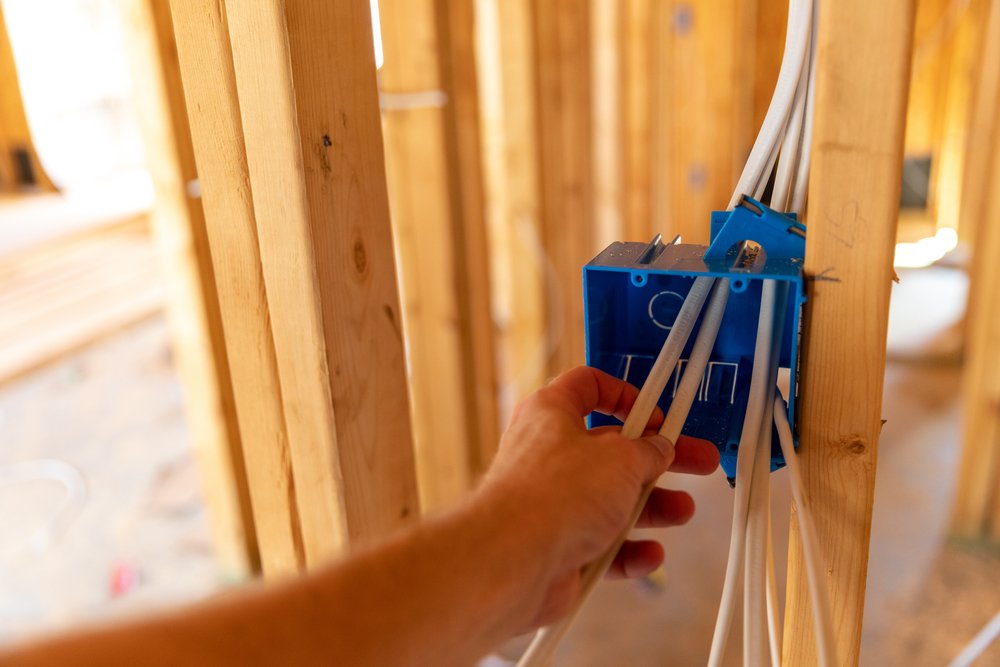
Skip this step if you don’t need any pipework or wiring installed.
Get a qualified plumber or electrician to make any connections to the mains supply, but it’s ok to do some work yourself, such as drilling holes, chasing out, and fitting conduit.
- Run wiring vertically and horizontally, clipped to studs and noggins. Don’t allow it to run loose within the void, as this makes it hard to locate later.
- Sockets and light switches are usually positioned away from the studs and noggins, so you may need to fit additional smaller battens to support wiring.
- This video shows you the correct heights for switches and sockets. There are additional requirements for bath and shower rooms, and this video explains the different zones.
- Drill holes in the studs and noggins for pipework along the desired pipe runs.
Step 4: Fixing the Insulation and Plasterboard

Look at this guide for some great tips on fixing plasterboard to stud partitions. Here’s a quick overview of what to do:
- Fix the plasterboard to the studs on one side of the wall. You can use nails for this, but I find using drywall screws quicker and easier. (See the table in Step 2 above for sizes).
- Fit screws 12mm from the edges of the boards and then at 150mm intervals along the board’s length.
- Cut the insulation to size and push it into place, leaving no gaps around the edges.

- Take extra care around wiring and plumbing to ensure the insulation fits snuggly.
- Moving to the other side of the wall, screw the plasterboard to the studs using the same process as above.
- Using a pencil, mark the positions of any electric boxes and cut out the plasterboard using a keyhole saw.
Step 5: Finishing the Wall
You have two options when finishing the wall — apply a full skim coat or tape and fill the joints.
Skim
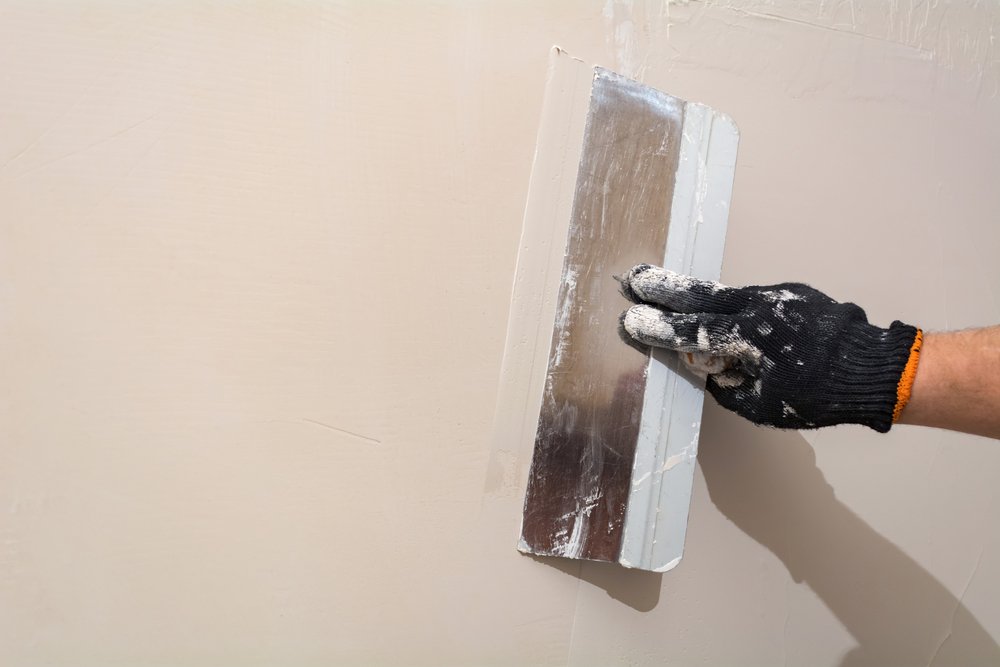
A skim coat is a thin layer (1mm) of plaster applied with a trowel to get a smooth finish across the entire wall.
Plasterers usually apply the skim coat in two layers, and a certain amount of skill is involved, but once you have the knack, it’s not too challenging.
If you feel comfortable skimming the wall and want to know more about what tools you’ll need, this guide explains everything you need to know. The video below will show you how to mix and apply the skim coat.

Tape and Fill
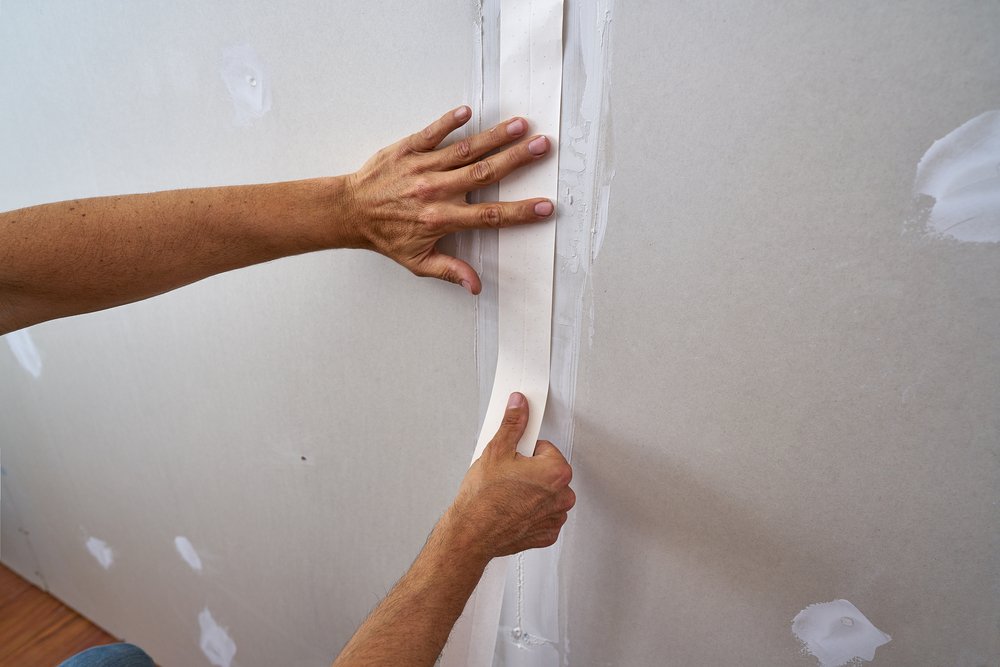
You can deal with the joints alone if you don’t want to skim a complete wall.
For both methods, you first need to tape the joints using scrim tape. This tape is a thin strip of 50mm wide reinforced paper applied along the joints after filling with joint filler. Use corner tape or angle bead for external corners.
In the materials list, I specified tapered-edged plasterboard. This plasterboard is ideal for this method because you can bury the tape in the dip and skim over it to get a flush finish. You also need to fill the sunken screw heads to hide them.
Once all the joints are covered and dried, lightly sand down and prime the walls before applying a coat of paint. If you want to paper the walls, use a drywall sealer rather than a primer.
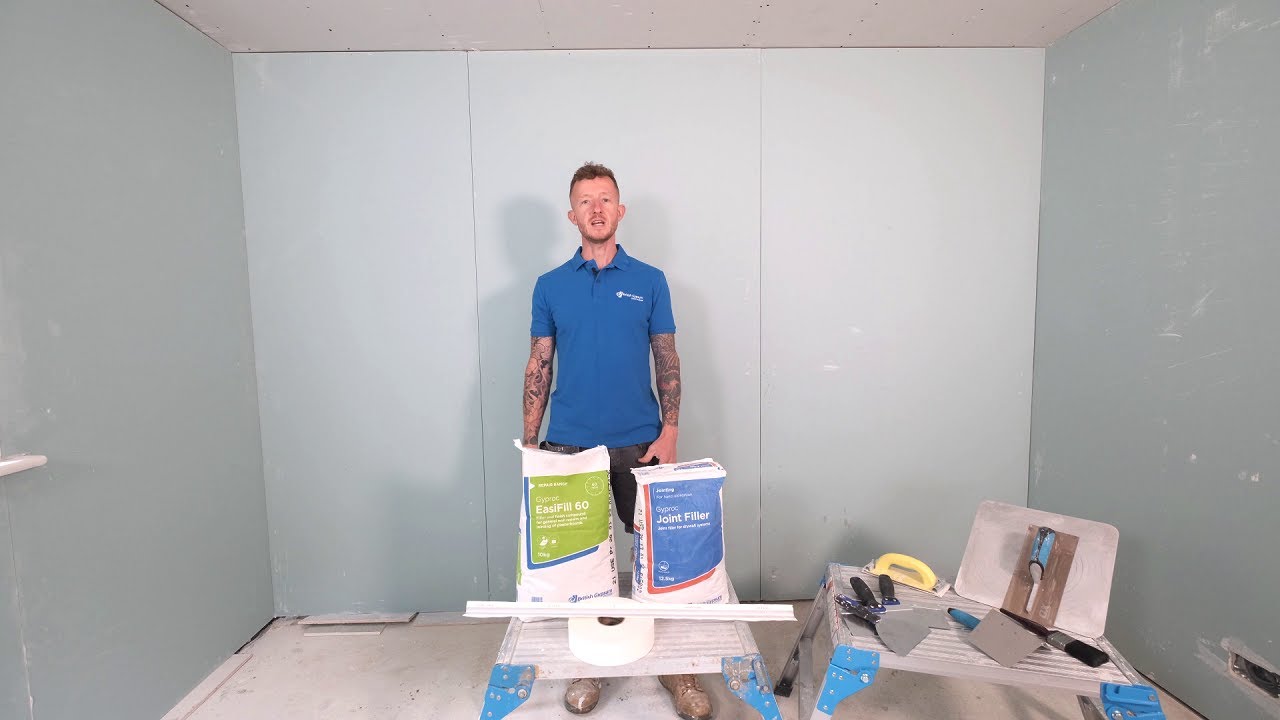
The video below will show you how to apply joint filler and scrim tape and finish the joints.
Watch this video for advice on the pros and cons of each (skim coat vs tape and fill).
Step 6: Fixing the Door and Frame
As the opening is formed to suit the door and frame, it should be a simple case of inserting the frame between the studs and head noggin.
- To ensure the frame remains square as you fix it, screw a piece of timber across the bottom — many doorsets come with this already fitted.
- Screw the frame into the studs on each side, 100mm from the top and bottom edges and at 450mm intervals.
- Screw into the top noggin 100mm from each side edge and one or two fixings in between, depending on your door width.
- Fix the door into the frame.
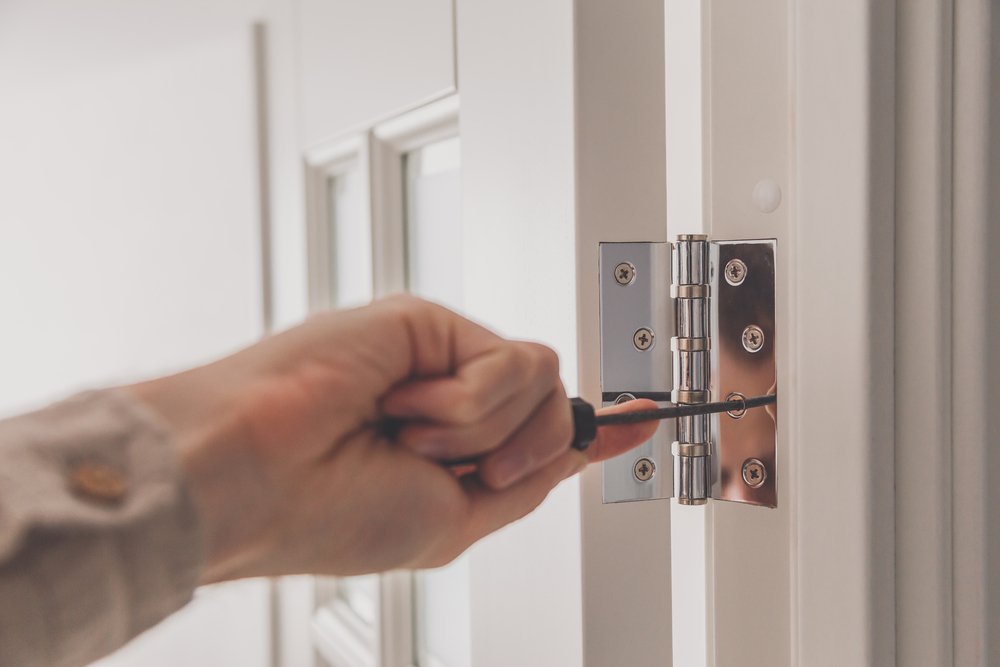
- If you bought this as a doorset, you should have everything you need to install the door and fix the furniture (handle or knob).
- If you need to make any adjustments to the door, our guide on How to Plane a Door will give you all the information you need.
Step 7: Fixing the Skirtings and Architraves

For the skirting and architrave, our guides on How to Cut a Skirting Board Without a Mitre Saw and How to Fit a Door Architrave give you all the information you need, but below is the sequence you should follow:
- Fix the architrave first.
- Measure from the existing wall (not the existing skirting) to the newly fitted architrave.
- Cut the new skirting to this length.
- Form a mitre joint with the existing skirting, as shown in this guide. The new skirting should now fit neatly between the skirting and the architrave.
- Fix the skirting through the plasterboard and into the sole plate. If you need additional higher-up fixings, which you might need for wider skirtings, use the piece of wood you marked earlier to locate the studs.
- Repeat this on the other side of the doorway. If you have an external corner on the wall, mitre the skirting as shown in this guide.
Final Thoughts
Building a stud wall may seem monumental, but as with many DIY jobs, it’s not difficult if broken down into small parts.
Some aspects may require specialist input, such as plumbing, electrics, and plastering, but if you follow this guide, you’ll minimise that input.
If you still prefer hiring a pro to build your stud wall, use Rated People to find top-rated professionals in your local area.
Once the wall is complete and the finishes applied, consider the type of fixings you plan on using for shelving, mirrors, etc.