I’ve written this handy guide on how to paint a door to ensure your home’s interior and exterior doors are as functional as they’re beautiful. In this guide, we’ll explore the following:
- What type of door to choose
- The best kind of paint to use
- When to use a brush instead of a roller and vice versa
- The order in which you should paint your door
You’ll also find answers on how to properly prepare a door for painting, what to do with door furniture such as hinges and handles, and how to ensure a clean finish.
Tools & Materials
To paint a door, you will need the following:
- One interior or exterior door
- Sandpaper
- Paint suitable for the surface and environment (interior or exterior) of the door
- Small-sized paint brushes and rollers
- A roller tray to pour paint into
- Painter’s tape
You might also need the following:
- Paint stripper
- Paintbrush for the stripper
- Rubber gloves
- Face mask
- Vinegar or methylated spirits
- Hot, soapy water
- Knot sealant (known as knotting)
- Filler
- Primer
- Paint scraper
- Kitchen roll or a soft cloth
If using a solvent-based primer, then you must use solvent-based paint. For water-based primers, use water-based paint.
How To Paint an Interior or Exterior Door — Step-by-Step Instructions
The process of painting both interior and exterior doors is similar, although there are a couple of extra considerations when painting exterior doors that I have highlighted in the instructions.
These instructions focus on painting wooden doors, as they’re the most common, but I’ve also included information on how to paint a UPVC door, as you’ll often find them as exterior doors on new builds.
Please note that some steps below are for existing doors only. If you’re buying a new door, you can skip steps 2 and 3.
Step 1. Choose a Door (new doors only)
If you’re painting an existing door, you can skip this step and jump to step 2.
Manufacturers typically make Interior doors from solid or moulded wood with a hollow core.
Hollow core doors are not entirely hollow — they have a fibreglass core in a honeycomb pattern to give the door structure and stability, making them lighter and cheaper than solid wood doors.
Exterior doors can be made from wood, but developers often install UPVC doors instead. The UPVC plastic is hard-wearing, waterproof and has a low u-value.
Step 2. Dealing with door furniture (existing doors only)
A new door won’t have any door furniture (i.e. hinges, handles etc.) fitted yet, so you can skip this step and go straight to step 4.
Painting a door is much easier if you remove it from its hinges and remove all door furniture — trust me! Set all removed door furniture to one side and store it in a safe place.
If removing all door furniture isn’t possible, ensure you at least remove handles and hooks.
Use painter’s tape over the top of hinges, locks and any metal bits on the side of the door to mask them. Use a sharp blade to trim the tape to fit over the metal precisely.
Step 3. Strip the door (existing doors only)
If you’re redecorating an existing door, then your door may already have paint on it, which you’ll need to remove. The easiest way to strip the paint off is by removing the door from the room and taking it outside.
Cover the door with a paint stripper using a brush. Ensure you wear rubber gloves and a mask covering your nose and mouth. Paint stripper is very toxic; inhaling the fumes can lead to health problems. Leave the paint stripper on the door for a set time, according to the manufacturer’s instructions.
Take the paint off the door using a metal paint scraper and remove the remaining stripper with either vinegar or methylated spirits. Again, take care not to inhale fumes, and always use these products in a well-ventilated area.
Pro Tip: If you have to remove varnish, check out our guide on removing varnish from wood.
Step 4. Prepare the Door
Please watch the video below and then follow the steps underneath:
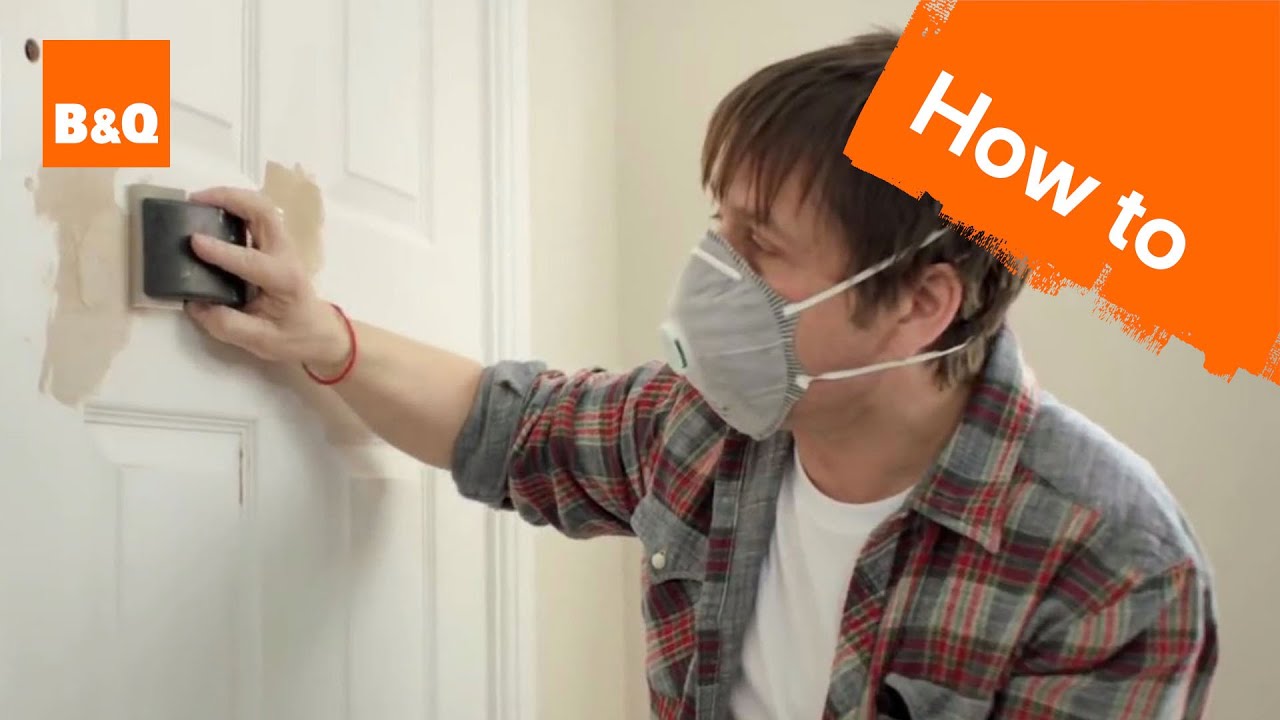
Clean and Sand the door
Some stores supply doors already sanded and primed, but chances are you’ll need to complete this step yourself.
First, clean the door using a soft cloth and soapy water. Ordinary washing-up liquid works fine.
Next, arm yourself with several sandpaper sheets and rub the door thoroughly to smooth away any rough areas.
Apply Knotting and Primer
Don’t skip these steps; they’re important!
Knotting
Wooden doors have dark whorls called knots. You must cover these knots in ‘knotting’, which seals them and stops them from showing through the finished surface. Apply knotting to the door using a small brush.
Primer
Primer is usually white, though if your final paint colour is dark, you may get a better effect if you use a grey primer.
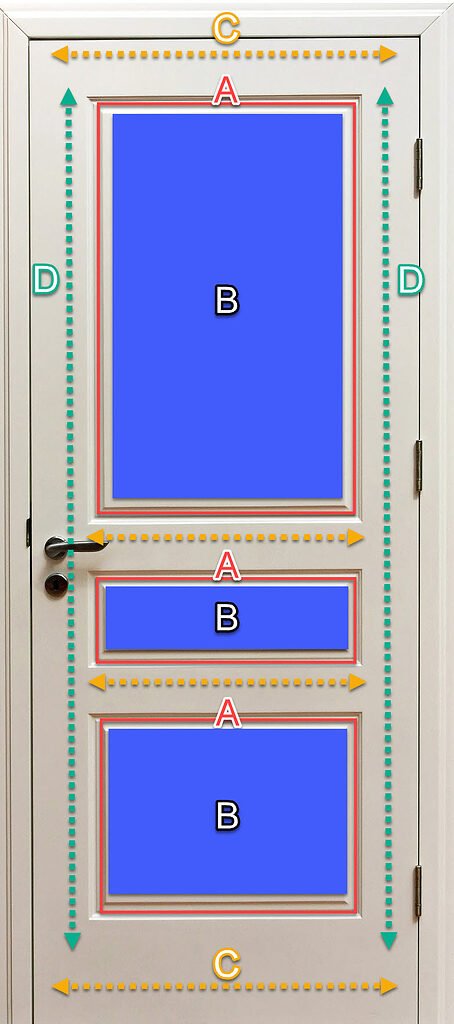
Using a small brush, apply primer to recessed areas (i.e. area A in Fig 1). Next, fill in the remaining flat surfaces (B to D) using a mini roller.
Step 5. Choose a type of paint
I cannot stress this enough; if you (or the door manufacturer) used a water-based primer, you need a water-based topcoat. Likewise, use solvent-based or latex-based products together.
Look at what happened to this poor woman’s door when she accidentally used the wrong topcoat. Don’t be that woman!
For exterior doors, remember to buy paint with weatherproofing included.
Pro painters usually paint Interior doors with a gloss finish. Purchase enough paint for at least two coats, plus touch-ups as required.
To help you understand this dizzying array of paints, check out our complete guide to the types of paint.
Step 6. Choose brushes and rollers
You’ll need a mini-roller, a roller tray for most of the painting, and a small brush, no wider than 4cm, to paint the recessed areas.
Most decorators prefer a high-density foam roller as it applies paint evenly and with a smooth finish.
Step 7. Order of painting
Using a small angled paint brush, paint the door’s recessed areas first (A below).
Next, take your mini-roller and paint areas B-D in alphabetical order.
Step 8. Finishing touches — Pro Tips
Here are some tips to ensure your door looks professionally painted:
- Catch drips while painting using a small brush.
- Always paint with the grain for a smooth finish.
- Rub away dried-on drips or spills with a damp cloth.
For more tips on avoiding mess when painting, check out our guide to painting a room without making a mess.
Final Thoughts
Hopefully, you now understand how to choose the correct tools for the job, properly prepare a door for painting and the best order to paint it.
If you want to see how the pros paint exterior doors, watch the video below: