Dry lining a stud partition wall is a project any DIYer can do. All you need is the right tools, materials, instructions and these dry lining tips.
In this step-by-step guide, I’ll walk you through the dry lining process, from selecting the best plasterboard to taping and jointing.
Note: If you’re dry lining brick walls, check out our guide to plasterboarding brick walls.
In a Hurry? Find top-rated plasterers in your area by clicking the button below:
Prerequisites
Before you start, this guide assumes you already have stud partition walls installed. If you do, jump straight to the Tools & Materials section. If not, follow one of the two videos below.
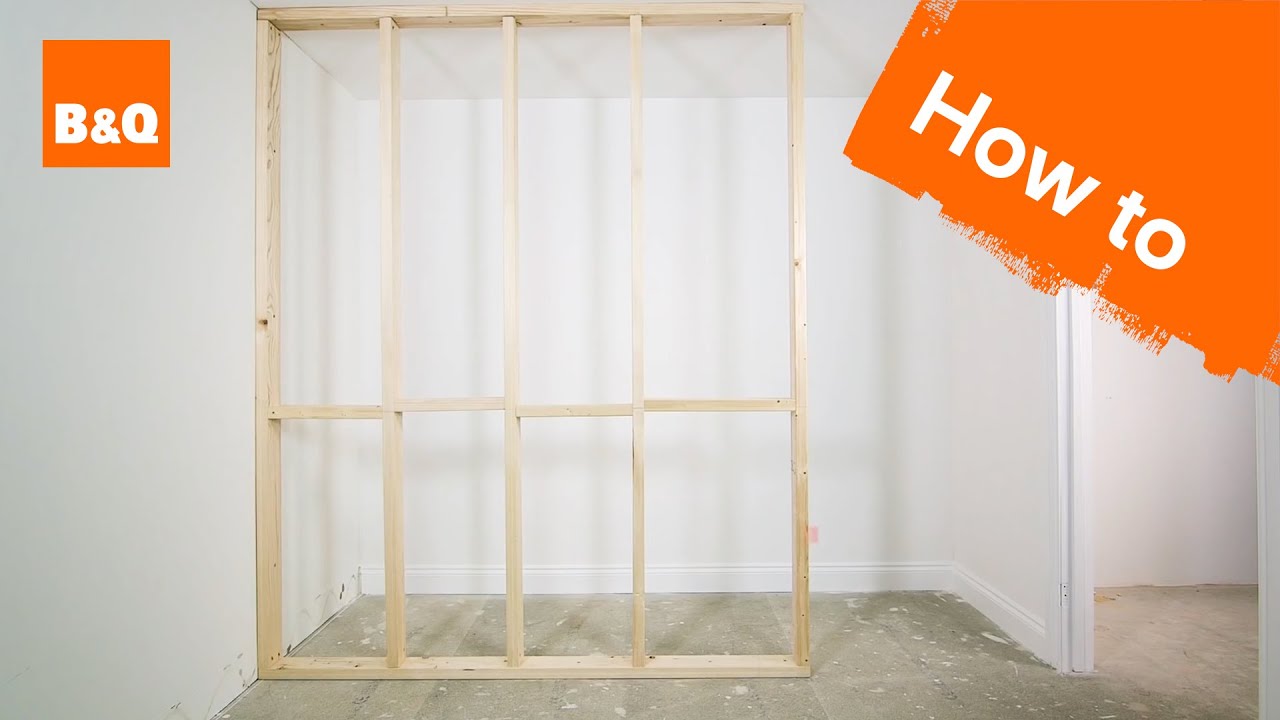
Timber Stud Partition Wall
Check out the video below if you’re installing a timber stud partition wall.
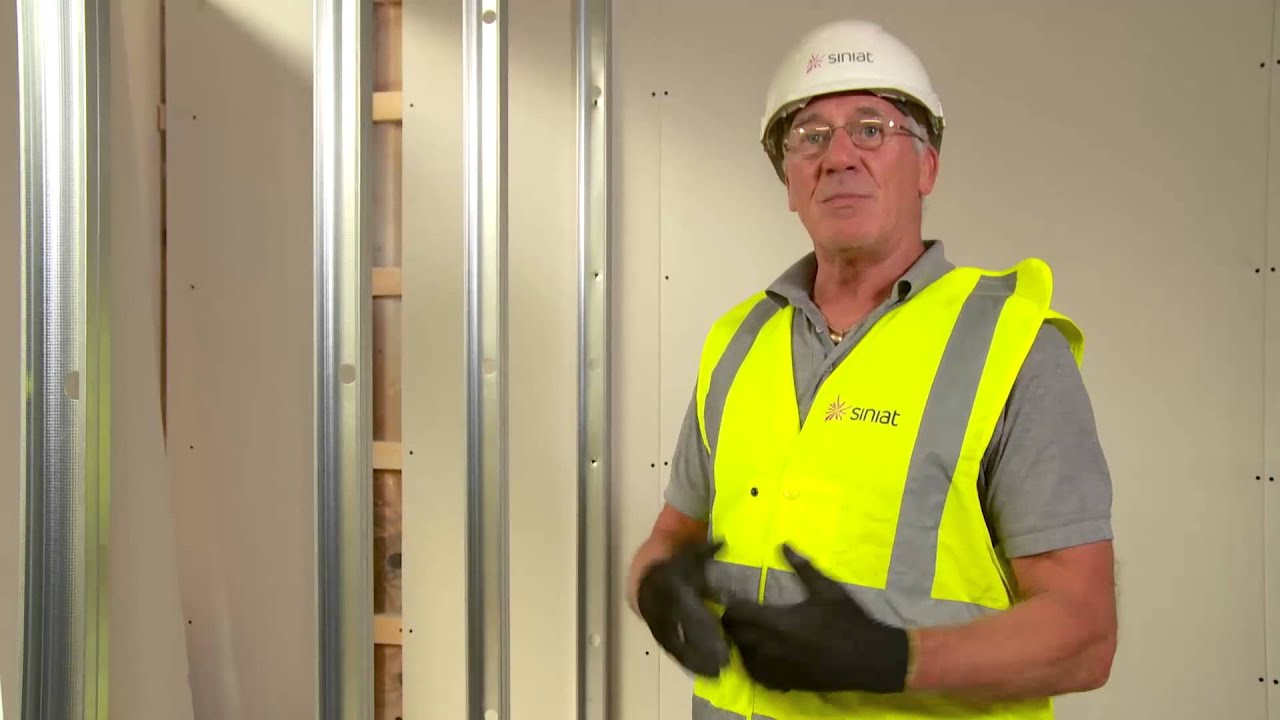
Metal Stud Partition Wall
If you’re installing a metal stud partition wall, check out this video:
Tools & Materials
Ensure you have all the tools and materials below before you start dry lining.
For Preparing and Fitting
These are the tools and materials required for preparing and fitting dry lining.
Tools
- Tape measure and spirit level
- Knife with replaceable blades*
- Plasterboard rasp
- Board lifter
- Hammer
- Step ladder
*Note: I recommend using specialist plasterboard blades because they produce a cleaner cut.
Materials
- Plasterboard (see buying tips below)
- 32mm galvanised plasterboard nails**
**Note: If you have a metal stud wall, fix the plasterboard with screws instead of nails.
Plasterboard Buying Tips
- Consider the type of room you’re creating. For example, bedrooms need better sound insulation, whereas bathrooms require moisture-resistant boards. Other important attributes include impact and fire resistance.
- Go for tapered-edge boards because they make it easier to achieve a smooth finish when taping and jointing.
- Find out how much weight a board can handle per fixing. For example, British Gypsum claims that their Gyproc Habito board can handle a maximum load of 15kg per fixing.
For Taping and Jointing
See our guide to plasterboarding brick walls for a full list of tools required for taping and jointing.
Storage and Handling Tips
- Plasterboards typically come with a protective plastic coating. Don’t remove this coating until you’re ready to start work.
- Keep the boards in a dry room and on a flat surface, as this prevents bowing. If the boards become damp, don’t use them until they dry out.
- When handling boards, wear gloves and carry them on their edge to minimise the risk of damage.
- Find another pair of hands to help you manoeuvre the boards.
How To Cut Plasterboard
Important Note: Wear safety goggles, a dust mask and gloves before doing any dry lining work.
Cut boards to fit by following the steps below.
1. Measure, Mark and Cut Plasterboard
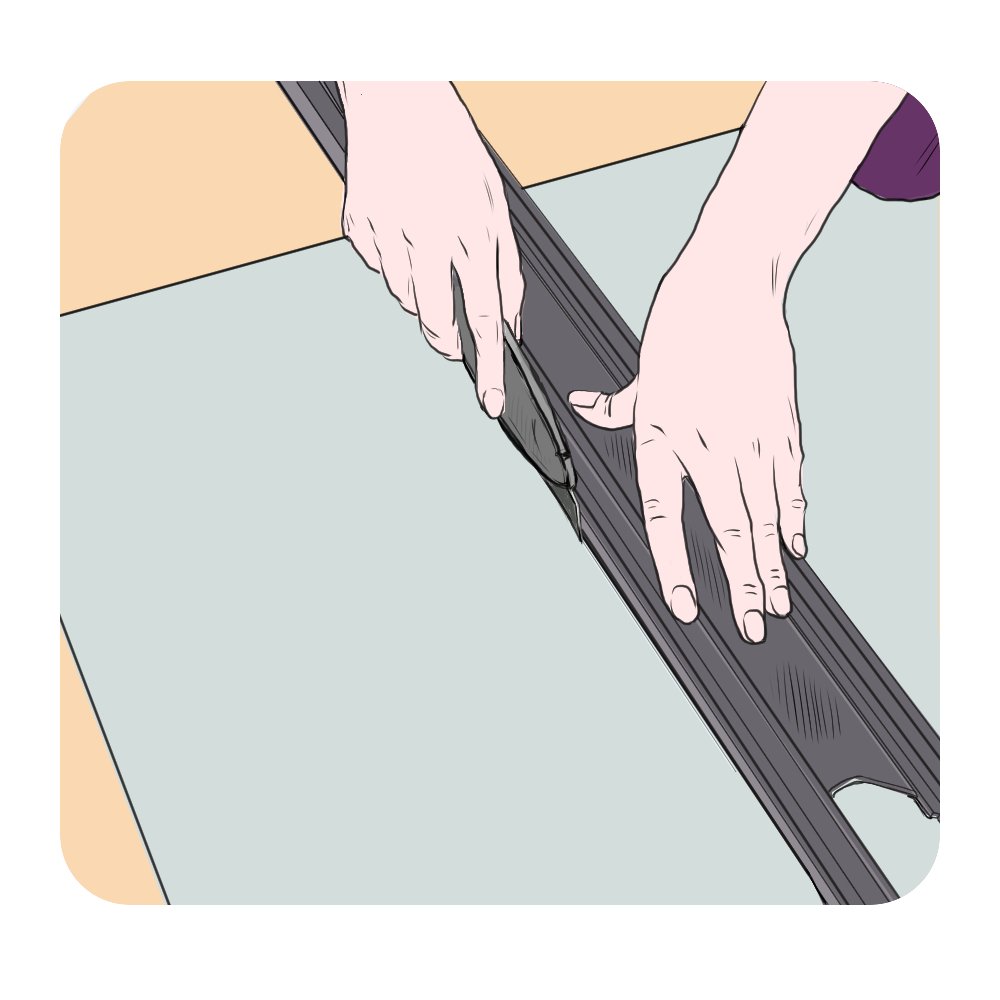
- Lay a board on the floor. Measure 12mm less than the floor-to-ceiling height.
- Mark the cut line with a pencil and a straight edge (e.g. a steel ruler or spirit level).
- Using a sharp knife and straight edge, cut along the marked line. Only cut through the top paper layer, no deeper.
2. Fold Over and Snap Plasterboard

- Lift the board off the floor and firmly push one side of the cut. It should snap along a clean line.
- Use the knife to cut through the paper layer on the other side.
- If necessary, use a plasterboard rasp to smooth out any rough edges.
Fitting Plasterboard
Follow the steps below to fix boards like a pro!
1. Position Plasterboard
Important Note: Standard plasterboard has a grey side and an ivory side. Ensure the ivory side is facing outwards when fixing boards.
- Starting at the door studs, carefully position a full-size board to cover half the door stud width and half the width of the next stud. To put it another way, ensure the joins align at the centre of a stud.
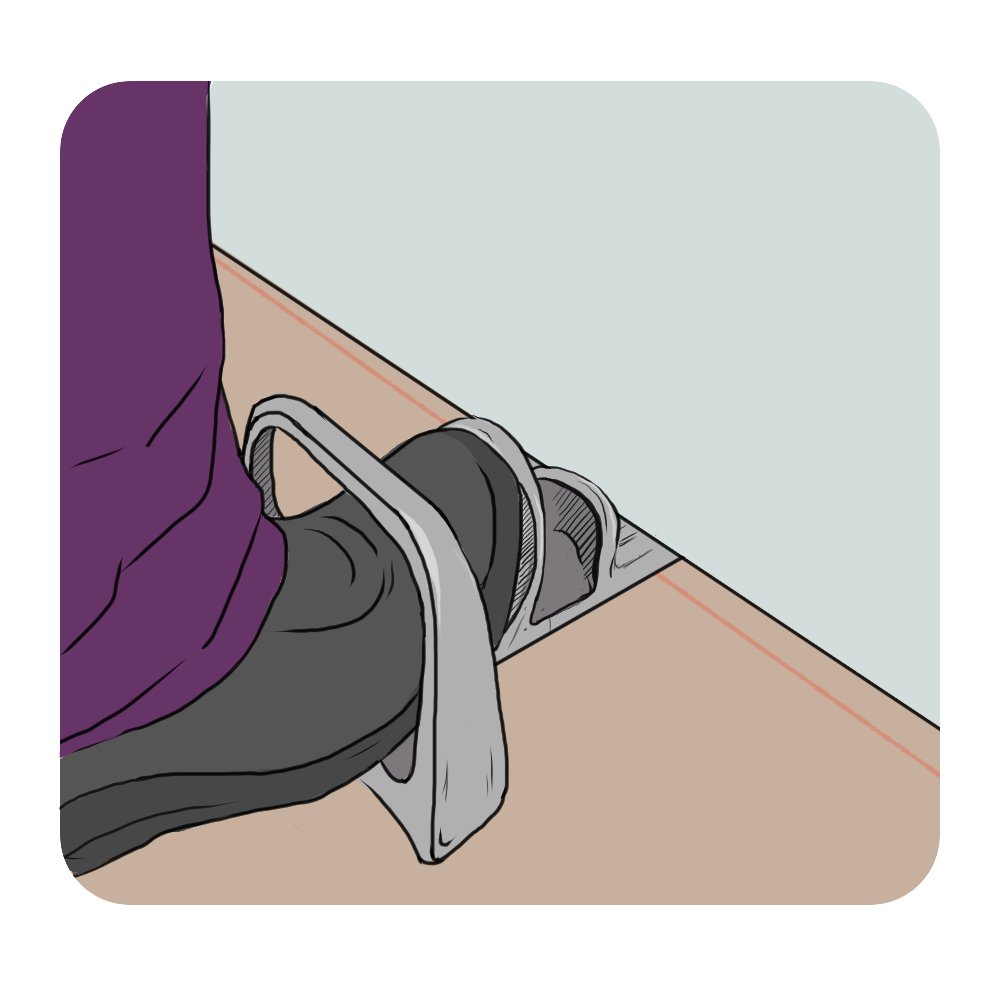
- Place a floor lifter at the foot of the board. Use your foot to press down and force the board against the ceiling.
2. Fix Plasterboard
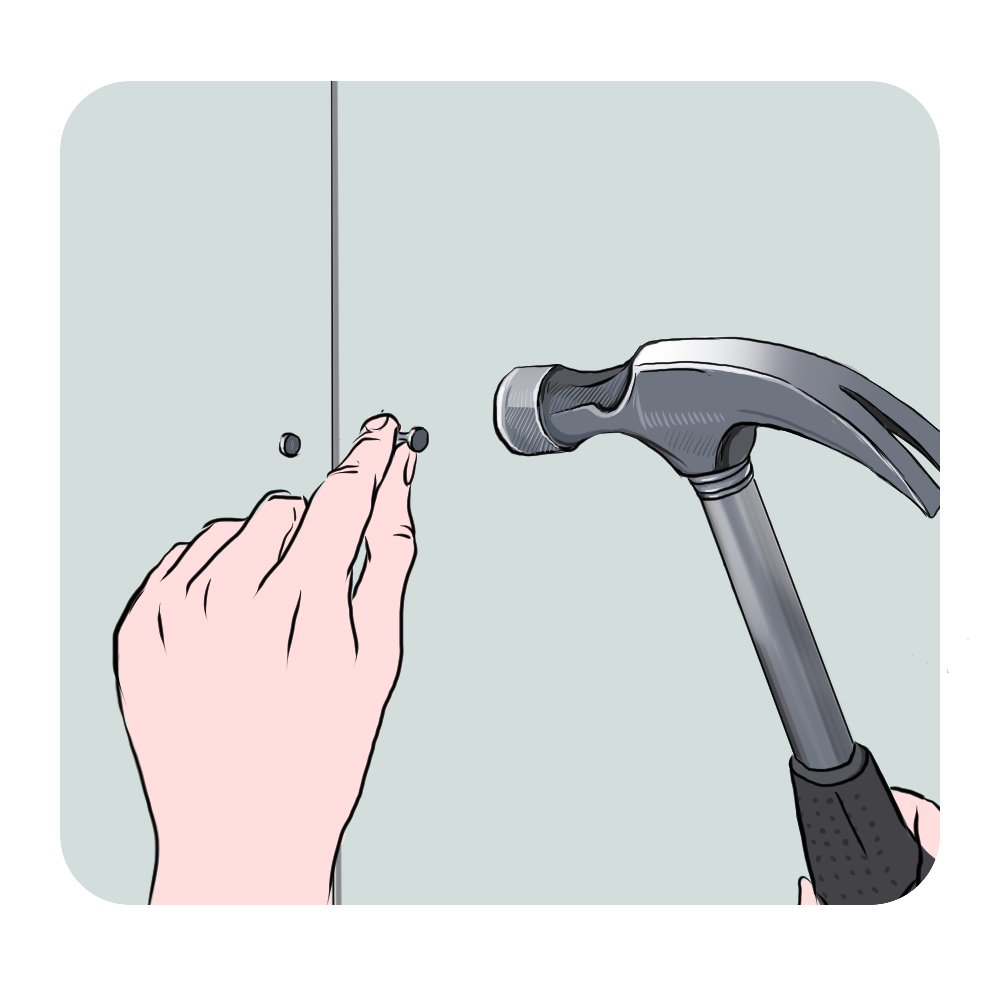
- Fix the boards in place with 32mm galvanised plasterboard nails along each side. Avoid starting at the corners, as this can over-stress the plasterboard. Place the nails at roughly 150mm intervals and 15mm from the edges.
- Test for a solid fit by ensuring the board doesn’t flex when applying pressure.
- Continue fitting boards, cutting them to fit above doorways and adjacent walls.
Taping and Jointing
Follow the steps in our guide to plasterboarding brick walls under the heading ‘Taping and Jointing‘.
Don’t fancy doing this job yourself? Find top-rated plasterers in your area by clicking the button below:
Dry Lining Tips — Final Thoughts
There are faster ways to cut and fix plasterboard than the steps above. For example, you could use an electric saw to cut the boards and a pneumatic nail gun to fix them. However, these advanced techniques require more skill and tools, whereas the steps in this guide are suitable for beginners.
Pro Tip: Check out our guide to plasterboarding a ceiling for more dry ling tips.