Unless you live in a flat with an internal kitchen and bathroom, knowing how to tile around a window is crucial when redecorating these rooms. This skill can also save you a considerable sum on hiring a tiler, especially given the cost of tiling a bathroom nowadays.
Yet how can you achieve a professional finish around windows where single tiles need trimming to size? The answer is with patience, precision, and some tile-cutting tools.
Tiling Techniques
When achieving a neat finish around a window, you must ensure a consistent gap between each tile and its neighbours while continuing any grout lines from other parts of the wall or room.
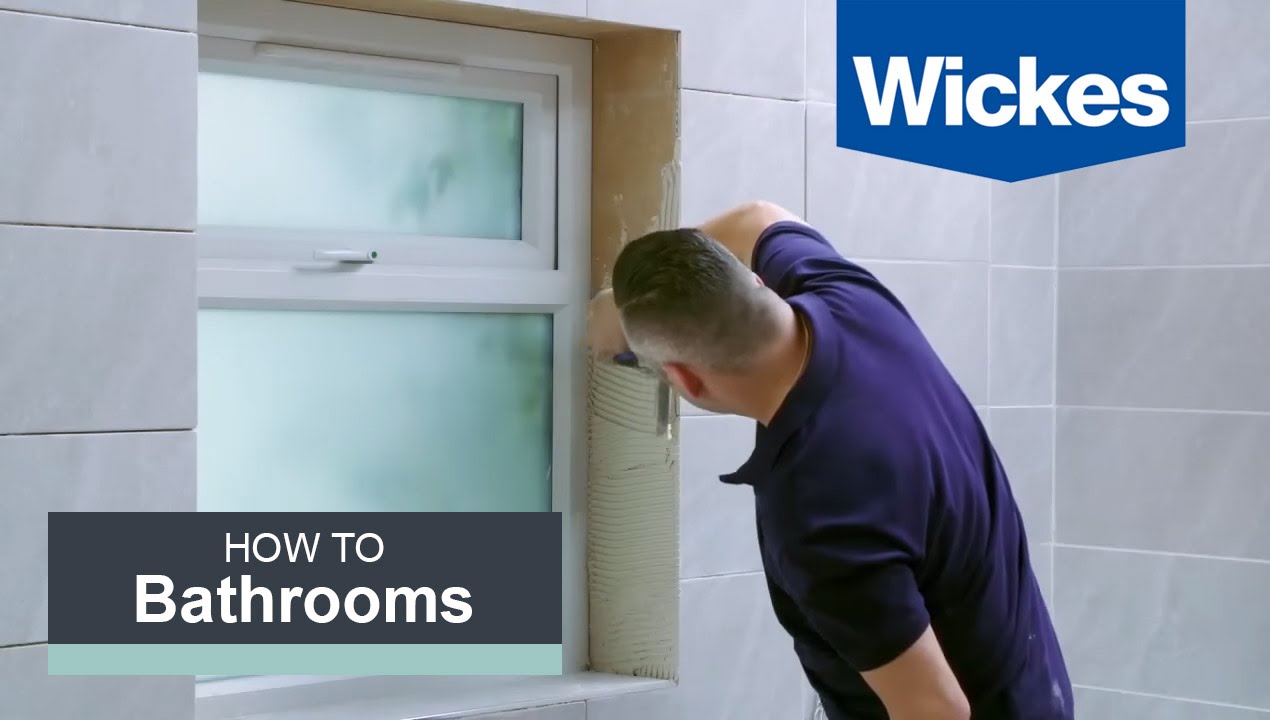
Because windows are simple square or rectangle shapes, a single tile width or depth should be sufficient down each side of the window if you’ve chosen a block tile pattern. However, hold each tile in position before cutting it in case the window recess isn’t entirely straight or even. You can see this in more detail in the Wickes video in step 1 below.
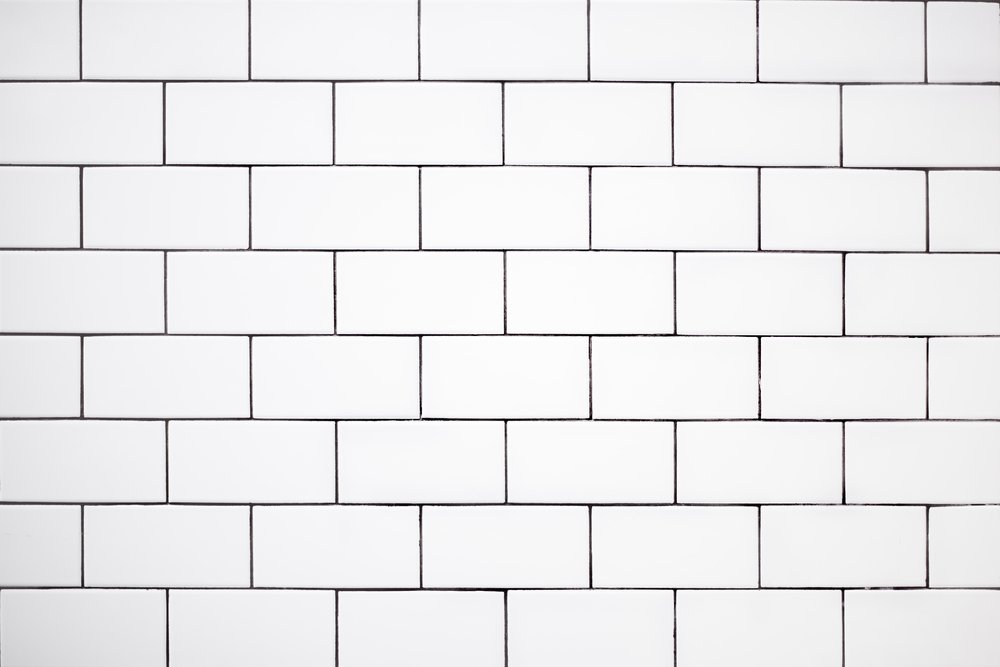
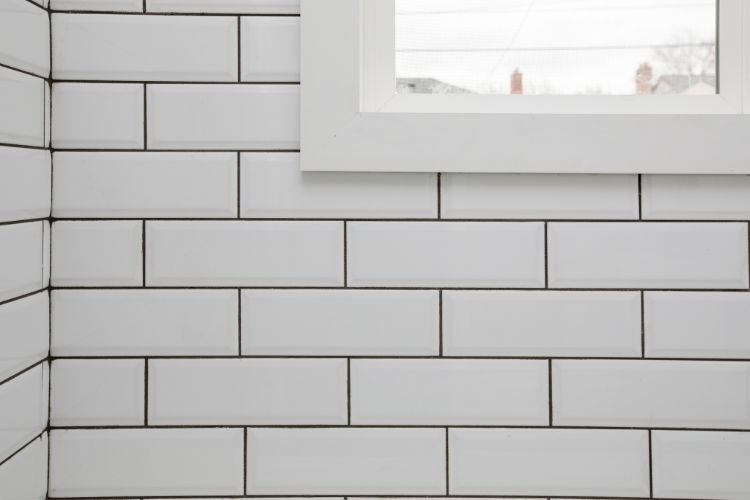
Many prefer brick-style tiles, especially in bathrooms, where each tile ends midway along its neighbours’ length. In scenarios like the image above, you’ll need to alternate shorter and longer tile pieces to achieve a consistently flush finish with the window.
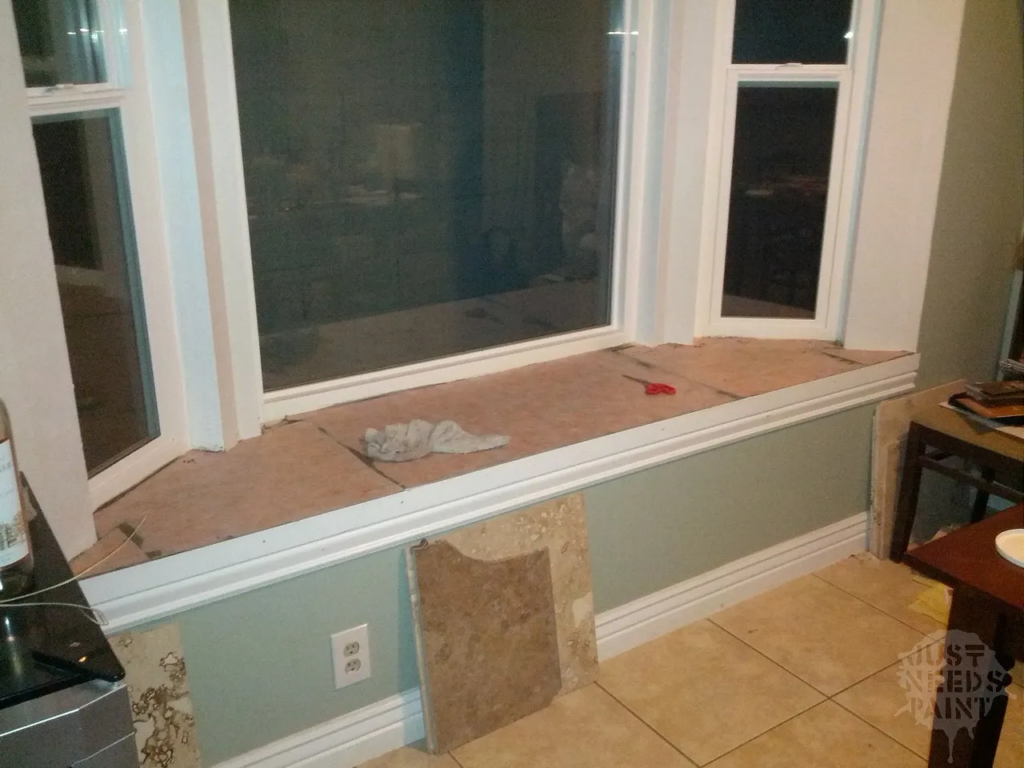
You can also tile over a windowsill already in situ. This approach delivers a cohesive effect, but ensure you cut the protruding lip off the sill so it’s flush with the wall. You then tile over it as if it were plasterboard.
The mid-project image below from Just Needs Paint demonstrates how a trimmed windowsill might look before it’s tiled.
Cutting Comments
Achieving a professional finish requires every tile around a window to be precisely measured and cut. In most rooms, windows are the primary natural light source, so rough edges will be cruelly exposed to sunshine and shadows.
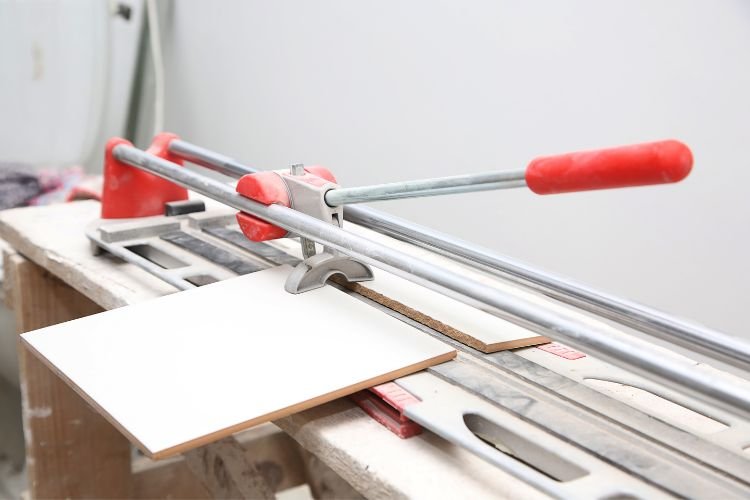
Your choice of cutting equipment is between a manual and an electric tile cutter, though you can also use an angle grinder to cut tiles.
A manual cutter won’t be able to handle the L-shaped cutouts required for window corners — a tile nipper is often easier. Alternatively, clamp the tile on a workbench and cut it with a hacksaw. We wouldn’t recommend this, though — it’s tiring work!
Your choice between a manual or electric tile cutter depends on personal preference. Some people appreciate the speed and assistance offered by electric versions. In contrast, others argue that a manual cutter delivers more accurate results.
These are the main pros and cons of each option:
| Manual Tile Cutter | Electric Cutter | ||
| Pros | Cons | Pros | Cons |
| No power supply to worry about | Can struggle with floor tiles or thicker tiles | Most cutters have water cooling for ongoing use | Low-power motors may struggle to cut through thicker tiles |
| A lightweight and cost-effective option | Can’t cut an L-shaped tile | Easy mitre cuts on models with table tilts | More expensive to buy and run |
Tools & Materials
As outlined above, you can choose between a manual or electric cutter. For simplicity, we’ve referred to a manual one throughout this guide, but you’d use both devices similarly.
Tools
- Mitre block
- Hacksaw
- Trowel
- Grout float or spreader
- Grout finisher
- Bucket
- Sponge
- Tile cutter (manual or electric)
- Tile nippers (if not using a tile cutter to trim L-shaped pieces)
- Saw (if tiling inside the window surround)
Materials
- Tape measure
- Felt tip pen
- Tiles
- Tile adhesive
- Spacer blocks
- Ready-mixed grout
- Edging trim
- Waterproof sealant (if tiling inside the window surround)
- Wooden planks (if tiling inside the window surround)
How To Tile Around a Window — Step-by-Step Instructions

To ensure the best results, we recommend working in daylight. If possible, open the window for ventilation because cutting tiles creates a lot of dust. There’ll be a lot of tiles to cut and measurements to check, so it isn’t practical to do this in an outbuilding or garden.
1. Measure the wall
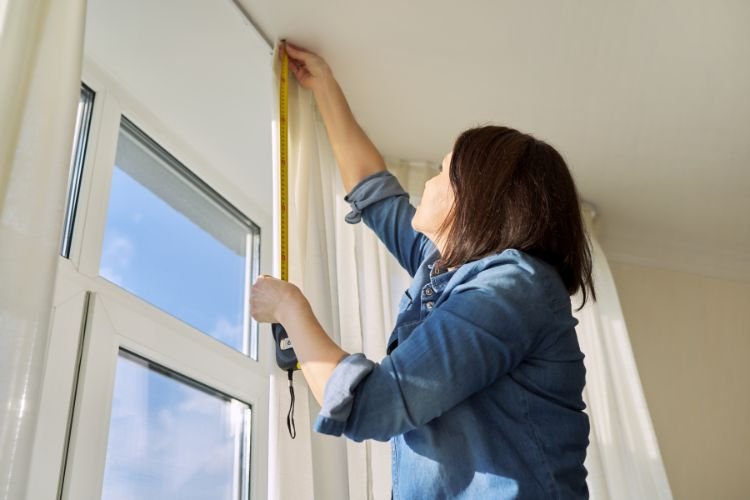
For the best result, centre the tiles on the window rather than on anything else in the room. Having identically sized tile pieces on either side of the window achieves an attractive symmetrical appearance.
The Wickes video below demonstrates how to achieve a symmetrical appearance from 0:18 onwards.
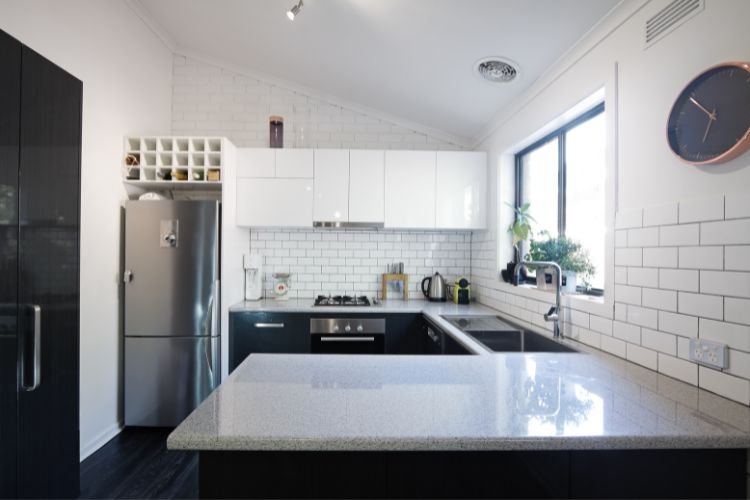
Larger rooms tend to suit bigger individual tiles, whereas a compact room might look better with rows of brick-effect tiling used to create a staggered pattern.
2. Start at the bottom of the wall
You’ll be doing plenty of conventional tiling, using the principles we recently outlined in our comprehensive guide to tiling a wall.
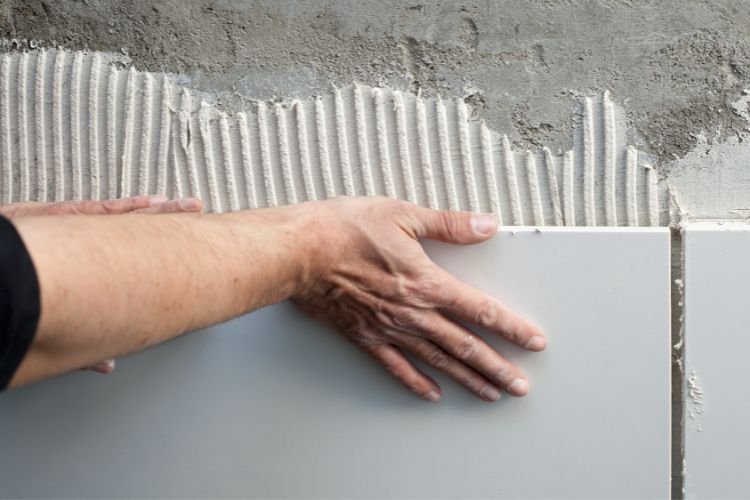
Place your first tile centrally below the window at the floor or skirting board level, and work sideways, applying small amounts of tile adhesive at a time.
In this B&Q video, from 4:46 onwards, they demonstrate the advantages of only applying enough adhesive to fit a handful of tiles at a time.
Spacer blocks create uniform gaps between each affixed tile and the next. This will be essential when it’s time to apply grouting in step 10.
Work upwards until the next row of tiles would obscure the window if they weren’t cut. At this point, tile the rest of the wall with whole tiles, working away from the window in each direction until you’re left with an untiled square or rectangle around the window itself.
This approach is a more efficient way of tiling than doing individual rows and then pausing to cut tiles to shape. It also gives you more impetus to crack on and finish the job once the pace slows down!
3. Cut the first tiles to size

Now you’ve covered the accessible parts of the wall, it’s time to tackle the areas immediately surrounding the window. Again, start centrally at the bottom above the last whole row of tiles.
- Hold a tile in place with a spacer block resting on the last whole tile underneath the window recess.
- Measure the gap to the horizontal shelf or window sill.
- Draw a neat felt tip line across the section of protruding tile.
Pro Tip: Remember to use the Measure, Score, Break technique for splitting tiles.
- Shear the tile in two using whichever cutter you prefer, leaving a reasonably neat edge. You’ll be applying edging over it, so the accuracy of the cut is more important than achieving a perfectly smooth finish.
- After each cut, hold the tile in place and ensure it’s a good fit. If it looks okay, affix it to the wall with some adhesive before moving on to the next tile.
These techniques are highlighted in the DIY Tiles video below.

Cut all the tiles to fit below the window using the same techniques until you come to the corners…
4. Cut L-shaped tiles to fit the corners
Unless you’re lucky with your tile sizes, you’ll probably need L-shaped tiles, as shown in the image above.
Hold the uncut tile in position and measure the overhang as illustrated in the video below from 2:08 onwards.

You can use an electric cutter to partially slice the tile before turning it 90 degrees or tile nippers to cut along the marked lines. Either way, the cut tile should fit snugly around the corner of the window.
Pro Tip: Although a manual tile cutter can’t make right-angle cuts, you can still use it to score the requisite lines. This simplifies using a tile nipper.
Attach the corner tiles in place, ensuring they look symmetrical — they should effectively be mirror opposites.
These are the most challenging tiles to cut, so don’t despair if your first attempt cracks or isn’t a perfect fit. This is one reason experts recommend buying 10% more tiles than you need.
This E-Learning Resources video shows the mechanics of cutting an L-shaped tile.
5. Cut the tiles to fit the sides
Some people leave the window recess untiled, while others extend the tiling to the window frame. In the former scenario, you’ll need to cut one tile to go on the wall; in the latter, you’ll have to cut a second tile to sit adjacent to it within the recess.
Pro Tip: If you’re also tiling the recess, it’s usually easier to do the wall cuts first and then do the recess cuts afterwards once the surface wall is fully tiled.
If you’ve gone for an overlapping tile pattern, remember that you’ll end up with alternating long and short tile pieces along each side of the window. Pay attention to which tile goes where to avoid ruining the pattern.
To achieve a cohesive finish, the recess and wall tile pieces must be at identical heights on either side of the window. However, this should occur by default if your measurements are accurate and you’ve installed the surrounding uncut tiles correctly.
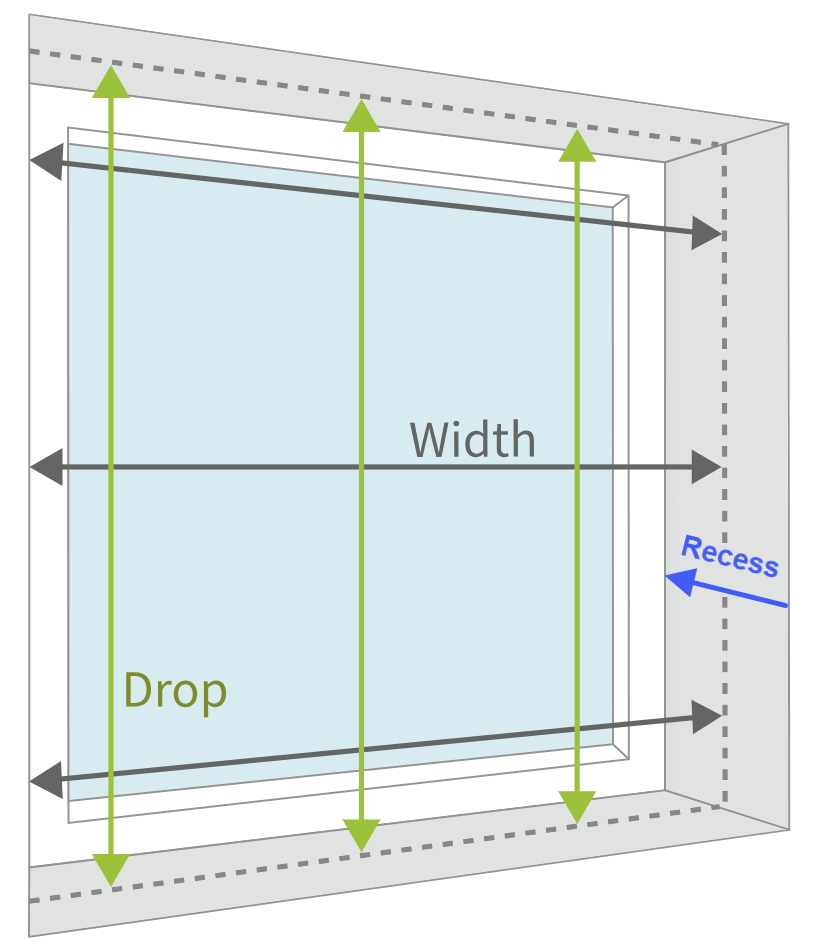
Pro Tip: If window terminology confuses you, check out this handy page highlighting the different parts of a window.
Repeat the measuring technique outlined in step 3 before cutting each tile to size and securing them in place.
Always complete one side of the window before moving to the other. If you’re tiling the recess, leave a 3mm gap between every tile and the window frame. Flexible sealant will be added here later.
6. Repeat the corner measurements at the top of the window
This is a repeat of step 4, except it’ll be more challenging because you’ll be off the ground and potentially balancing on a ladder.
Create two more L-shaped tiles, ensuring they fit snugly around the top of the window recess before affixing them into place.
7. Add tile trim
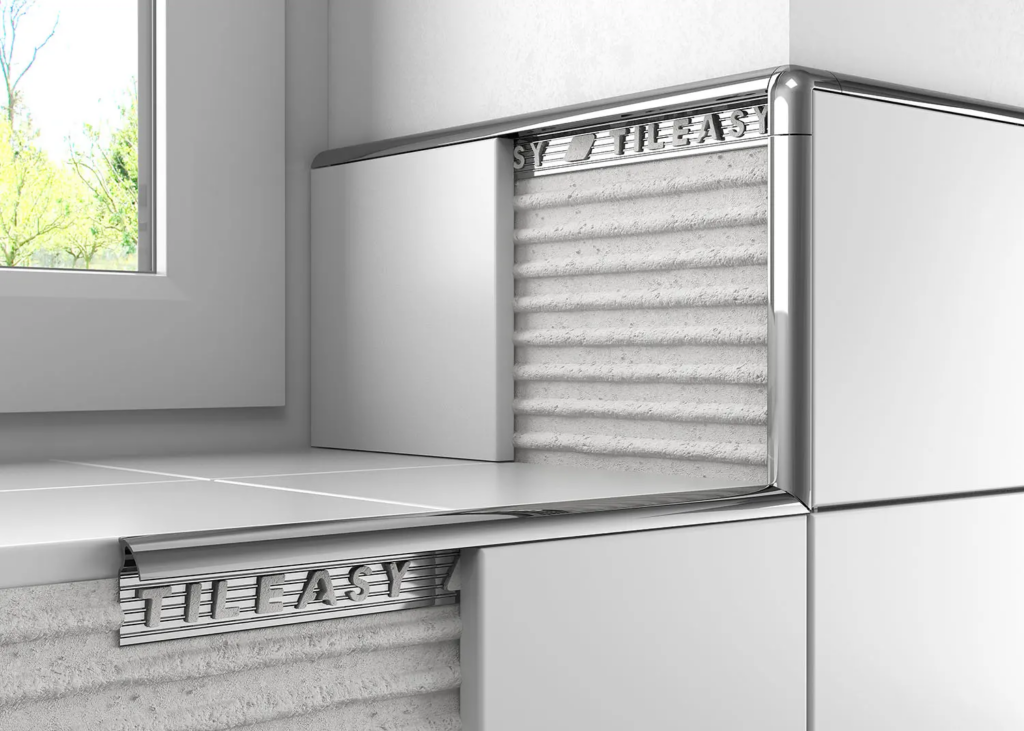
Tile trim forms a decorative cover for the cut tile edges, so there must be no gaps.
- Start by measuring the length of the L-shaped tile trim you want for each section of the window surround before cutting it roughly to size.
- Take your mitre block and insert the hacksaw at a 45-degree angle to slice through your decorative tile trim at both ends. This will enable it to dovetail with similarly cut strips on the other three sides of the window.
Pro Tip: Cut all four strips and ensure they marry neatly before fitting them!
- Position the first strip along the bottom, working clockwise or anticlockwise around the window. Many trims are self-adhesive with peel-off strips, but you can use a smear of tile adhesive as an alternative. Apply this sparingly since you don’t want the trim to sit proud of the tiles.
The benefits and mechanics of adding tile trim are demonstrated in this short video from Unibond.
8. (Optional) Tile across the top of the window recess
If you’re only tiling around the window, you can skip this stage and the next one. However, if you’re also tiling the recess, there are some specific challenges to overcome.
You might wonder why we recommend applying tile trim before some tiles. The answer is that the trim helps hold the upside-down tiles in place. However, it won’t be sufficient to prevent them from falling off during the 24 hours it takes for tile adhesive to fully dry.
Once you’ve cut your first top tile, ask someone to hold it in place while you measure the vertical drop to the window sill or the tiled sill directly beneath it.
9. (Optional) Build a timber support for the top tiles
Cut three planks of timber using a saw — two to the height you’ve just measured and one slightly less than the window’s width.
Wedging these planks within the window frame will secure the upside-down tiles in position overnight while their adhesive dries.
This effective low-tech solution is demonstrated in the Homebase video below, from 0:46 onwards.

10. Grout the tiles
Once the adhesive has dried, you should have consistent and uniform gaps between the tiles across the wall horizontally and vertically.
Pro Tip: We recommend using ready-mixed grout for speed and simplicity. Powdered grout needs mixing with a paddle and starts drying out within half an hour.
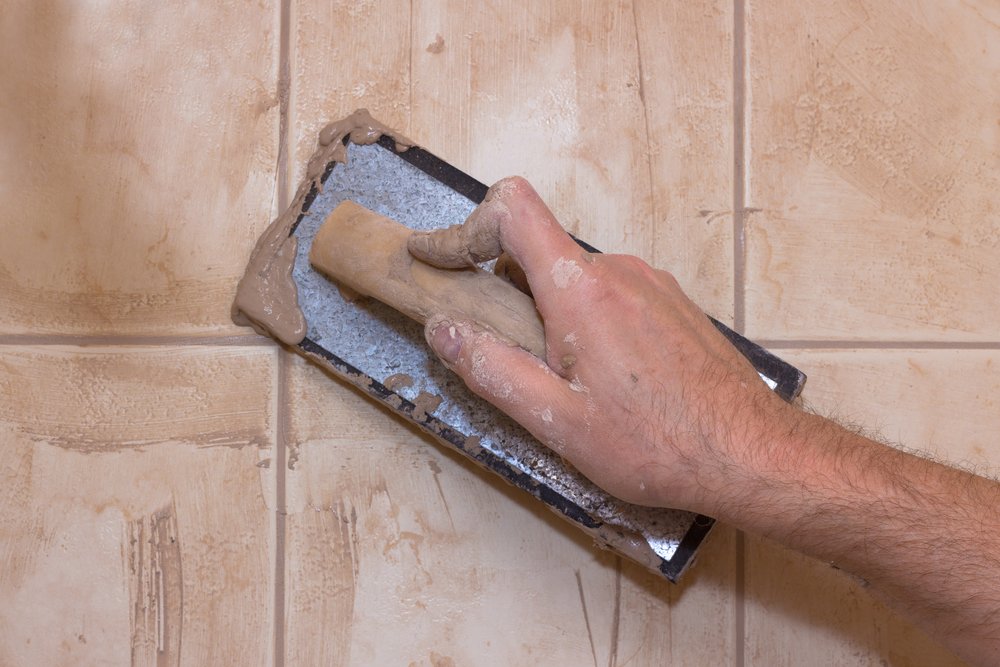
Roughly apply the grout with a spreader, sweeping it diagonally across the gaps between tiles. Scrape away any excess with the edge of the spreader.
Next, run the ball end of a grout finisher along each freshly grouted tile edge. This will create a consistent, smooth grout line between all the tiles.
Wipe away excess grout before it starts to dry, which happens quickly! Next, wipe the tiles down with a damp sponge, rinsing it constantly.
Our guide to regrouting tiles like a pro discusses these techniques in more detail.
If you’ve tiled inside the window recess, apply flexible sealant between the window frame and the nearest tile edge. Pipe it out of the sealant nozzle in neat vertical and horizontal lines. Wipe away excess and then smooth the sealant out with the ball end of the grout finisher.
11. Polish the tiles
Wait overnight until the grout has completely hardened, and then buff the tiles with a dry cloth. This step is necessary to remove the milky powder that will inevitably settle on the tiles after grouting.
Pro Tip: If possible, wait two days before exposing the tiles to abrasive cleaners, steam or running water.
Final Thoughts
This job requires precision and patience rather than specialist skills or advanced equipment.
The first few tiles might take a while to measure, cut and install, but your pace will increase as you go.