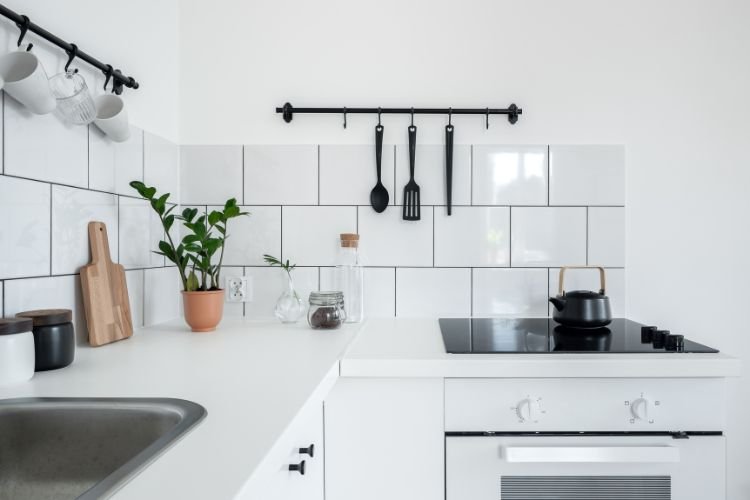
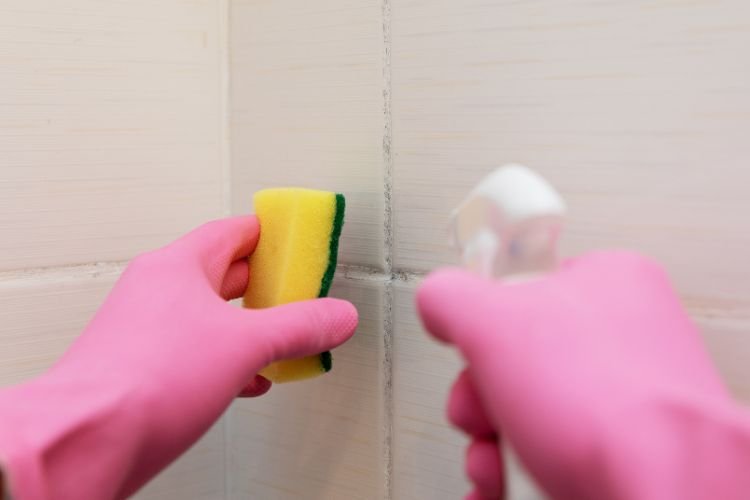
Over the years, I’ve undertaken various hotel inspector and mystery guest assignments. One of the first things they trained me to look for was mouldy bathroom grout — a surefire sign of missed maintenance and deteriorating cleanliness.
Tiles can last for decades, but the grout holding them in place requires more frequent attention. Fortunately, knowing how to regrout tiles doesn’t require professional training. Anyone can transform a tiled area’s appearance with the right tools and a steady hand.
Tools & Materials
Most regrouting is done manually, but we also discuss a mechanised alternative below, which can speed up the process. If you want to rely on more time-honoured regrouting methods, these are the tools you’ll need.
Tools
- Carbide remover rake or multi-tool removal blade
- Scraper
- Grout spreader or float if you’re covering a large area
- Finisher tool
- Sponge
- Cloth
- Bucket
- Dust mask
- Gloves
- Knee pads
- Goggles
- Vacuum cleaner
Materials
- Tile grout
- Dust sheets
Oscillating Multi-Tool — Pros and Cons
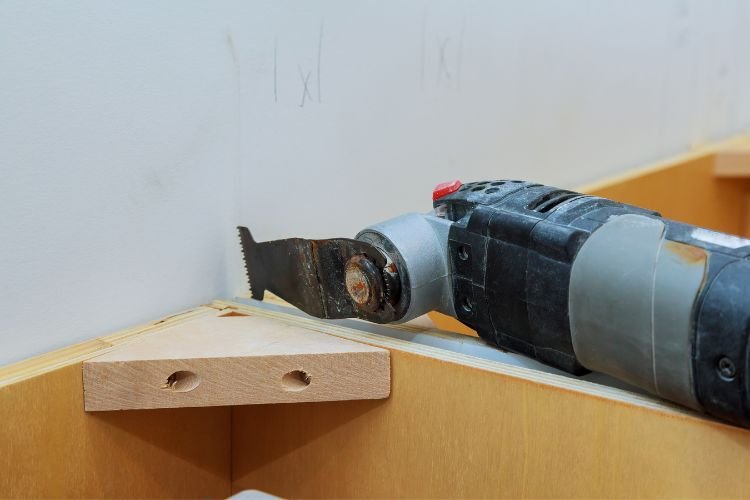
While the tools listed above enable you to scrape out existing grout, some DIYers swear by (rather than at) oscillating multi-tools.
Available in corded or cordless form, these power tools accept various blades capable of grinding, cutting and polishing.
After the original developer’s patent expired in 2009, multi-tools exploded onto the market, and most large power tool manufacturers now sell them.
When fitted with specialised cutting blades, oscillating multi-tools do a good job of removing grout. However, they do pose a few drawbacks.
Below are the main pros and cons of using an oscillating multi-tool to remove grout.
| Pros | Cons |
|---|---|
| Easy to use, with variable speeds. | Battery-powered devices often lack power and can go flat mid-job. |
| Reduces the manual labour involved in chiselling out grout. | Grout removal requires specialist blades, which are usually sold separately. |
| Simplifies grout removal in awkward spaces like corners or near ceilings. | Purchase costs can be considerable. |
| Some multi-tools have integrated lights, making it easy to follow lines and stay precise. | It’s another device to store in your tool bag. |
Bear in mind that the size of your job might steer you towards (or away from) a multi-tool. For example, it’s a worthwhile purchase if you’re regrouting a half-tiled en-suite. However, the manual method will suffice if you only replace one or two cracked tiles.
The video below by Home Repair Tutor demonstrates the differences between manual and multi-tool grout removal.

A Fright on the Tiles
Before explaining how to regrout tiles, let’s take a moment to consider why it’s necessary.
Tiles are secured with dedicated adhesive, and grout is used to fill the gaps between each tile. It works with the adhesive to help prevent individual tiles from moving.
Grout will discolour over time as it’s exposed to algae, dirt and other contaminants. It may also dry out and start to crack or crumble. This damage isn’t only unsightly — it could allow moisture to penetrate behind the tiles, where it might weaken their adhesive backing. This issue is especially problematic with floor tiles since they could become unstable underfoot.
Always ensure you purchase the correct type of grout for your requirements. For example, use anti-mould grout for areas with high moisture levels, like behind a kitchen hob or sink. There’s also a big difference between water-resistant and waterproof grout — the latter is the only variety suitable for installing in shower cubicles, for instance.
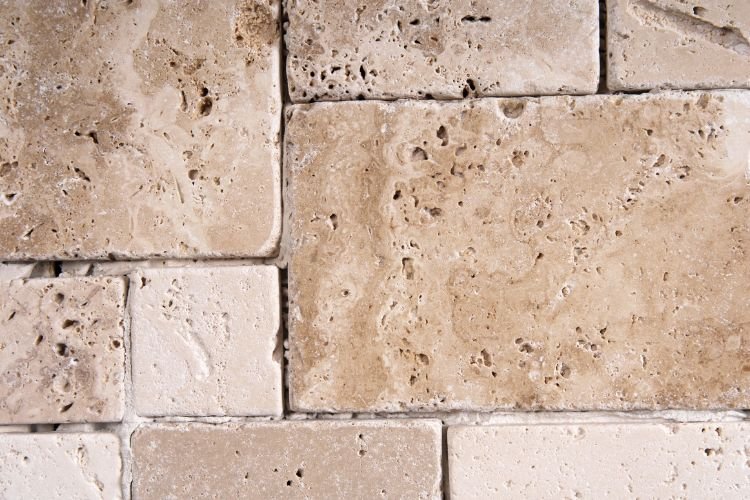
Using Grout to Add Character
Replacing grout is a cost-effective way to improve the appearance of a tiled wall or floor. It’s sometimes undertaken alongside painting tiles, giving a quick lift to splashbacks and countertops. A simple application of brilliant white grout could modernise an otherwise dated wall or floor.
You can also replace one colour of grout with another. Grey is an increasingly popular choice since it complements naturally coloured tiles and doesn’t discolour like the historically more popular white alternative. However, fresh white grouting denotes cleanliness and works well with white tiles — though dark tones may provide a welcome contrast.
Pro Tip: Powdered grout can be mixed with coloured pigments for a specific shade. Ready-mixed grout is usually only available in a handful of monochrome hues — white, grey, charcoal, etc.
How To Regrout Tiles — Step-by-Step Instructions
There are two distinct stages to this process.
First, you have to remove the existing grout. Don’t believe DIY guides claiming this is a quick or straightforward process — it takes time and patience.
Next, you have to apply the new grout. This step requires a different skill set — quick work and attention to detail.
Remember that you won’t apply grout where tiles meet another surface, like a sink or door frame. For these areas, you’ll need to use silicone sealant.
Pro Tip: Grout comes in powdered or ready-mixed varieties, but we recommend using the latter. It’s quicker, generates less mess and doesn’t dry out within half an hour as the powdered form tends to. Ready-mixed grout also has a standardised consistency, which you might struggle to replicate without a paddle mixer.
1. Prepare Work Area
Grout removal generates dust clouds, so we recommend wearing goggles and a mask.
Dust sheets protect floors from falling chunks of grout, which might get lost in carpet fibres or scrape against tiled/laminated surfaces. Use masking tape to secure dust sheets in place against walls, skirting boards or doorframes.
You also need to think about other surfaces, such as:
- Insert plugs into uncovered sinks or baths to prevent grout from falling down plugholes, where it might prevent water from draining away.
- Remove portable items like bath mats or toilet roll holders to prevent them from accumulating dust.
- If you’re working in a kitchen, ensure no foods, utensils, crockery or glassware are exposed to floating grout particles.
Maximise ventilation while removing grout by opening windows and doors, creating a through-draught within your home.
2. Use Grout Remover
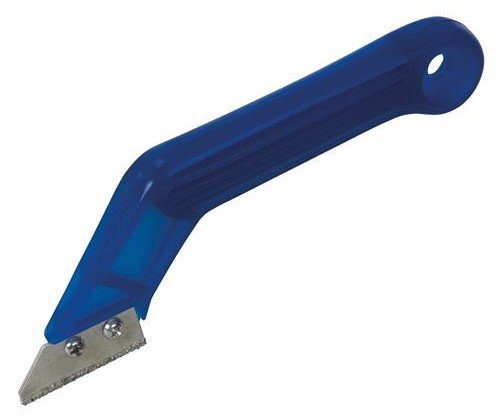
Use a new carbide remover rake or multi-tool removal blade to slice through the grout.
Start in the middle of the area you’re tackling, leaving trickier corners until you’ve had some practice. Some DIY guides recommend doing all the horizontal lines before all the vertical ones (or vice versa) but work whichever way you feel most comfortable.
Run the blade along the side of each tile without pressing down into it, achieving a clean cut without scoring the tile itself. Once you’ve done this along the sides of each section of grout, it should feel loose. You may need to use tweezers to dislodge the first piece.
From this point onwards, ensure you’re always working on a section of grout with a missing neighbouring piece. Not only will this be easier to access, it also has less material to grip onto.
Don’t worry if you leave fragments behind after your first cut — you’ll remove them in the next step.
You’ll probably have to use more than one blade if you’re covering a whole wall or floor. Don’t persevere once an existing blade begins to dull since it could make a neat job much more challenging.
3. Use Scraper to Knock Out Remaining Pieces
Scrapers are usually the ideal size to run between two tiles. They’ll snag on (and knock out) any grout which is left behind. Ensure the recessed edges of each tile are fully exposed, with no material clinging onto them.
4. Clean Tiles
This step serves two purposes. Firstly, it catches small pieces of grout that the scraper missed. Secondly, it provides a clean and dust-free surface for new grout to bond onto.
Hold a vacuum to the tiles to suck up dust and crumbs between them. Wipe the tiles with a damp sponge once you’ve eliminated the old grout. Leave to dry before moving on to the regrouting process.
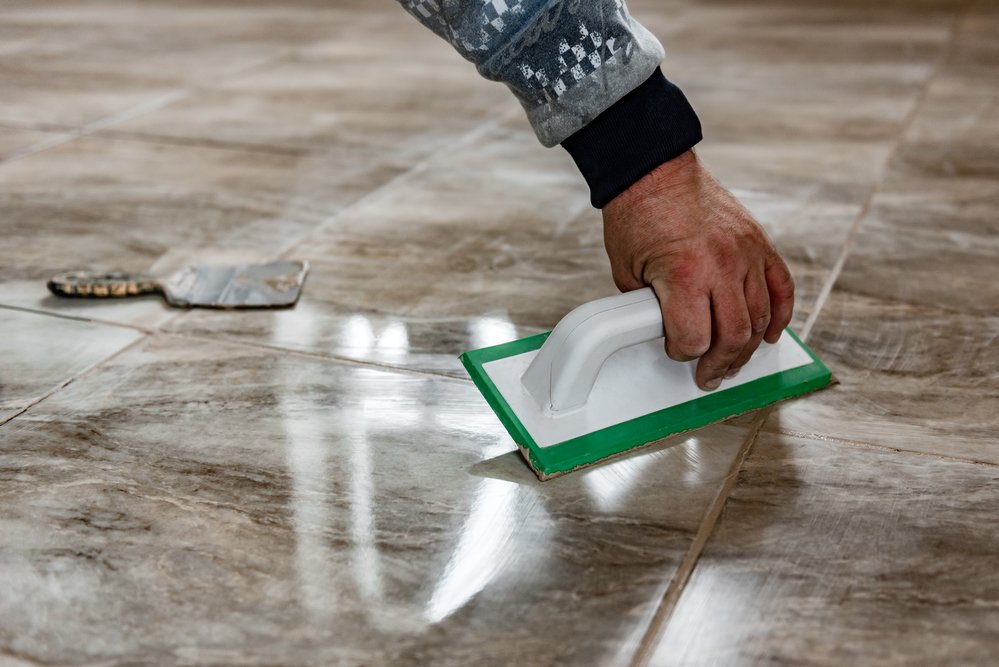
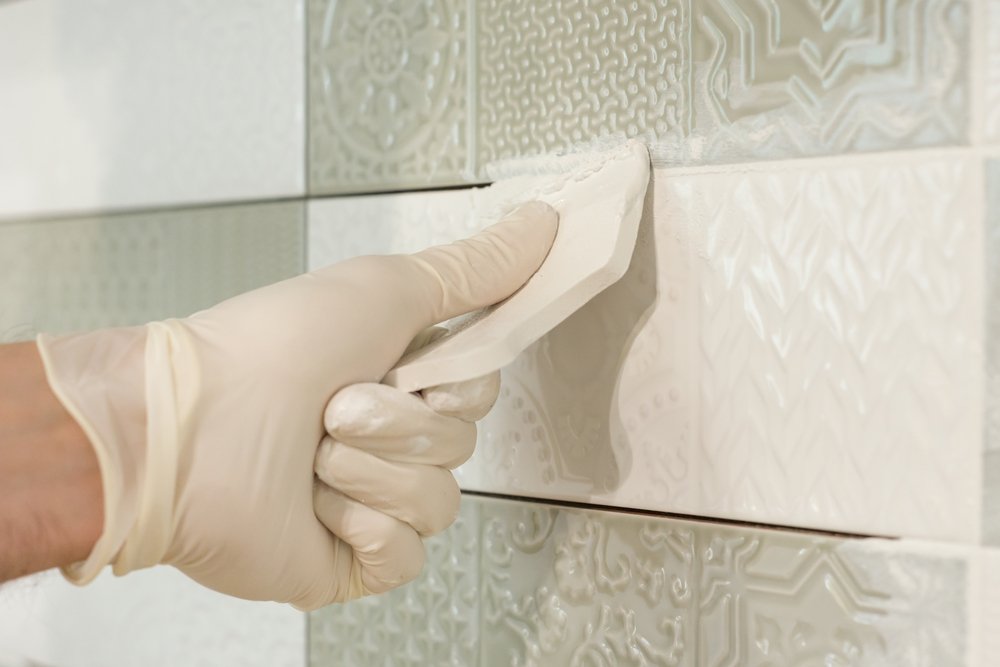
5. Roughly Apply Grout
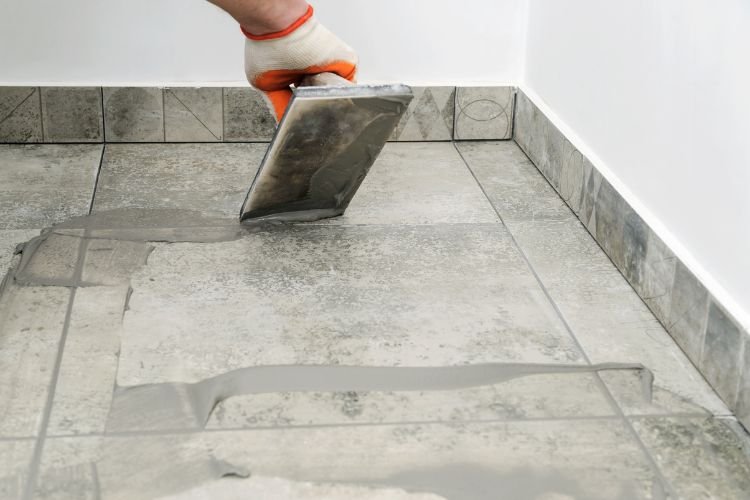
This part is messy, and you might initially despair as your tiles become liberally coated with grout. However, it’s hard to grout between tiles without making a mess.
Put a small amount of grout onto the spreader (or float if covering an entire wall or floor).
Sweep the tool across the tiles in diagonal movements along every gap between tiles.
After each application, use the edge of the spreader to scrape up excess paste, which you can reuse elsewhere.
Pro Tip: If you miss any strips, it’s possible to roughly fill gaps by putting grout on your pinkie and pushing it into the gaps. You can see this technique and others in the short video below:
6. Quickly Wipe Away Excess
Grout’s quick-drying nature is good for constructing a tight seal between tiles but not so good for the residue it leaves behind.
Use a damp cloth (not too wet) to wipe away excess grout while it’s still pliable.
Work slowly, ideally in full daylight or under bright interior lighting. Any grout you fail to clean off at this stage will prove harder to remove later.
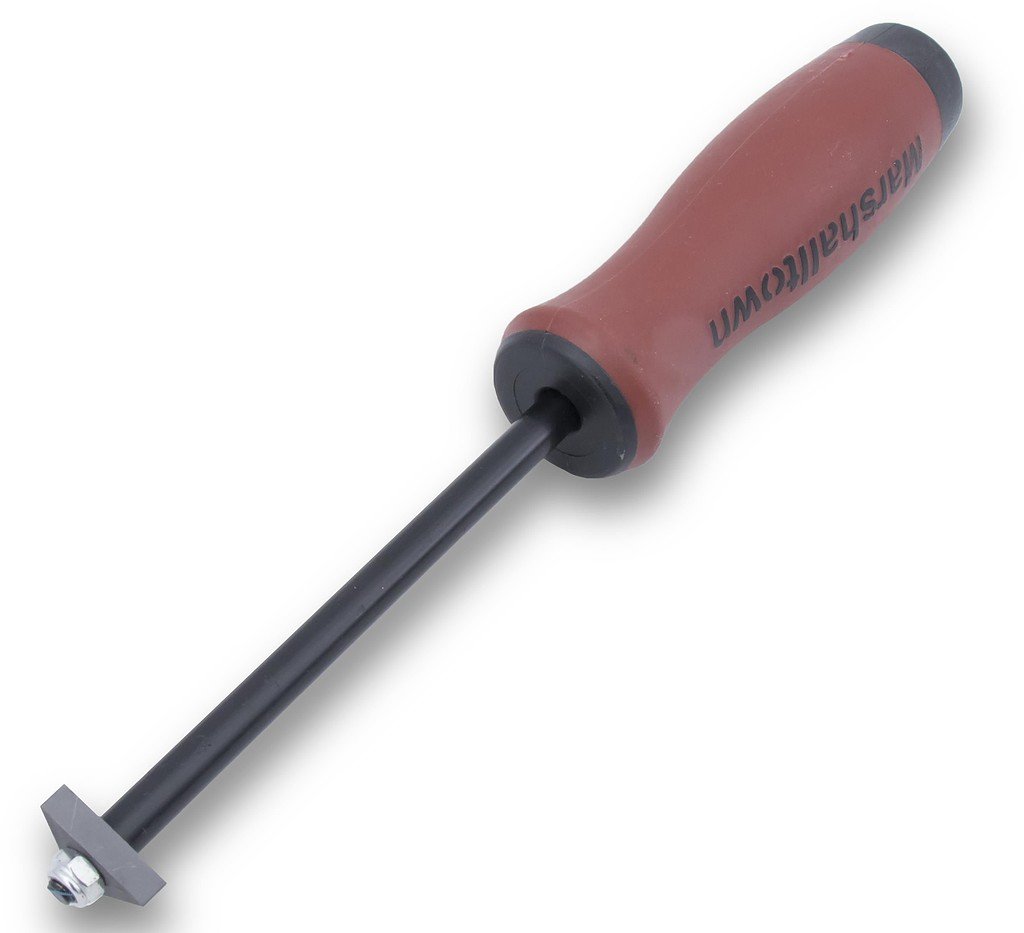
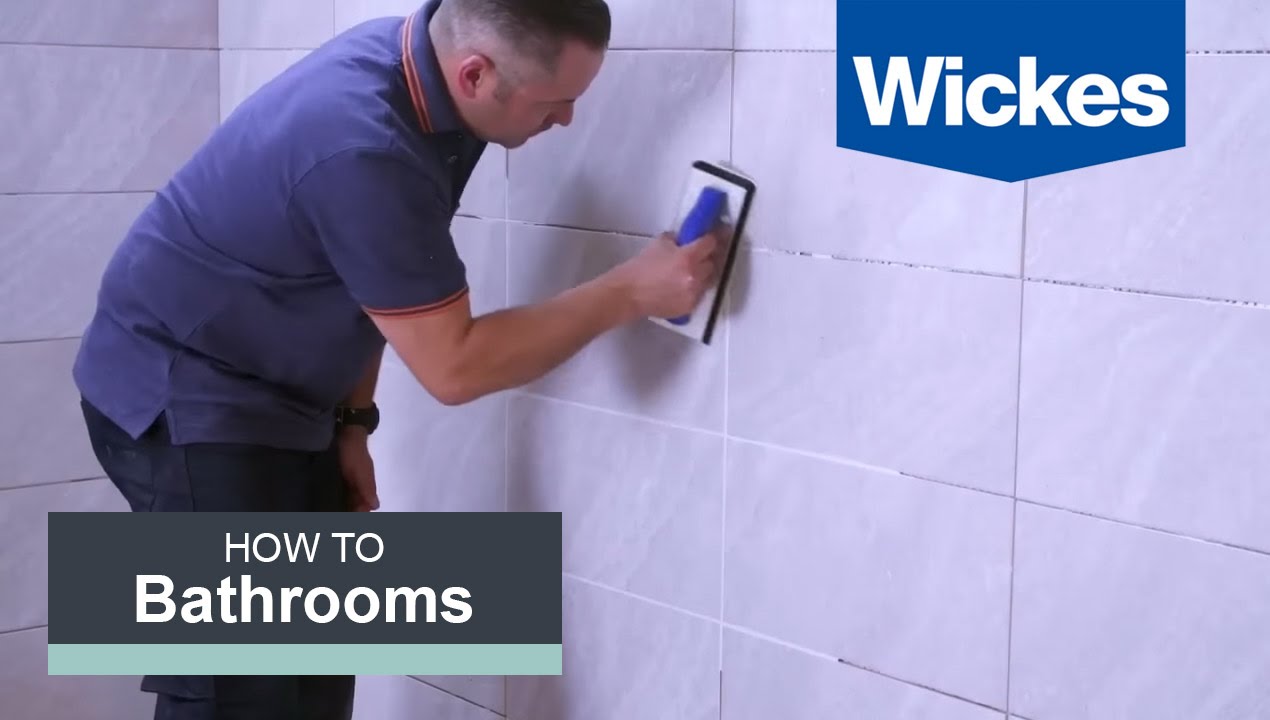
7. Run a Finisher Over Grout

Finishers have a scraper at one end and a small ball at the other and are designed to achieve a consistent appearance.
Slowly and smoothly run the ball down any channels grout has been inserted into, creating a neat, consistent line between each tile. Wipe away any excess as you go.
This B&Q video demonstrates how to use a finisher from 3:36 onwards.

8. Wipe Tiles Down Again
After ten minutes, repeat the diagonal motions across the tiles with a damp sponge. The aim is to remove the inevitable chalky film that accumulates during grouting.
If you notice any grout on the surface of the tiles, try to scratch it off with a plastic spatula. Avoid anything harsh, like a knife blade, which might score the tiles if it slips.
Repeatedly rinse off your sponge as you wipe. Otherwise, it could move the film around instead of removing it.
9. Add a Little Polish
Even after washing the tiles, a fine layer of powder might remain. Buff this away with a dry cloth the following day, bringing the tiles up to a shine.
Don’t use abrasive cleaners until the next day, as this gives grout time to harden and bed in.
Pro Tip: If you’ve regrouted a shower, wait a week before using it to ensure the grout is fully set.
Final Thoughts

Compared to other DIY jobs, regrouting tiles isn’t complex. Nor does it require specialist tools unless you want to use an oscillating multi-tool to make life easier. It does, however, require plenty of patience and diligence.
As you’ll discover, regrouting tiles can produce impressive results, especially if combined with other projects, such as painting a bathroom or kitchen cabinets.
Pro Tip: If you want to know more about stripping back old tilework, check out our guide to preparing a wall for tiling.