When I moved into a brand-new house many years ago, I immediately noticed bulges in the freshly laid vinyl flooring.
After ripping it up, I found the subfloor was covered in tiny concrete lumps. This discovery provided a salutary lesson about the importance of installing vinyl flooring properly.
The time I spent rectifying this issue helped me write this comprehensive DIY guide on laying vinyl sheet flooring like a pro.
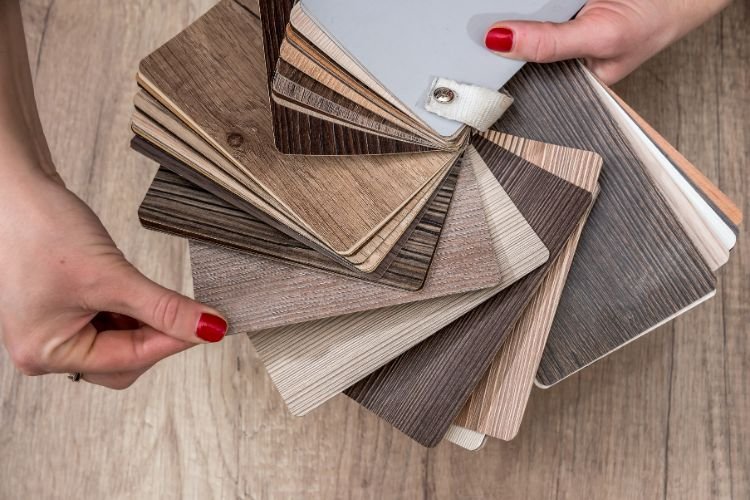
What To Consider When Buying Vinyl Sheet Flooring
Below are the most important factors to consider when choosing your vinyl.
Underfloor Heating

Most vinyl flooring is suitable for use in rooms with underfloor heating elements. Vinyl conducts heat well, so you’ll feel the warmth far more than you would with carpet.
Ensure your preferred flooring is compatible with underfloor heating before placing an order.
Pro Tip: To standardise the floor’s temperature with the rest of the room, switch underfloor heating off 24 hours before fitting vinyl flooring.
Subfloor
Type and Condition
There’s a big difference between laying vinyl flooring on a freshly screeded concrete base and splintered old floorboards.
Lift any flooring currently in situ and inspect the subfloor condition. Damaged boards may need replacing, sanding or covering with chipboard sheeting.
Moisture
There’s no point laying vinyl onto a subfloor with damp issues or a surface retaining significant moisture levels.
Newly laid concrete must be bone-dry before anything is laid on top of it, and the same is true of treated timber.
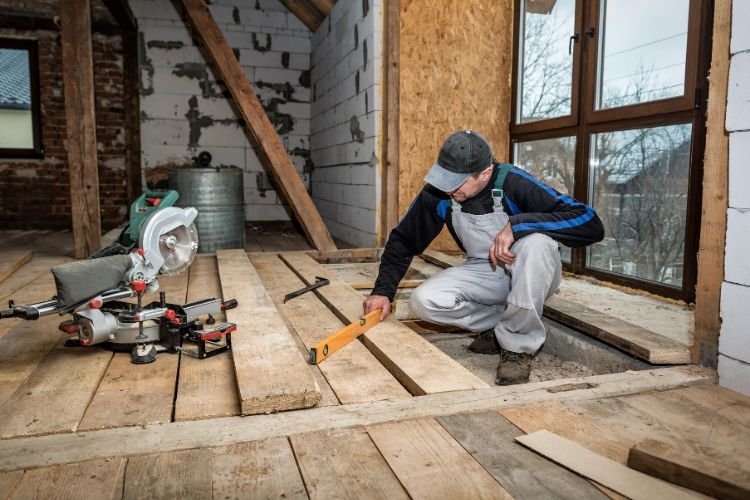
Level
Subsidence can occur throughout a property’s lifetime as its foundations settle, often leading to sloping floors. Warping floorboards or inconsistent tread may also lead to dips and ridges.
Place a spirit level at various spots across the subfloor, or use a laser level if you have one, and identify any areas that are not level.
Applying vinyl to an uneven floor can create an odd appearance, so fill any depressions and tackle extrusions (i.e. nail heads, protruding floorboard edges, etc.). For more information, check out our guides to levelling wooden floorboards and concrete floors.
Pro Tip: Thanks to their latex-based composition, self-levelling compounds deliver a level surface in rooms with slopes or floor-level inconsistencies. They work at depths of up to 2.5cm, which should be sufficient for most indentations and depressions.
Sheet Length vs Room Length
Lay vinyl in a single continuous sheet unless the space you’re flooring is more than five metres long or wide.
When fitting vinyl on a floor with an intrusion (such as a fireplace), bring a single sheet of vinyl into the room and cut out the intrusion’s shape. This approach achieves a neater finish than using offcuts to fill the recesses beside or behind the intrusion.
If you need to join two pieces of vinyl together, slide them snugly into position so their patterns match. Lift the vinyl on both sides of the join and apply adhesive (covered in more detail in step 4 below). Then press down as hard as you can.
How To Measure For Vinyl Sheet Flooring
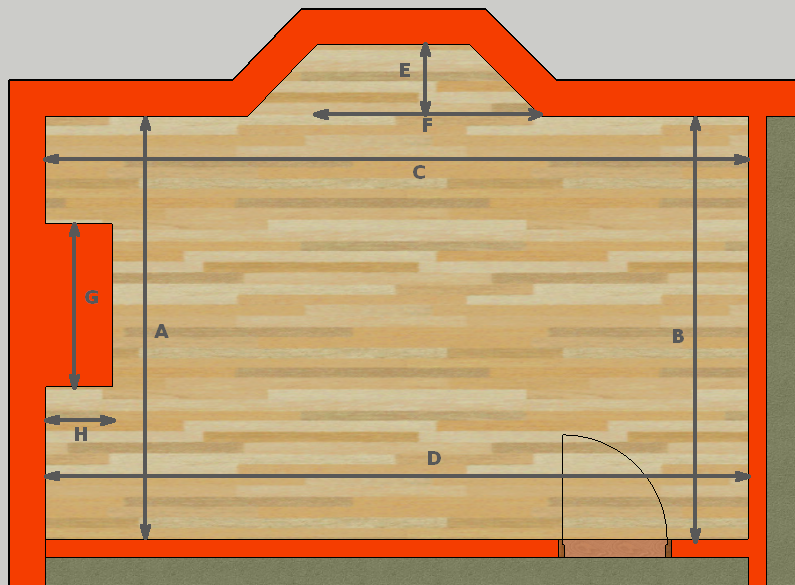
The process of measuring your room is crucial for ensuring a successful installation. Here’s our simple guide to getting the numbers right:
- Grab a pencil, paper and tape measure.
- Sketch the room’s floor area — four lines will suffice if it’s a rectangle with no intrusions.
- Measure each wall and write your measurement on the appropriate line of the sketch. If there’s furniture in the way, it’s okay to measure from wall to wall rather than skirting board to skirting board.
- If the room is square or rectangular, multiply the length and width. This calculation gives you the area in square metres.
- If the room has recesses, include their measurements in the total length and width figures.
- Measure up to the middle of door frames, where the vinyl will go under a threshold bar.
- Check your measurements a second time before confirming they’re accurate.
Pro Tip: If you want ultimate accuracy, consider investing in a digital laser measuring device.
These are the figures you’ll be working with when laying the vinyl. However, when placing your order, add ten per cent to the total area to cover wastage. This extra amount gives you spare material to trim, ensuring you don’t end up fractionally short of flooring at any point.
A short video from Bambini Furniture demonstrates how to sketch a room. Their example includes a window and a radiator, but the same principles apply to doors and chimney breasts.

Pro Tip: Remove the skirting boards and lay the vinyl underneath them to achieve a superior finish. Otherwise, it’s generally advisable to apply edging trim (step 8 below) or silicone sealant (step 10). If you remove the skirting boards, conduct your measurements once removed!
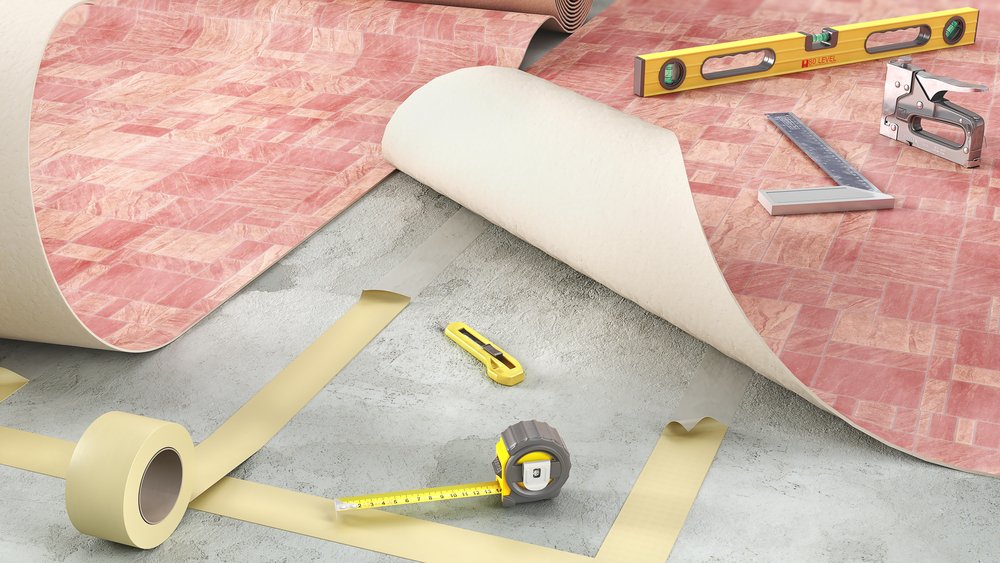
Tools & Materials
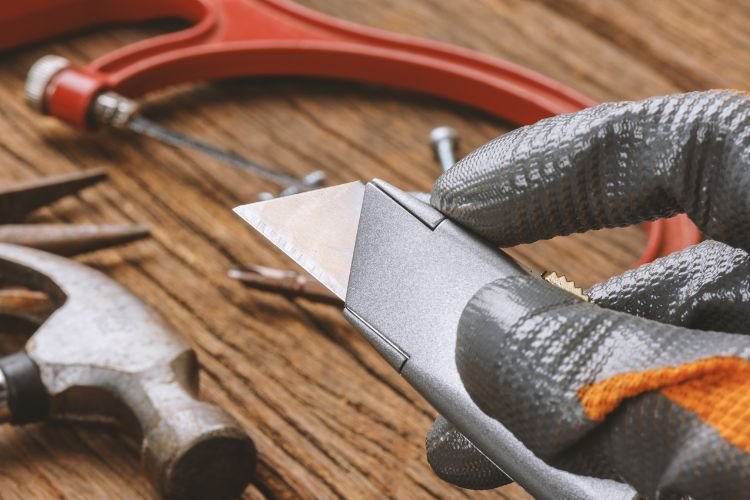
No specialist tools are required for laying vinyl flooring. Still, you must ensure you have sharp blades and accurate measuring equipment.
This isn’t a job for a retractable tape measure with the numbers worn off, especially since rooms are often slightly wider or longer on one side than the other.
Tools
- Knee pads (you’ll be crawling around on bare floors a lot)
- Gloves
- Bolster chisel
- Stanley knife with extra blades
- Tape measure
- Pencil
- A straight edge
- Home-made scribing gauge
- Dust mask (if using an adhesive spray)
Materials
- Vinyl sheet flooring
- Vinyl adhesive spray (if the vinyl sheet flooring isn’t self-adhesive)
- Double-sided floor tape (if you’re not using an adhesive spray)
- Degreaser cleaning spray (if the floor has any oil or grease on it)
- Silicone sealant cartridge (if laying flooring in a kitchen or bathroom)
- Decorative edge strip (if laying flooring in a hall or living/dining room)
Sticking to the Point
At this point, we’re assuming you have a smooth, level floor ready to accept your new vinyl sheet flooring. We’re also assuming you’re using one of the following three options to bond it to the floor:
- Self-adhesive vinyl
- Vinyl adhesive spray
- Double-sided floor tape
These three options are preferable to the messier process of spreading adhesive with a trowel, which works better when tiling a floor than across large vinyl sheets.
The challenges of spreading adhesive are demonstrated in this video by RedneckResponder.
Some vinyl flooring only needs securing around the edges. Always check the manufacturer’s instructions for guidance.
One of the advantages of vinyl sheet flooring is there’s no need for underlay, as there is when laying laminate or fitting carpet.
Pro Tip: Vinyl flooring is often used in smaller rooms with limited space, so cutting it roughly to size in a bigger room or outbuilding may be easier. Leave 10cm excess at each edge, as you’ll trim it neatly once it’s in the room.
Thinner vinyl sheet flooring options sometimes need affixing across their entire underside. For this reason, we recommend higher-quality vinyl sheets which you can attach at the edges.
Note: Some heavyweight vinyl is held down by its own weight, but we still recommend securing it at the edges to prevent incremental movement over time.
How To Lay Vinyl Sheet Flooring — Step-by-Step Instructions
Complete the following steps in a well-ventilated space, ideally during daylight hours.
A torch or smartphone flashlight may be helpful if working in dark corners (such as under a bath with the side panels removed).
1. Let the vinyl acclimatise

Like any flooring material, vinyl expands and contracts in response to changes in ambient temperature.
Attempting to lay vinyl sheets straight from a warehouse or unheated outbuilding could result in a poor fit, so store the sheets at the property’s ambient temperature for 48 hours before laying them.
Pro Tip: Vinyl acclimatises faster if it’s fully unrolled. If this isn’t practical, stand it on end and let it slightly uncoil so air reaches each section.
2. Remove obstructions
Wherever possible, remove skirting boards, kickplates, pull-out kitchen appliances and any other potential obstacles that are removable.
Removing toilets and sink pedestals in bathrooms may also be possible, depending on their installation.
As vinyl flooring isn’t especially deep, you shouldn’t have to plane doors to ensure a good fit.
3. Clean the floor
Even high-quality vinyl flooring is relatively thin, so imperfections or protruding objects will be felt (and potentially seen).
Start by vacuuming and brushing up any crumbs, debris or materials to leave a smooth surface behind. Remove oil and grease with the degreaser cleaning spray.
4. Put down adhesive
Whether using double-sided adhesive tape or a spray, now’s the time to apply it to your clean and level floor.
Unless you cover the whole floor in the adhesive (rarely necessary), stay as close to the walls as possible. The vinyl might start to curl up or let moisture in if it’s not tacked down right next to the walls/skirting boards.
If you use double-sided adhesive tape, leave the top protective cover in place while pressing it firmly onto the floor.
5. Position vinyl against the longest wall
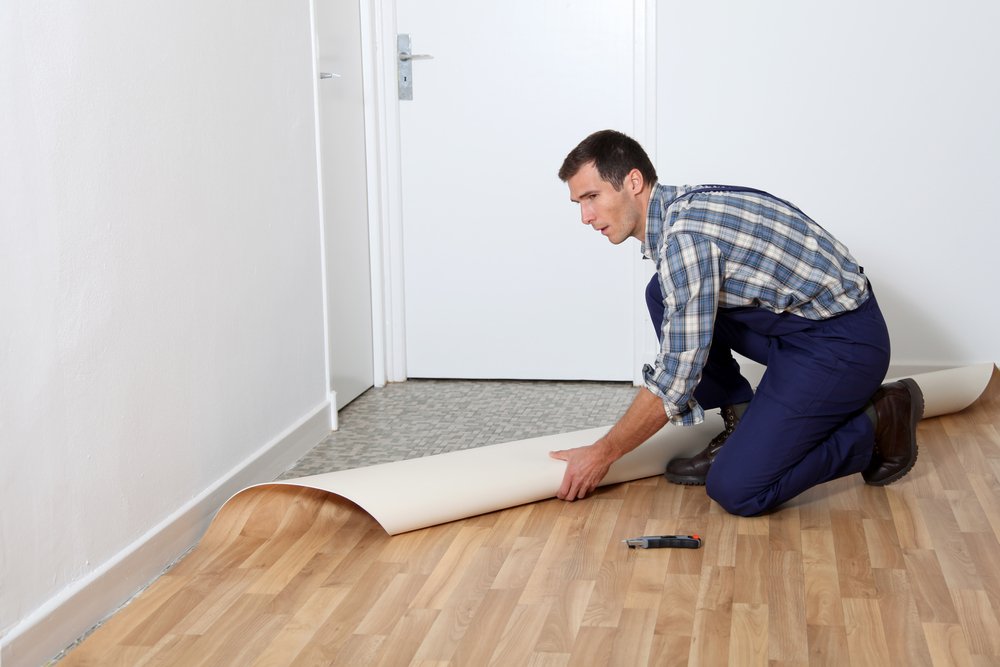
If one side of your room is uninterrupted by sanitaryware, cupboards or intrusions/recesses, start fitting the vinyl here — this is where your measurements from earlier come into their own.
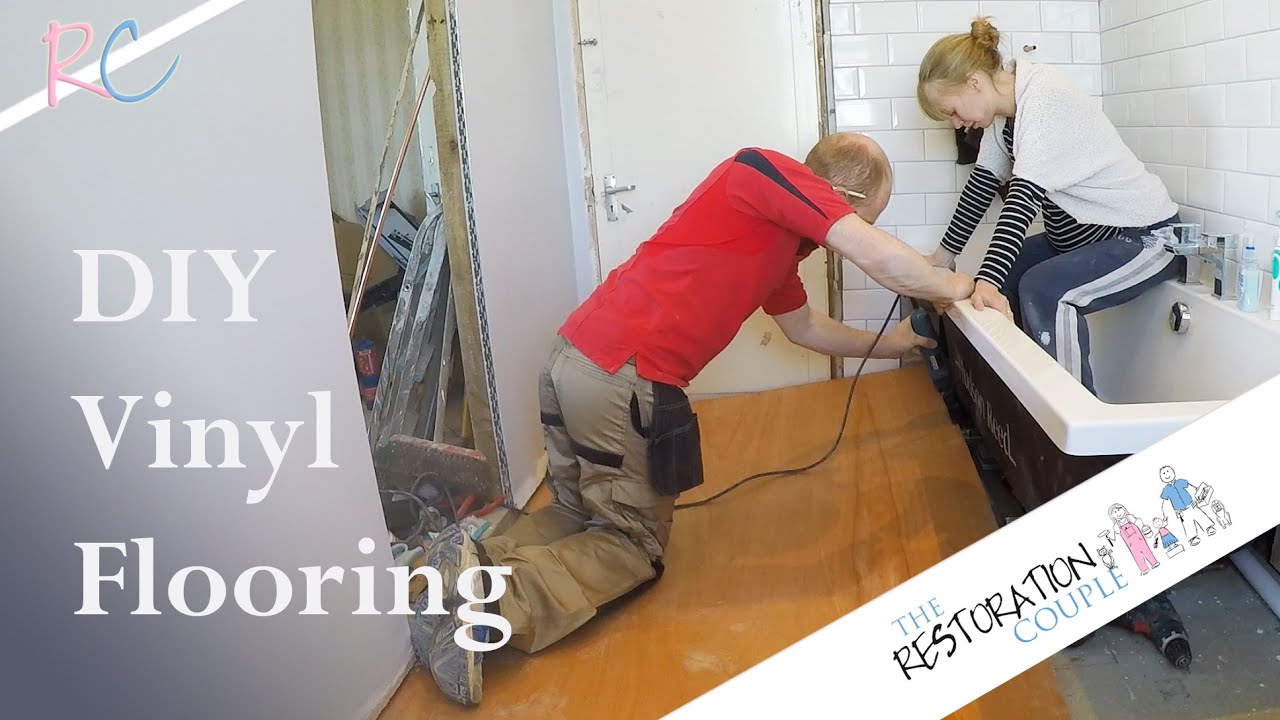
This video from The Restoration Couple offers a time-lapse summary of how to position a roughly trimmed piece of vinyl from 5:08 onwards.
6. Cut the vinyl
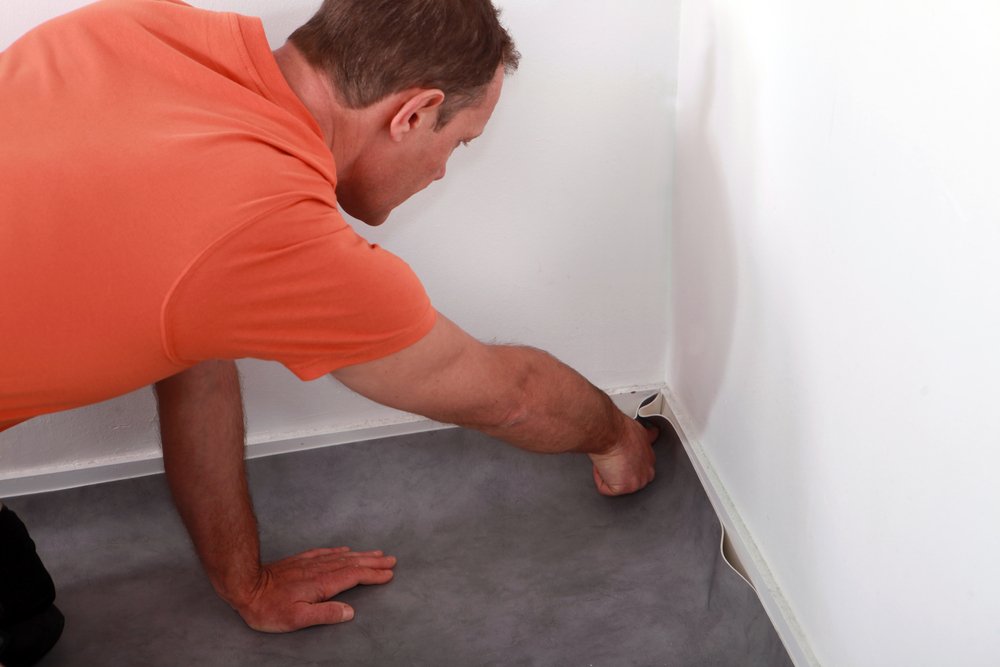
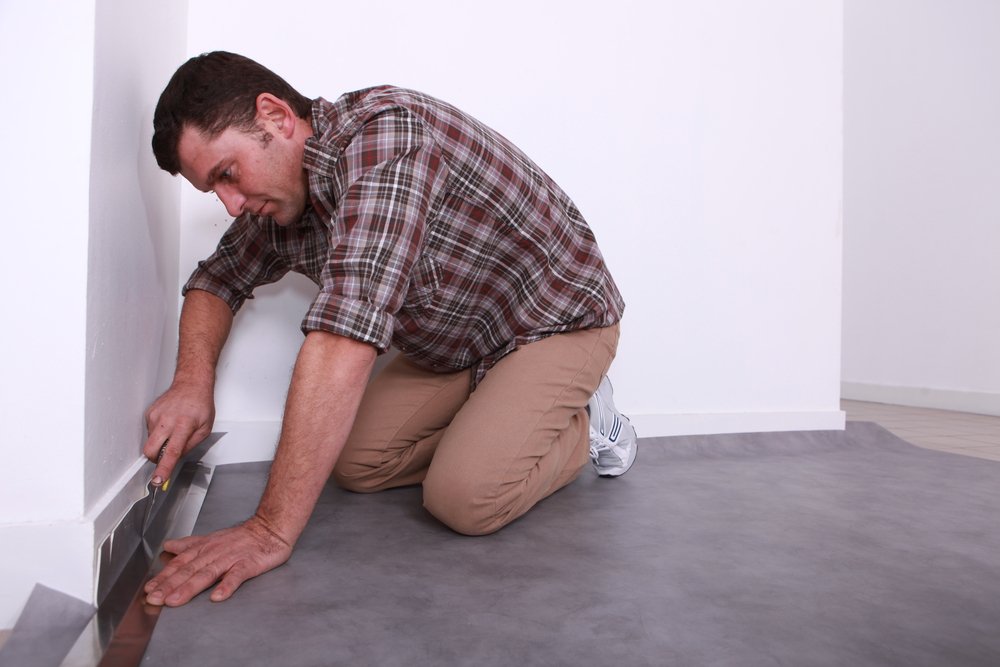
With the vinyl roughly in place, press the bolster chisel firmly against the point where it meets the skirting board. This should create a crease, which will be your trim line.
Slice along the trim neatly with the knife, ensuring you follow a straight line. If your hand isn’t always rock-steady, a straight edge ensures you maintain a clean and consistent line as you make your cut.
Always cut through vinyl from the top. Attempting to cut from the underside up delivers a rougher, more ripped appearance across the pattern on top.
7. Make relief cuts
You’ll find excess material bunching up in the room’s corners at this stage. Diagonal slits (known as relief cuts) help the vinyl settle into position.
Ensure you only cut through the excess material rather than the section of vinyl that’ll rest on the floor. Those accurate measurements will come into their own once again.
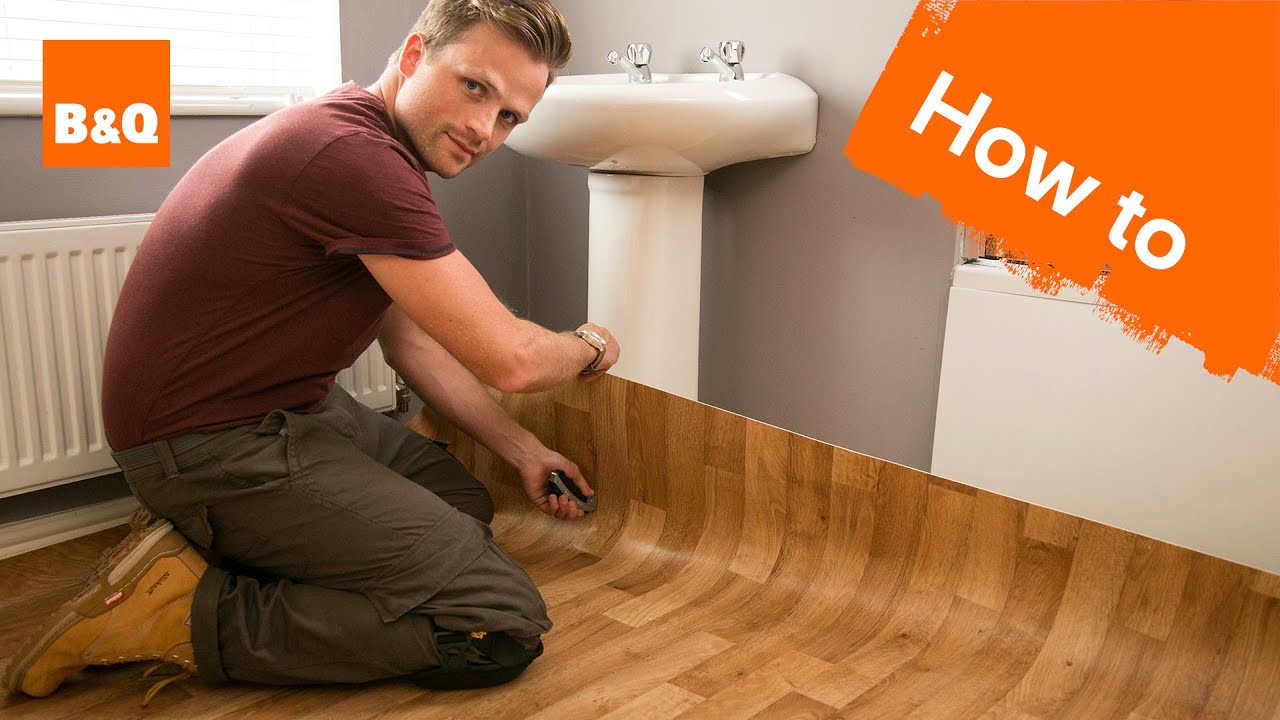
8. Trim the vinyl around obstacles
Because vinyl is a forgiving material, you can be rough with it at this stage without causing any damage. For this example, we’ll refer to a sink pedestal.
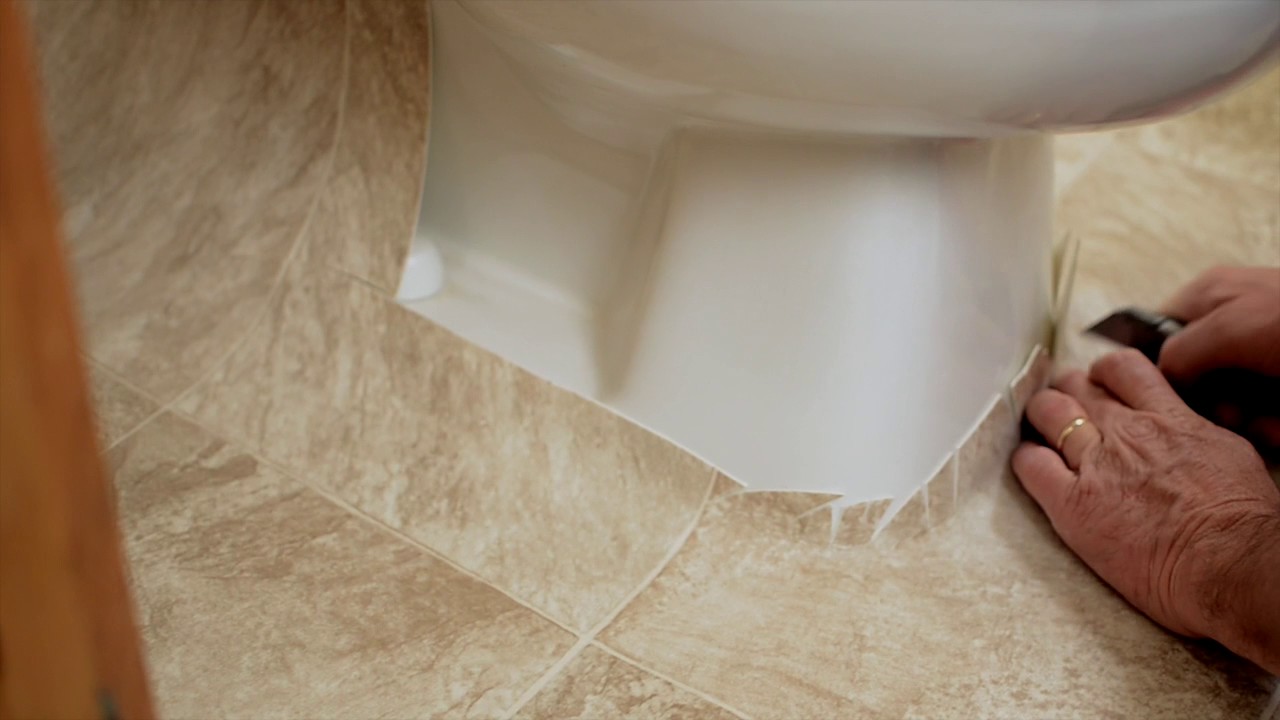
Cut a slit in the vinyl roughly in the centre of the pedestal and push the two folds you’ve just created to the sides.
Next, make small diagonal cuts in the vinyl where the sides wrap around the pedestal, starting from the pedestal’s base and working upwards.
You’ll end up with triangular vinyl segments stretching up the pedestal as the vinyl gradually settles into place on the floor around it. You can neatly trim these triangles once the vinyl snugly fits around the pedestal.
This process is easier to understand visually than in words! It’s depicted in the video below from 3:01 onwards.
9. Repeat around other walls
Continue this process around each remaining wall of the room.
Remember to carefully slice the vinyl along straight lines and create central slits around curved obstacles, allowing you to trim excess material neatly.
Don’t worry about the small cuts to accommodate these obstructions; the vinyl will push back together neatly. Besides, these cuts tend to be in dark or hard-to-see locations.
Note: Vinyl tucks neatly between the back of pipes/pedestals and skirting board/walls.
You can see how this works in practice in the short video below:
10. (Optional) Use silicone sealant around the edges
For kitchens and bathrooms, seal the edges with silicone sealant, as these rooms generate a lot of moisture and suffer from water spillages.
Lightly pipe a thin ribbon of white silicone from a sealant gun around the edge of the vinyl once trimmed and in situ. This prevents water from getting beneath it and damaging the adhesive bond.
Pro Tip: Cut the nozzle on the silicone sealant cartridge just above the tip. This makes it easier to pipe out the sealant in small quantities. Wipe away the excess residue with a damp fingertip.
If you’re laying vinyl sheet flooring in a hallway or main room, you might want to use a decorative trim bar to sit above the vinyl and against the skirting board. These are available in many wooden hues, but white is often favoured.
If you removed skirting boards earlier, now is the time to replace them. The same applies to doorway threshold bars, which hold the vinyl in place and divide floor spaces.
Final Thoughts
Fitting vinyl sheet flooring requires patience, a steady hand, accurate measurements, and no specialist tools. You can also lay it in one go, providing you’ve prepared the space properly.
To summarise, vinyl sheets are a straightforward and cost-effective DIY flooring option that any homeowner can undertake, especially if you follow our step-by-step instructions above.
Pro Tip: Many modern vinyl sheets resemble traditional timber flooring. However, if you still prefer the real deal, check out our guide to fitting solid wooden flooring.