
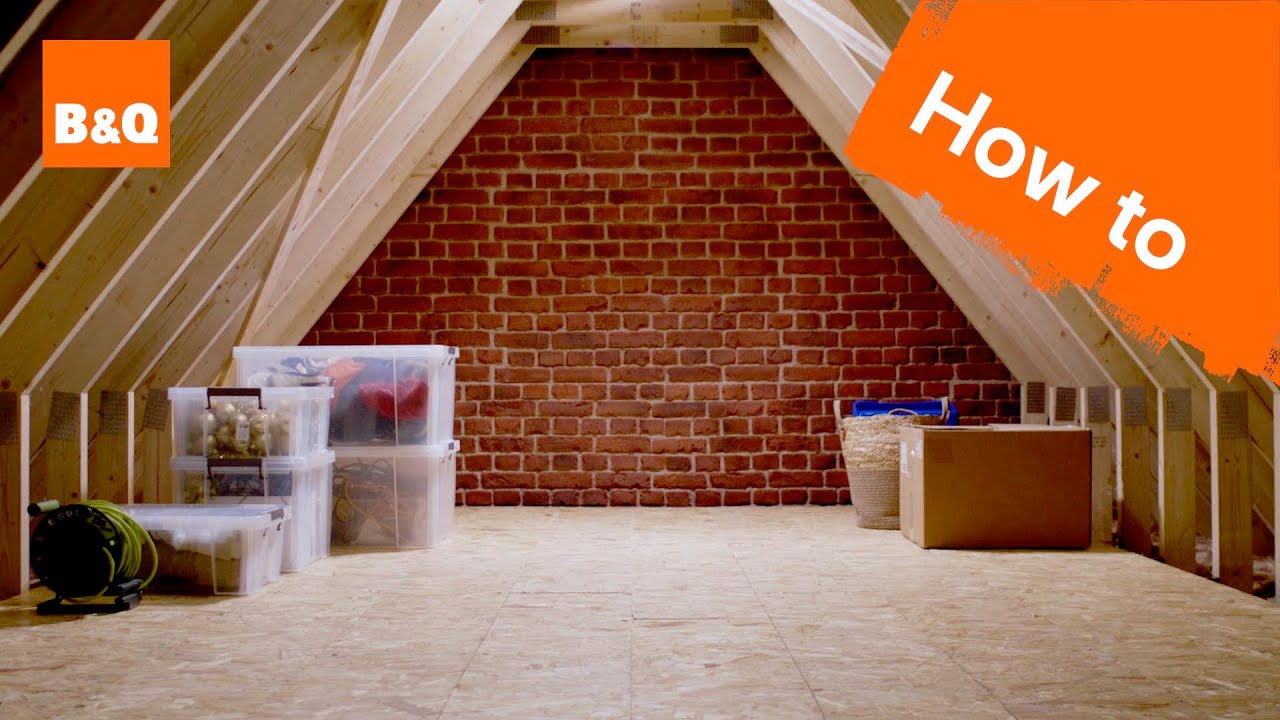
Boarding a loft is a great way to add storage space and boost energy efficiency. In this DIY guide, I show you the easiest way to board a loft and offer hints and tips for professional results.
Boarding a Loft — Pros & Cons
| Pros | Cons |
|---|---|
| Creates extra storage | Increases chances of condensation (if done incorrectly) |
| Creates additional flooring | Reduces the effectiveness of insulation (if done incorrectly) |
| Improves heat retention | Adds weight to joists |
Tools and Materials
Gather all the tools and materials below before boarding your loft.
Tools
- Pencil
- Tape measure
- Drill
- Jigsaw
- Workbench
- Hammer
- Disposable overalls
- Face mask
- Goggles
- Screwdriver (electric preferred)
- Gloves
- Knee pads
- Comfortable shoes like trainers
Materials
- Insulation material (if required)
- Multipurpose 38mm screws
- Tongue and groove loft boards (chipboard)
- Loft legs (to raise the floor height)
Safety First
- Put on your face mask, goggles, gloves, and disposable overalls. Don your knee pads and trainers for added grip.
- Place boards across two ceiling joists to create a temporary workspace. Then, you can set up your workbench and work safely.
Board Sizes
When buying loft boards for this project, here are some helpful pointers:
- Standard loft boards typically come in two sizes — 2,400mm x 600mm and 1,220mm x 320mm.
- The thickness of the boards is either 18mm or 22mm.
- 1,220mm x 320mm boards typically come in three packs and cover 1.17 square metres.
- 2,400mm x 600mm boards are commonly sold separately and cover 1.44 square metres each.
Pro Tip: Always add a 20% contingency to your calculations to allow for damages and errors.
How To Board A Loft — Step-By-Step Instructions
Follow the 8 steps below to board a loft like a pro.
1. Empty the Loft
Remove all items from the loft space. It’s often a good idea to designate a spare room or garage as a temporary storage facility while you complete the work.
2. Measure the Loft Space and Calculate the Number of Boards
The simplest way to measure the floor area is to multiply the length by the width. This number gives you the floor area in square meters (m2).
To calculate the number of boards required, simply divide the loft area by the area of a single board. Add 20% to accommodate cuts and waste. For example:
- If the floor width and length are 3m, the floor area is 9m2.
- If each board is 2,400mm x 600mm, its area is 1.44m2.
- Divided 9 by 1.44 to get 6.25 boards.
- Add 20% and round up to make it 8 boards.
To make life easier, use this online calculator. Remember to select your flooring type (e.g. 2400mm x 600mm) and add 20% to the total number.
3. Check the Insulation Depth
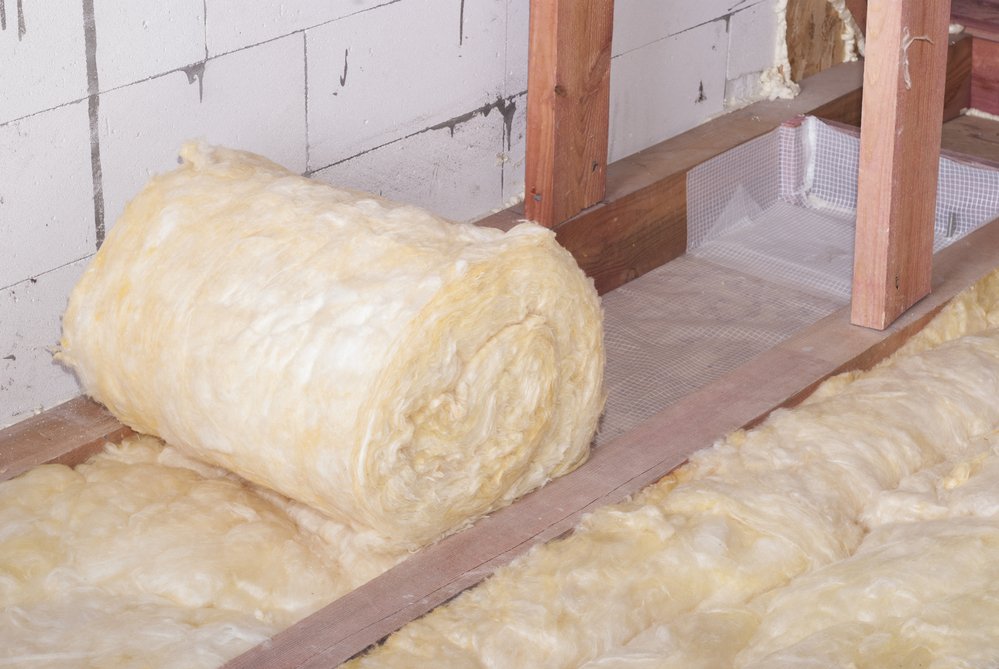
Building regulations state that the minimum recommended insulation depth is 270mm. Most joists measure 100mm, so you’ll need another solution unless you’re prepared to squash the insulation to around half the thickness.
Note: Reducing insulation depth risks halving its effectiveness and doubling heat loss.
Laying boards directly onto existing joists violates building regulations due to insufficient insulation depth. It also increases the risk of condensation as moisture condenses on the underside of the boards and drips. The complete list of regulations is in Approved Document L.
Pro Tip: You may also need to replace old insulation if it’s in poor condition.
4. Install Loft Legs
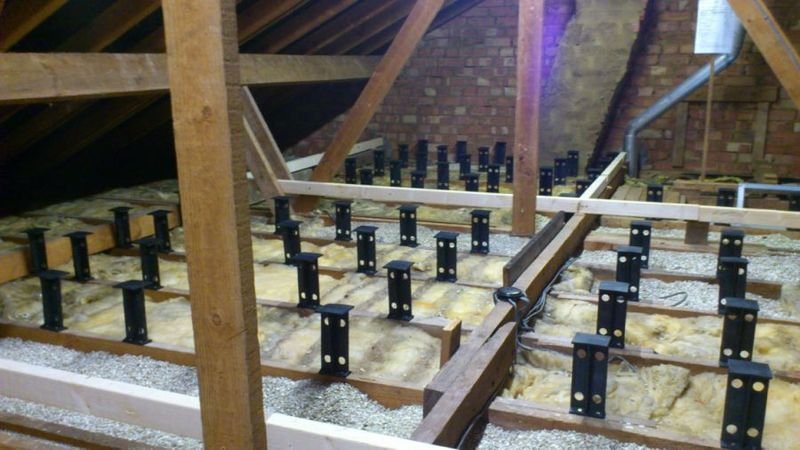
Assuming your insulation levels exceed the height of the joists, remove the top layer to expose the wood beneath.
Screw the loft legs onto the top-facing edge of the roof joists, roughly half to one metre apart (depending on the length of the boards), as shown in the image above.
Continue this process until all joists have the correct number of loft legs fitted*. The legs must be evenly spaced, ensuring the whole floor has sufficient support.
*The exact number depends on the number of boards and their size. It also depends on the joist spacing, as some joists are fitted 400mm apart while others are 600mm apart. The loft leg calculation charts below show the correct numbers based on these factors.
The video below by Matthew Driver shows you how to install loft legs.

5. Install Additional Loft Insulation
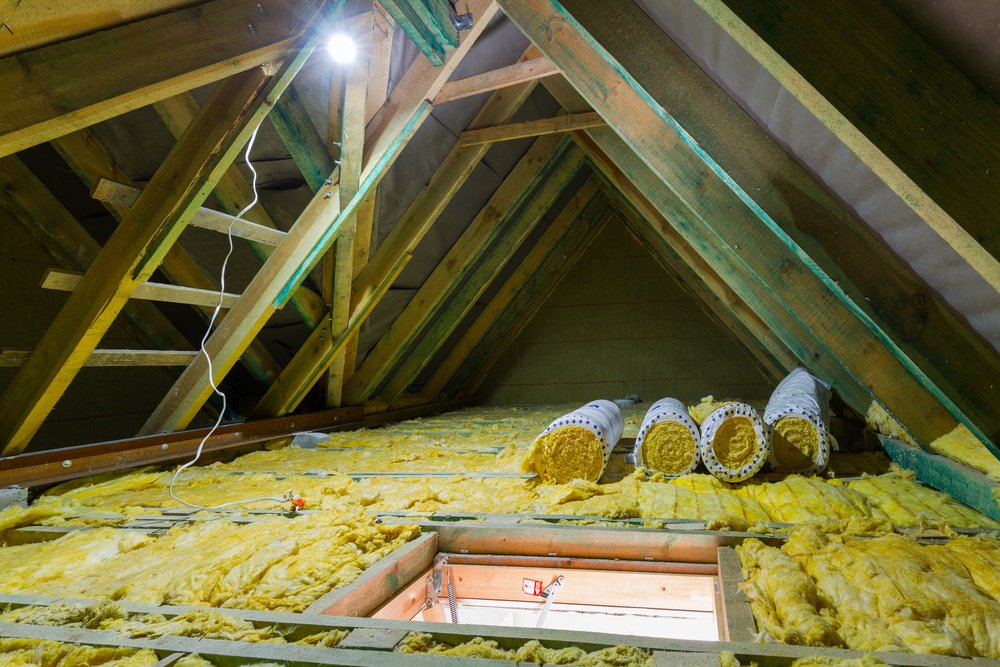
After installing the loft legs, replace the loft insulation you removed in Step 4.
Add additional insulation if you need to raise the thickness to meet the recommended standard. Ideally, use the same insulation you already have. If this isn’t possible, use Rockwool (the most common type of loft insulation), which comes in easy-to-install rolls.
Unroll the insulation and poke it between the loft legs. Ensure the insulation levels don’t exceed the top of the legs because this will squash the insulation when you add the boards, reducing its effectiveness.
For more insulation info, check out our complete guide to insulating your home and reducing energy costs.
6. Lay the First Line of Loft Boards
Starting in the most awkward corner of the loft makes it easier when you reach the end of the task and have to make adjustments.
Work across the joists, ensuring that the end doesn’t overhang. If it does, measure and cut it to size so that the end of the board meets the middle of the loft leg/joist. This approach gives you enough room to screw the board down and to butt the next one against it (see Fig 2).
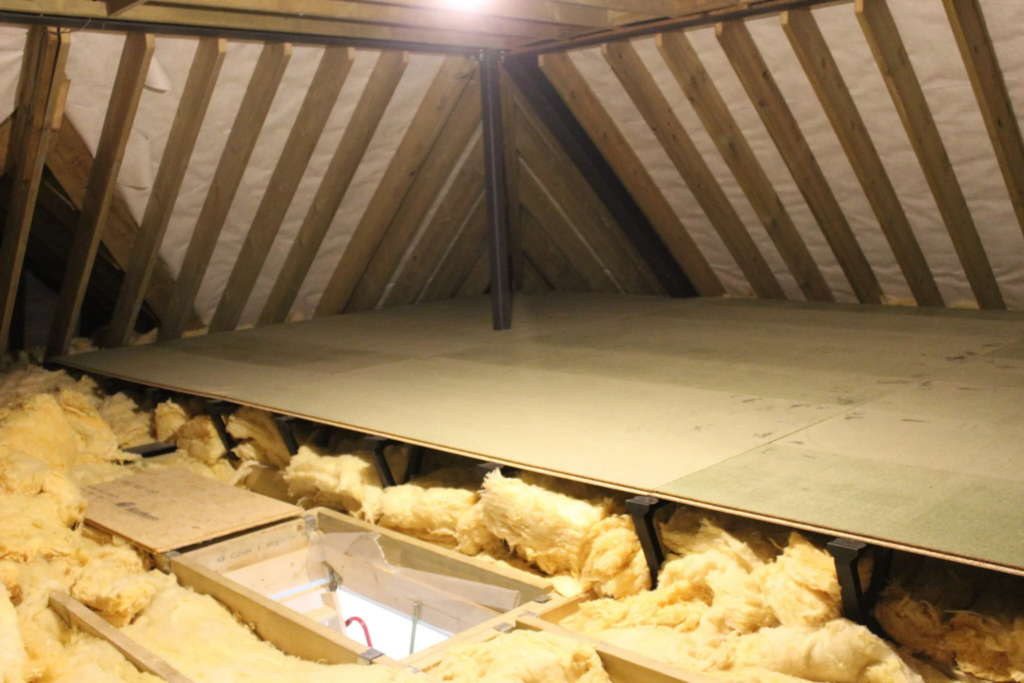
Continue laying the first line of boards until you reach the end.
7. Stagger the Second Row
Stagger the rows by cutting a half-size board to use as the first board in the second row.
Tap the tongued edge into the groove of the first line of boards using a hammer and wood offcut, ensuring a snug fit.
Lay the next board, and continue the procedure in Step 6 until you reach the end.
8. Add Infill Where Necessary
As you work along the loft, you’ll find awkward shapes and sections that require custom pieces. In these cases, measure the gaps and cut boards to size using the jigsaw.
Tap the infill pieces in place with the hammer and secure them with screws.
Check out the video below to see the whole process in action:
Loft Leg Calculation Charts
400mm joist spacing requires more loft legs than 600mm spacing because more joists per square metre exist.
To help you calculate the number of loft legs required, below are two handy charts, one for 400mm joist spacing and one for 600mm.
Note: These charts are based on 2400mm x 600mm boards.
Loft Legs Required — 400mm Joist Spacing
| Number of Boards | Square Metres | Number of Legs |
|---|---|---|
| 1 | 1.44 | 14 |
| 2 | 2.88 | 21 |
| 3 | 4.32 | 28 |
| 4 | 5.76 | 35 |
| 5 | 7.20 | 42 |
| 6 | 8.64 | 49 |
| 7 | 10.08 | 56 |
| 8 | 11.52 | 63 |
| 9 | 12.96 | 70 |
| 10 | 14.40 | 77 |
Loft Legs Required — 600mm Joist Spacing
| Number of Boards | Square Metres | Number of Legs |
|---|---|---|
| 1 | 1.44 | 10 |
| 2 | 2.88 | 15 |
| 3 | 4.32 | 20 |
| 4 | 5.76 | 25 |
| 5 | 7.20 | 30 |
| 6 | 8.64 | 35 |
| 7 | 10.08 | 40 |
| 8 | 11.52 | 45 |
| 9 | 12.96 | 50 |
| 10 | 14.40 | 55 |
Final Thoughts
Boarding a loft adds valuable storage space, increases your home’s value and improves heat efficiency. However, be careful not to squash the existing insulation, as this reduces heat retention.
According to the Energy Saving Trust, going from 120mm to 270mm loft insulation can save around £55 per year.
Pro Tip: If you don’t fancy doing this job yourself, check our loft boarding cost guide and let a local pro take care of it.