One of my earliest memories was the military precision with which a team of carpet fitters installed new flooring throughout our family home.
Your carpet fitting might not follow the same ruthless efficiency, but you can achieve equally effective results by following this step-by-step guide on how to lay carpet like a pro.
Tools & Materials

Before we list the necessary tools and materials, a couple of decisions must be made…
Cutting the Cord

If you’ve already chosen your carpet, skip to the next section. If not, your choice may be driven primarily by your budget and what you want your new carpet to achieve.
If durability is a priority, look for Axminster and Wilton. Contrary to popular belief, these aren’t brand names – they refer to methods of carpet weaving which tend to last longer and shrug off wear more effectively than tufted alternatives. This video by Remodel With Robert discusses the relative merits of different carpet fibre materials and backings.
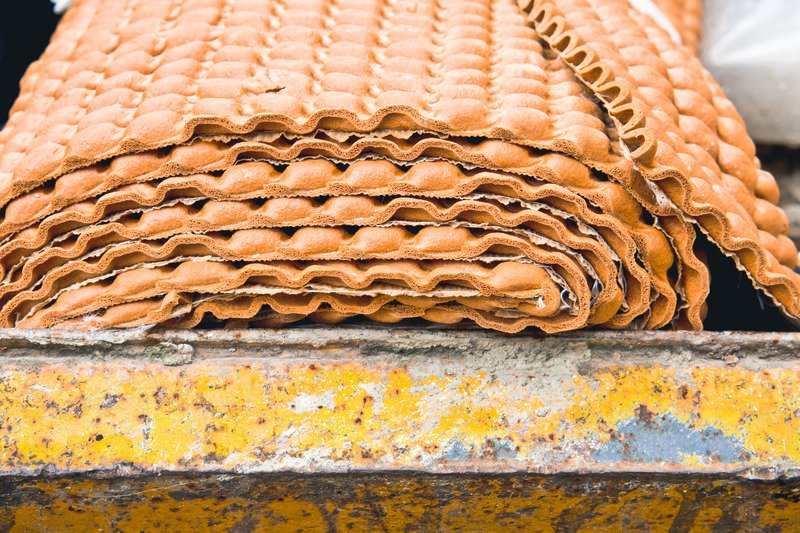
For rental properties, cord piles are cost-effective and durable, though they’re less comfortable to walk on. This issue can be offset by investing in a thick shock-absorbing underlay — cheaper underlays are best avoided since they shorten the carpet’s lifespan and are less tactile to walk on. A premium underlay can last for up to 25 years.
Pro Tip: High-quality underlay helps to prevent furniture legs or heavy objects from leaving indentations on your carpet. This is especially important if you plan to replace or reposition furniture at any point. It also helps to muffle sound, which is advantageous in upper-storey flats or bedrooms.
Find out more about underlay in this B&Q video from 2:40 onwards.
Gripping Yarns
There are four main ways of securing carpet in place around the edge of a room:
1. Carpet Tacks
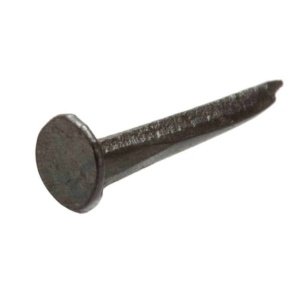
If you fold the carpet edge underneath itself and tuck the excess between the skirting board and the underlay to maintain a consistent height, it’s possible to nail it to a wooden floor using carpet tacks.
This approach doesn’t work on concrete screed, but you can hide the tack head on wooden floors by gently ruffling the pile around it.
2. Gripper Rods
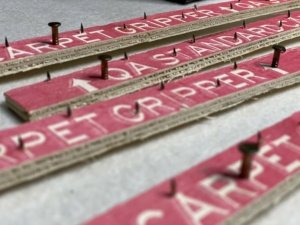
Extremely unpleasant to remove, but great for securing a carpet in place!
Gripper rods are long strips of timber liberally punctured with metal teeth, nailed to wooden floors or glued to concrete ones. Once the carpet is pushed down onto them, they hold it firmly in place. This option is the most common, and it’s the one we focus on below.
3. Double-Sided Tape
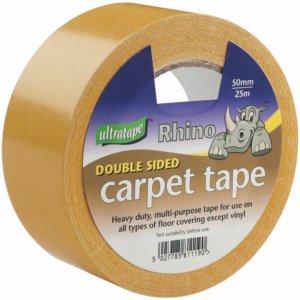
Adhesive tape might not be an obvious choice to hold carpet in place, but it avoids puncturing the carpet’s surface with tacks or facing the dangers of gripper rods. It only works on rubber-backed carpets since it won’t stick to fabric, but it’s far easier to apply and remove than the alternatives.
4. Threshold Bars
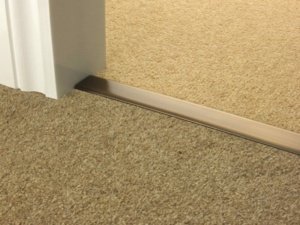
When you reach a doorway, your only real option is either a single or double threshold bar, depending on whether or not there’s carpet on the opposite side of the door.
Extending a single run of carpet into adjoining rooms (a dressing area off a bedroom, for instance) often looks more attractive than using two separate pieces, but this tends to generate more offcut waste.
Tools
- Retractable knife with a new blade
- Knee kicker (also known as a carpet stretcher)
- A knee pad for the other knee
- Bolster chisel
- Hammer
- Carpet tucker or flat, thin spatula
- Tape measure
- Pencil
- Staple gun (if you’re installing underlay)
- Hacksaw (if you’re installing gripper rods)
- Vacuum cleaner
- Brush and dustpan
Materials
- Carpet
- Underlay
- Gripper rods, tacks or double-sided tape (as per your preference)
- Threshold bars (if you’re not reusing existing ones)
- A roll of brown floor lining paper
- Parcel or gaffer tape
- Thick, puncture-proof gloves
- Dust mask
Unless the roll of carpet is small (or you’re unusually strong), you’ll probably need a burly friend to help carry it into position. Always move carpet in a roll rather than folded since the latter could introduce creases that are hard to remove.
How To Lay Carpet — Step-by-Step Instructions

Following these ten steps will transform even a tired room into one that looks, feels and smells far nicer…
1. Remove Old Flooring
Unless you’re fortunate enough to move into a brand-new house, you’ll probably need to remove the existing flooring.
Techniques vary depending on the material in question — tiles can be chiselled off, laminate should lift up, and old carpet needs more careful disposal.
Carpet fitters will always ask for a room to be emptied, and you should adopt the same approach with a DIY installation. Laying carpet around heavy or bulky furniture is extremely difficult, as is lifting old flooring.
If you’re extracting an old carpet, don a dust mask and cut a line a foot from the skirting board before rolling up the main section of carpet.
Delicately lift the remaining edges off whatever has secured them in place, taking great care not to cut yourself on tacks or gripper rods.
Pro Tip: If you can’t reuse the gripper rods, chisel them up and dispose of them in rip-proof sacks. We’ve previously published a five-step guide to removing carpet gripper rods.
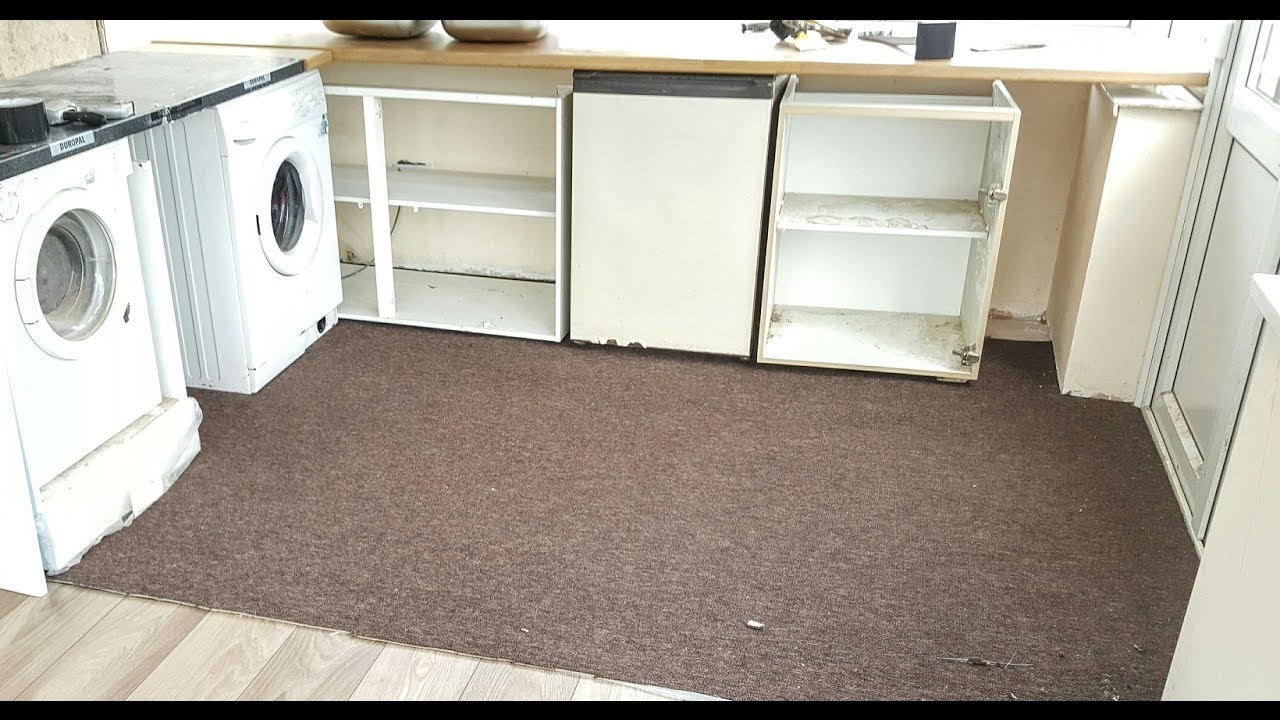
2. Clean Subfloor Thoroughly
Before you lay new carpet, the concrete or timber subfloor needs to be smooth and clean.
Start by removing any exposed staples, nails or other metal objects, then brush and vacuum the subfloor. These steps will probably generate a lot of dust, so you might need to empty your vacuum cleaner’s bag or dust box mid-job.
Sand down any pieces of floorboard or chipboard sticking up or splintered to create a smooth and level finish. Concrete should be flat already, but hire a wet-angle grinder if significant bumps need flattening.
Pro Tip: If the subfloor is uneven or in poor condition, you might need to lay 3mm hardboard sheets to create a suitably smooth base. This is straightforward but requires additional tools like a jigsaw to ensure the boards are neatly cut to size. Hardboard sheets need 48 hours to acclimatise to the ambient temperature before being installed so they don’t expand or warp.
3. Measure Room Dimensions

Accurate measuring is crucial for rooms with unusual shapes, such as an alcove or a slightly wider section where you’ll need to trim the carpet into an L-shape.
If the room is more than five metres in either direction, you’ll have to stitch two pieces of carpet together; if it’s between four and five metres in both directions, ordering from a five-metre roll of carpet will make life much easier.
Pro Tip: A driveway or garage is excellent for cutting carpet outside the room. Ensure the ground is clean before rolling it out, and always double-check your measurements.
When measuring stairs, remember to include the height and depth of each tread — these are rarely the same.
4. Install Gripper Rods (if you’re using them)
We said earlier that gripper rods are the default choice for laying new carpet, and you might be able to reuse older ones that are already in situ to save some money. If not, position each new metre-long rod around 5mm from the skirting board, with the angled side closest to the wall.
Leave space to tuck the carpet underneath the rods in every corner. The only place you won’t need them is across doorframes, where threshold bars perform a similar role.
Pro Tip: A laminate flooring board can be an ideal measuring tool to ensure the gripper rods are consistent and have a suitable depth from the skirting boards. These and other tips can be found in this carpet-fitting vlog by The Carpenter’s Daughter.
Always handle gripper rods with great care, wear thick gloves and ensure no children or pets are around while their metal teeth are exposed. These teeth should face towards the skirting board to hold the carpet in place.
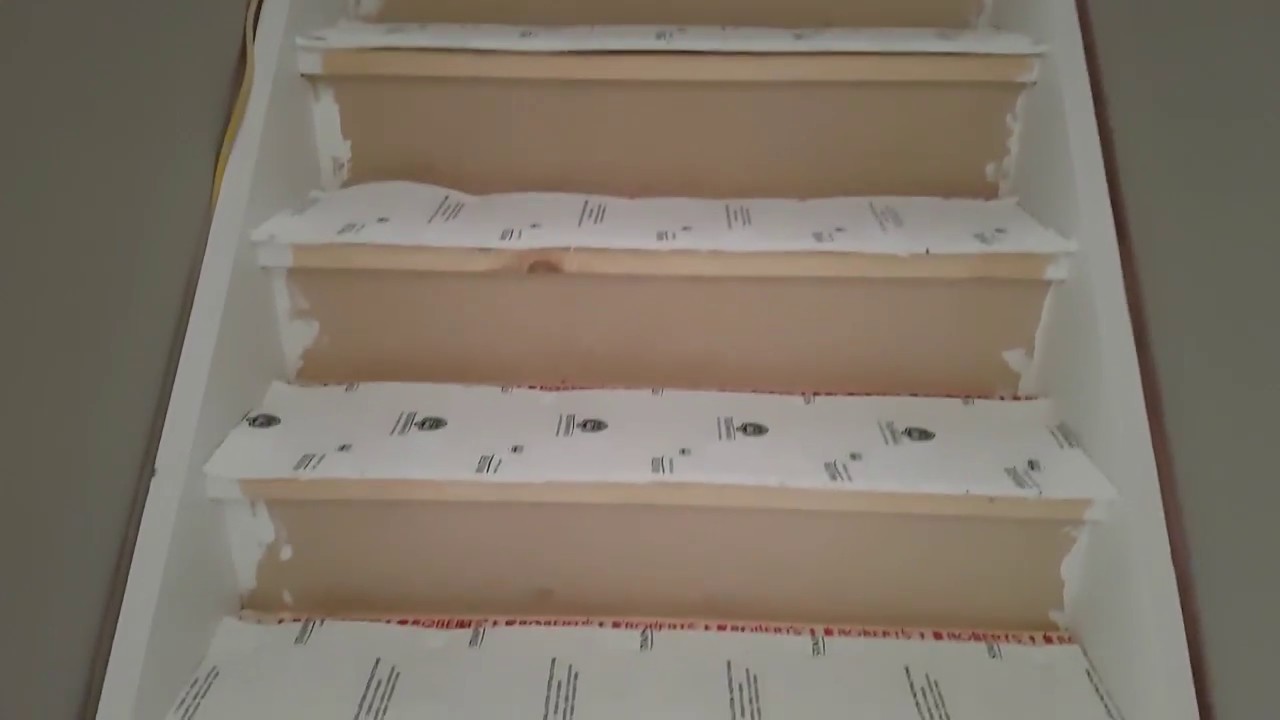
5. Lay Floor Lining Paper
Resembling parcel or greaseproof paper, floor lining paper protects underlay and carpet against dust or anything else that might blow under the skirting boards.
Secure it with anything from adhesive to a staple gun, ensuring each roll overlaps its neighbours while fitting snugly against (or extending under) skirting boards.
6. Fit Underlay
This is another stage where nobody will see your handiwork, so you don’t need to be millimetre accurate.
Position the underlay in one corner of the room and roll it out, extending up to the side of gripper rods (if you’re using them) or leaving a 50mm gap for folding the carpet over (if you’re using tacks).
Underlay always goes rubber side down, creating a flat surface for the carpet.
Unlike the lining paper, underlay should never overlap. Secure each strip to its neighbours with thick tape, and again, don’t worry too much about aesthetics.
Use underlay offcuts to fill awkward gaps like alcoves. Pin each piece down with a staple gun or tacks, so it can’t bunch up and slide around as you lay the carpet on top.
7. Drop Carpet Into Position
Lay the carpet loosely against the longest wall in the room, using one foot to pin it down and the other to push the roll out in front of you.
Unless you’re confident in your ability to line an edge up precisely with the skirting board, you may need to leave a little overlap on each side, which you can trim down later.
Pro Tip: If you adopt this technique, hold the knife horizontally to cut the carpet. That way, you’re only slicing off strips above the corner where the floor and skirting board meet.
8. Pin Carpet in Place
Position the knee kicker around 20mm away from the skirting board. Push firmly against the padded plate with your knee to force the carpet onto the gripper rods.
Next, press the tucker hard against the skirting board and use it to push the carpet down along the longest wall before repeating these steps on any other sides where carpet meets gripper rods.
There’s a specific technique for this, as demonstrated in the video below by The Carpenter’s Daughter:
9. Trim Around Obstructions
To fit carpet around a radiator pipe, measure the distance between the skirting board and the centre of the pipe. Make a right-angle cut in the carpet of the same length, and tuck either side of the cut carpet into place around the pipe.
You might not need to cut a circle out of the carpet since some radiator pipes are less than a centimetre in diameter. If you do, gently run the knife around the pipe base at a 45-degree angle, making small trims until the carpet lies flat.
10. Keep Vacuuming

Even high-quality carpets shed fibres in the days following installation. Daily vacuuming helps accelerate this process and ensures you’re not finding fluff balls on your new floor. Use the beater bar attachment and high suction for cut pile carpets.
As shown in this YouTube video, don’t worry about the (often dramatic!) lines that can appear as you vacuum a new carpet. These will fade over time as the pile begins to flatten.
One Step at a Time
If you’re carpeting stairs, the above stages still apply, but you need to take a couple of additional steps — pun intended!
Always try to extend a single piece of carpet as far as you can, nailing it into place on the top riser and bringing the carpet from the landing (or higher stairs) down to meet it.
Use the bolster chisel to firmly pin the carpet against the vertical riser, onto gripper rods or underneath stair rods if that’s your preference.
For a comprehensive guide to carpeting stairs, watch the video below:
Final Thoughts
If you follow all the steps above, your carpet should last for many years with regular cleaning and maintenance, though the pile will inevitably wear down in heavy tread areas.
Pro Tip: To try and equalise tread, it’s a good idea to periodically reposition furniture or alter your default path around the room.
As well as regular vacuuming, you must accept an artificial smell for a few days, mingling with the pleasant aroma of new carpets. This smell might be from the glue you’ve used to secure the underlay or the underlay itself.
The aroma will evaporate at room temperature over 72 hours, so open windows and keep doors shut.
If you want a professional to tackle this job, check out our guide to carpet fitting costs.