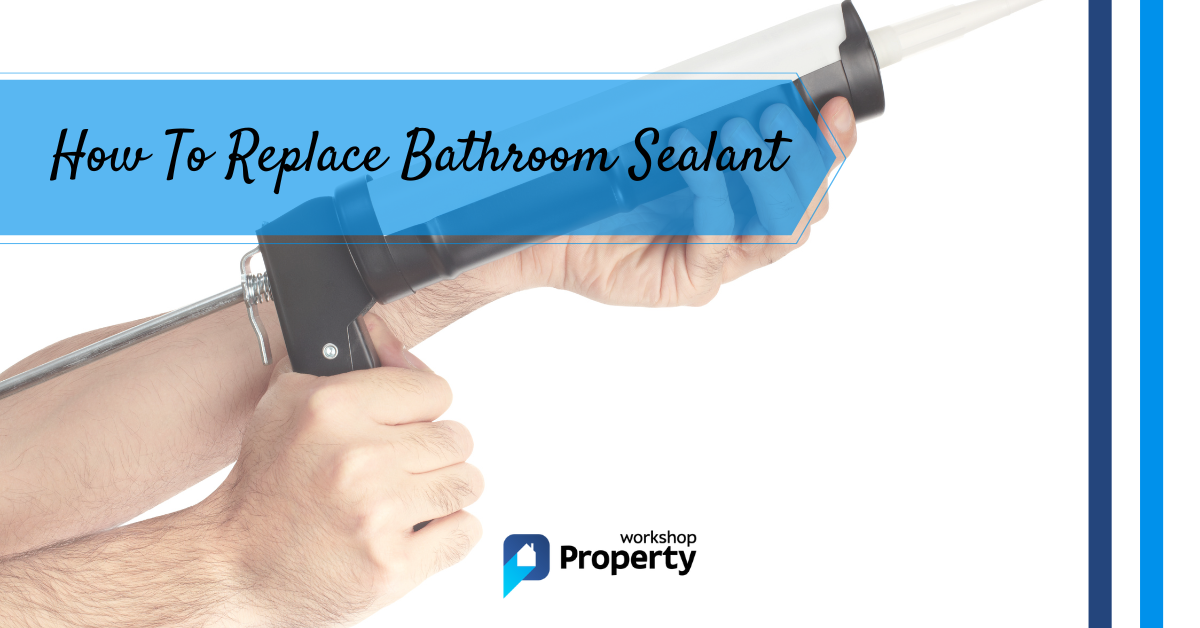
If you need to remove and replace silicone sealant within your home, we’ve created this step-by-step guide.
We’ll show you how to replace bathroom sealant like a professional but without the cost. Don’t worry if you’re not an expert DIYer either; this is a straightforward tutorial that anyone can accomplish.
What is Silicone Sealant?
Silicone sealant is the clever stuff that keeps water from escaping into places it shouldn’t. Typically you might think of silicone for sealing the edge around a shower tray or bath, but it’s also used around windows and in the kitchen. So you’ll find it anywhere that requires a water-tight seal.
Whilst silicone sealant is hard-wearing stuff, it eventually needs replacing. Too much abrasive cleaning can slowly wear it away, and when used in bathroom situations, it can also discolour and even be prone to a bit of mould.
Tools & Materials
Tools:
- Knife
- Scraper
- Sealant Gun
- Silicone Smoothing Tool
Materials:
- Silicone Remover
- Gloves
- Methylated Spirit
- Cloth or Kitchen Towel
How To Remove Bathroom Sealant — Two Methods
If you already have an old silicone sealant, you must remove it before applying a new application. Applying more over the top won’t fix existing silicone in poor condition.
There are two options available when it comes to removing sealant; using a Knife and Scraper or purchasing a more expensive Sealant Remover, which will break down the sealant for you.
What is the Best Way to Remove Silicone Sealant?
To help you decide which is the better option, we’ve weighed up the pros and cons of each method:
Knife and Scraper
| Pros | Cons |
| Less to spend on tools and materials. | It can damage the surface beneath. |
| Guaranteed to work. | It may be very difficult to remove deep-set-sealant or sealant in awkward spaces. |
Sealant Remover
| Pros | Cons |
| Time-saving and easy removal. | Varying degrees of success in how well different brands work. |
| Less scraping means less chance of damaging the surface. | Greater expense. |
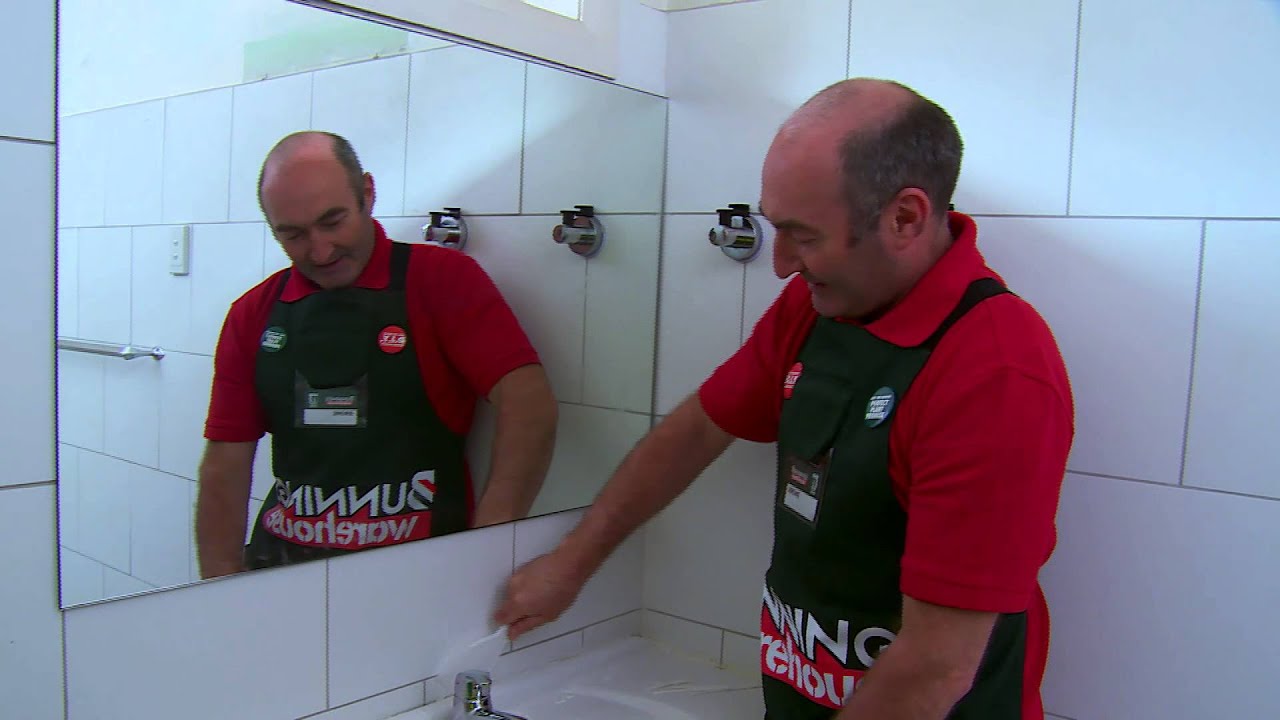
Method 1: Removing Sealant with a Knife and Scraper
1. Cut around the Sealant
Take a sharp knife and cut into the top and bottom edge of the silicone right across the whole bead. Be extra careful to avoid damaging the surface beneath, particularly if you work on softer materials such as acrylic baths.
2. Scrape the Sealant Away
Using a scraper, carefully push along your cut bead of silicone, and it should start to remove away from the surface. This is probably easier said than done and will definitely take a bit of finesse to get going, but eventually, the bulk should lift away. You’ll then be left with smaller strands which you should go back over and work on with your scraper.
Pro Tip: You can buy special tools specifically shaped for removing the sealant and made from plastic to prevent surface damage.
The video below demonstrates this method perfectly:
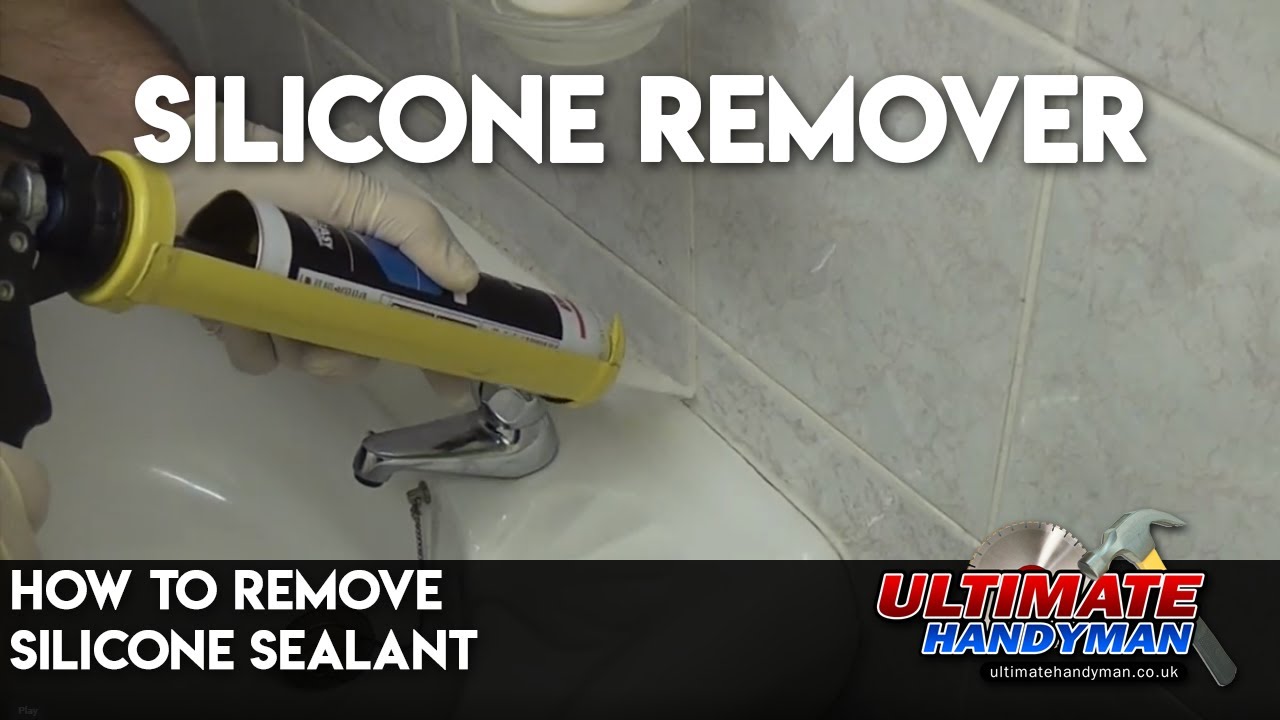
Method 2: Removing Sealant with a Sealant Remover
1. Apply Sealant Remover
Using gloves, apply a liberal amount of specialist sealant remover over your existing silicone. You should leave the sealant remover on the area for the recommended amount of time shown on the tub, usually between 2–24 hours. During this time, the chemical will break down the sealant, which may swell or become a little mushy.
2. Remove the Sealant
If the sealant remover has worked properly, you should be able to remove the bead of sealant by simply pushing it away from the surface with a plastic scraper without too much extra work.
If any smaller strands are left behind, you can either reapply the specialist remover and repeat the process or use a scraper to lift the remaining off. Make sure you clean the surface of any chemical residue when you finish.
YouTuber ‘The Ultimate Handyman’ Shows us how easily it’s done with sealant remover here:
How To Apply Silicone Sealant
Best Bathroom Silicone Sealant to Buy
Several different silicone sealants are available, each with a special formulation for a certain use. When using silicone in a bathroom, buy a sanitary silicone that includes a fungicide to prevent mould.
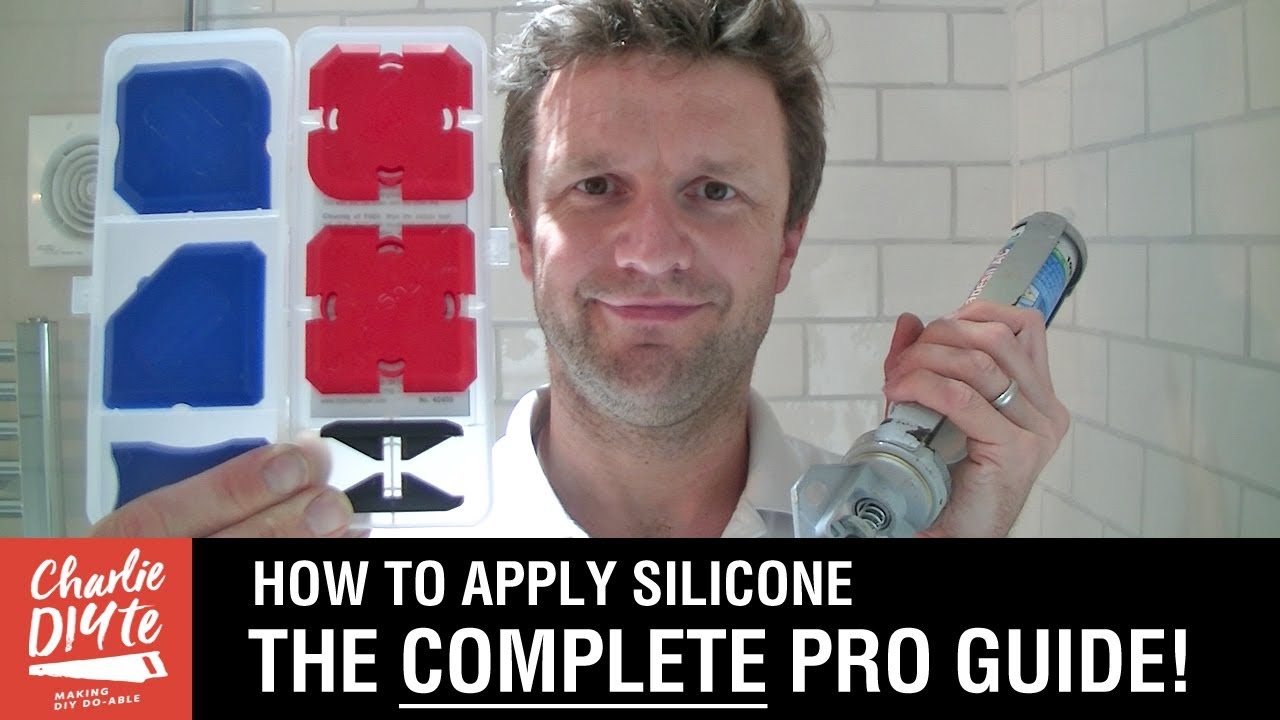
YouTuber Charlie DIYte also suggests in this video to consider how much flexibility your silicone sealant will need and choose either a low-modulus (more elastic) or high-modulus (less elastic) silicone based on this as well.
Pro Tip: You can also buy silicone colour-matched to grout for a perfect blending in amongst tiles.
1. Degrease the Surface
Firstly, clean down the surface with some methylated spirit and a cloth. This will degrease the area so there won’t be any issues affecting the adhesion of the new silicone sealant.
2. Prepare the Silicone
To release the silicone from its tube, you’ll need to cut the end of the nozzle with a sharp knife. If you wish to apply a thick silicone bead, cut further up the nozzle to create a wider hole. Some silicone tubes may also require you to remove the nozzle and cut off the top part of the tube as well.
3. Apply a Bead of Silicone
Insert the silicone tube into an applicator gun, and as you gently push on the handle, silicone will begin to push out from the nozzle.
Working slowly and steadily, apply the silicone in a line straight across the gap you wish to seal. Make sure not to leave any gaps as you do this, and don’t worry if it looks a little messy at this stage.
Pro Tip: When sealing around a bathtub, fill the tub with water so that it’s properly weighted (as it would be when used) to ensure the seal doesn’t crack later.
4. Create a Smooth Finish

To smooth the sealant to a professional finish, we recommend purchasing a sealant smoothing tool, as this will allow you to achieve a perfectly consistent finish all the way around.
Working in small sections, pull the smoothing tool along the bead of sealant, wiping away any excess from the tool as you go. You’ll notice a smoothly curved seal is left behind as you pull the smoothing tool across. Note: you may need to run the smoothing tool over the silicone several times for the perfect finish.
Pro Tip: You can spray a mix of water and washing liquid onto the silicone to provide a slippery surface for easier smoothing.
Whilst some may argue that you can smooth silicone out with your finger, we wouldn’t recommend this. Not only will this create an inconsistent finish, but it may also leave bacteria in the silicone, making it more prone to mould.
5. Allow to Fully Dry
It sounds obvious, but it’s important to prevent the silicone from coming into contact with water until it’s completely dry. Otherwise, this may affect the adhesion as it dries. Some silicone sealants can take up to 48 hours to dry, so if you’re likely to need a shower or bath within that time, pick a fast-drying silicone!
For an in-depth tutorial on applying silicone sealant, we recommend watching the video below by Charlie DIYte:
How To Replace Bathroom Sealant — Final Thoughts
Hopefully, you now feel confident to remove and replace silicone sealant yourself. It’s a great place to start if you’re new to DIY, and it’s a job that can make all the difference.
Before purchasing a new sealant gun, check out our reviews of the best sealant guns in the UK.