If you want to refresh your tiles without replacing them, follow this DIY guide on painting tiles like a pro.
Why Paint Tiles?
There are several good reasons to paint tiles rather than replace them:
- Cost-effective when compared to the cost of hiring a tiler.
- Minimises waste. Porcelain tiles can be recycled but must be disposed of separately from normal household recycling.
- It’s much easier than replacing tiles, even if you follow our DIY tiling guides.
- Painting tiles generates less mess than replacing them, as you avoid all the fragments, dust, grout and dents that result from removing tiles.
Painting a tile doesn’t extend its lifespan. It’s better to think of a painted tile as a stopgap rather than a long-term solution.
However, the new lease of life generated by fresh paint often makes people happy to live with old tiles for longer than they otherwise would have.
It’s possible to paint any ceramic, porcelain or glass tile. The paint won’t soak into the tile; it sits on the surface.
Note: Tiles in shower cubicles lose their painted lustre faster than anywhere else due to the humid conditions.
Tools & Materials
Gather all the tools and materials below before you begin painting tiles.
Tools
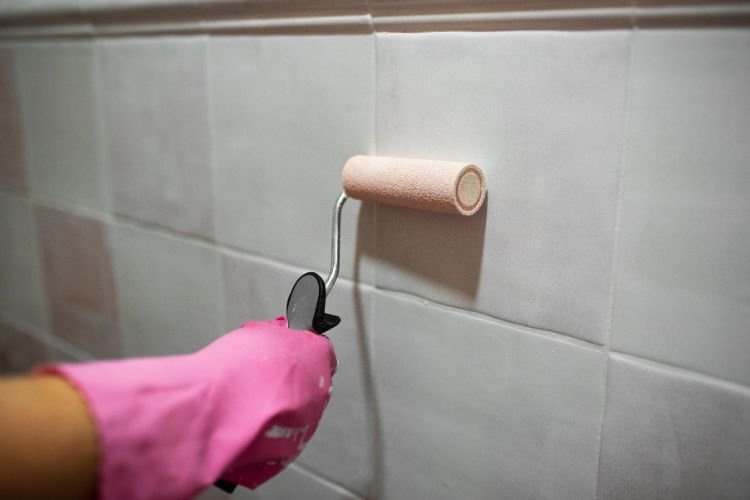
- Paint roller
- Roller tray with plastic liner*
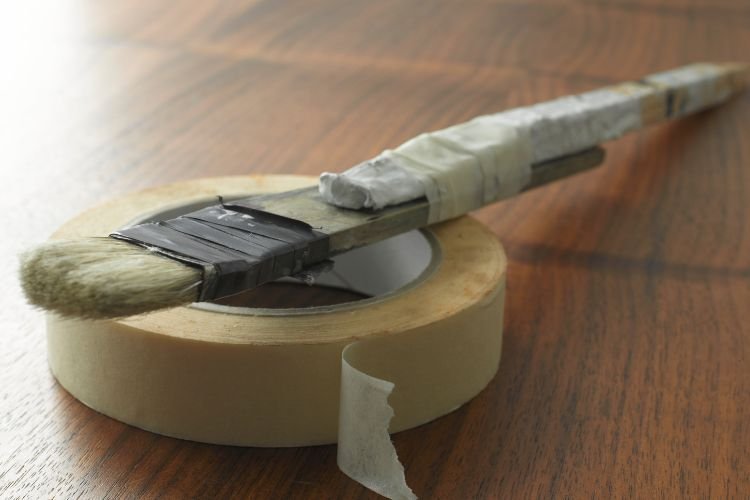
- Paintbrush
- Gloves
- Bucket
- Abrasive sponge
- Sandpaper
- Plastic sheets
- Masking tape
- Putty knife (if there are any cracks or chips)
*Fit a plastic liner to your roller tray as it simplifies cleaning the tray afterwards. If you don’t have a liner, push a large sheet of tinfoil into the corners — it’ll lift out similarly and reduce cleaning time.
Materials
- Bonding primer — Don’t use a primer intended for different surfaces like concrete or metal
- Tile paint — Again, ensure your chosen paint is suitable for use on tiles
- Cleaning agents, such as sugar soap
- Polyurethane sealer
- Paintable caulk or epoxy resin (if there are any cracks or chips)
- Fungicidal spray (if there’s any mould)
- Grout pen (if you want the grout to have a contrasting finish)
Painting Tiles — Prep Work
Painting tiles is a quick and cost-effective way to improve the appearance of old or discoloured tiles. However, it requires plenty of preparation and an eye for a good colour scheme. Here’s what you need to know before raiding the toolbox…
A Night on the Tiles
Regardless of their existing colour, you can transform your tiles’ appearance by choosing a different shade.
Tile paint is water-resistant and more durable than standard paints like emulsion. That’s because tiles are usually in humid environments like kitchens and bathrooms.
Complement new tile paint with other changes, such as painting plasterboard walls in a similar or contrasting shade. If you’re repainting bathroom tiles, buy a few accessories that complement the new tile colour. Suggestions include roller blinds, towels, soap dishes and pedestal mats.
Pro Tip: Because tile paint is often only available in a limited range of colours, accessorise around your chosen tile colour rather than the other way around.
Stencil Research
White is the most common choice for tile paint, and the merits of painting tiles white are demonstrated in this YouTube video by Tima Matin.
Since many tiles are white, it’s less obvious you’ve painted over an existing shade or pattern. White is also the best colour to decorate with a stencil, adding character to a single-colour tile’s appearance.
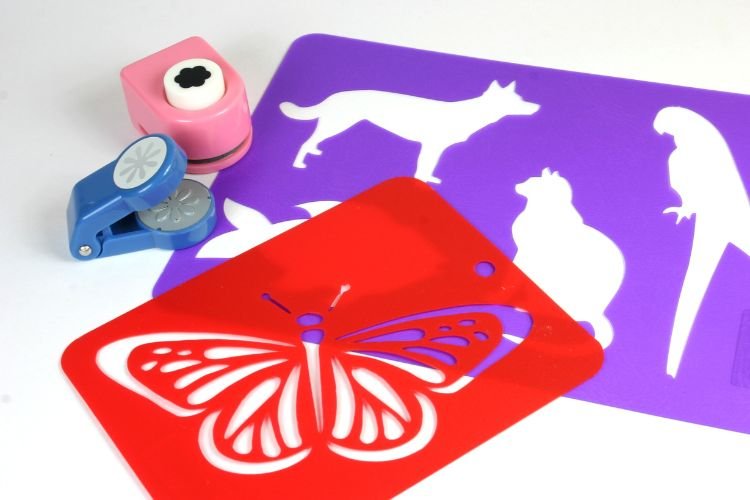
Stencil kits are cheap to buy and revitalise tiles. They can also introduce a decorative edge around corners or highlight integrated furnishings like sinks. You’ll find stencil kits at craft stores and online retailers like Etsy.
This B&Q video offers suggestions on how to stencil tiles.
Pro Tip: Use a lightly coated sponge to avoid paint bleeding beyond the stencil holes, and practice on paper before applying to tiles. Always wait until you’ve completed steps 1-7 below before unleashing your inner artist…
Step Into Action
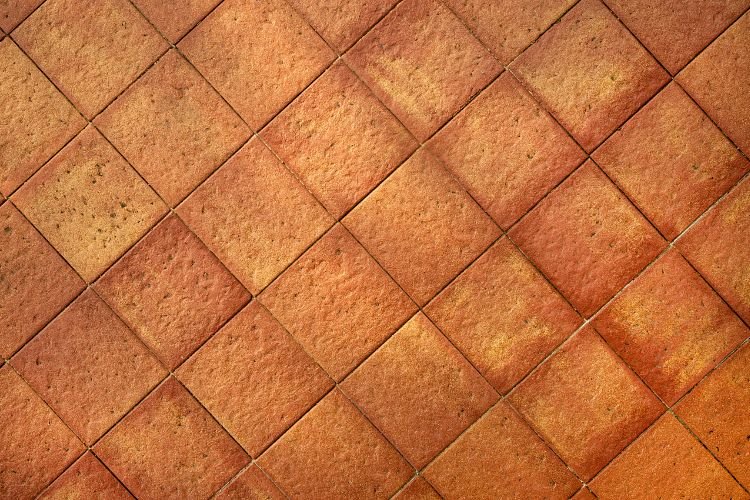
Tile paint is intended for use on any surface but looks better when applied to vertical surfaces. E.g. walls and splashbacks.
We don’t recommend painting horizontal surfaces, such as floor tiles, since the wear and tear from foot traffic will prematurely age the paint. The same goes for tiled worktops, which also suffer daily punishment, from oven trays to disinfectant sprays.
How To Paint Tiles — Step-by-Step Instructions
To paint tiles like a pro, follow the 9 steps below.
1. Thoroughly Clean Tiles
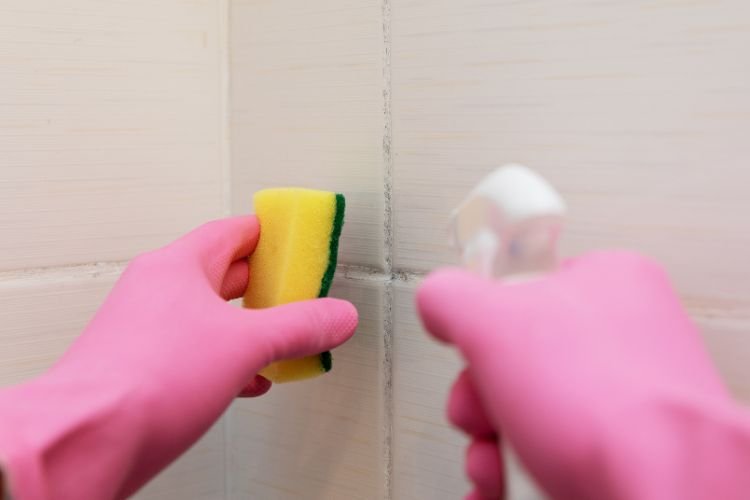
We added the word ‘thoroughly’ to this heading because even minor imperfections or ingrained dirt could spoil the finish. Kitchen tiles are especially prone to contaminants like ingrained grease, which might not be immediately apparent but are visible once painted over.
Add your chosen cleaning agent to a bucket of warm water and scrub the tiles with an abrasive sponge until their surfaces are spotless.
Pro Tip: A toothbrush can get into crevices that sponges and cloths can’t access.
Consider hiring a steam cleaner if you want to reduce physical labour. These machines are great at blasting off ingrained dirt over large surface areas. Note that tiles need 24 hours to dry before you can paint them.
It may take a few attempts to remove any ingrained mould that’s formed along the grout. A fungicidal spray is the best way to ensure mould is eliminated.
You can watch the cleaning process in this video from Dulux Australia (see 0:31 to 0:51).
Pro Tip: DIY guides often suggest cleaning tiles from the top down. However, it’s easier to see where you have (and therefore haven’t) cleaned if you work from the bottom row of tiles upwards.
2. Repair Cracks and Chips
A lumpy or uneven tile surface is magnified when it’s a single colour, so closely examine your tiles for flaws.
Run your hands over the tiles to detect unnoticed hairline cracks or depressions. If you find any rough surfaces, put a small amount of caulk or epoxy resin on a gloved finger and apply it gently. You may need to apply several layers to fill deeper indentations. Use a putty knife to smooth the caulk/resin down so it’s flush with the tiled surface.
Pro Tip: Shine a torch onto the tiles from different angles, as this will help identify minor dents or flaws that aren’t always obvious in dull light.
Watch out for tiny blobs of grout or anything bumpy on the tile’s surface. Sand these down to achieve a flush surface.
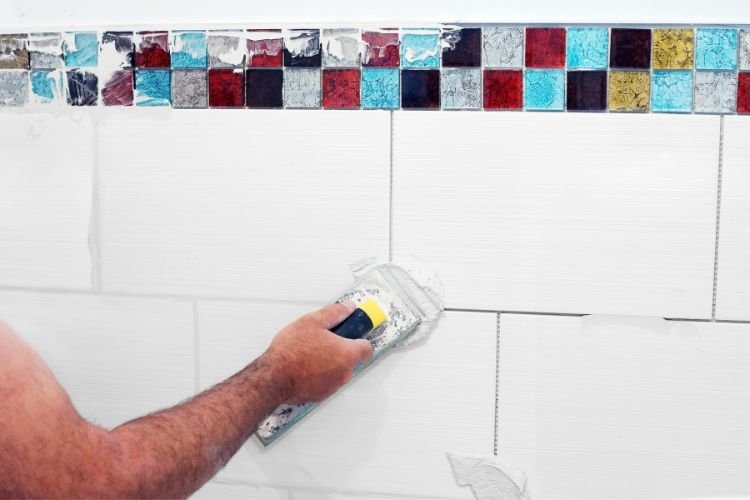
3. Repair Grout
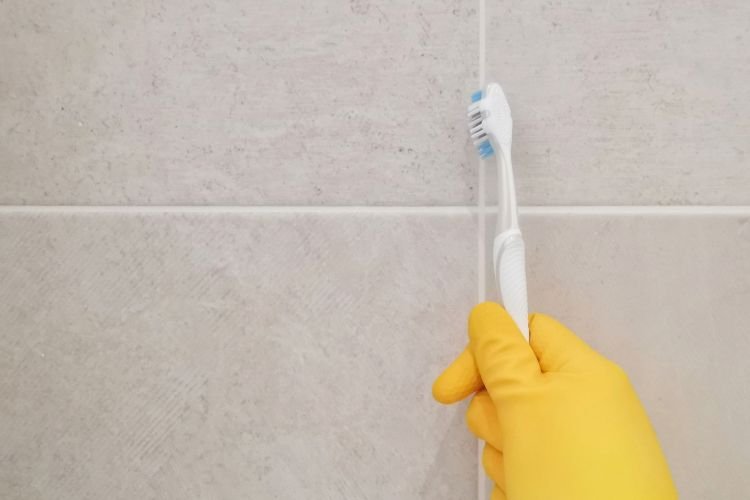
Surrounding grout needs to be in optimal condition, so use a grout pen to repair holes, wiping away any excess with a gloved finger or a toothbrush.
If your grout is in poor condition, you might need to replace it entirely. We explain how to do this in our guide to tiling a wall. We don’t recommend removing the existing grout if you can salvage it since replacing grout takes a lot of time and effort.
4. Sand Tiles
The high-gloss finish of many modern tiles can cause paint to flake and fall off. These oven-baked surfaces are designed to prevent dirt, dust and other contaminants from sticking to them — including paint!
To provide a better surface for the paint to adhere to, slightly scuff the surface with a sheet of 120-220 grit sandpaper (though you could use a power sander if you prefer). Decorators refer to this process as giving the surfaces tooth — making them look dull rather than polished.
After completing this step, we recommend repeating step 1 to ensure every tile’s surface is spotlessly clean. Some professionals also advise a quick rub-down with white spirit to obliterate any stubborn hangers-on. Finally, vacuum the room to extract as much dust as possible.
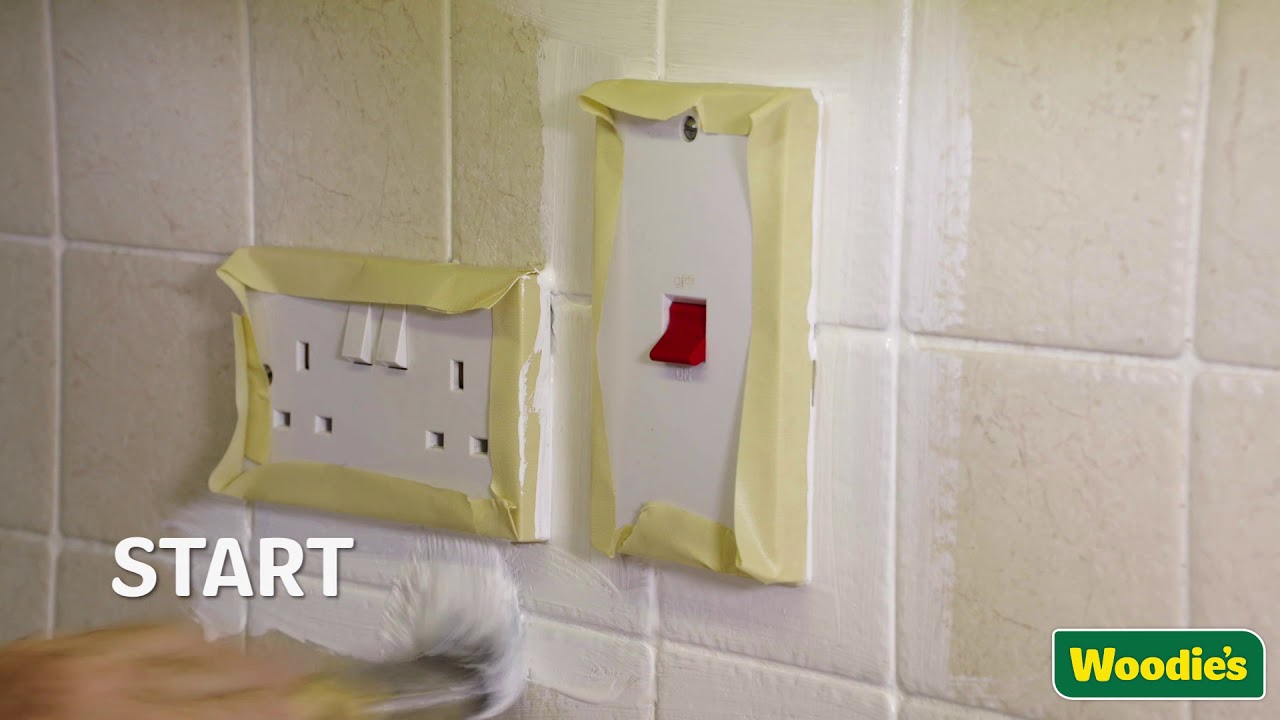
5. Cover Surfaces Around Tiles
This step might include draping plastic sheeting across a sink before you paint splashback tiles or applying masking tape around sockets and switches. Protect floors if you’re not planning to replace them anytime soon.
Pro Tip: If possible, remove silicone sealant from baths and showers before painting, as tile paint won’t bond with it. Cover the sealant with masking tape if you don’t want to remove it.
6. Apply Bonding Primer
Bonding primer is vital when painting tiles. It supports a more durable and long-lasting finish, which is especially important in high-moisture areas such as bathrooms and kitchens.
Because it’s a thin liquid, apply bonding primer sparingly with a roller. Use a small paintbrush to coat recessed grout lines beyond the roller’s reach.
Use a quick-drying primer, which allows you to add the all-important second coat much sooner.
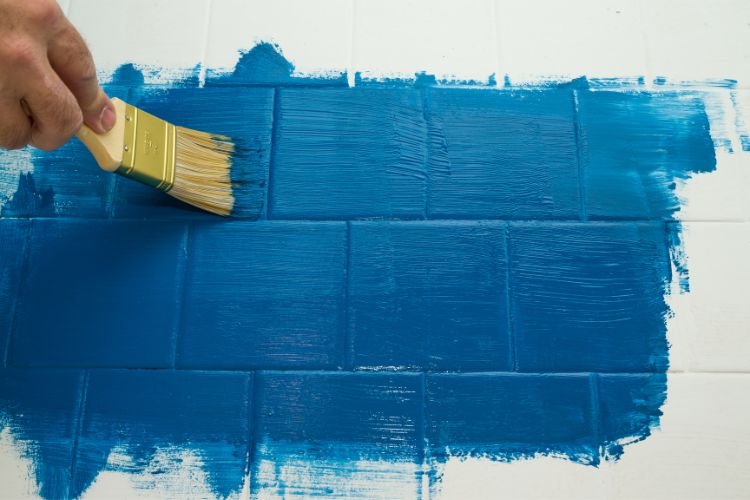
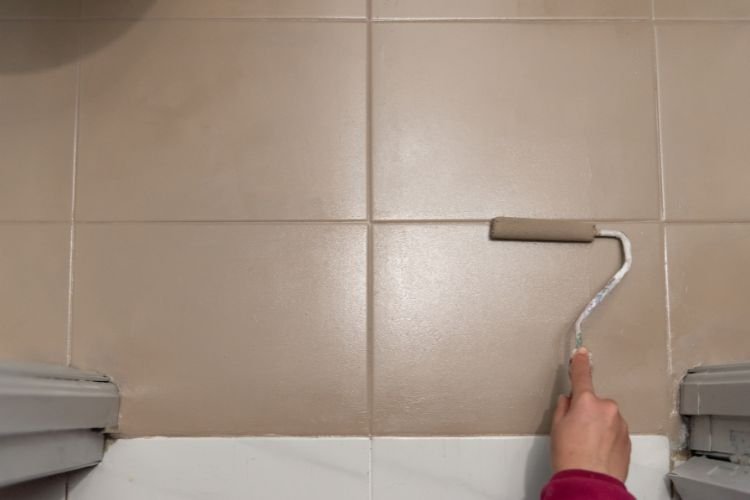
7. Apply First Coat
Replace the roller tray liner you used for the bonding primer with a clean one.
Pour in a modest amount of paint and lightly apply it. Start by cutting in around edges, corners or masking tape with a paintbrush, then tackle the main sections with a roller.
Pro Tip: You’ll achieve better results by applying two or three light coats rather than trying to cut corners with one thicker application. Stir the paint before and during use to maintain a consistent texture.
Because tiled surfaces tend to be large, we recommend using a roller. You can also mop up excess paint by rolling in one direction (usually downwards) with an unloaded roller. Only use a paintbrush to cut in around the edges or cover grout that is depressed below the tile surface.
Always paint from the top down so newly applied paint can’t drip down onto partially dry paint beneath it. If you’re painting a floor, work towards the door from the furthest corner of the room.
8. Apply Additional Coats if Necessary
Depending on their respective colours, the grout might need more or less coats than the tiles. We outline an alternative to painting grout the same colour as the tiles in step 10 below.
Wait for the paint to dry, then decide whether to apply a second coat. The colour difference between the tile and your chosen paint will influence this decision. Don’t be disheartened if the first coat looks marbled or patchy — repeat step seven until the old tile pattern is entirely obscured.
If you’re working in winter, ensure you see the tiles in daylight before deciding no more coats are necessary. It’s often only natural light that reveals inconsistencies in the finish.
Pro Tip: Store part-used paint tins upside down. When the inevitable skin forms, it’ll be at the bottom rather than the top when you re-open it.
9. Apply Sealer
Unlike regular indoor paint, you must seal tile paint before it’s ready for daily use because the sealer protects it against scuffs and scratches.
We recommend applying two coats of polyurethane sealer (aka polyurethane varnish), leaving a few hours for the first application to dry.
Some polyurethane sealers take several days to fully dry, though you can usually add a second coat during this period. Avoid getting the tiles wet or coming into contact with them until the manufacturer’s drying time has elapsed.
The one-minute video below from Woodie’s briefly summarises the first nine steps in this guide:
10. Add Grout Layer (optional)
If you’re happy for the tiles and their surrounding grout to be the same colour, skip this step. Otherwise, use a grout pen to apply a layer of fresh grout on top of the painted grout.
Trace the grout lines along the wall — you should still be able to see them even if it’s the same colour as the tiles. Follow the manufacturer’s recommended drying times, removing excess grout with a damp microfibre towel before it’s fully set.
We recommend following this step since a tiled wall without any colour variation can look repetitive unless the tiles are white or grey. Applying a grout pen between each painted tile creates a more professional finish and tricks visitors into believing the tiles have always been this colour.
Final Thoughts
Painting existing tiles is a quick and cost-effective way to spruce up tiled surfaces.
Remember, painted tiles have less surface strength than glazed tiles, so avoid harsh cleaning products or abrasive materials like wire wool.
If you want to change your tile colours as part of a wider renovation project, check out our comprehensive guide to painting a room.