When faced with a tired and dingy kitchen, our first instinct is to rip it all out and start again. However, if your cabinets are structurally sound, simply painting them can transform your kitchen without the cost and pain of a major refurbishment.
So to save you time, money, and stress, I will walk you through our step-by-step process for painting kitchen cabinets.
In this guide, I focus on refreshing the EXTERIOR parts (doors, drawer fronts, etc.), but feel free to apply the same techniques to interior parts (e.g. shelves, inside the drawers, etc.) if you wish to go all out. Also, this process is based on painting wood surfaces and NOT laminates or other surfaces.
Table of Contents
Overview
There are three main parts to painting kitchen cabinets — Preparation, Priming and Applying the Decorative Paint Finish.
In this section, I’ll briefly review each part’s important points. Detailed steps are provided in the step-by-step section.
Preparation
The key to creating the perfect finish is proper preparation. So before you even think about whipping out your paintbrush, ensure you’ve spent plenty of time preparing the surface.
Professional preparation includes cleaning, sanding, and priming the surface to ensure the finish colour sticks.
Thoroughly cleaning the surface is the most important part of the preparation process and is often overlooked. Years of cooking releases grease and moisture into the air that settles on your cabinets. Therefore, all surfaces require a deep clean before we can start priming.
Once the surfaces are free of grease and dirt, repair any dings & divots and then lightly sand the surface.
Priming
It’s important to prime and sand the surface before applying the finish coat. Ask a paint specialist at your local DIY store to help you pick a wood primer that best suits the finish you’re looking for (e.g. gloss, eggshell, etc.).
When applying the primer and finish coat, remember to use high-quality paintbrushes with fine bristles to reduce the number of brush stroke marks. Also, try to be consistent and paint each coat in the same direction (e.g. up & down or side to side).
Remember, your application technique heavily influences the finish, so don’t rush this part and buy a good-quality primer.
Applying Decorative Paint Finish
When it comes to the decorative finish, the traditional choice is gloss. However, gloss paint has one major drawback — it’s unforgiving of imperfections and shows brush strokes.
Eggshell, however, is much more forgiving and provides a superior finish. Therefore, I recommend going with an eggshell finish for this project.
Whichever paint you use, buy the best-quality paint you can afford to achieve a long-lasting finish. Remember, it’s still much more cost-effective than buying and installing new cabinets!
Note about paint types (solvent vs water-based): We recommend using solvent-based paints for woodwork in busy areas (e.g. kitchens) due to their durable properties.
A major downside of working with solvent-based paints is that their fumes are toxic. I.e. They contain solvents that irritate your lungs. So remember, always provide plenty of ventilation when using solvent paints.
Fortunately, while water-based acrylic paints don’t flow and self-level like their solvent-based counterparts, they’re getting closer and are far less toxic. Furthermore, acrylic formulas created specifically for cabinetry create an even, long-lasting finish.
Another advantage of acrylic paints is that they wash well with water, making them a good option for high-traffic areas such as kitchens and bathrooms.
To learn more about solvent-based vs water-based paints and paint selection in general, check out our complete guide to paint.
Painting Kitchen Cabinets In Situ
Before we get started, here are my thoughts on this common question:
If possible, the best option is to remove all items (i.e. doors, drawers, shelves, cabinet boxes) and paint them in a garage or similar workspace. This way, you avoid having to paint around walls, worktops, backsplashes, floors, and appliances.
Removing doors and drawers is straightforward, as you only need to unscrew their hinges and brackets. However, this might be difficult for floor cabinets if they’re screwed into walls, appliances, or worktops. Also, if you have a big family and always need a functioning kitchen, you may need to work on them in situ.
If you do have to paint each part in situ, ensure you use rosin paper (countertops), thin plastic (backsplash) and masking tape (countertops and everywhere else) to cover any area that shouldn’t be painted.
Whichever way you choose, remove all handles, hinges, screws, etc., before you start and keep them in a safe place.
Tools & Materials
Although painting kitchen cabinets is not a particularly expensive project, you still need plenty of tools and materials to complete the job successfully and with minimal mess. I’ve listed the essentials below:
Tools
- Cordless driver and screwdriver bit set
- Putty knife
- High-quality paintbrushes with fine bristles*2 (one for primer and one for finish paint)
- Workbench/flat surface to paint cabinet parts on
- Drying rack to keep the doors and drawer fronts flat while the paint dries and levels
- Random-orbit sander
Pro Tip: To save money, build a DIY drying rack like Jessie has in the video below:

OPTIONAL — Airless Paint Sprayer. If you wish to go down this route (see Decorative Paint Finish steps below), speak with a paint specialist to determine what tools you need to rent/buy (e.g. air compressor, sprayer gun, and tubing).
Materials
- Masking tape
- Small plastic bags
- Rosin paper
- Thin plastic sheets
- Rubber gloves
- Scrubbing sponge
- Multi-purpose cleaner/degreaser
- Sugar soap
- Wood putty
- 120-grit and 220-grit sandpaper
- Tack cloths
- Primer — see notes above about picking the right one
- Finish paint
- Paint tray and stir sticks
- Fine-grit sanding sponge
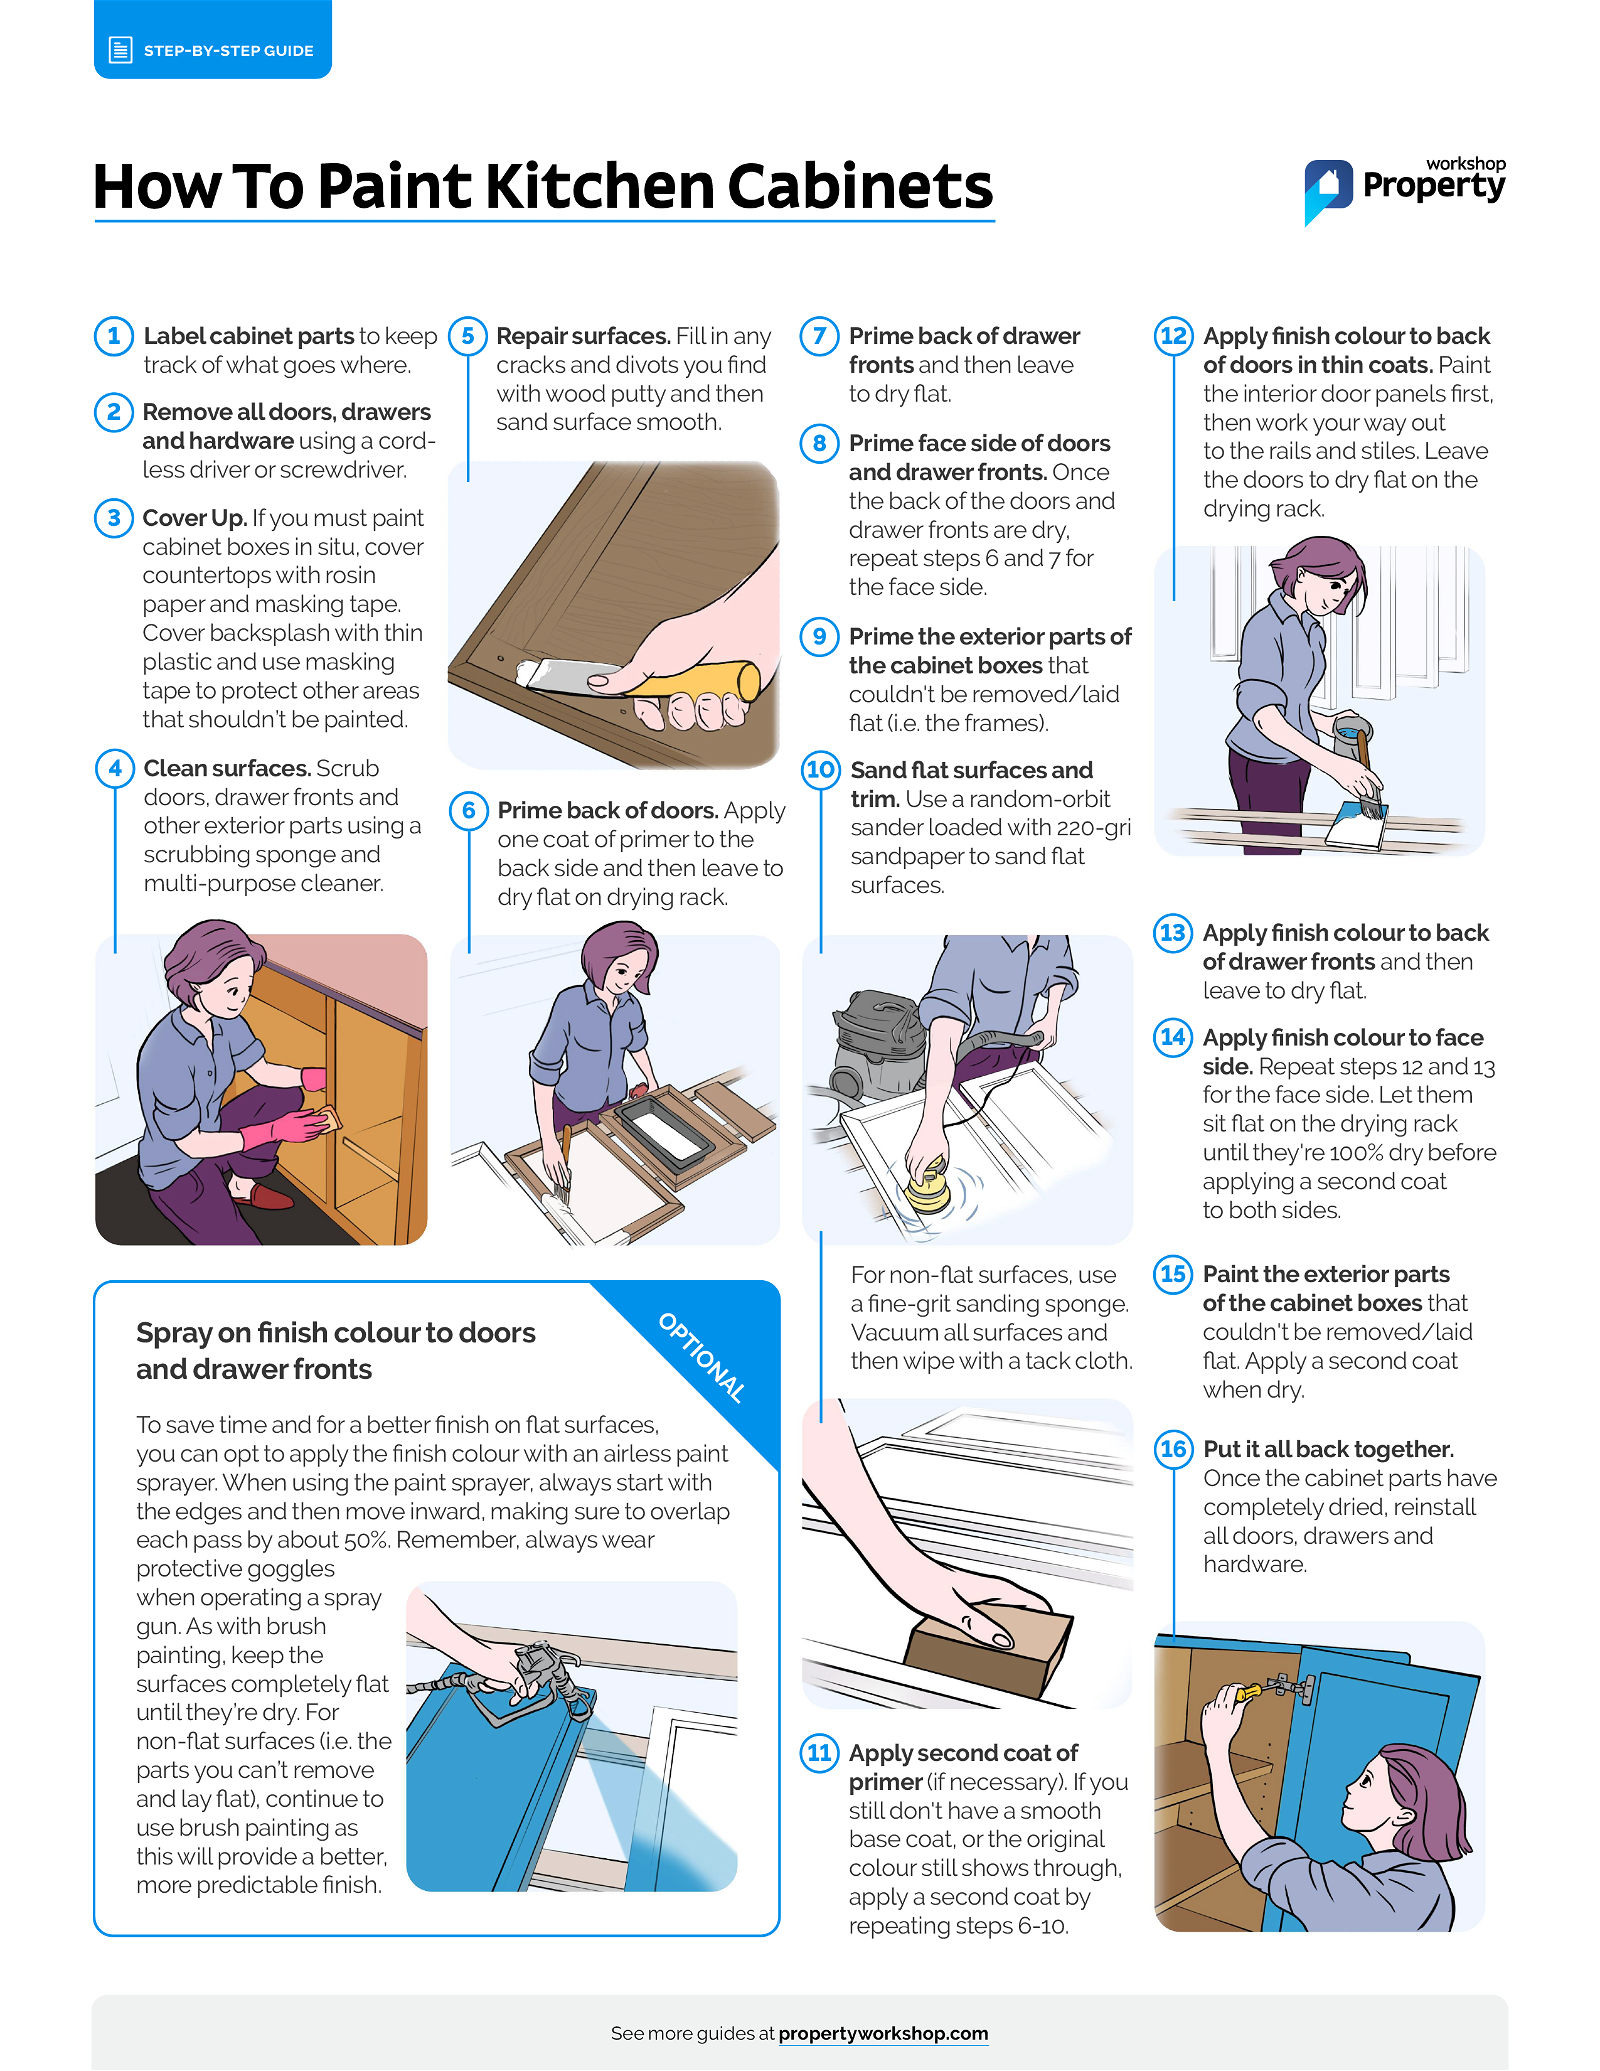
How To Paint Kitchen Cabinets — Step-by-Step Guide
The 16 steps below are broken into 3 main sections — Prepare, Prime and Apply Decorative Paint Finish.
Prepare Kitchen Cabinets
The key to a great finish is in the preparation, so take your time and do it right.
1. Label Cabinet Parts
To track where everything goes, use masking tape to label each door/drawer front and its matching cabinet box/drawer. Also, label the location of handles and hinges if you’re reusing them.
Pro Tip: Fitting new handles and hinges is a simple and inexpensive way of adding a nice finishing touch to your project.
2. Remove All Doors, Drawers and Hardware
Remove all doors, handles, and hinges using a cordless driver/screwdriver.
Remove drawers from units and unscrew fronts. Keep all small removable hardware and screws together in plastic bags and store them safely.
3. Cover Up
Cover countertops with rosin paper and masking tape if you must paint your cabinet boxes in situ, and cover the backsplash with thin plastic.
Use masking tape and common sense to protect other areas that shouldn’t be painted.
4. Clean Surfaces
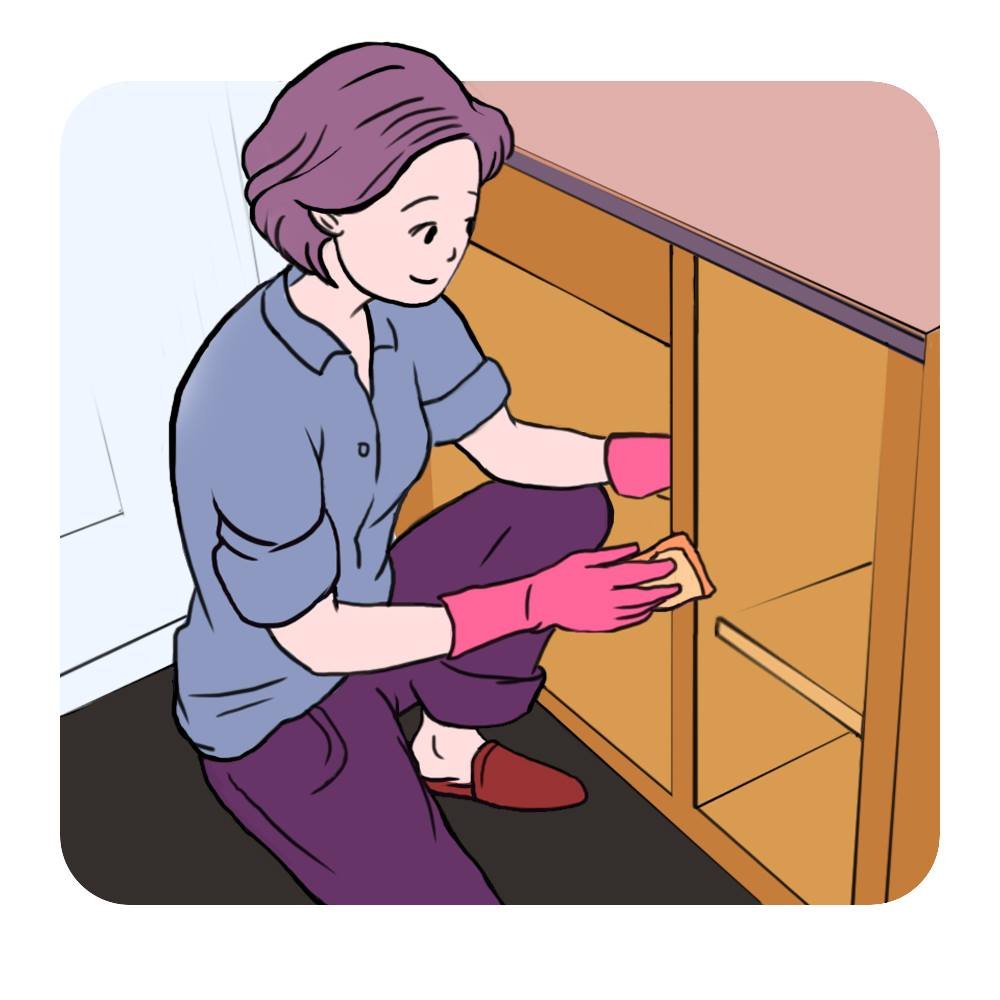
While wearing rubber gloves, scrub your doors and drawer fronts using a scrubbing sponge and multi-purpose cleaner/degreaser. Repeat for the exterior parts of the cabinet boxes that you can’t remove.
When the worst is off, clean one more time with sugar soap.
5. Repair Surfaces
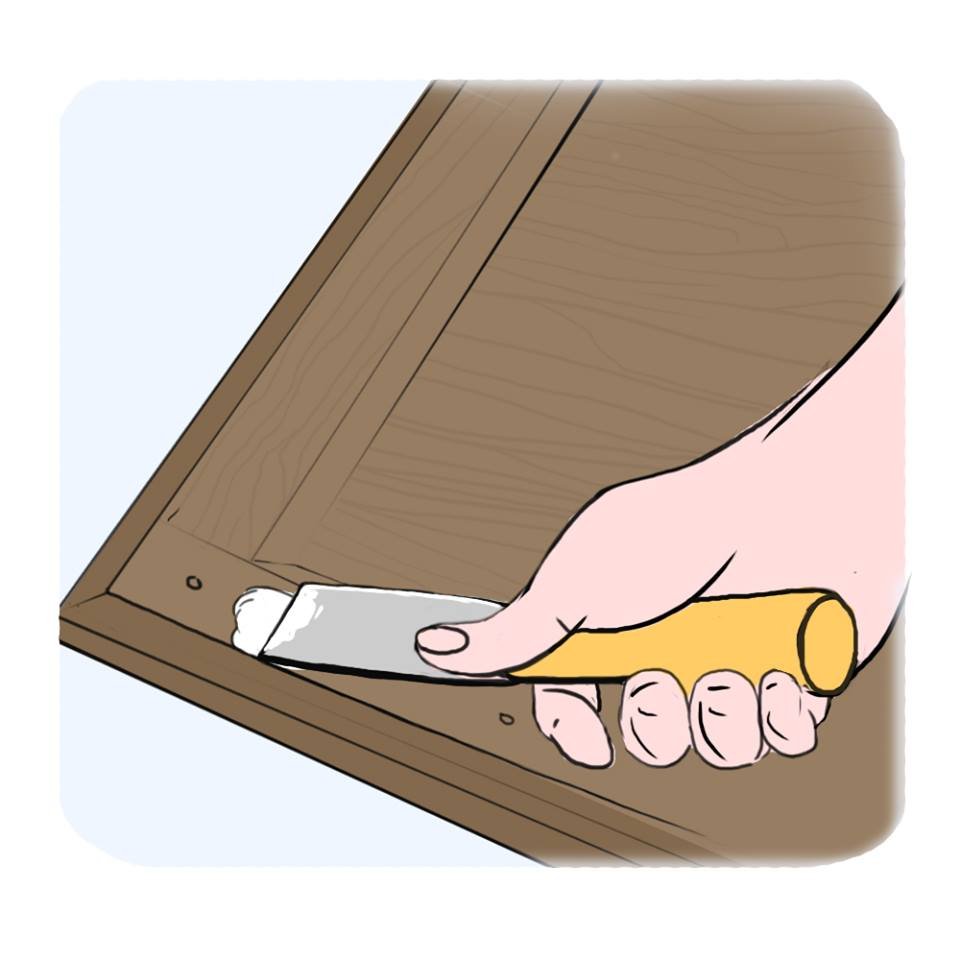
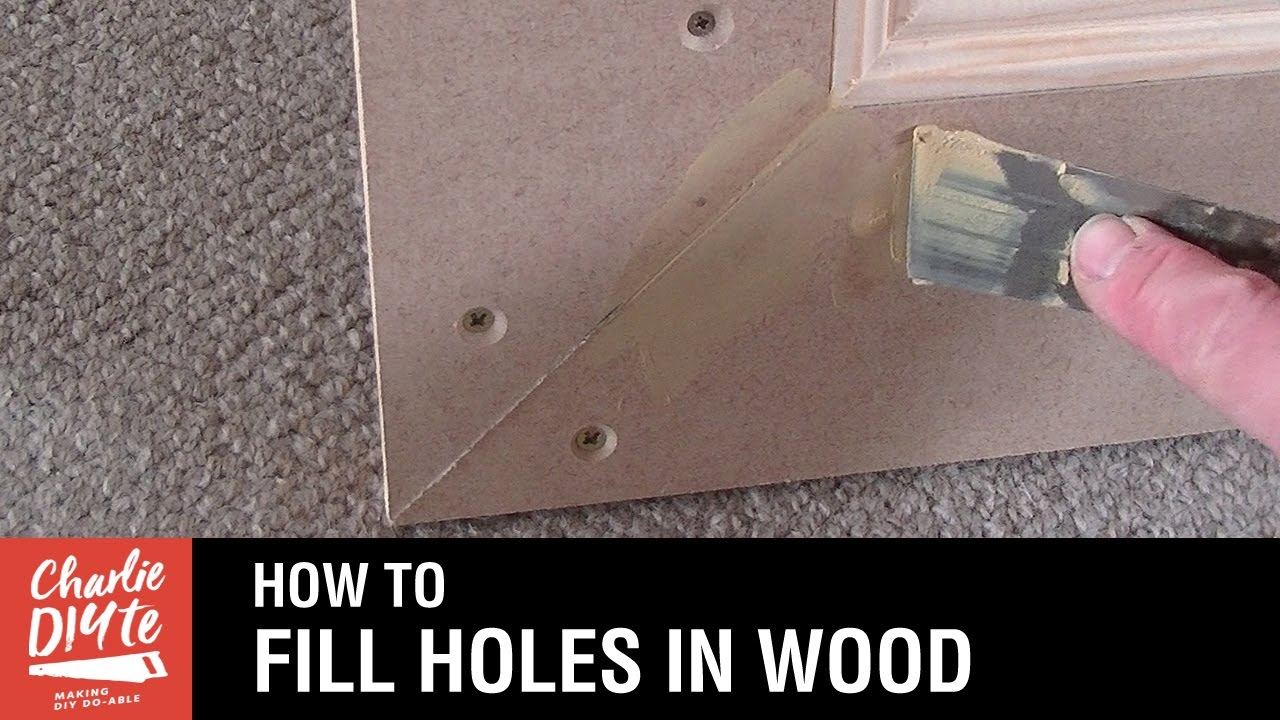
Armed with a putty knife and wood putty, fill in any cracks and divots you find.
Sand the wood putty smooth, then rough up the finish with 120-grit sandpaper. Remember to rub the surface gently and evenly.
Pro Tip: Poor sanding is the #1 cause of paint peeling, so don’t rush this step!
Ensure you rub down any nooks created by decorative mouldings, planed edges, etc. When finished, wipe the freshly sanded surface with a tack cloth to remove dust.
Prime Kitchen Cabinets
Prime the surfaces so they’re ready for the decorative paint finish.
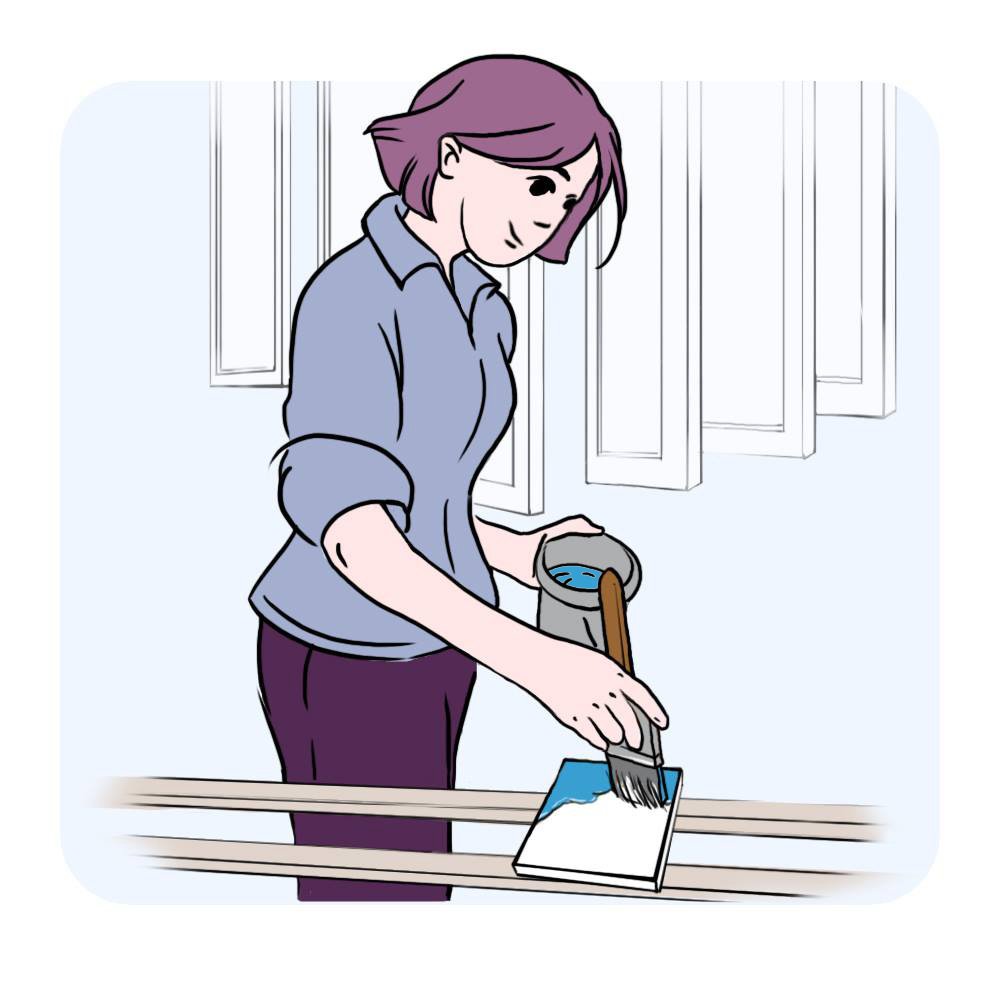
6. Prime Back of Doors
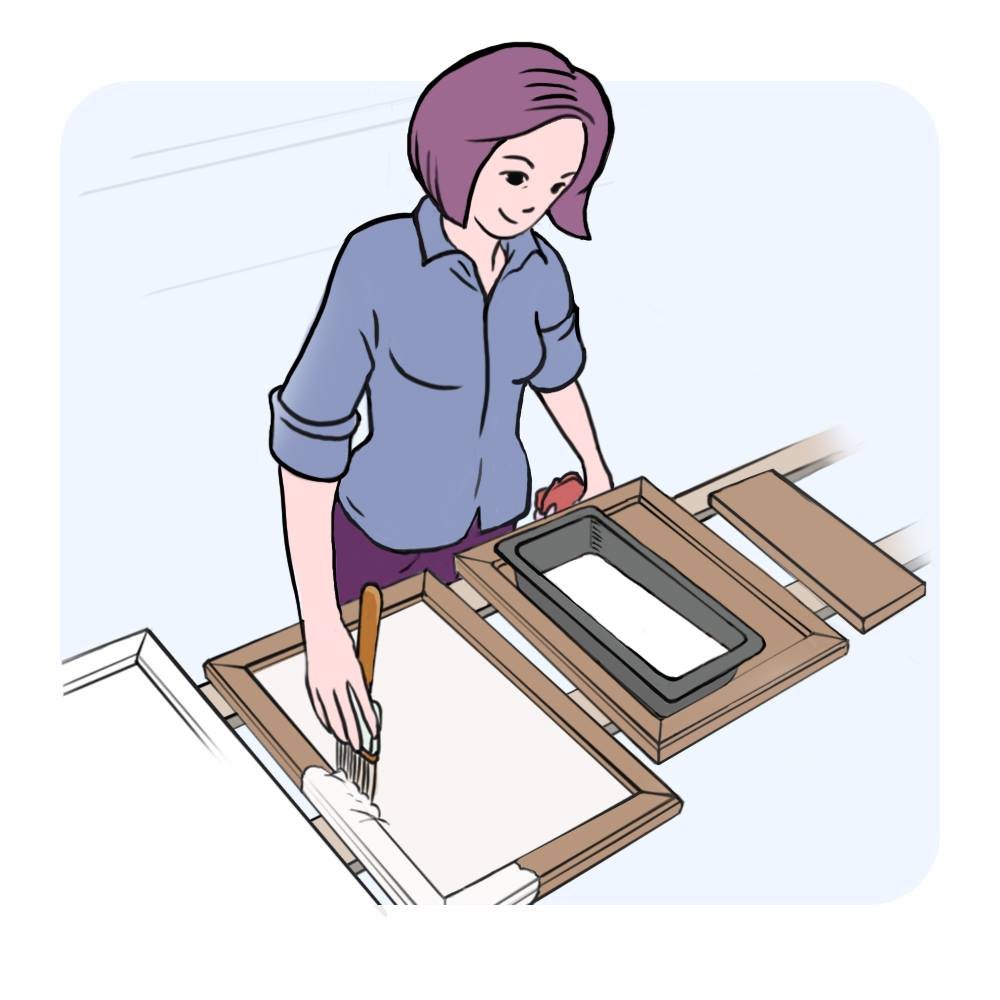
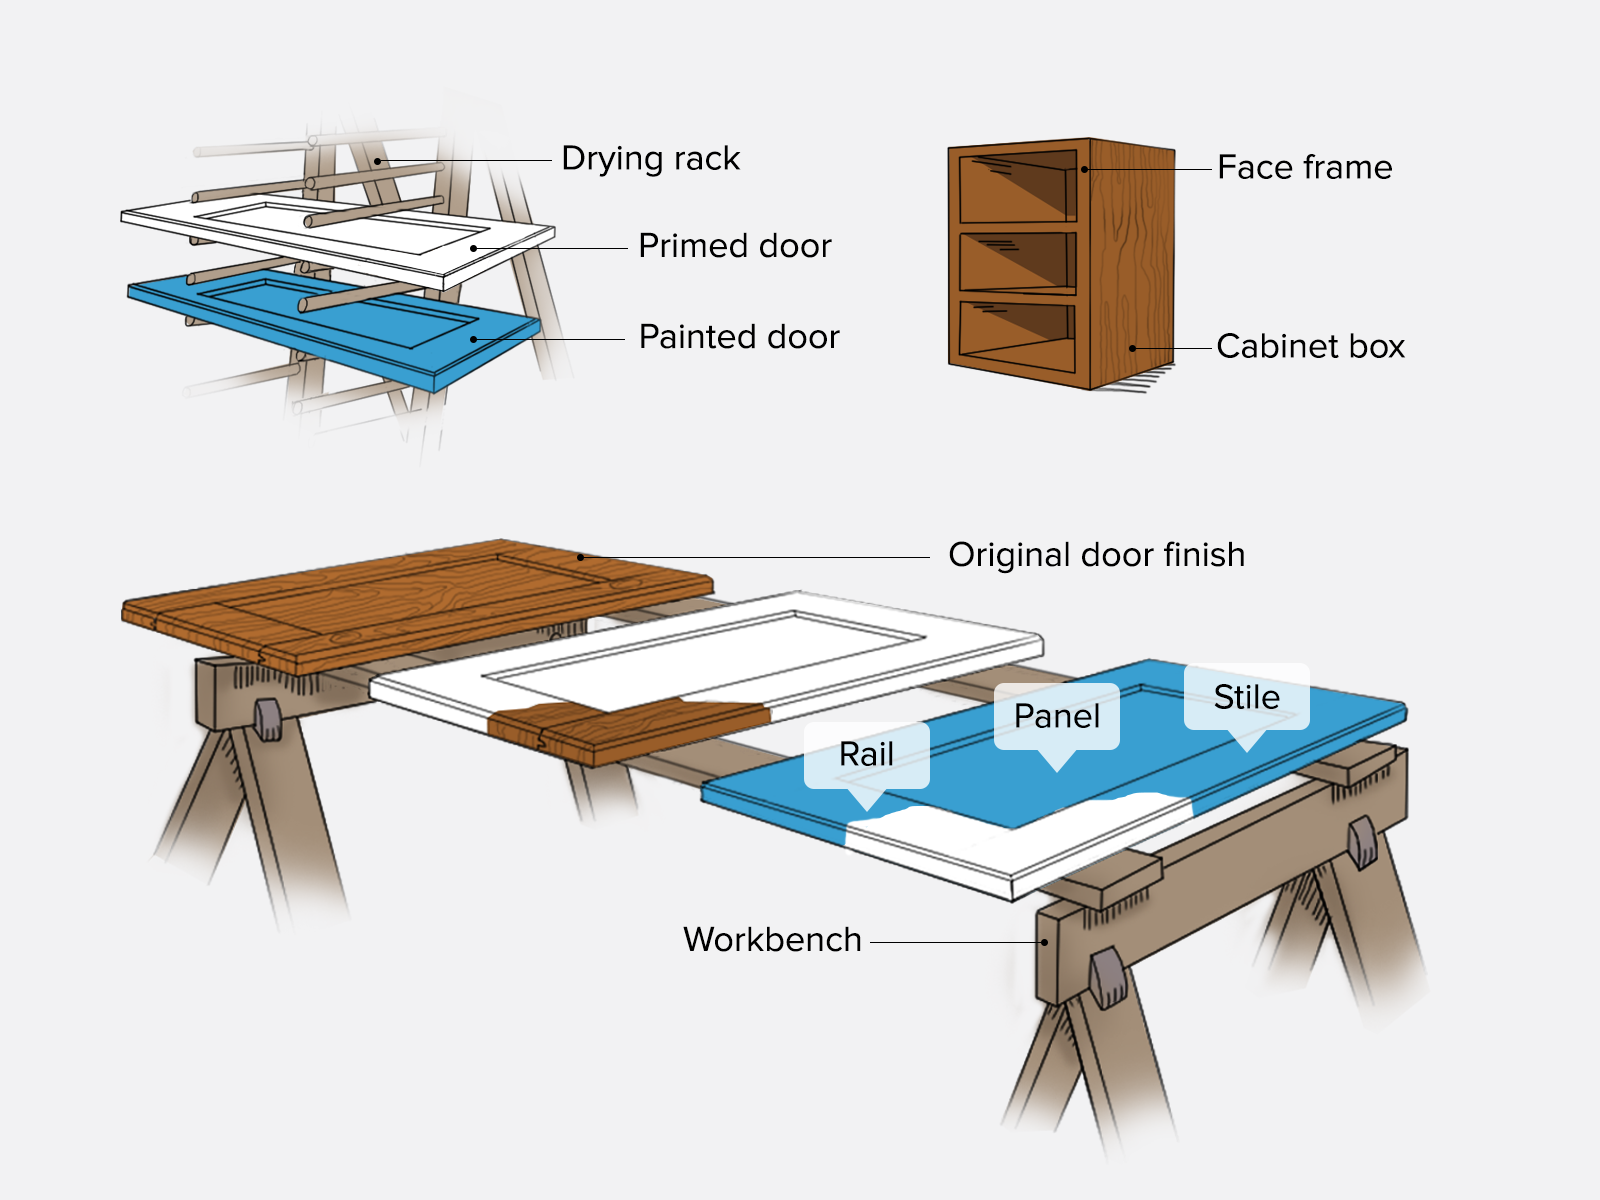
Lay your doors face down and apply one coat of primer to the backside. Start with the interior door panel and then prime the rails and stiles. See the main image at the beginning of this section if you’re unfamiliar with rails and stiles.
Leave the doors to dry on your drying rack, keeping them flat and allowing the primer to level off.
7. Prime Back of Drawer Fronts
While the doors are drying, prime the back of your drawer fronts and leave them flat on your drying rack to dry.
8. Prime Face Side of Doors and Drawer Fronts
Once the back of your doors and drawer fronts are dry, repeat steps 6 and 7 for the face side.
Let them sit flat on your drying rack until they’re 100% dry before sanding (step 10).
9. Prime Exterior Areas
While your doors and drawer fronts are drying, prime the exterior parts of your cabinet boxes that couldn’t be removed/laid flat (i.e. the frames).
10. Sand Flat Surfaces and Trim

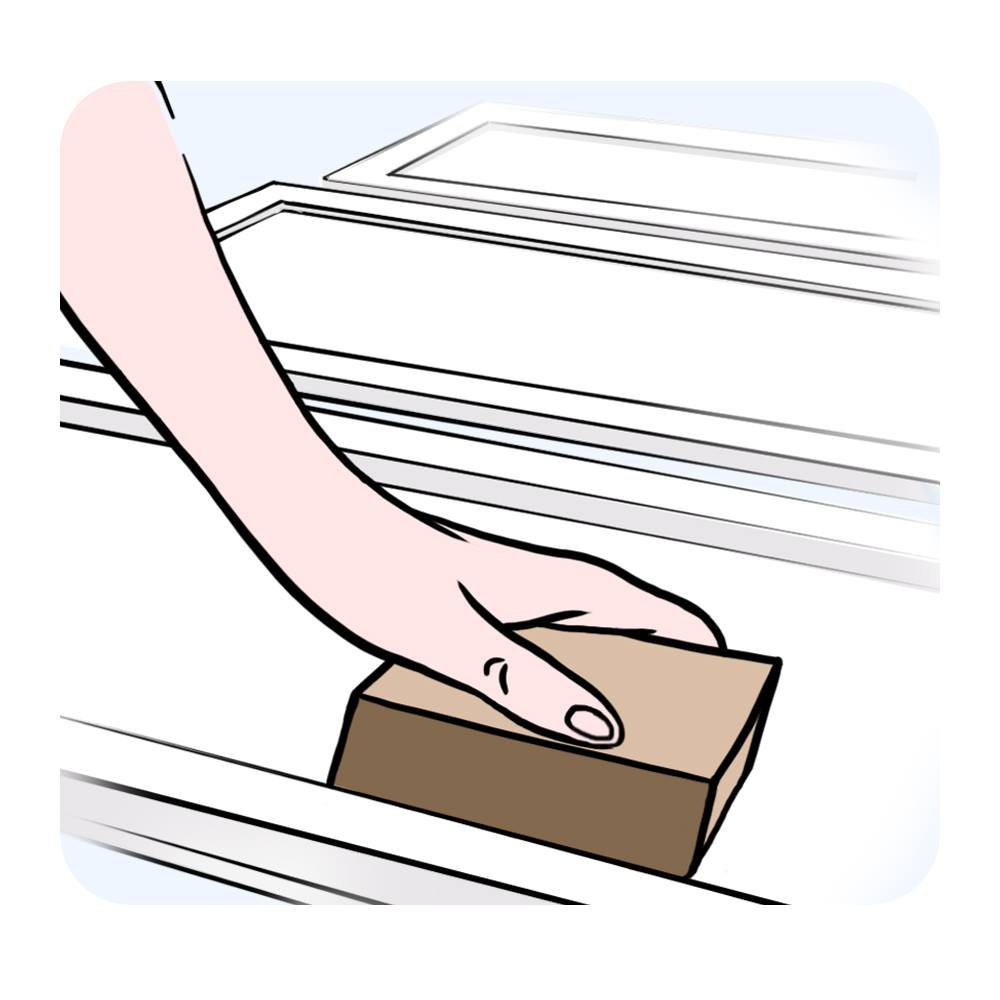
To remove brush stroke marks from flat surfaces, use a random-orbit sander loaded with 220-grit sandpaper. Use a fine-grit sanding sponge for non-flat surfaces (e.g. trim detailing).
Once you’ve finished sanding, vacuum all surfaces and wipe clean with a tack cloth.
11. Apply a Second Coat of Primer (if necessary)
If you still don’t have a smooth base coat, or the original colour still shows through (common with darker original colours), apply a second coat of primer by repeating steps 6–10.
Apply Decorative Paint Finish
Time to add the finishing touch!
12. Paint Back of Doors
Apply the finish colour to the back of your doors in thin coats to avoid drips and uneven coverage. Paint the interior door panels first, then work your way to the rails and stiles.
Leave doors to dry flat on your drying rack.
13. Paint Back of Drawer Fronts
While your doors are drying, paint the back of your drawer fronts and leave them flat on your drying rack to dry.
14. Paint Face Side of Doors and Drawer Fronts
Once the back of your doors and drawer fronts are dry, repeat steps 12 and 13 for the face side.
Let them sit flat on your drying rack until they’re 100% dry before applying a second coat to both sides.
15. Paint Exterior Areas
While your doors and drawer fronts are drying, paint the exterior parts of your cabinet boxes that couldn’t be removed/laid flat (i.e. the frames). Apply a second coat when dry.
OPTIONAL — Spray-on Finish Colour to Doors and Drawer Fronts
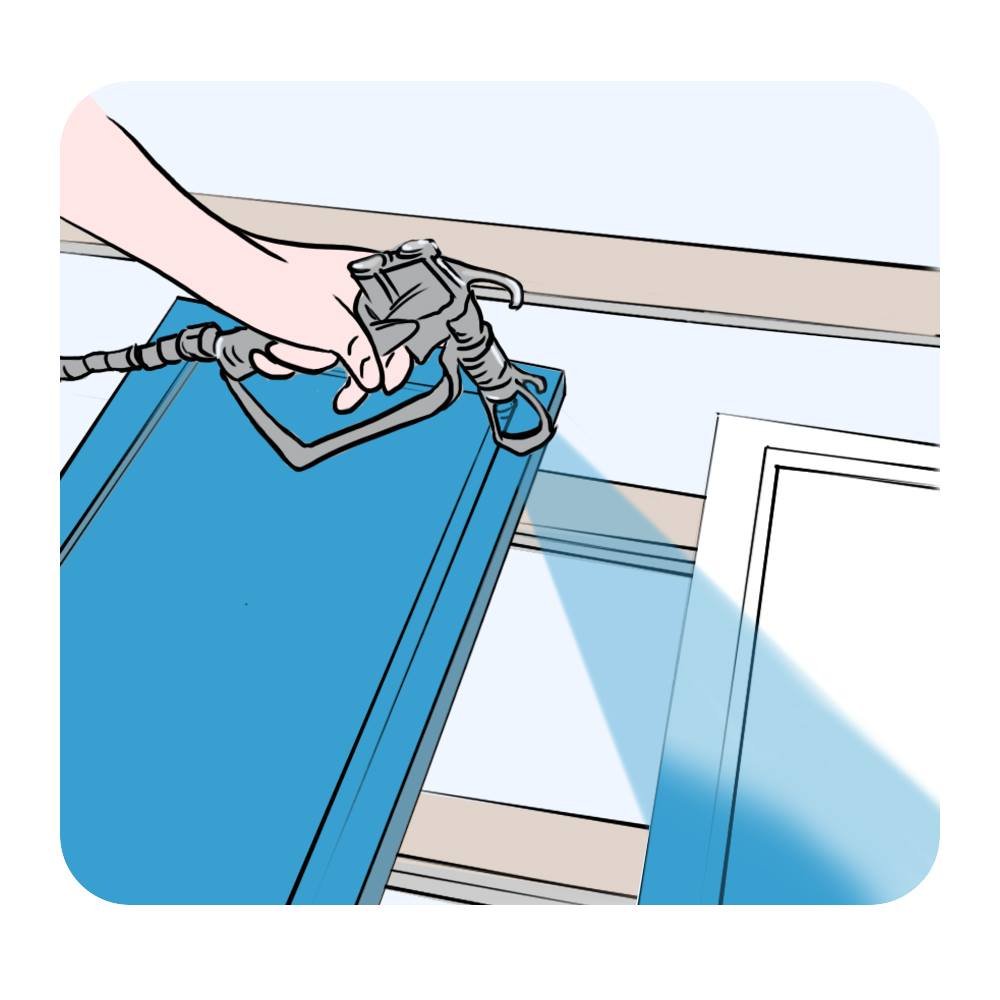
To save time and for a better finish on flat surfaces, apply your finish colour with an airless paint sprayer.
When using a paint sprayer, always start with the edges and then move inwards, ensuring you overlap each pass by about 50%.
As with brush painting, keep surfaces completely flat until they’re dry.
For non-flat surfaces (i.e. the parts you can’t remove and lay flat), continue to use paintbrushes, as this provides a more accurate and predictable finish.
Remember, always wear protective goggles when operating a spray gun.
Pro Tip: If you’re using old hardware (hinges, etc.), freshen them up by spray painting them before reinstalling them.
16. Reinstall Cabinets
Almost there! All that’s left to do is fit everything back together.
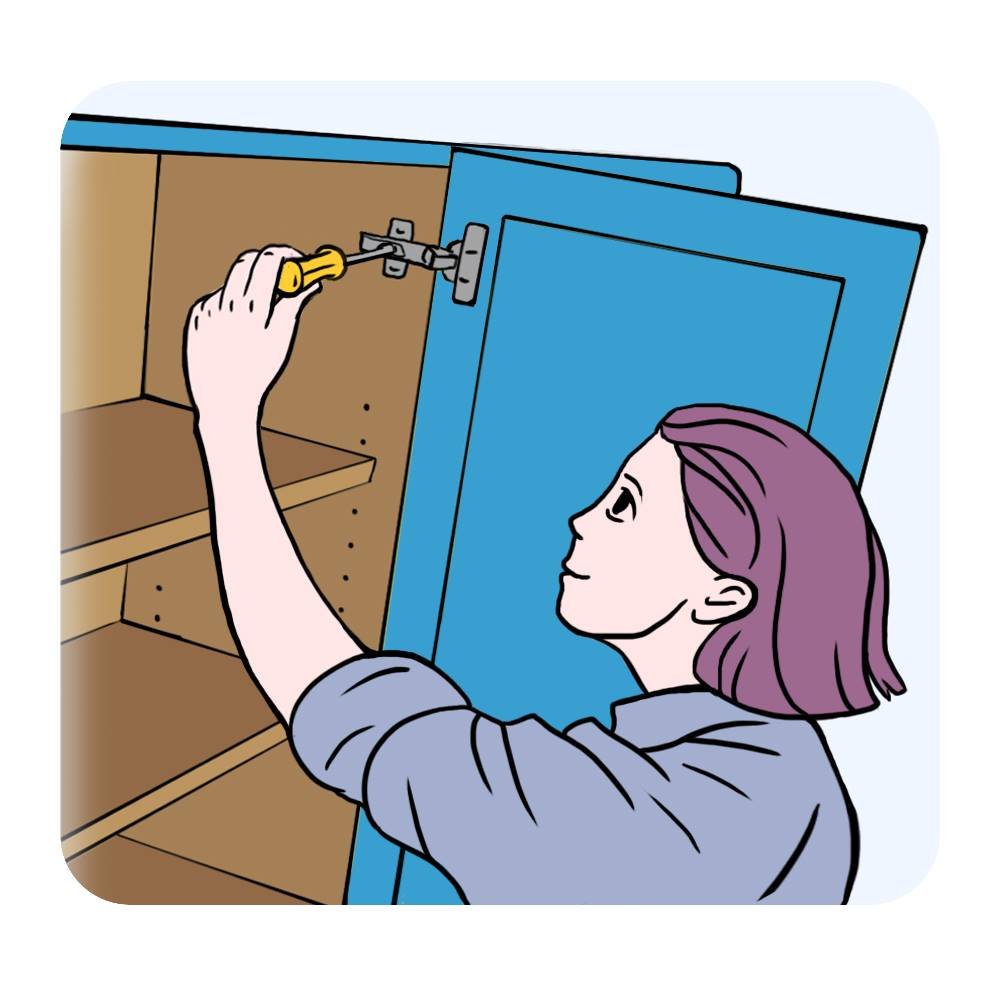
Once your cabinet parts are completely dry, reattach hinges to doors and cabinet boxes.
Put drawer fronts back onto drawers and screw on handles. At this point, you’ll be glad you labelled all the parts!
Pro Tip: If your kitchen cabinets don’t appear level, try adjusting the door hinges until they do.
Final Thoughts
If you take your time and carefully follow all the steps above (especially the prep steps), you’ll bring a new lease of life to your old kitchen cabinets. It’s incredible what a difference a lick of paint can make!
To see a quick version of this process, check out the video tutorial below:
If you’re looking for more ways to give your kitchen an inexpensive upgrade, check out our guide to fitting an acrylic splashback.
How To Paint Kitchen Cabinets Infographic