Despite having over 40 years of DIY experience, I only recently discovered that I sometimes use the wrong drill for my DIY projects. To fix this, I explored the world of drills and drivers.
After many hours researching and testing all the different types of drills, I’ve whittled this list down to 9 essential drills and drivers. Some will surprise you, and some will change the way you work.
Before we dig into the list, let’s explore the key characteristics of drills and drivers.
Table of Contents
What’s the Difference Between Drills and Drivers?
Drills and drivers often perform the same tasks, especially combi drills, which combine drilling and driving functions.
In general, drills are more powerful and focus on drilling holes, whereas drivers are easier to handle and focus on driving screws.
Dills and drivers share common features that we’ll explore in the following sections.
Corded or Cordless?
As with most power tools, you can choose between corded and cordless.
There’s no doubt that cordless tools are much more convenient to use (i.e. no leads running all over the place), but they lack the power required for some projects, especially as the battery begins to die.
Corded tools run off 240V — or 110V on a building site — giving them much more power for challenging jobs such as drilling into concrete.
Pro Tip: When using cordless drills and drivers, always have a spare battery on charge because fully charging can take anything from 1 to 12 hours!
Speed
Variable speed is essential if you’re drilling or screwing into different materials.
We measure speed in revolutions per minute (RPM), but the top speed of a drill or driver is not that critical — a maximum speed of 1,800 RPM is good enough for most projects. What matters more is the ability to control that speed.
Torque

Related to speed is torque. Measured in Newton-metres (Nm), torque is the force the drill exerts to turn an object — a drill bit or a screwdriver bit in this case.
If you’ve ever tried to drill or screw into a challenging piece of hardwood with a cordless drill, you’ll have felt kickback as the drill struggles to turn and tries to turn you instead!
In general, 15–35Nm will suffice for drilling holes in softwood, but you need 35–50Nm for anything more challenging. For driving small screws, you need 4–15Nm.
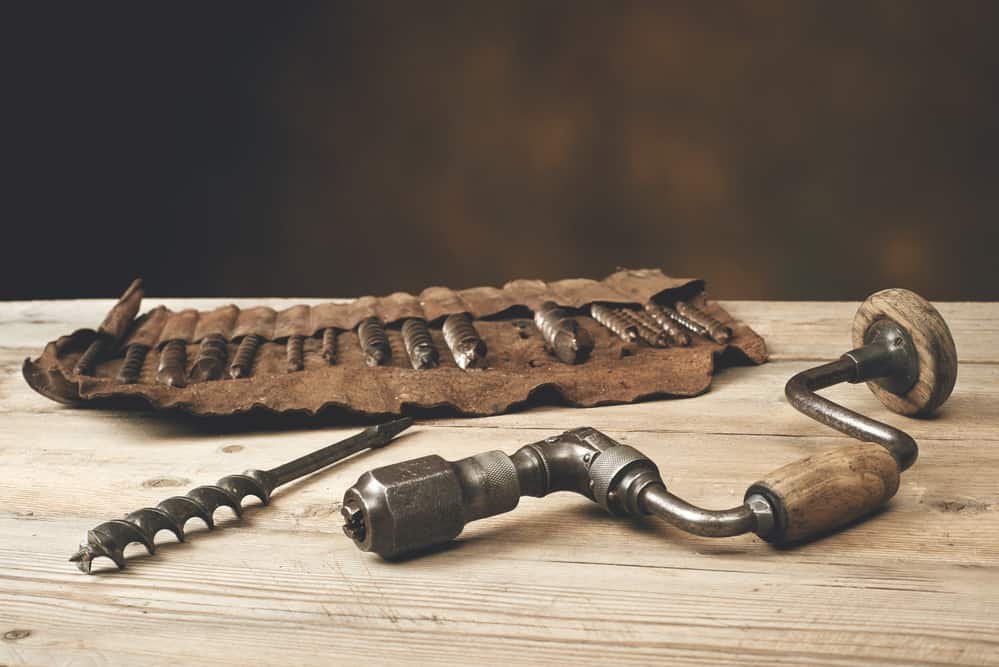
My dad had the upper hand with his old brace drill — he could generate greater torque than any of today’s cordless drills. An average person can generate 100Nm of torque, and with the cranked handle of a hand brace, you can easily double this.
Pro Tip: Set the torque on the drill or driver no higher than what you need for the job. Too much force can strip the screw head or damage your workpiece.
Power
We measure power output in volts (V) or watts (W). A watt is a unit of power, the product of amps (current) and volts (force). The more powerful corded tools are rated in watts, whereas most cordless tools use volts.
For light work such as driving screws, 4–8V should be sufficient. Most other jobs around the home require 12–18V. Anything higher than this requires a heavier battery, so choose a tool that suits your needs.
Brushed or Brushless Motor?
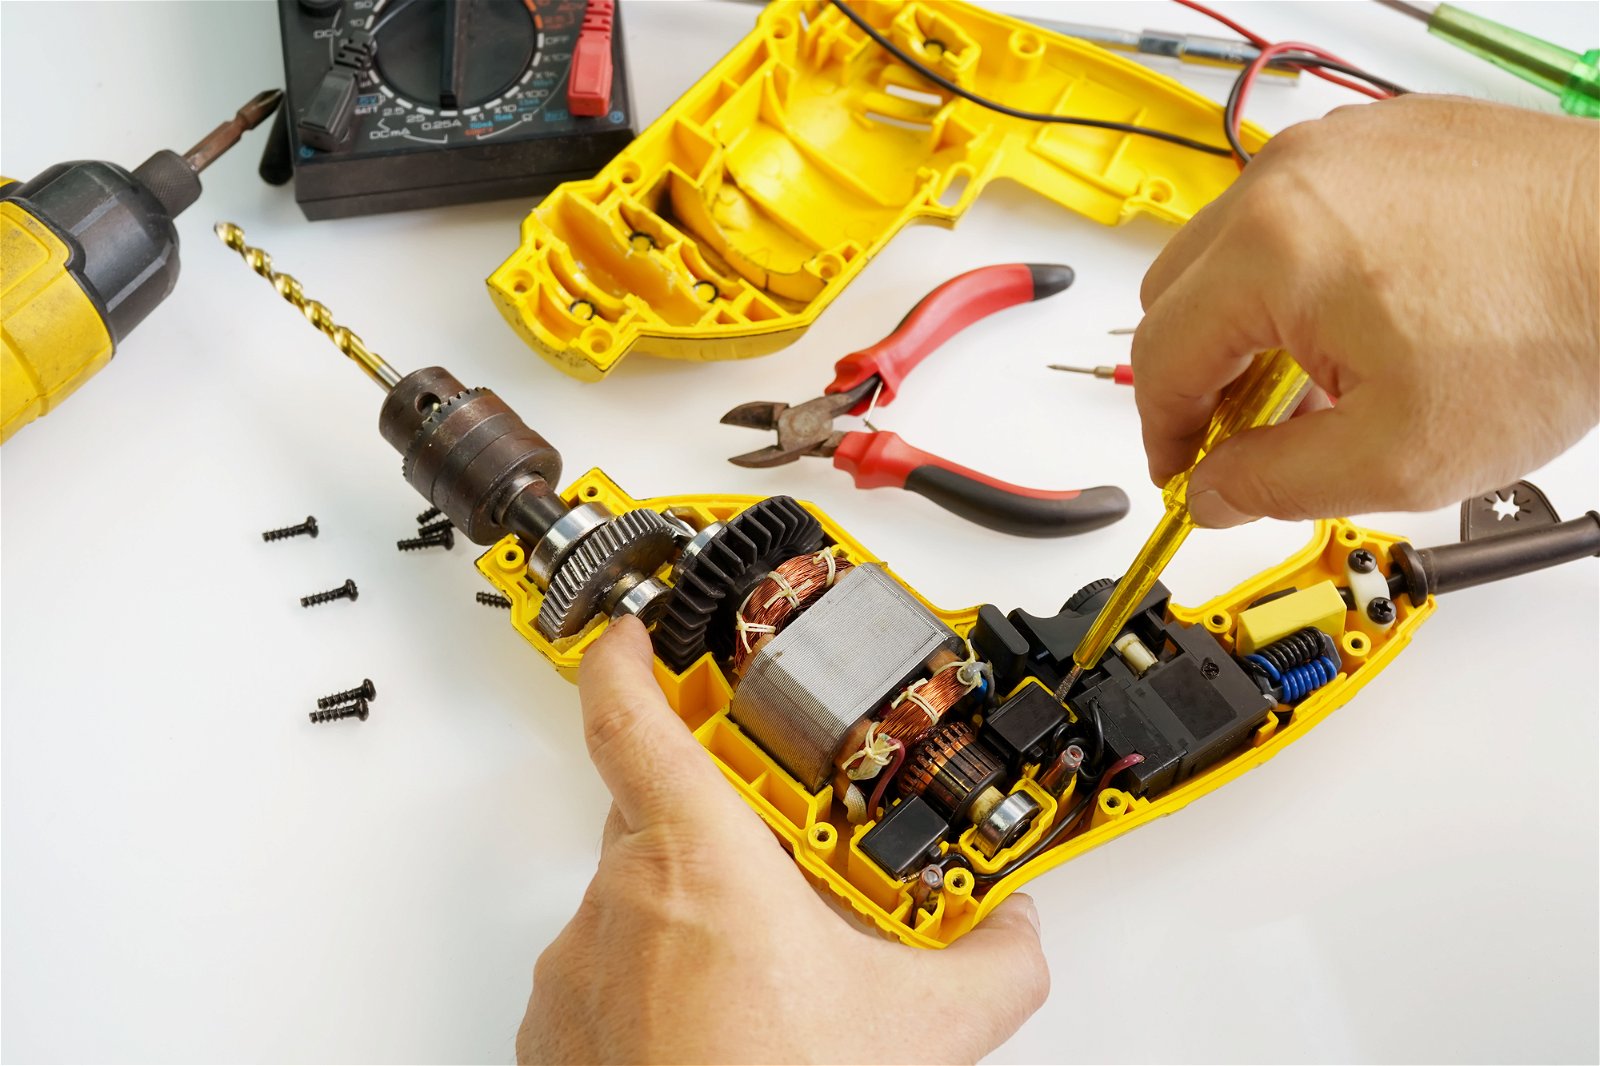
Another consideration when looking at a drill’s power is the type of motor — brushed or brushless. Brushes are small electrical components inside a DC motor that conduct electricity to the individual segments, causing the shaft to rotate.
Brushless motors use a different wiring system to generate rotation, making them more efficient and powerful than those with brushes. Also, brushless motors are generally lighter and easier to handle.
So why isn’t every drill and driver brushless? As you probably guessed, it comes down to cost. I.e. a brushless drill can cost twice as much as one with brushes. However, brushless drills can last twice as long, so they cost the same over the long run.
Batteries
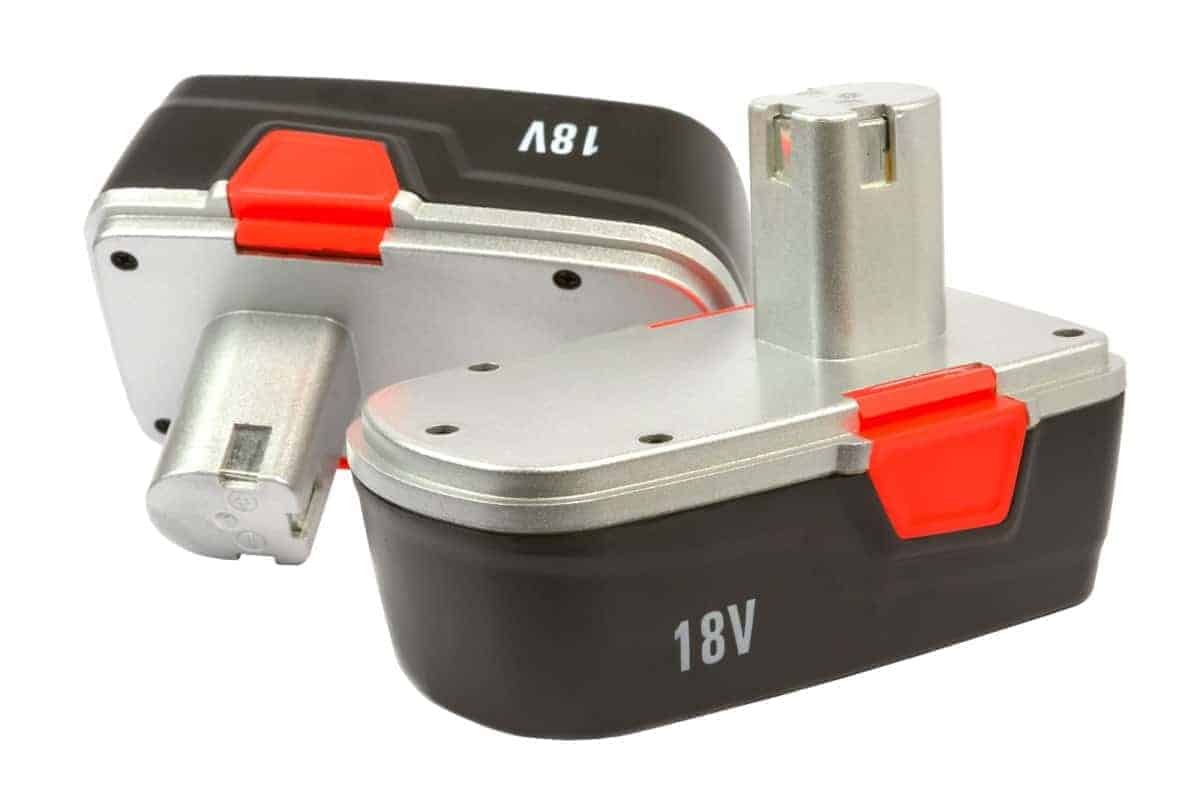
We measure the amount of energy stored in batteries in amp-hours (Ah). For example, a 1Ah battery has enough stored energy to produce a current of 1 amp for 1 hour, 2 amps for 30 minutes, and so on.
The time a battery lasts between charges depends on two factors:
- The current (amps) each activity draws
- The duration of the activity
I.e. drilling into more rigid materials over more extended periods drains the battery much faster than drilling into softer materials over shorter periods.
When shopping for batteries, use amp-hours (Ah) to compare their runtimes between charges. For example, a 5Ah battery lasts five times longer than a 1Ah battery when doing the same task.
Remember, more amp-hours means longer runtime, and higher voltage means more power.
Older tools typically use NiCad (nickel-cadmium) batteries, while most modern tools use lighter, longer-lasting Li-ion (Lithium Ion) batteries. As you’d expect, Li-ion batteries are more expensive.
Bits and Chucks
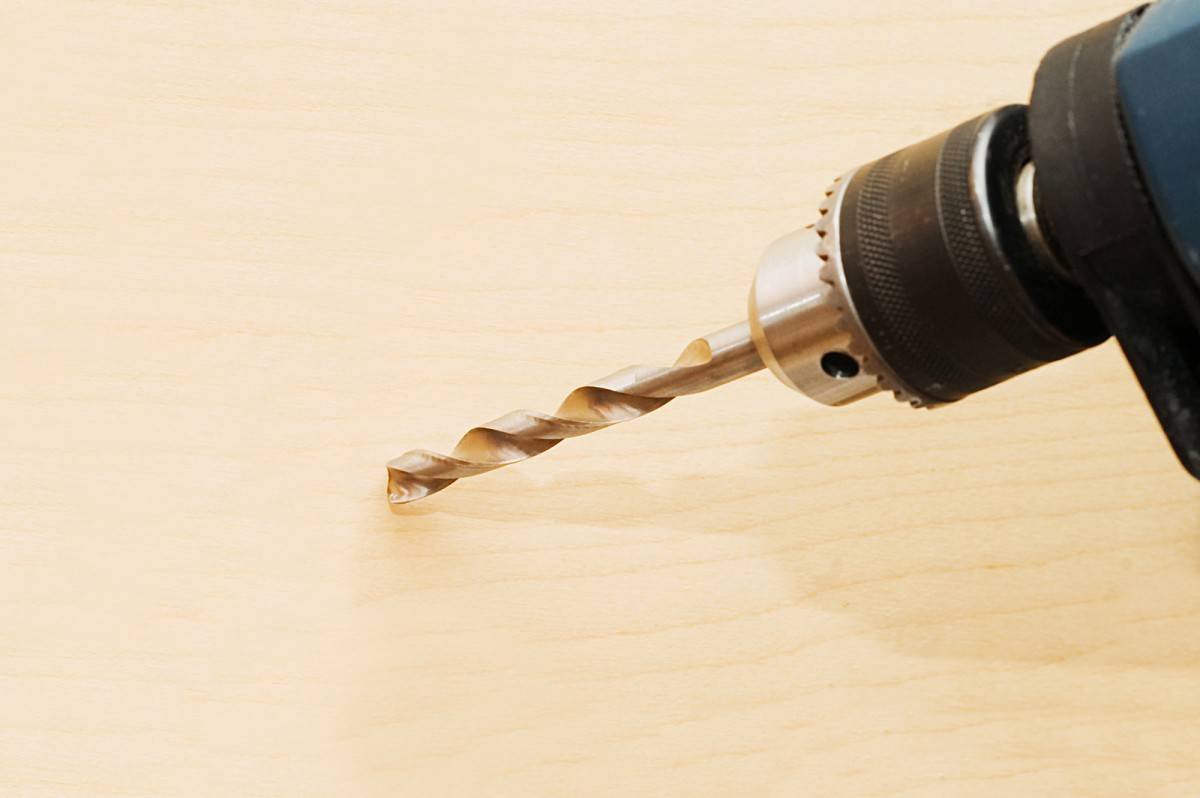
Last but not least are bits and chucks. Bits come in many different types, so picking the right bit for the job is essential. Conversely, there are only two types of chucks — keyed and keyless.
Bits
High-speed steel (HSS) bits are the most versatile, making them suitable for hardwood and soft metal materials. If you want to drill into masonry or stainless steel, you need something more substantial. Tungsten steel-tipped (TST) masonry drill bits are ideal for this purpose.
The end that goes into the chuck can be round or hexagonal. Thinner drill bits tend to have a hexagonal end to improve the grip within the chuck. All drivers have a fixed-size hexagonal chuck to match the bit shape.
Chucks
Older drills, plus some of the more powerful/heavy-duty models, tighten the chuck using a separate key. The key is inserted into a hole at the chuck’s side and turned as it engages with the gear teeth.
Keyed chucks have greater torque, providing more leverage to tighten the jaws around the bit. You’ll find them on heavy-duty drills (e.g. hammer drills) because you don’t want any slippage when drilling into solid concrete. They’re less convenient than the keyless type but prevent the bit from working loose while drilling.
Keyless chucks are loosened and tightened much faster, making it easier to switch bits. However, they lack the torque of keyed chucks, resulting in looser jaws gripping the bit.
Chucks have a maximum capacity of either 10mm — good for most DIY jobs — or 13mm for heavy-duty work. This measurement refers to the diameter of the drill bit shaft.
Pro Tip: To change a bit quickly, set your drill to the lowest torque setting, hold the chuck and switch the drill to reverse mode. Lightly press the trigger, and the jaws will open up fully in 2 seconds. Insert the drill bit and reverse the process to close the jaws on the bit. Apply a firm grip on the chuck and make the final turn by hand. You should feel it click when the jaws fully bite.
Let’s now look at the nine types of drills and drivers and when best to use them.
Drills
Below are the six most popular types of drills.
#1. Combi Drills
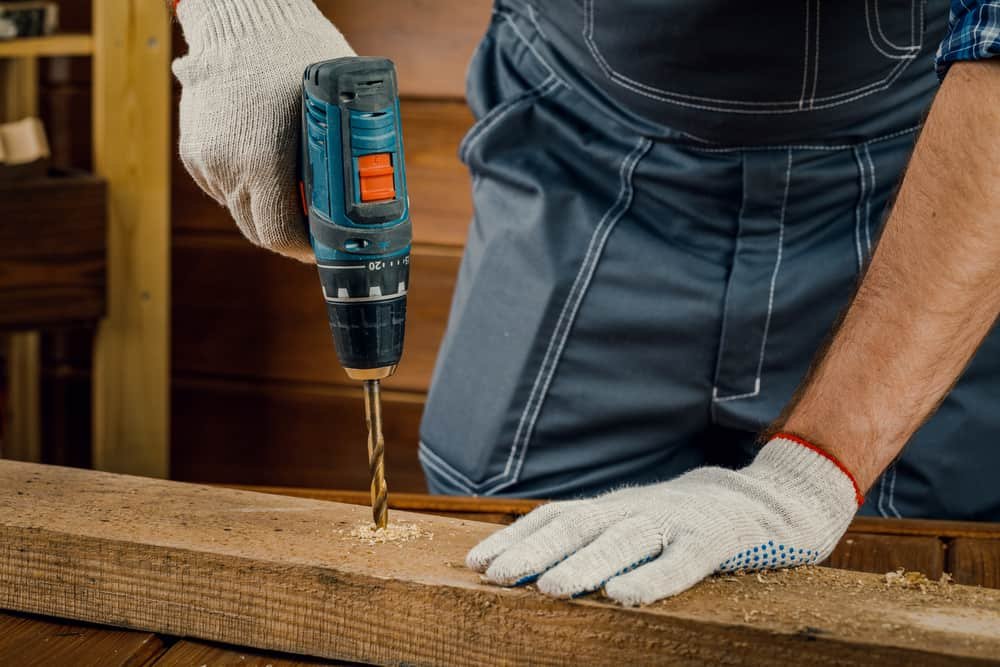
A combi drill is the most popular and versatile power tool, as it can drill into softwood, hardwood, plastic laminate, concrete and steel. And once you’ve finished drilling, with a quick turn of a dial, you can then drive screws into the same materials.
By turning the collar through each of the three modes below, you adjust torque and introduce a hammer action for more demanding jobs.
- Mode 1 (low-end torque) — screwdriver mode
- Mode 2 (mid-level torque) — drilling mode
- Mode 3 — hammer drill mode. This percussive action helps break through bricks & blocks and shatter stone aggregate in concrete.
The other measure to look for in hammer mode is BPM — the number of blows per minute. Although models vary greatly, you’ll find that 2,000 BPM tends to be the maximum rate on many popular models.
To learn more, check out our combi drill buying guide.
| Pros | Cons |
|---|---|
| Extremely versatile, with three modes — screw, drill and hammer drill. | Not suitable for drilling into masonry over long periods. |
| Lightweight in comparison to hammer drills. | |
| Variable speed and torque cover most situations. |
#2. Hammer Drills
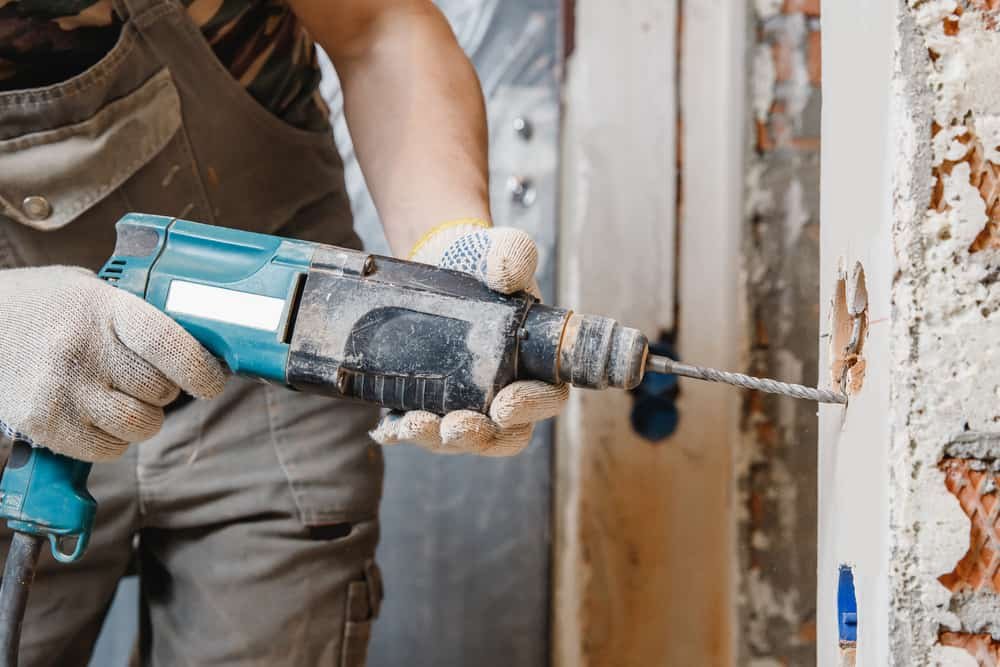
As the name suggests, this drill uses a hammer action to drive bits into hard materials such as masonry and concrete.
Hammer drills contain two serrated discs inside the drill head, one fixed and one free to rotate. These discs create the hammer effect by pushing the chuck back & forth as the free disc turns. When no force is applied, a clutch separates the two discs to avoid excess wear.
Concrete is hard to drill into because it contains aggregate or large stones that can be a barrier to the drill bit. The hammer action helps by shattering the stone, allowing you to drill through with relative ease.
These heavy-duty drills range from 550–800W. Models at the lower end are fine for most DIY jobs, but if you’re drilling through concrete, consider drills at the upper end of the scale.
The percussion rate is usually much higher than combi-drills, getting up to 50,000 BPM in some cases, which is why professionals prefer the hammer drill.
As these drills focus on heavy-duty applications, they require an element of force from the user. That’s why most hammer drills come with an auxiliary handle screwed into the left or right-hand side of the casing, enabling you to use both hands.
This extra handle is essential, as these drills can weigh as much as 6kg! For complete flexibility, handles that rotate through 360° are preferred. These rotating handles usually come with a depth gauge which prevents over or under-drilling.
Note: Most hammer drills have a keyed chuck.
To learn more, check out our hammer drill buying guide.
| Pros | Cons |
|---|---|
| Ideal for drilling into concrete and removing wall tiles. | Very heavy |
| To avoid trip hazards, you need a mains socket nearby. |
#3. Pillar Drills
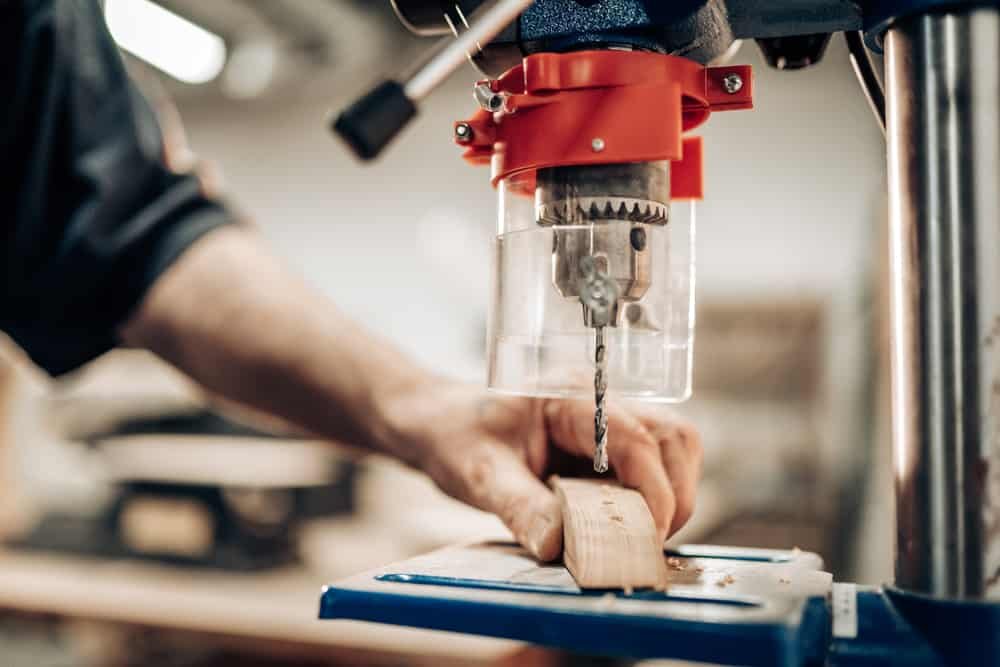
The pillar drill, sometimes referred to as a drill press, is a specialist drill that’s surprisingly versatile.
These machines support standard bits and drill through almost anything you can place on the built-in table. The drill’s power varies, but most are around 700W, and all the models we looked at include variable speed control.
You pull down the lever to drill a hole, drawing the bit onto your workpiece. This action means the hole is drilled perfectly perpendicular to the table every time, although you can tilt some tables to drill up to 45°.
Some models are fitted with a laser to ensure precision, but they’re accurate without it. The table also has clamps to keep the workpiece in place while drilling.
This demonstration video shows how they operate, and although the one shown is an industrial pillar drill, the same principles apply to all models.
Unfortunately, pillar drills are not very portable and are corded only. So if you take one to your worksite, you’ll need a mains socket nearby or long extension leads.
To learn more, check out our pillar drill buying guide.
| Pros | Cons |
|---|---|
| Suitable for drilling holes into various materials, including wood, metal and ceramic tiles. | Requires a workbench with a socket nearby. |
| Easily drills accurate holes consistently. | |
| Powerful motor and lever action apply more pressure at varying speeds. |
#4. SDS Rotary Hammer Drills
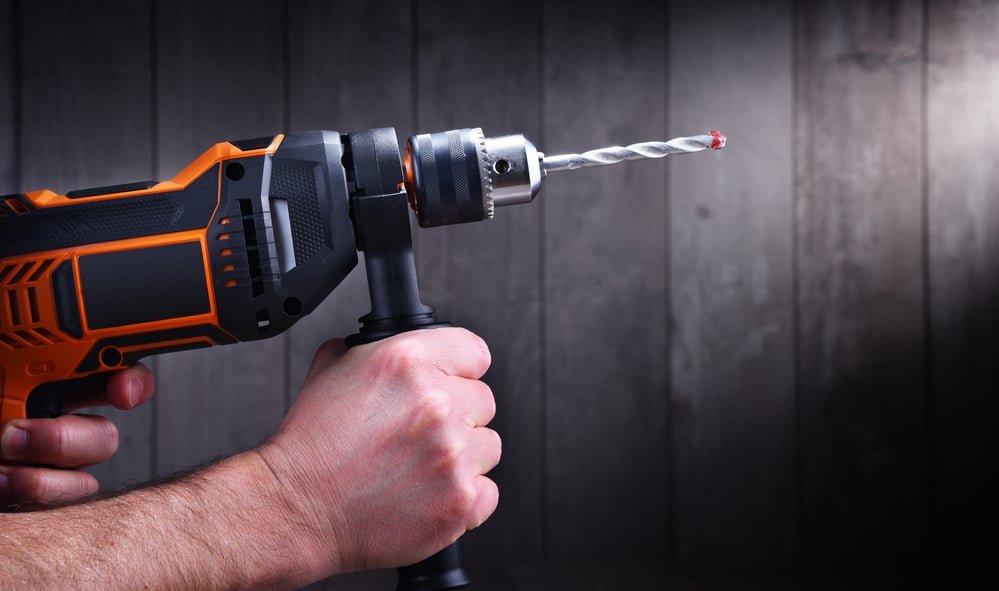
SDS rotary hammer drills are more powerful than regular hammer drills because they use a pneumatic action to drive the drill bit, which sits within a slotted shaft. This action is so effective only little pressure is required.
A crankshaft-driven piston creates high air pressure when driven forward within its cylinder. This high air pressure pushes the hammer mechanism far more efficiently than standard hammer drills.
SDS originally stood for ‘Stecken Drehen Sichern’, meaning insert-twist-secure, which describes how drill bits are inserted and secured. Bosch, who invented it, now refers to the acronym as; ‘Special Direct System’, although others use the term ‘Slotted Drive System’.
There are three rotary hammer drills — SDS, SDS Plus and SDS Max. SDS and SDS Plus have a 10mm shank size, making them interchangeable, but SDS Max uses an 18mm shank.
Some SDS drills take standard drill bits, but others, such as those made by Bosch, require a special adapter.
SDS drills are rated in Joules (J) and blows per minute (BPM). You can use SDS drills in one of three modes:
- Drill only — rotation without hammer action. Use this mode when drilling into softer materials.
- Hammer only — no rotation, only percussion. Use this mode when chiselling off tiles.
- Drill and Hammer — rotation and percussion together — the best of both worlds and only available on SDS drills.
To learn more, check out our SDS Plus drill buying guide.
| Pros | Cons |
|---|---|
| Versatile drill — works in various modes with specialist accessories. | Some models need an adapter for non-SDS bits. |
| Delivers a powerful punch. | An expensive tool if all you need is a hammer drill. |
#5. Angle Drills
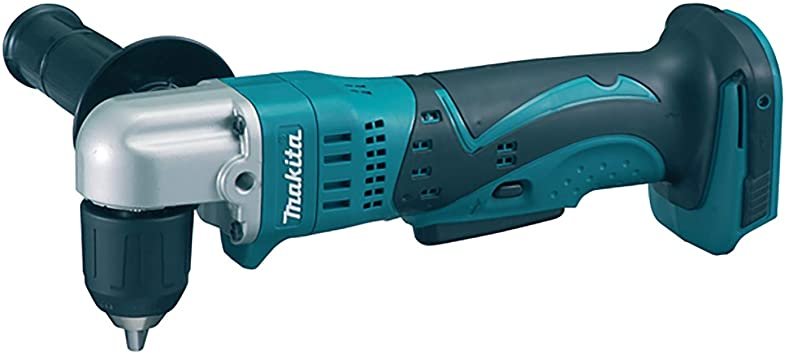
These cordless tools, often called right angle drills, are fantastic for drilling and driving in tight areas. Power varies from 12V to 60V, and their high torque makes them suitable for most DIY jobs.
Angle drills fit nicely in your hand and are easy to control. There’s room for another hand if you need to apply more pressure, and some models include a removable handle for even more control.
Many tradespeople have an angle drill in their toolbox. Electricians use them to drill 25mm ø holes for wiring between floor joists, and when fitted with the proper attachment, plumbers use them for cutting holes up to 150mm ø.
| Pros | Cons |
|---|---|
| Great for working in tight corners. | Expensive compared to combi drills. |
#6. Concrete Breakers and Demolition Drills
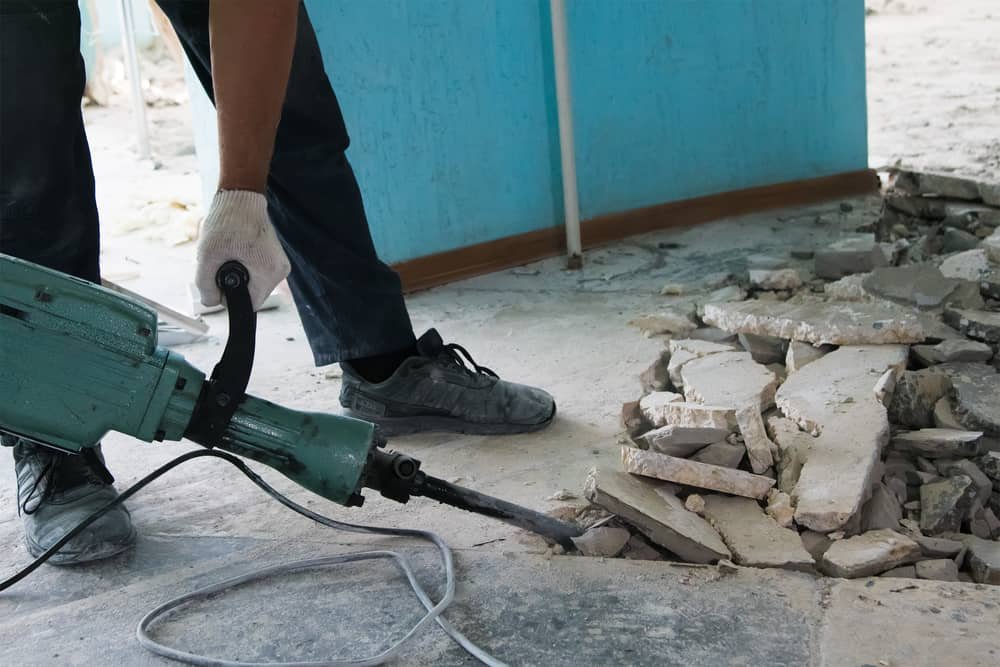
There are some demolition jobs that even SDS hammer drills can’t handle efficiently. For example, breaking up concrete hardstandings or knocking down walls. In these cases, you need a concrete breaker or demolition drill, as they make light work of cutting through concrete and masonry.
Note: Unlike their heavy-duty counterpart, the pneumatic drill, these tools receive power from mains electricity, not air compressors.
Although lumped into one category, concrete breakers and demolition drills are different power tools with the same functionality. Let’s take a close look at each one.
Concrete Breakers
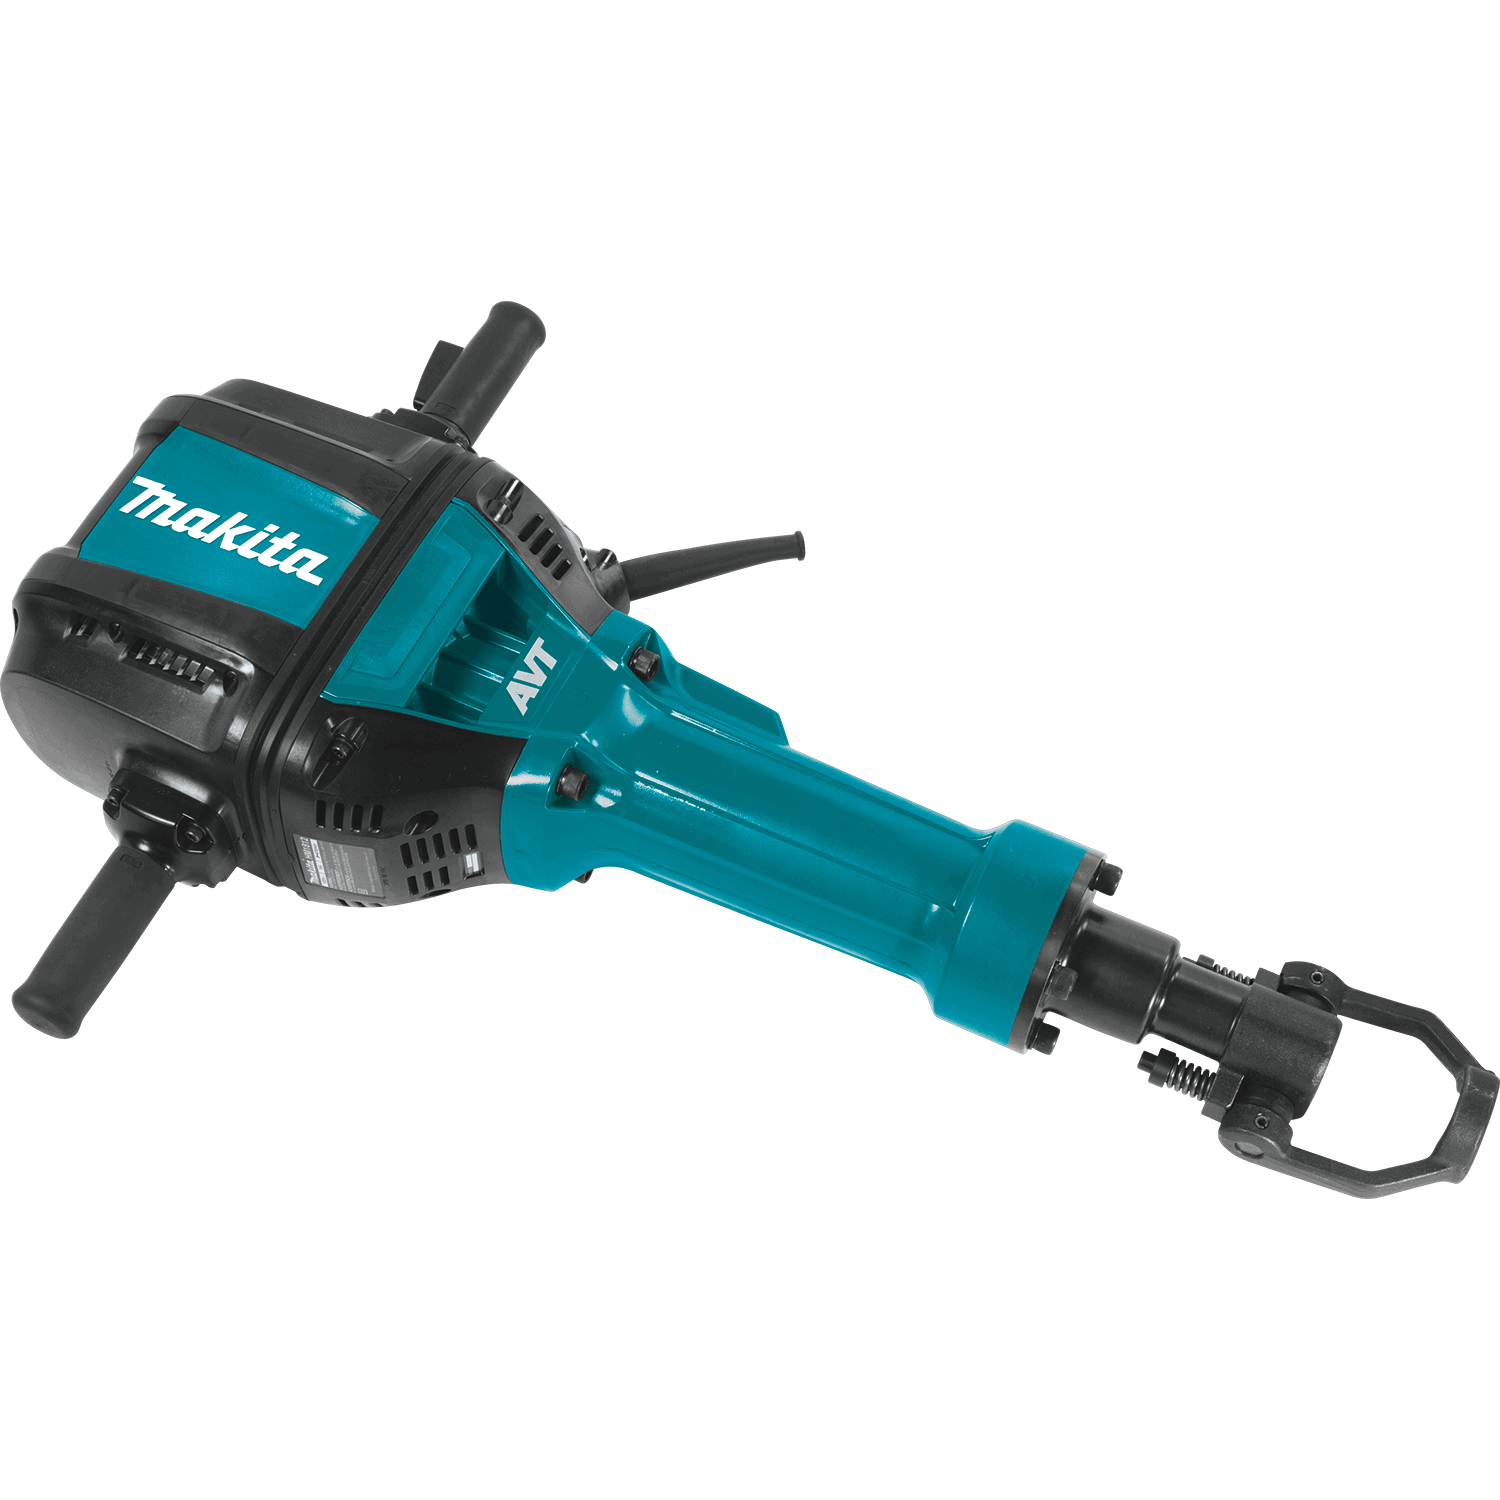
Concrete breakers focus on breaking up floors and hardstandings using a powerful motor (approx 1,700W) generating 870 BPM.
Below are the key features to consider when buying a concrete breaker:
- Vibration-absorbing housing and handles.
- Slow start-up for better control.
- Soft no-load function to reduce the speed when idling.
Pro Tip: If you’re considering buying a breaker, I recommend hiring one first, as not everybody can handle their 36kg of raw power!
To learn more, check out our concrete breaker buying guide.
| Pros | Cons |
|---|---|
| Makes light work of breaking up concrete and masonry. | A specialist tool with hammer action only. |
| The most potent handheld tool on the market. | Very expensive compared to hammer drills. |
| Durable and hard-wearing. | Produces a lot of noise and vibration. |
Demolition Drills
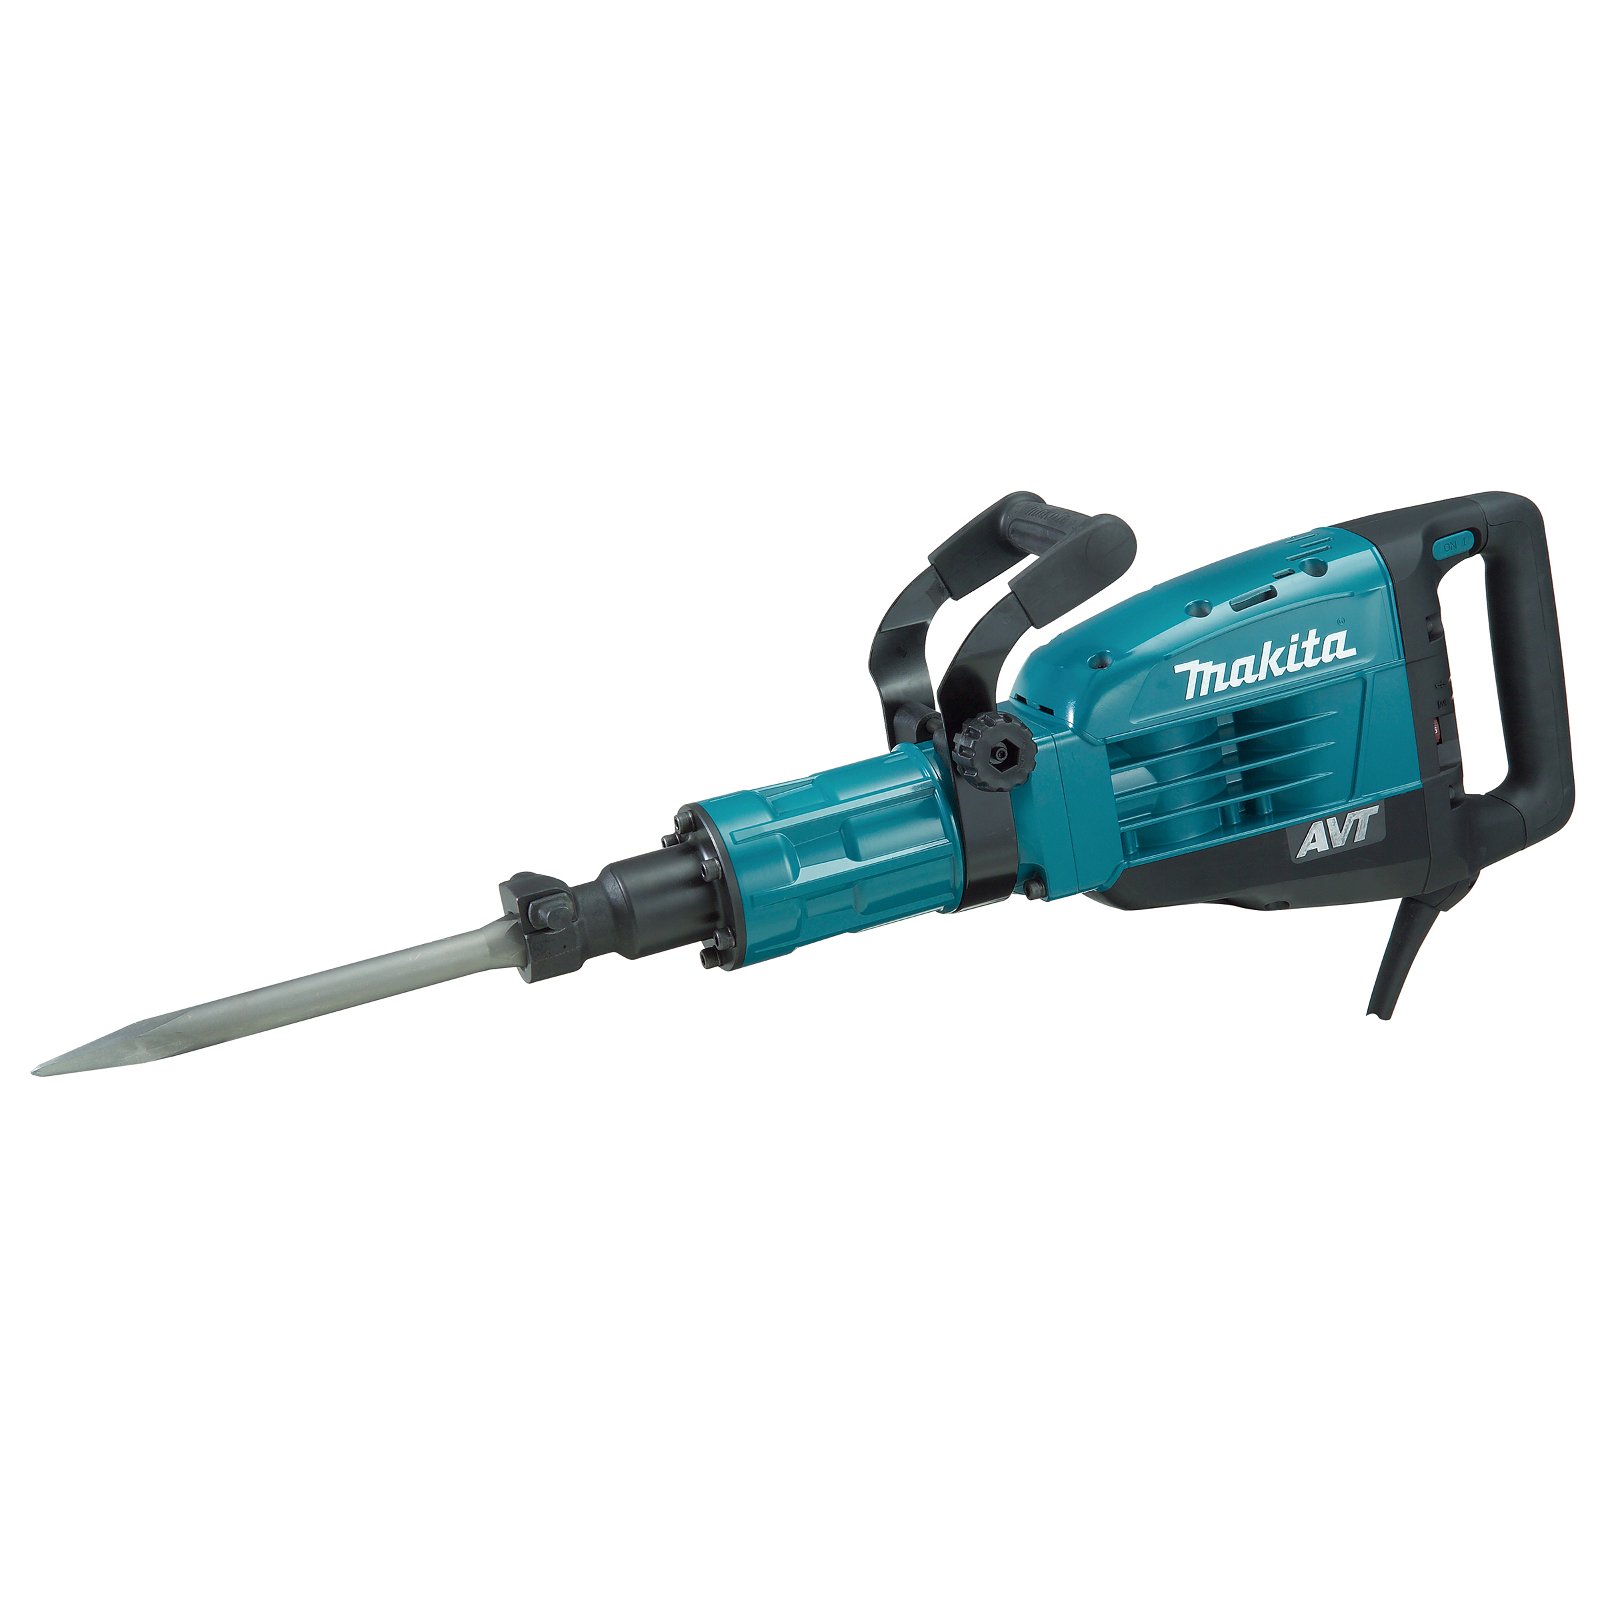
Demolition drills are much lighter than concrete breakers, and the motor is usually less powerful. However, at approximately 1,500W, they still pack a hefty punch, generating up to 1,450 BPM.
In addition to the breaker features listed above, look for variable speed control and the ability to take hex-shanked bits. These features allow demolition drills to take on smaller jobs normally reserved for SDS hammer drills.
| Pros | Cons |
|---|---|
| Smaller and lighter than a concrete beaker. | Expensive when compared to other hammer drills. |
| More versatile than a concrete breaker. | An SDS rotary hammer drill is more suitable for lighter work. |
Drivers
Although some of the drills above also drive screws, these drivers focus on driving only.
#7. Electric Screwdrivers
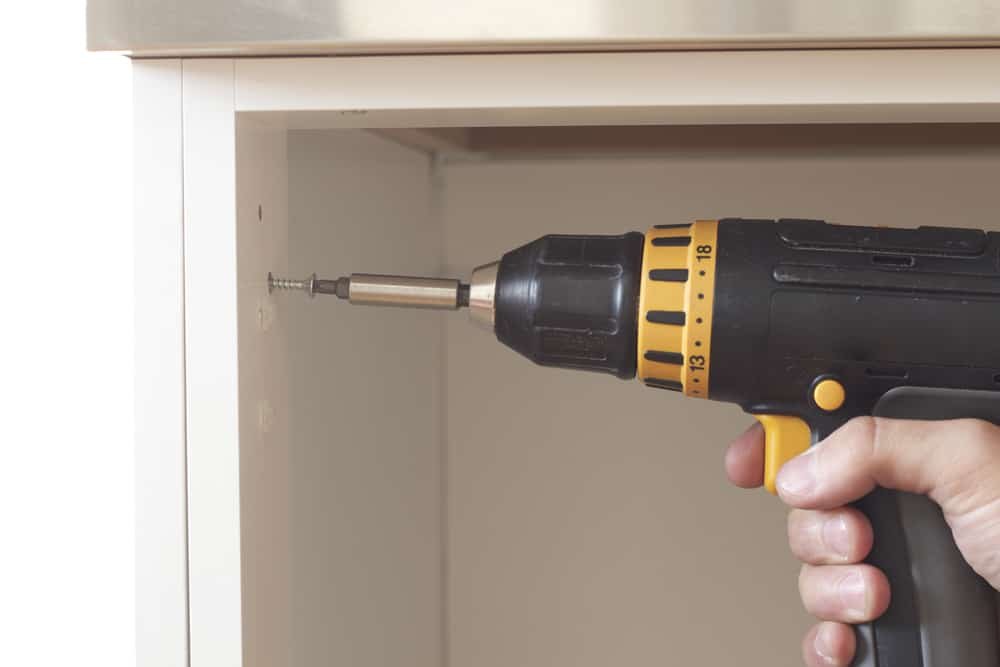
Electric screwdrivers are the simplest and cheapest of all drivers. They’re designed to do only one job (drive screws), but if you use a tiny hex shaft drill bit, they can also drill pilot holes.
There are two basic styles; one looks like a manual screwdriver with a fatter body that houses the motor, and the other resembles a small combi-drill.
Most electric screwdrivers are cordless and have built-in batteries. Earlier models came with a docking station that would charge the battery, but most now use USB chargers.
When shopping for an electric screwdriver, look for the top speed (preferably variable) and adjustable torque. Typically, a good model has a variable no-load rate of around 200 RPM and 4Nm of torque.
Battery life is another consideration, with 2Ah being the best I’ve found. Charge time is also essential, especially when tackling lengthy projects such as assembling large flat-pack furniture.
Pro Tip: Attach the screw to the magnetic bit holder so you can drive single-handed. This tip is handy for jobs in tight places where using both hands is challenging.
| Pros | Cons |
|---|---|
| Lightweight and easy to handle. | Limited to max screw size of 5mm ø. |
| Controllable speeds. | You need to pre-drill dense materials. |
| Built-in batteries make it less bulky than a drill driver. |
#8. Drill Drivers
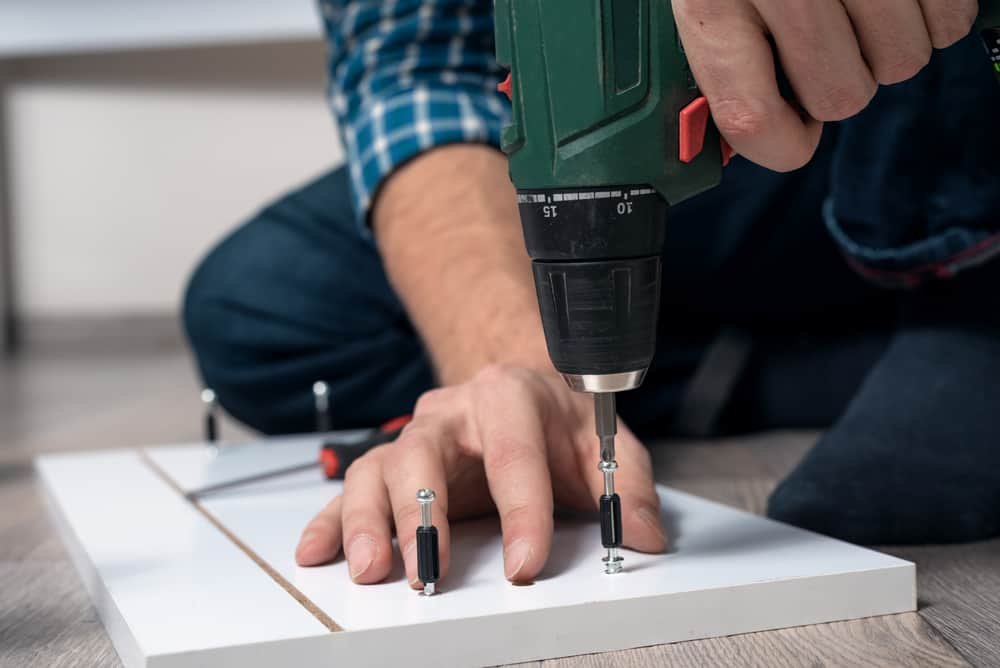
As the name suggests, drill drivers are drills with screwdriver capability, similar to a combi drill. However, they differ from combi drills in that there’s no hammer mode, making them lighter and easier to handle.
Most drill drivers are cordless, powered by a rechargeable 1.5–2Ah battery. This battery capacity is sufficient for most jobs around the house, but you’ll soon run out of juice when driving into thick hardwood.
If you only need an electric screwdriver capable of drilling holes, buy a drill driver. With variable speed and torque settings, drill drivers can handle most DIY jobs, and with their keyless easy-change chuck, you can quickly switch modes.
Many professionals use a drill driver and hammer drill combination rather than a single combi drill. They do this because combi drills struggle with masonry and concrete (unlike hammer drills), and drill drivers are better at driving screws and light drilling.
| Pros | Cons |
|---|---|
| Lightweight and easy to use. | No hammer mode. |
| Drills into wood, plastic and soft metal. | Not suitable for drilling into masonry. |
| Easily drives small to medium size screws into softwood and some hardwoods. | Soon runs out of juice when driving into thick hardwoods. |
| Quickly switches between driving and drilling modes. Easy to vary the speed and torque in both modes. |
#9. Impact Drivers
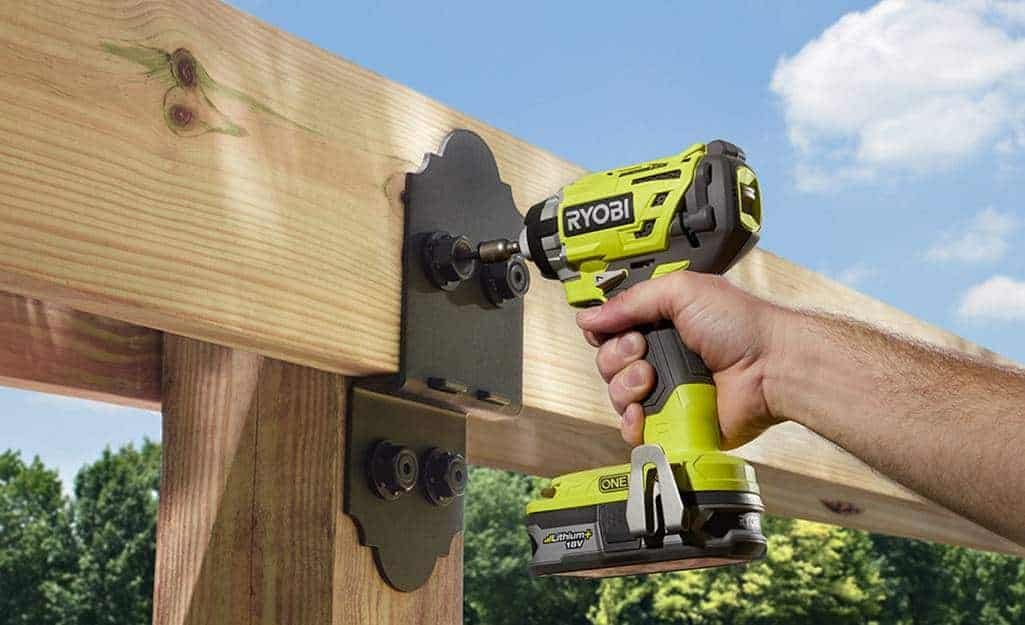
As mentioned above, drill drivers are excellent for drilling holes and driving screws. However, if you’re working on a project that requires repetitive driving into hardwood and other challenging materials, you’ll feel the benefit of an impact driver.
A typical impact driver is 2–3 times more powerful than a drill driver or combi drill, generating 150 to 220Nm of torque and an impact rate of around 3,000 BPM.
You need a high-capacity battery to get the best out of an impact driver. I recommend a 4Ah or 5Ah battery for heavy-duty work, but a 2Ah battery is sufficient for most jobs.
Instead of a chuck, impact drivers have a hexagonal collet that you pull out to insert the drill bit. Impact drivers use bit rotation and percussive blows to apply extra force onto the screw. This additional force makes screws easier to drive, requiring less downward pressure on the screw head.
Impact drivers don’t rely on a slip clutch to control rotational speed. Instead, varying the trigger’s pressure does the trick, making them easier to control. These speed controls help DIYers avoid their worst nightmare — stripped screw heads!
Note: Some models have two or three percussion settings to vary the amount of hammer force.
If you’re unsure what type of driver you should use, Charlie explains the difference between drill drivers and impact drivers in the video below:

| Pros | Cons |
|---|---|
| The most powerful tool for driving screws. | Only suitable for driving screws. |
| Percussive action puts all the force into the screw. | |
| Excellent for fatigue-free repetitive driving. |
Types of Drills — Final Thoughts
You probably noticed that some drills work as drivers and vice versa — so what’s best for you? This choice is often a three-way trade-off between performance, weight and budget.
Remember, the more versatile a drill or driver, the bigger and bulkier it becomes. This extra weight makes repetitive drilling/driving much more tiring over long periods. To avoid fatigue, consider buying a specialist drill/driver for each type of job you’re likely to do repeatably.
Pro Tip: If your drill bits begin to dull, check out our guide to sharpening drill bits. It could save you plenty of cash!

