For many of us, plastering walls is a daunting task. It’s messy, difficult to apply and time-consuming. In fact, ‘wet’ plastering is a skilled job requiring plenty of practice. Thankfully, we will show you how to smooth walls without plastering or hiring a professional.
Several options are available for smooth, ready-to-decorate walls, but each one depends on your wall’s condition. In this guide, we’ve provided six easy ways to achieve a perfectly smooth finish.
1. Fill Holes and Cracks
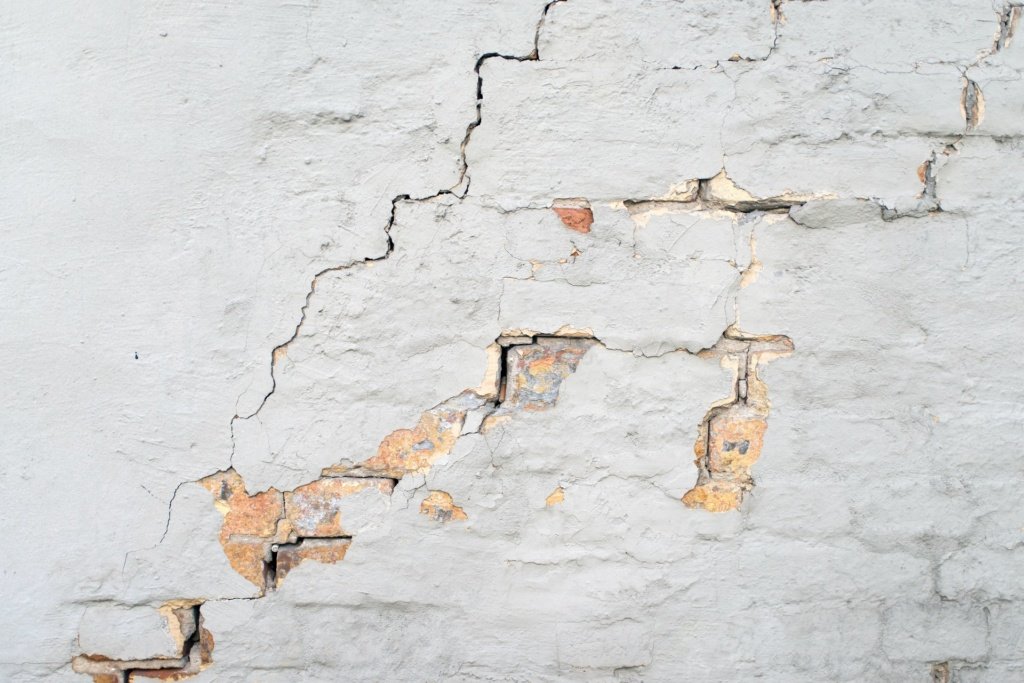
Before you do anything, fill any holes and cracks in your wall. This step might be all you need if your wall is relatively smooth except for the odd spot (e.g. where pictures were hanging).
Fill holes with filler (e.g. Polyfilla), and once it’s dry, sand it back. By filling any holes in your walls and then sanding, you ensure an overall smooth finish. Polyfilla comes in a tube for targeted spots or holes, perfect for squirting in and then going over with a trowel.
If you’ve got more significant gaps or cracks that require lots of filler, use a trowel to get your filler onto the wall and skim it across the larger area.
Pro Tip: Filler shrinks as it dries, so you may need to repeat this process. Not a problem; sand back any additional overspill filler.
2. Sanding
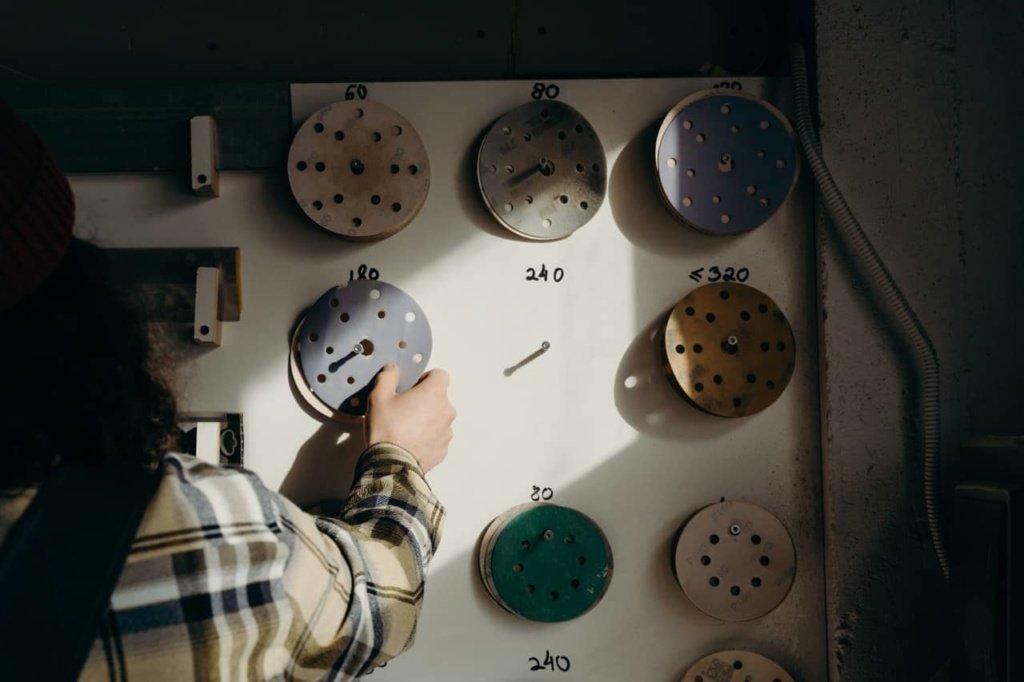
If your old plaster is a bit lumpy and bumpy, sand it to smooth out any bumps. Be gentle when sanding plaster as it’s deceptively soft, and if you get carried away, it’s easy to create a bigger problem! So, work slowly and gradually smooth the plaster out until you reach an even finish.
Pro Tip: For larger bumps, choose 100-grit sandpaper. Choose a higher grit for minor blemishes.
A word of warning about sanding plaster
Sanding is labour-intensive and time-consuming. It can take days to achieve the perfect finish.
Also, different plasters have various textures and thicknesses. For example, some older buildings have a thin surface layer of plaster that gives way to very rough plaster. Therefore, if you sand too far, you will reveal more of this bumpy surface — the opposite of the finish you want!
3. Clean the Wall of Scuffs & Marks
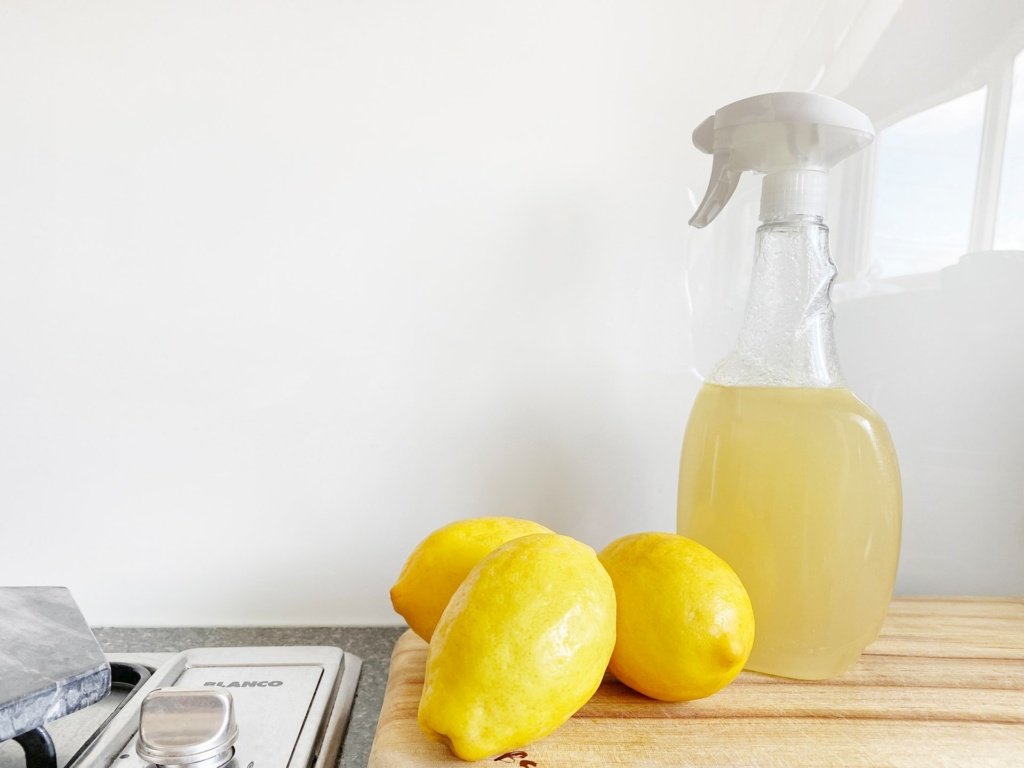
Sometimes, what seems like an uneven, bumpy surface, is just muck and dust built up over the years.
Clean up any scuffs by applying warm, soapy water in circular motions with a cloth. If the scuff marks are particularly stubborn, use an all-purpose cleaner or sugar soap to remove tough spots and cut through grime.
After you’ve filled any holes, cleared the wall of scuff marks, and finished sanding, it’s time to wipe down your walls with a dry cloth. You can even vacuum the walls to ensure a smooth and clean finish.
4. Hang Wallpaper
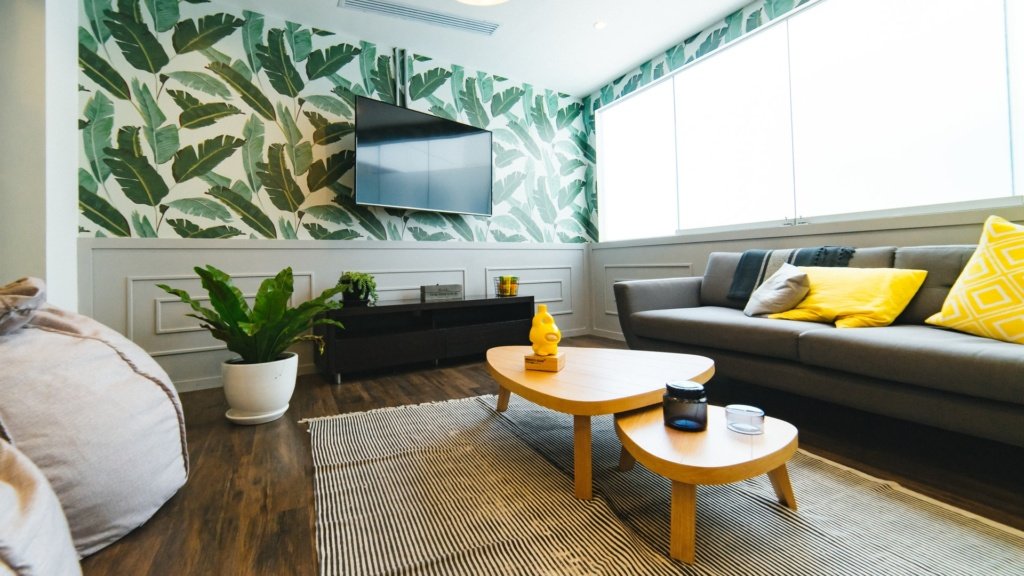
If your walls are still bumpy after following the steps above, consider hanging lining paper and wallpaper.
Remember, wallpaper restricts your style and decor choices more than paint does. Wallpaper also requires removing before any future redecorating projects, and removing wallpaper is our least favourite job!
5. Paint Your Walls
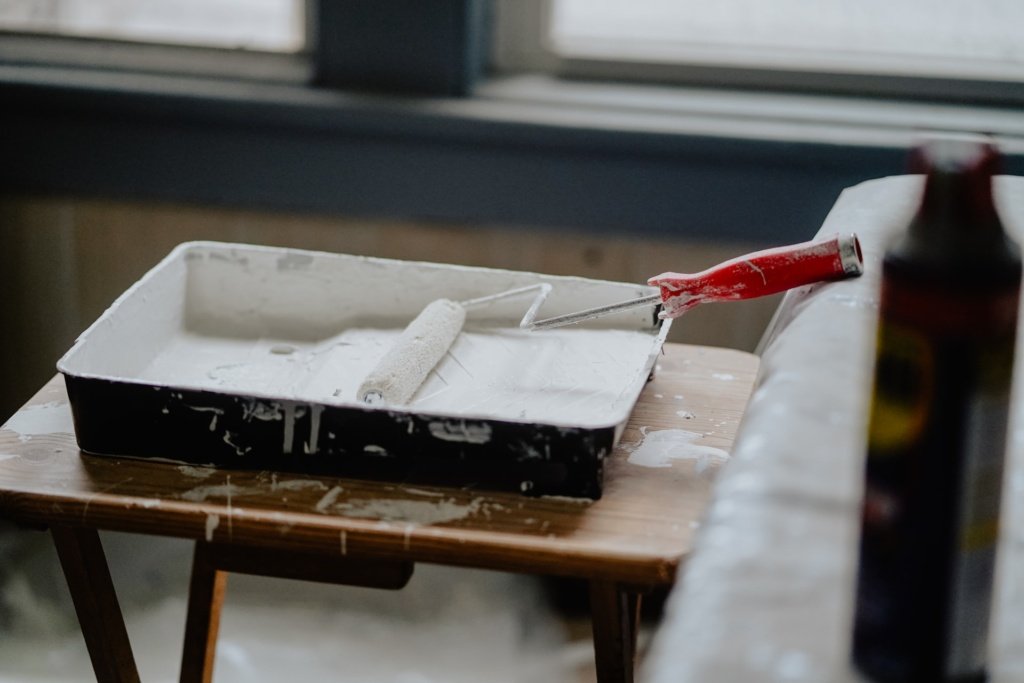
Similarly to hanging wallpaper, if your walls are in good condition, you can always paint them!
Finishes, such as eggshell or textured finish, reflect light from the walls, which helps hide any imperfections. Moreover, you have all of the decor options that paint offers!
Are you feeling lost on what type of paint to choose? Then take a look at our guide to the different types of paint.
6. Fitting Plasterboard
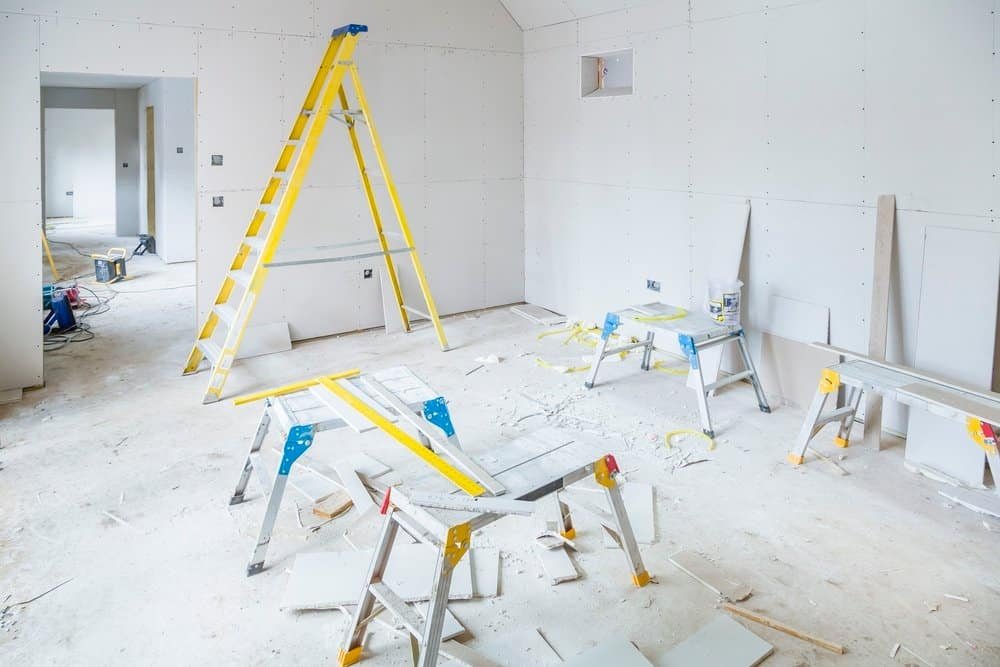
If all else fails, you can always use plasterboard to achieve perfectly smooth walls without the mess. Plasterboard is particularly useful for older buildings with uneven walls.
Fitting plasterboard isn’t too difficult and is something anyone can achieve. However, many steps are involved, especially if you have to build stud walls from scratch!
Note: Plasterboarding is often referred to as ‘dry lining’. This name distinguishes between traditional plastering (aka wet plastering) and plasterboarding (aka dry lining). I.e. The former is a ‘wet’ mixture while the latter is a ‘dry’ board.
If you want to go down this route, please check out our posts below, depending on your situation:
- If you’re plasterboarding brick walls
- If you’re plasterboarding stud partition walls
Final Thoughts
We all want to avoid big and messy plastering projects. Hopefully, you now understand the different options for achieving smooth walls without plastering.
For more decorating tips, check out our guide to painting new plaster.

