Artex is a water-based covering used to decorate ceilings with a textured finish. It had its heydays in the 1970s when the spiky or swirling effects it produced were considered high fashion. However, an artex ceiling looks outdated in today’s IKEA generation and is a pain to repair and clean
If it’s time to bid farewell to your artex ceiling, there are five ways you can deal with it; ‘Scrape and Sand’, ‘Cover with Plasterboard’, ‘Wet Plastering’, ‘Steam, Scrape and Sand’ or use ‘Home Strip X-TEX’. The best option for you depends on several factors, including the age and condition of your ceiling.
This guide looks closely at each method and provides everything you need to know before deciding how to remove artex from your ceiling.
In a Hurry? Find top-rated plasterers in your area by clicking the button below:
Table of Contents
IMPORTANT: Asbestos and Artex
Until the mid-1980s, artex was made with asbestos to strengthen it. In 1999, the UK government banned using and importing chrysotile asbestos.
Asbestos is extremely toxic if sent airborne and can severely damage your health. Do NOT scrape or sand artex ceilings without taking advice from trained asbestos experts. Only those trained to remove asbestos should do so.
If you’re unsure, contact your local council.
Before You Begin
No matter which of the five methods you choose, you must prepare your room for the inevitable mess.
Tools and Materials
Note: the tools and materials listed below are for the prep stage only. Additional tools and materials are required for each method.
- Safety goggles, dust mask and rubber gloves.
- Plastic sheeting.
- Canvas drop cloth (carpet) or Rosin paper (hard floor).
- Step Ladder.
Instructions
The steps below help reduce most of the mess, but for a comprehensive list of tips and tricks, check out our guide to painting a room without mess.
Remember to follow the steps below regardless of your chosen method.
- Ideally, move all furniture to another room. If this isn’t possible, stack furniture in the centre of the room and cover it with plastic sheets.
- Cover all non-removable items with plastic sheets.
- Lay down canvas drop cloths for carpets or rosin paper for hard floors.
The plastic sheeting and floor covers protect furnishings and flooring from dust and debris. They also make things easier when it’s time to clean up.
Method 1 — Scrape and Sand

WARNING: do NOT use this method until your artex ceiling is inspected by trained asbestos professionals. Failure to do so could severely damage your health.
| Pros | Cons |
|---|---|
| Cost-effective. | A messy and slow process. |
| One man/woman job. | Risk of disturbing asbestos and sending it airborne. |
| Not much skill is required. | If artex ceilings are painted, scraping them can be very tough. |
| Scraping can often damage the ceiling. |
Tools and Materials
- Utility Knife or a stripping/joint knife.
- Joint compound.
- Bucket.
- 4-inch taping knife.
- 220-grit sanding block.
- Cloths.
Step-by-Step Instructions
- Put on your safety goggles, dust mask and gloves.
- Mentally divide the ceiling into sections and tackle one at a time using the techniques below. Take your time, don’t rush it.
- Use a utility knife or a stripping/joint knife to slowly chip away at the texture, creating a smooth surface.
- Mix joint compound in a bucket as per the packaging instructions.
- Using a taping knife, skim the surface with a thin layer of joint compound to smooth out imperfections. Leave to dry overnight before moving on to step 6.
- Using a 220-grit sanding block, lightly sand the surface until it’s smooth.
- Wipe the surface clean with a damp cloth before painting.
Method 2 — Cover with Plasterboard
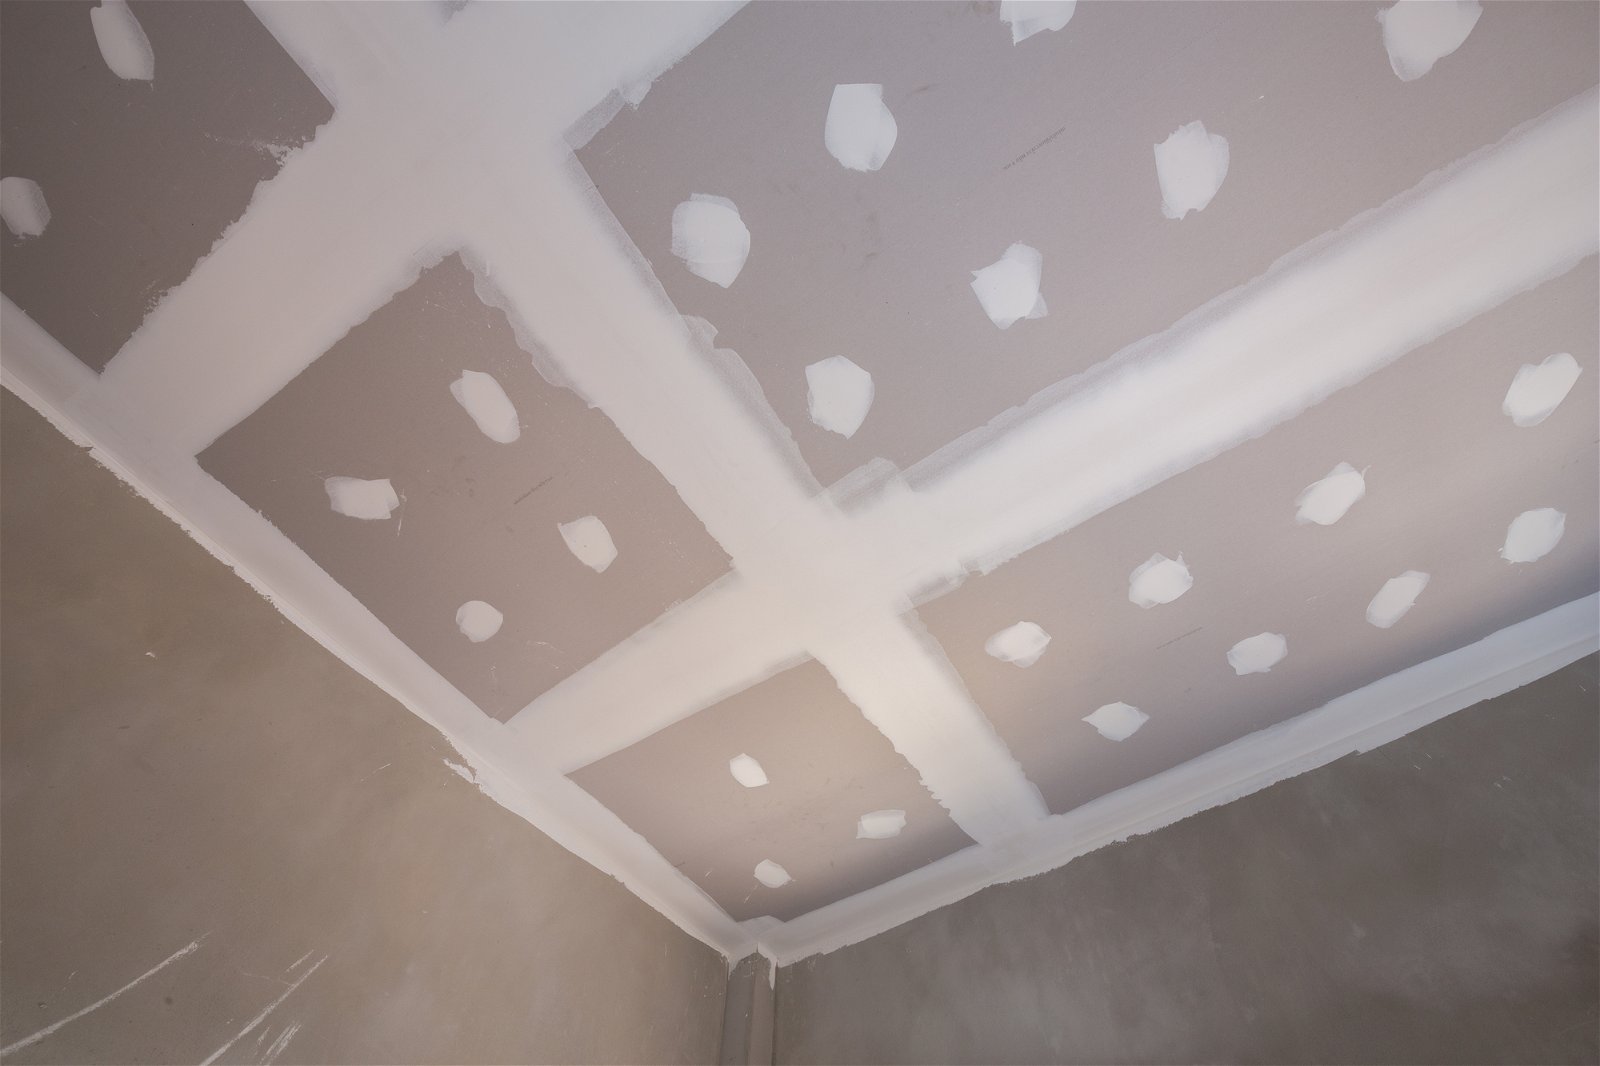
Scraping off artex is a tough job, not to mention dangerous if it contains asbestos. Another option, often preferred by the Pros, is to cover the artex with plasterboard (aka dry lining).
However, covering a ceiling with plasterboard is no simple task, as it involves heavy lifting and some skill.
| Pros | Cons |
|---|---|
| Not disturbing asbestos. I.e. plasterboard covers and encapsulates the harmful substance. | Cost of plasterboard sheets. |
| Smoothest possible finish, assuming you tape and joint well. | Two man/woman job. |
| Covers up holes in the ceiling. | You might have to remove and replace covings. |
| Skilled job. You must be proficient at taping and jointing for a seamless finish. |
Step-by-Step Instructions
Please read my comprehensive guide on how to plasterboard a ceiling.
Method 3 — Wet Plastering
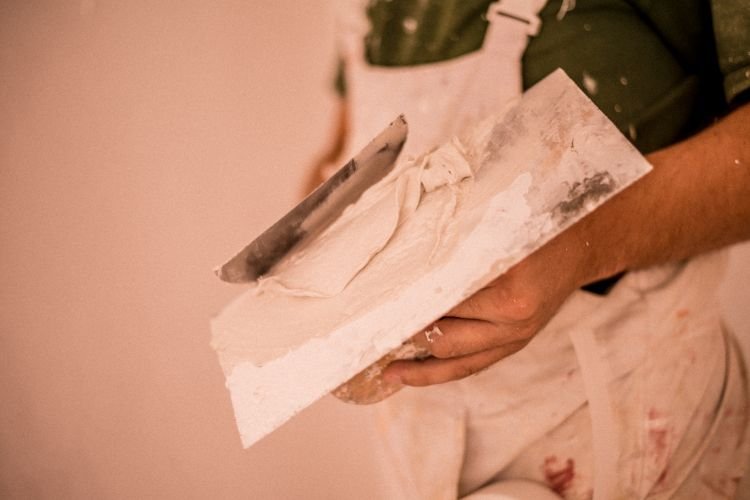
As with dry lining, wet plastering over artex avoids the pain of scraping it all off. However, you must still scrape off high spots and remove any flaking sections. Therefore, asbestos professionals must check your artex ceiling before you start work.
| Pros | Cons |
|---|---|
| Smooth finish, assuming you’re a good plasterer. | You must scrape off and sand high spots to achieve a smooth finish. |
| No need to scrape the whole ceiling. | Very messy job. |
| Cheaper than dry lining. | Skilled job. Requires an experienced plasterer. |
Tools and Materials
- Utility knife or a stripping/joint knife.
- Buckets.
- Large emulsion brush.
- Combi drill and mixing paddle mixer attachment.
- Bucket trowel
- Plasterer’s trowel and hawk.
- Spray bottle.
- ½ inch soft paintbrush.
- 220-grit sanding block.
- PVA.
- Skim plaster.
- Cloths.
Step-by-Step Instructions
Before you start, wear your safety goggles, dust mask and gloves.
Part 1 — Prepare Artex Ceiling Surface
- Remove any loose or flaking artex.
- Use a utility knife or stripping/joint knife to remove all the artex stipples (high spots) that hang down.
- To simplify plastering and improve the final finish, sand the surface until it’s flat and smooth. I recommend using 220-grit sanding paper.
- Paint the artex surface with PVA adhesive, which helps fresh plaster adhere to the surface.
- Dilute PVA with a 1:1 ratio with water and mix well.
- Using a large emulsion brush, apply PVA solution and leave it to dry for roughly one hour.
- Apply a second coat and then leave it to dry again.
Part 2 — Skim Plaster Artex Ceiling
Note: wet plastering is a challenging skill that takes years to perfect, so I highly recommend hiring a professional plasterer to do the steps below.
- Follow the packaging instructions and mix the plaster to a smooth consistency. To make mixing easier, use a combi drill with a paddle mixer attachment and set the drill to the lowest speed possible to avoid messy splashes.
- Apply the plaster to the artex surface using a bucket trowel, plasterers trowel and hawk.
- Follow the steps in this video to get the plaster onto your hawk and plasterer’s trowel.
- Spread the trowel’s plaster evenly across the surface. Don’t try and smooth it yet. Repeat until the whole ceiling is covered.
- Wait for the plaster to reach a goldilocks condition. I.e. beginning to firm but not going hard. At this point, smooth the plaster with a clean trowel, starting at the same location you began skimming.
- Continue smoothing the surface in the same order you skimmed it. If the plaster hardens while you’re working, spray some water on it. Note: sanding is the only way to smooth the plaster once it’s set hard.
- Wet a ½-inch soft paintbrush and define edges and corners.
- For non-porous surfaces, wipe clean with a damp cloth.
- For porous surfaces, wait for them to dry before cleaning up the mess.
For more info on how to wet plaster over an artex ceiling, watch the video below:

Wet Plastering Tips
- Don’t place too much plaster on the trowel or hawk.
- Cover the whole surface with a uniform thickness (max 5mm) so the entire area takes the same time to harden.
- Divide the ceiling into sections and plaster them one at a time. Don’t rush and try to do the whole ceiling in one go. Remember, divide and conquer!
- Mix only enough plaster for the section you plan to do next, no more, no less.
- Between mixes, clean your tools and buckets.
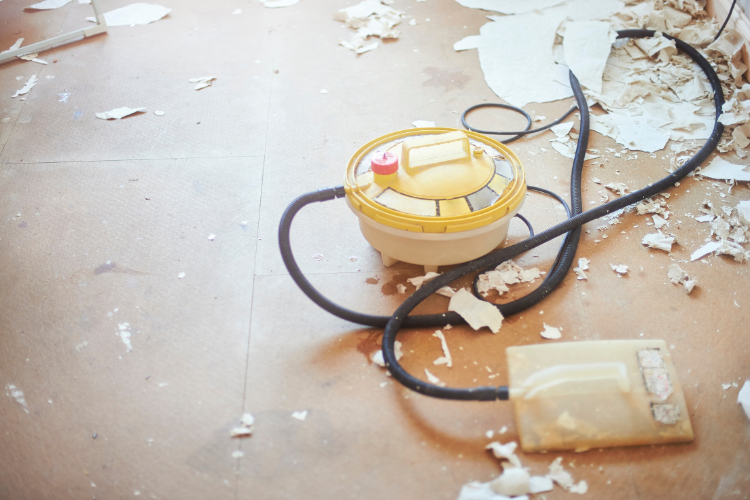
Method 4 — Steam, Scrape and Sand
WARNING: do NOT use this method until your artex ceiling is inspected by trained asbestos professionals.
If done carefully, scraping off artex is made much easier by softening it with steam.
The keyword is ‘carefully‘, as softening artex with a steamer can become extremely messy and time-consuming if done poorly. The trick is to leave the steam plate in one spot long enough for the artex to soften but not liquefy.
| Pros | Cons |
|---|---|
| It makes scraping easy when done well. | Slow and messy. |
| Cheaper than plasterboard or plaster, assuming you rent or borrow the steamer. | Risk of disturbing asbestos and sending it airborne. |
| Risk of damaging the ceiling. | |
| Risk of artex liquefying and running everywhere. |
Tools and Materials
- Wallpaper steamer.
- The same tools and materials as the ‘Scrape and Sand’ method.
Step-by-Step Instructions
- Put on your safety goggles, dust mask and gloves.
- Warm up the steamer and gently press its plate onto the artex surface while testing its softness (see step 3).
- Test the artex softness with a utility knife or stripping/joint knife every few seconds.
- Follow steps 2–4 in the ‘Scrape and Sand’ method when the artex is soft enough to easily scrape off.
- Repeat the process above for the entire ceiling, covering one small section at a time. Do NOT rush it!
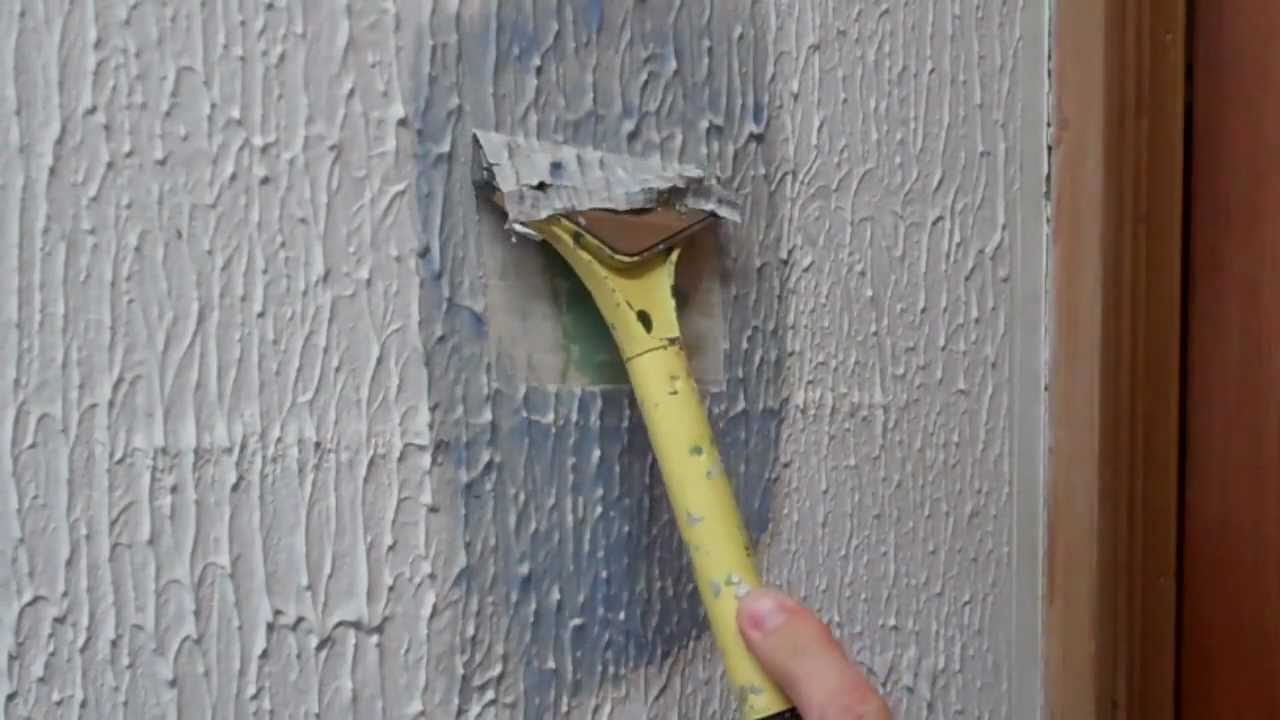
Method 5 — Home Strip X-TEX
When using Home Strip X-TEX, scraping off artex becomes much quicker, easier and safer. To learn more about X-TEX and how best to use it, watch the video below:
| Pros | Cons |
|---|---|
| It makes scraping off artex much easier and less messy. | Risk of disturbing asbestos and sending it airborne. |
| A water-based product, so it’s nontoxic and nonflammable. | More expensive than the ‘Sand and Scrape’ and ‘Steamer’ methods but still cheaper than dry lining or wet plastering. |
| pH neutral, so it’s non-caustic and doesn’t cause skin burns. | |
| No hazardous risk and safety phrases. | |
| Works on all surfaces. | |
| Made in the UK. |
Tools and Materials
- X-TEX.
- Large emulsion brush.
- The same tools and materials for the ‘Scrape and Sand’ method.
Step-by-Step Instructions
- Put on your safety goggles, dust mask and gloves.
- Paint X-TEX over artex with a large emulsion brush.
- Wait for it to soften. For a single layer of textured coating, this takes between 15 and 30 minutes. You may wait up to one hour for surfaces with several coats of paint. Follow the instructions on the packaging for further info.
- Once artex is softened, follow steps 2–4 in the ‘Scrape and Sand’ method.
Don’t fancy doing this job yourself? Find top-rated plasterers in your area by clicking the button below:
Which Method Should You Choose?
The answer ultimately depends on how much time and money you’re willing to spend, your skill level and the current state of your ceiling.
One critical factor in making this decision rests on whether your artex ceiling contains asbestos. If it does, you only have two options — hire trained asbestos professionals to remove it or cover your ceiling with plasterboard.
FAQ
Below are the answers to frequently asked questions about artex ceilings.
How do you remove artex?
You can deal with artex using one of five different methods: ‘Scrape and Sand’, ‘Cover with Plasterboard’, ‘Wet Plastering’, ‘Steam, Scrape and Sand’ or ‘Home Strip X-TEX‘. This guide explains each method in detail.
Do artex ceilings contain asbestos?
Until the mid-1980s, artex was made with asbestos. In 1999, the UK government banned using and importing chrysotile asbestos.
Is an artex ceiling dangerous?
An artex ceiling is not dangerous unless it contains asbestos which was banned in 1999. Asbestos is extremely toxic if sent airborne and can severely damage your health.
Only those trained to remove asbestos should do so. If you are unsure, contact your local council for more information.
Can artex be plastered over?
Yes, you can wet plaster over artex. However, many professionals recommend covering artex with plasterboard, especially if it contains dangerous asbestos.