Plaster coving is a decorative feature fitted where the wall meets the ceiling. Although coving is often considered a period feature, it has a place in modern British homes.
This simple three-step guide will show you how to fit plaster coving and achieve a professional finish.
In a Hurry? Find top-rated plasterers in your area by clicking the button below:
Tools & Materials
Coving comes in many sizes and patterns like this one from B&Q. You can also buy coving in different materials, although plaster is the most common. Plaster coving is typically purchased in pre-cut lengths, and you can also buy ready-made corner pieces to make fitting much easier.
Tools
- Cloth or sponge
- Tape measure
- Pencil
- A sharp implement such as a putty knife
- Mitre block or mitre saw
- Saw
- Sandpaper
- Goggles and a dust mask (optional)
- Step ladders
Materials
- Coving strips
- Adhesive
How To Fit Plaster Coving — Step-by-Step Instructions
Follow the steps below to fit coving like a pro!
1. Calculate How Much Coving You Need
Do your Sums
Use a tape measure to measure the length of each wall that requires coving. Add together each length to get the total length of coving required.
Now you’re going to work out how many pre-set coving lengths you need. To do this, divide the total length calculated above by the length of the pre-prepared coving strip.
Pro Tip: Buy a few extra strips to be sure you have enough in that style.
Worked Example
Say you have a room 4m x 6m. This means you will require 20m of coving (4+6+4+6 =20).
The coving you require comes in 4m strips.
20 divided by 4 = 5 strips required
I would advise buying 2 extra, so purchase 7 strips in total.
2. Prepare and Cut Coving
Create Guidelines and Prepare the Area
Using a pencil, hold the coving in situ and draw a pencil line around the edges. This will allow you to see the area on the wall and ceiling which your coving will cover.
Next, work out which pieces of coving need trimming to fit your room’s dimensions. In the example above, the pre-cut coving strips of 4m fit the room’s width perfectly, so no trimming is required. However, two strips will be used as the room length is 6m, and the strips are only 4m. The second strip will need to be cut in half so that the two strips cover 6m in total.
Clean Area
Remove any old wallpaper up to your pencil line. If you are not replacing the wallpaper or repainting, only work within your guidelines. You don’t want to damage the area that will still be seen underneath your coving.
Remove any leftover wallpaper paste and use a damp cloth to remove dust and dirt where you’re fitting the coving.
Create a Key
Use a sharp tool such as a putty knife to score the area you have marked. By scoring the wall, you create a key that improves coving-to-wall/ceiling adhesion. Give your wall and ceiling a final wipe-over to remove any dust this step may have created.
Cut Corners as Required
You may need to cut the coving to fit the corners of the room if you don’t have pre-cut corner sections. These pieces must be cut at an angle to fit perfectly in the corners.
There are two main methods you can use to cut corners:
A. Using a Mitre Block
Cutting angles in your coving so that the two pieces join perfectly is best done with a mitre block.
If it’s a standard 90-degree corner, cut each piece of coving at 45 degrees using a mitre block. If it’s not a 90-degree corner, use an angle finder/protractor to measure the required angle. Once you know the corner angle, divide the number in two to give you the angle at which each piece of coving should be cut.
Make sure you cut the angle with the coving facing the right way, as you will cut the piece differently depending on whether it’s an internal or external corner.
The video below shows you how best to use a mitre block and which way to cut your coving:

Pro Tip: When sawing the coving, use one hand to steady the coving whilst sawing with the other hand. A crosscut saw with medium teeth, and a rigid blade is best for this job.
B. Using a Mitre Saw
A mitre saw is another way to cut angles in your coving. Check out the video below, which shows you how to use your mitre saw safely when cutting angles.

Cut Coving Strips Shorter as Required
You may need to cut your lengths of coving to get a perfect fit for your room. As these pieces will form a straight edge, cut directly across the coving so that two pieces can be connected to form one long section.
Pro Tip: Cutting coving can produce fine dust, so protect yourself with goggles and a dust mask.
Smooth the Cut Edge
You must ensure the newly cut surface is smooth and free from rough areas. Use sandpaper to rub down the freshly exposed cut edge and ensure it’s flat and smooth.
3. Fit Coving
Start in one corner with either your pre-made corner section or your freshly cut corner piece. Ensure that it fits neatly into the corner.
How To Apply Adhesive and Attach to the Wall
You need to purchase a special adhesive designed for attaching coving. Be mindful of the weight of your coving and the strength of the adhesive. You can purchase adhesive in powder form, a premixed tub, or a cartridge gun.
You should apply a thin and even layer of adhesive on the parts of the coving that will touch the wall and ceiling. You must also apply adhesive to the edges that meet other coving sections. You can apply it directly with a cartridge gun or a filling knife.
Place the coving in position and press it into place. Push along all parts of the coving to ensure it’s evenly secured to the wall.
You will have a little time to manoeuvre the piece into the right position. If any coving adhesive comes out when you attach it, wipe it up quickly with a wet cloth before it has time to dry and ruin the finish.
Pro Tip: Have a few wet rags handy. The last thing you want is struggling up ladders with only one cloth covered in adhesive.
To ensure the coving doesn’t move before it’s fully set, hammer nails underneath it to support its weight.
Pro Tip: If you don’t want to ruin the paint or wallpaper underneath, hammer nails through the coving itself. Don’t hammer all the way through, as this will make removing the nails more difficult. After the nails are removed, you can fill in the holes as needed.
Complete Corner Joint
Now you have one corner piece in place, fit the second piece by repeating steps 2 and 3.
Once this is done, work around your room, fitting one piece at a time and securing it with nails to allow the adhesive to dry.
Remove Nails and Fill
You can remove all nails once the adhesive is dry and the coving is secure. You can fill any gaps or imperfect joins with filler.
Finish the Job
Check over your work, make sure any imperfections are blended with a filler, all nails are removed, and any excess adhesive is wiped away.
Decorate
Many like to leave their coving with the existing white finish. However, some prefer painting their coving to match their walls and ceilings. You may also have door architraves that you want your coving to match.
Don’t fancy doing this job yourself? Find top-rated plasterers in your area by clicking the button below:
Final Thoughts
Coving provides a nice finishing touch to any room and is not expensive or difficult to fit. I find the most tricky part is cutting corners. Once you’ve mastered this, the rest is plain sailing.
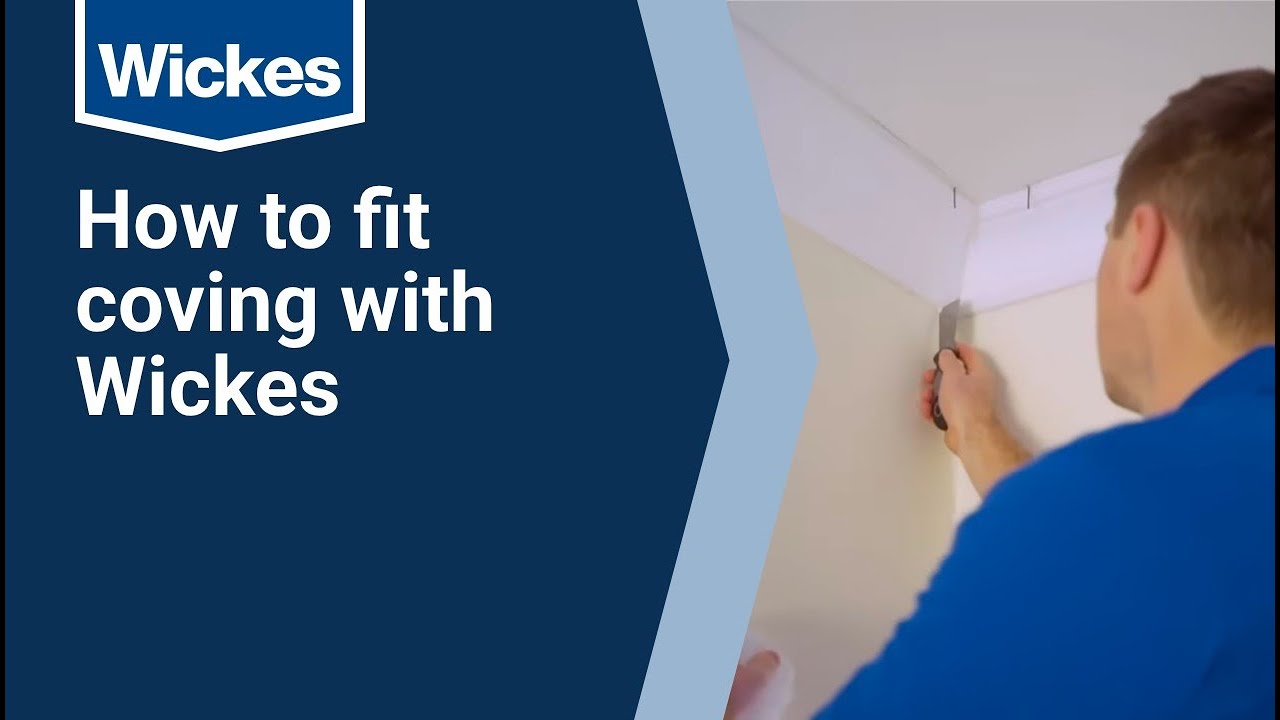
To see a quick version of the whole coving fitting process in action, check out the video tutorial below: