I know from years of plastering experience that PVA is the secret ingredient for professionally plastered walls.
In this DIY guide, I provide handy tips for preparing a wall for plaster, including why you should use PVA for plastering and how best to apply it.
Why You Should be Using PVA for Plastering
PVA stands for Polyvinyl Acetate, but you’ll probably know it as ‘glue’. Carpenters, joiners, and crafting fans all use it regularly.
For plastering, PVA is used as a primer or a bonding agent.
1. PVA as a Primer
Every wall surface has a suction rate, which explains why paint ‘soaks in’ when decorating. Brick walls are the thirstiest, whereas plasterboard has the lowest suction rate.
Thirsty walls suck moisture out of fresh plaster, which can cause it to crack, ruining a smooth finish. In extreme circumstances, lumps of the plaster can fall off the wall!
Applying PVA as a primer seals the wall surface and lowers the suction rate.
2. PVA as a Bonding Agent
PVA also acts as a bonding agent, so applying a coat of PVA before plastering helps bond plaster to walls.
Best PVA to Buy
At PWS, we’re big fans of the PVA below, as it works great as a primer and a bonding agent.
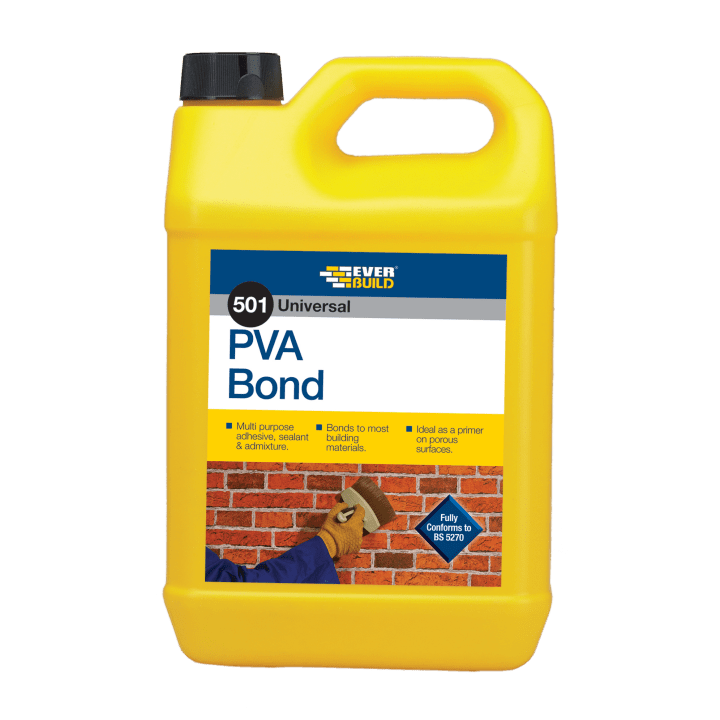
Everbuild Universal PVA Bond
- Fully complies with BS 5270
- Improves the flexibility of sand & cement products
- A lower water-to-cement ratio for equivalent performance
- Lowers surface porosity of mortar and plaster
- Enhanced frost resistance
Tools & Materials
Gather all the tools and materials below before using PVA for plastering.
Tools
- Dustsheet
- Rags
- Bucket
- Paintbrush or roller
- Plastering tools (to use after you’ve applied PVA)
Materials
- Sugar soap
- Polyfilla
- Screen tape
- PVA (see our recommendation above)
- Water
- Mixed plaster
How To Use PVA For Plastering — Step-by-Step Instructions
To use PVA like a professional plasterer, follow the four simple steps below:
1. Prepare Room
- Remove as much furniture from the work area as possible, and cover anything you can’t move with dustsheets. Remember, no matter how careful you are, plastering is a messy job. For more info on reducing the mess, check out our guide to preparing a room for painting.
- Clean the wall to remove all dust and grime. A quick going over with a rag and some sugar soap should suffice.
- Fill or cover any holes and cracks in the wall. Patch small holes with Polyfilla and cover cracks with screen tape. You may need to be creative in some cases, as the carpenter’s daughter did when plastering a wall with chased cables.
- Plasterboard only — Cover the joints between boards with tape if plastering onto freshly erected plasterboard. For more info, check out the ‘Taping and Jointing‘ section in our guide to plasterboarding brick walls.
2. Mix PVA With Water
Theories differ as to the perfect PVA solution for plastering. Some plasterers use a little more water, and some a little less.
In my experience, you can’t go wrong with three parts water to one part PVA. Mix that ratio in a bucket, and you’re ready to roll.
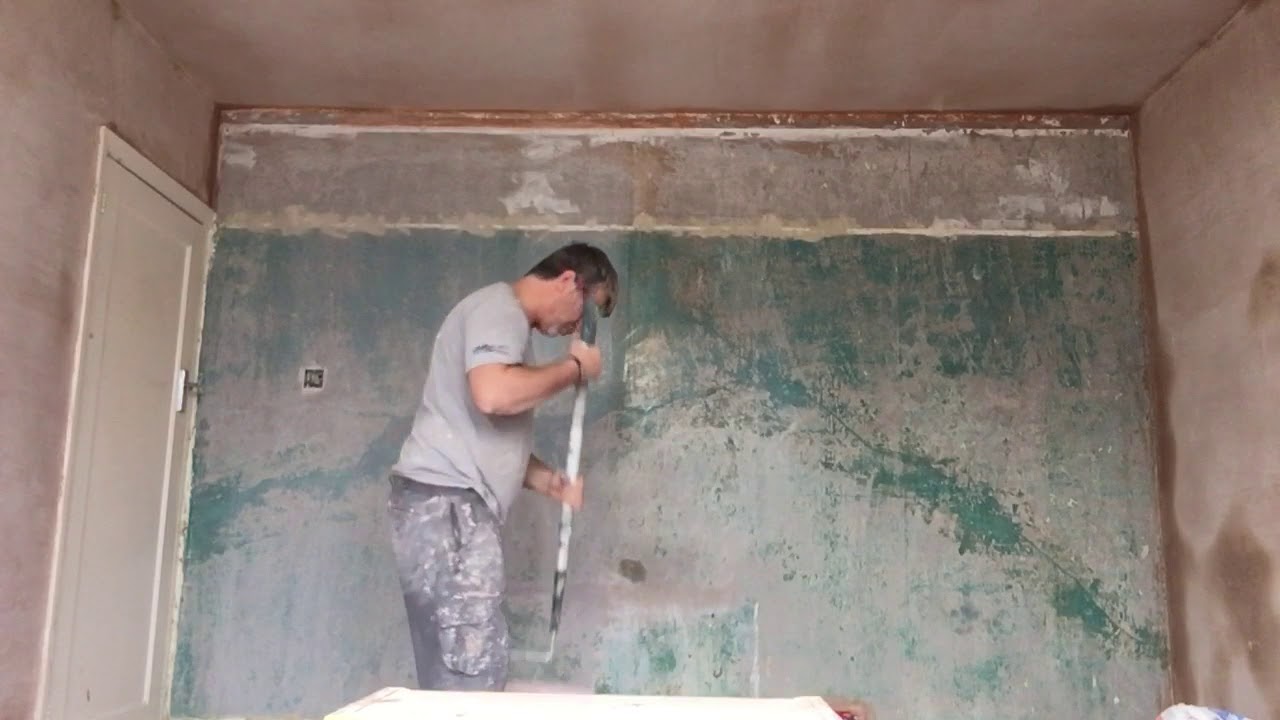
3. Applying PVA as a Primer
The first coat of PVA acts as a primer.
Paint it onto the wall the same way you’d paint while decorating, and use a paint roller instead of a brush if you need to cover a large area.
Once you’ve covered the wall, leave the PVA to dry.
4. Applying PVA as a Bonding Agent
Your second coat of PVA acts as a bonding agent, helping the plaster bond to the wall.
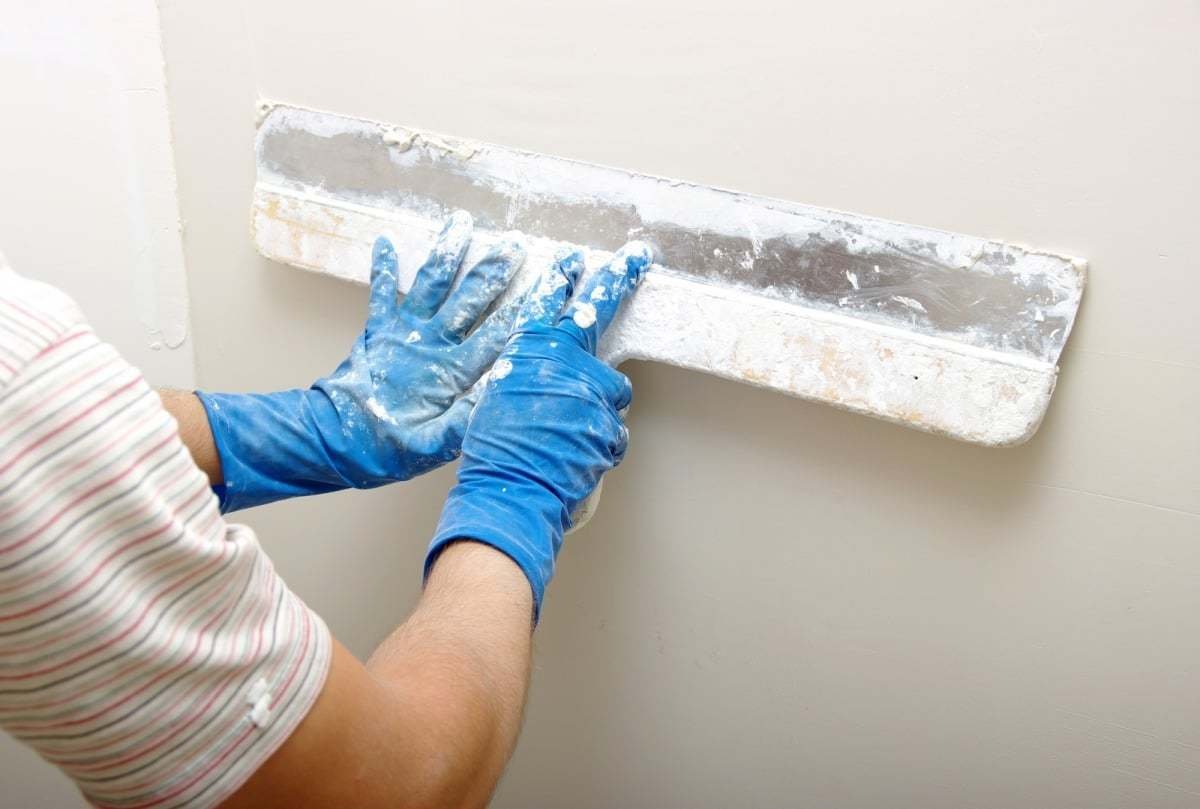
- Roll or brush the PVA onto the surface and then wait briefly for it to take up, but don’t let it dry completely.
- Mix the plaster and start skimming immediately.
Pro Tip: During the drying process, there’s a time when the PVA starts to feel very sticky — this is the perfect time to begin plastering. If you’re plastering a large area, delegate the PVA part so you can focus on mixing the plaster at the right time.
For a complete tutorial on wet plastering, check out our guide to plastering a wall.
Final Thoughts
For a demonstration of the whole process, watch the video below:
For more tips on using PVA, check out our guide to using PVA to seal a concrete floor.