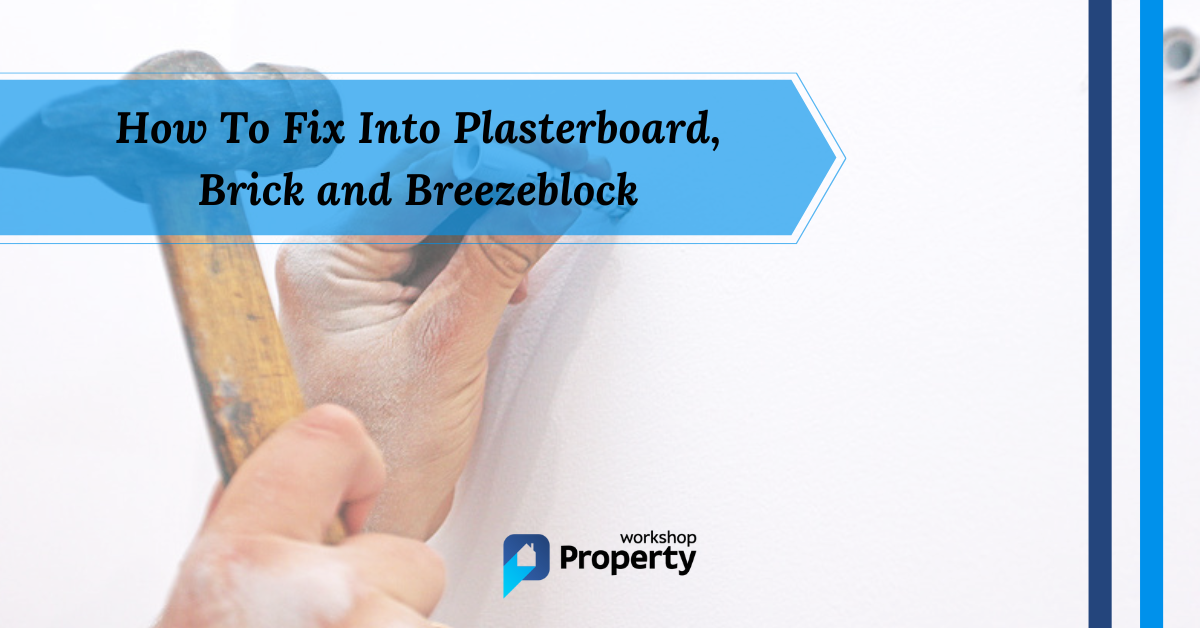
Knowing how to fix into plasterboard, brick, and breezeblock is a crucial DIY skill for any homeowner.
Whether you’re hanging pictures, shelves, or wall cabinets, how you fix them differs depending on the wall material.
Over the years, I’ve fixed thousands of items on various wall surfaces, so I’ll show you how to do it correctly and efficiently in this easy-to-follow DIY guide.
Tools and Materials
Ensure you have all the tools and materials below before you start.
Tools
- Drill (with a hammer action for masonry and brick)
- Impact driver (for hex-shaped concrete screws)
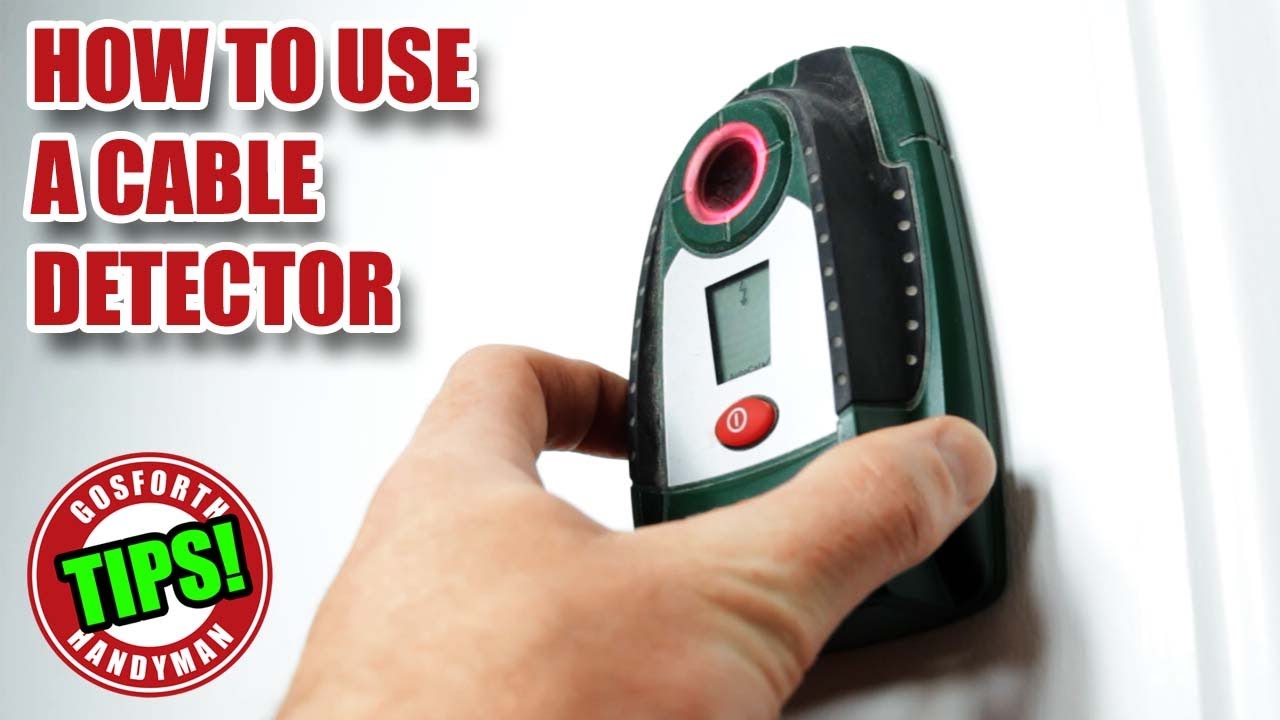
- Pipe detector
- Spirit level
- Tape measure
- Hammer
- Step ladder (optional)
- Screwdriver
- Masonry drill bit
- Carpenter’s awl
- Small paintbrush
Materials
- Dust sheet
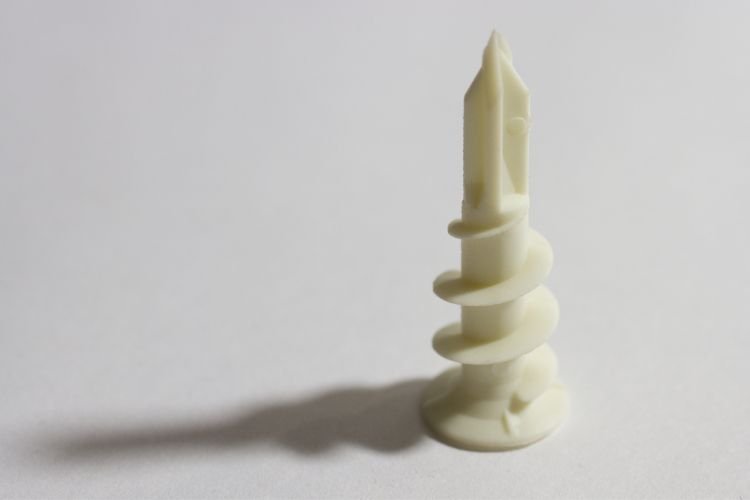
- Wall plugs
- Screws
- Picture hooks
- Nails (for lighter items)
- Pencil
- Masking tape
Safety Gear
- Goggles
- Earplugs
- Face mask
Fixing into Plasterboard, Brick, and Breezeblock
The fixing you’ll need varies depending on the wall material. This guide covers three materials — Plasterboard, Brick, and Breezeblock.
First, determine the material you’re fixing into, and only follow the steps below that pertain to your wall. But before drilling and fixing, put on your safety gear and lay down a dust sheet.
Material 1 — Plasterboard
There are eight options when fixing items to plasterboard walls. Let’s take a look:
IMPORTANT: Before you attempt any of the options below, check for studs, pipes and cables with the cable detector. Follow the steps in the video below by Gosforth Handyman for the correct techniques:
1. Nails and Picture Hooks
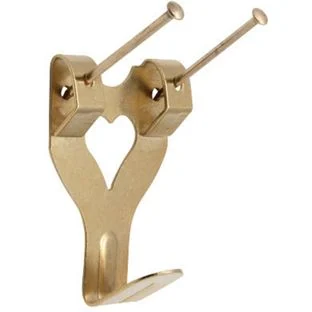
Two-pin picture hook — Image courtesy of Frames.co.uk
The easiest way to fix lighter items like picture frames is to use small nails or picture hooks. The image above shows the hook you’ll need.
Here’s how to hang picture frames onto plasterboard walls:
- Hold the frame against the wall and use the spirit level to ensure it’s straight. Draw a faint pencil line along the top edge of the frame.
- Measure the length of the pencil line to find the centre and mark a small X.
- Flip the frame over and pull the hanging cord to mimic the frame’s weight.
- Measure from the cord’s centre to the frame’s top.
- Now, measure the drop of the frame directly below the small pencil X from step 2 and make a second pencil X. This is where the hook goes.
- Hold the hook against the wall and ensure its base is level with the pencil X from step 5.
- Use the hammer to drive both nails into the plasterboard to secure the hook.
- Hang the picture and check its level using the spirit level.
For more details, check out our step-by-step guide to hanging a picture.
Safety Tip: When using a step ladder, ensure the ground is flat and stable, and never overreach from the top step.
2. Gripit Fixing

Gripit fixings fit pre-drilled holes measuring 15 to 25mm. They’re a little more complicated to attach than other options, but they deliver maximum load-bearing capacity.
- Check for studs, pipes and cables with the cable detector.
- Compare the drill bit size against the width of the Gripit fixing.
- Load the drill with the right size drill bit.
- Find the correct location for the anchor using the tape measure and spirit level.
- Mark the location with a pencil X and start making the hole with the carpenter’s awl.
- Place the drill bit in the groove created by the carpenter’s awl and start drilling slowly.
- Increase the speed as the drill bit grips until it breaks through the plasterboard.
- Clean the dust away from the hole with a small paintbrush.
- Insert the Gripit fixing, tapping it in place with a hammer.
- Use a flathead screwdriver to turn the plastic clip on the surface of the Gripit anchor to open the wings behind the plasterboard, as shown in the video below (see 0.30).
- Now, you’re ready to insert the screw.

Pro Tip: If you want to reposition or reuse your Gripit anchor, twist the two screws to the left, making the wings retract (as demonstrated in the video above — see 0.36).
Gripit fixings are rated by colour depending on weight capacity:
| Colour | Weight Capacity |
| Blue | 113kg |
| Brown | 93kg |
| Red | 74kg |
| Yellow | 71kg |
3. Self-Drive Fixing
Self-drive anchors (sometimes called Redidrive fixings) work by self-driving into the wall without drilling, making them convenient and efficient. However, the trade-off is they aren’t as robust as Gripit fixings.
- Use the tape measure and spirit level to find the desired anchor location.
- Mark the spot with a pencil X.
- Use the carpenter’s awl to make an indentation in the plasterboard to help the self-driving screw grip.
- Place the tip of the self-driving screw against the wall, ensuring it sits snugly in the hole made by the awl.
- Insert the screwdriver into the self-drive fixing and drive it into the wall. You can use a power drill to speed up the process.
The video below by Tool Tips demonstrates the technique perfectly.

Pro Tip: While you don’t need to drill a pilot hole for these fixings, it may help prevent plasterboard damage or the screw from snapping.
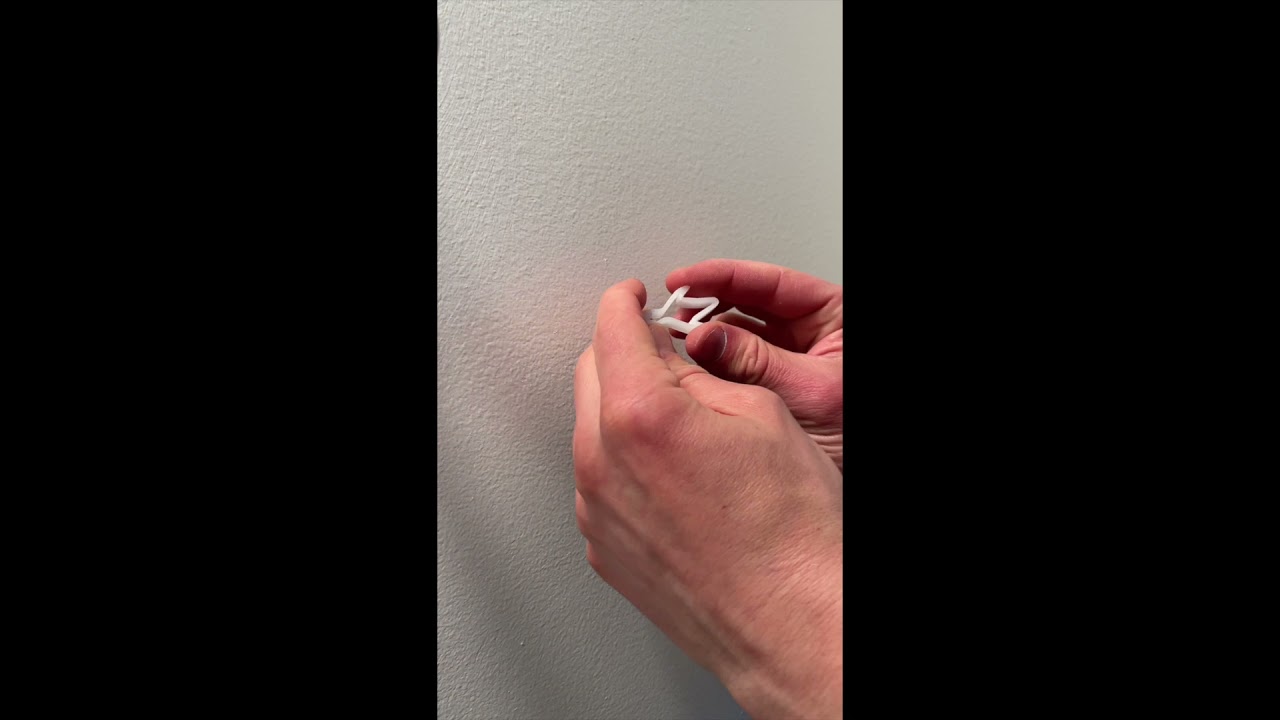
4. Plastic Toggle Fixing
Plastic toggle fixings typically bear weights up to 9kg and are easy to use. The collapsable element pushes into the plasterboard, and when you tighten the screw, it opens and grips.
They require pre-drilling, which initially takes longer than self-driving anchors, but once you’ve created the holes, toggle fixings speed up the process because they easily slot into the pre-drilled holes.
- Measure and mark the desired location of the hole.
- Hold the drill bit against the front end of the toggle (the bit that faces out from the wall) and check it matches the width.
- Drill through the plasterboard.
- Compress the winged toggles using pliers to close them, as shown in the video below (see 0.11)
- With the toggles compressed, insert the anchor into the hole, ensuring it sits flush with the wall.
- Pull the toggle with the pliers to test that the wings have opened behind the wall.
- Insert the screw and tighten it so the toggle locks in place.
Note: Don’t overtighten the screw because the plastic toggles can split, weakening the anchor.
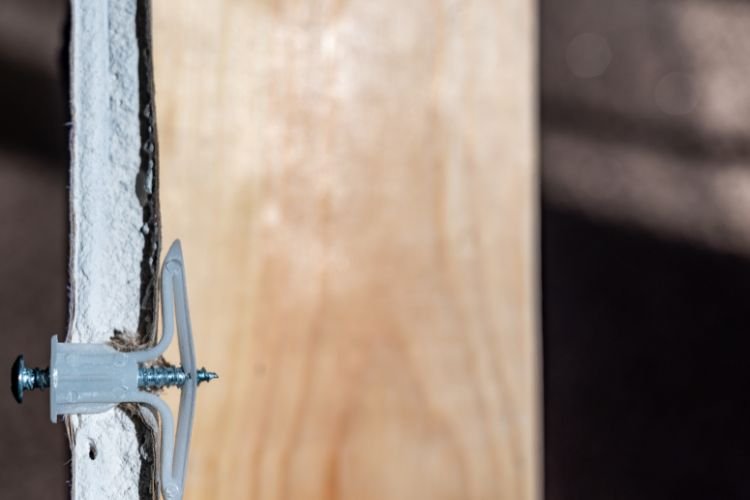
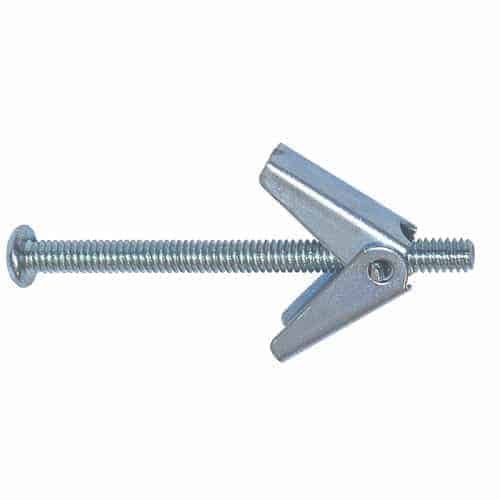
5. Hollow Wall Anchor

Hollow wall anchors are great for extra grip and a strong brace (typically up to 23kg). They work by inserting into a pre-drilled hole, like a plastic toggle. When you insert the screw, they expand behind the plasterboard to grip.
The critical difference between toggle and hollow wall anchors is that hollow anchors are metal and have small teeth that grip the plasterboard surface when you tighten the screw.
- Hold the anchor against the drill bit to check that the width matches.
- Measure and mark the spot to be drilled using the spirit level.
- Drill the hole, ensuring the drill bit goes all the way through.
- Place the anchor through the bracket or whatever you’re hanging, as shown in the video below (see 3.07).
- Push the hollow anchor nut into the hole for a snug fit, ensuring the teeth embed into the plasterboard.
- Tighten the screw to clamp the plasterboard, locking the anchor in place.

6. Butterfly Toggle
When erecting shelves and cabinets, consider using a butterfly toggle. They work by inserting into a pre-drilled hole in the same way as a hollow wall anchor.
The difference between plastic and butterfly toggles is butterfly toggles are made of metal, making them more robust.
Because installing a butterfly toggle is identical to a hollow wall anchor, follow steps 1 to 6 above.
Pro Tip: Use a carpenter’s awl to mark the wall. It helps direct the drill bit because it gives it something to grip.
7. Rubber Anchor Nut
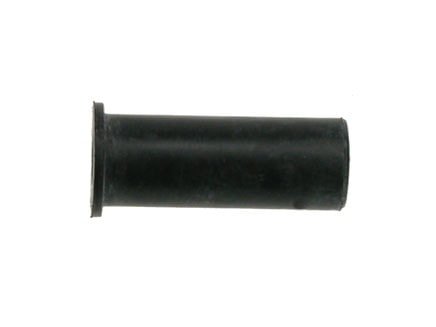
These little beauties are an excellent option for irregular holes because they mould to the shape. They also prevent screw corrosion in damp conditions, making them ideal for external walls.
Rubber anchor nuts insert into a pre-drilled hole, and the screw grips the moulded interior to anchor the object to the wall.
- Measure and mark the position of the hole.
- Compare the rubber nut against the width of the drill bit to see if they match.
- Drill the hole so that it goes through the plasterboard.
- Push the rubber anchor into the hole. Use a hammer if it’s a bit snug.
- Insert the screw and tighten it until it meets resistance.
8. Universal Wall Plugs
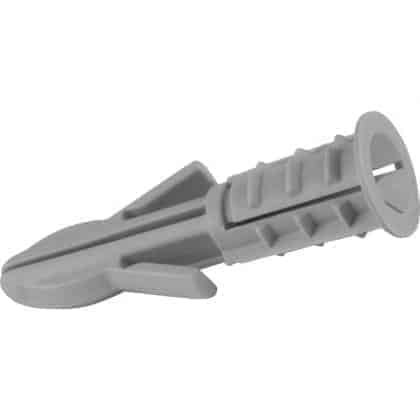
Universal wall plugs are suitable for all wall materials but work better on brick and breezeblock. Only hang lighter items when using them on plasterboard walls.
They work by inserting into the plasterboard via a pre-drilled hole. Tap them in place with a hammer, and they expand when you tighten the screw. Here’s the process in more detail:
- Measure and mark the hole’s location on the wall and draw a small pencil X.
- Hold the wall plug against the drill bit to compare width. You want the wall plug to be a similar size as the drill bit to ensure a snug fit.
- Drill through the plasterboard.
- Insert the anchor into the hole using your thumb or a hammer.
- Insert the screw, begin tightening, and the wall plug expands to grip.
Material 2 — Brick
Drilling into brick is more complicated than plasterboard and requires more planning. However, you can mount heavier items like shelving, TVs and wall cabinets. As before, don safety gear and lay down a dust sheet to catch the debris.
Wall Plugs
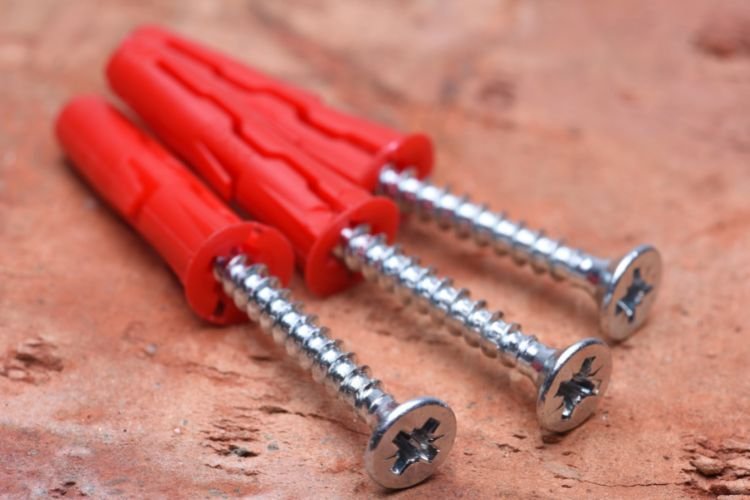
Wall plugs are the most universally used form of fixing anchors. While they work in plasterboard, they can bear heavier loads in brick and concrete.
- Use the pipe and wire detector to check for hidden wires and pipework.
- Check the wall’s surface for loose plaster or cracks. If you drill into an unstable surface, your anchor will be unsafe too. Follow our guide to patching plaster if repairs are necessary.
- Using the spirit level, measure and mark the hole’s location with a pencil X.
- Compare the masonry drill bit against the wall plug width. You must also measure for length to know how deep to drill (add 6mm to the depth for clearance).
- Mark the depth of the wall plug on the drill bit with masking tape.
- Load the drill bit into the drill and hold it against the wall in the centre of the pencil X.
- Start slowly with the drill in non-hammer mode. This approach helps it bite into the brick or plaster surface.
- When the drill bit grips, switch to the hammer action. Typically, a switch on top of the drill allows you to select drilling or hammer drilling mode.
- Start slowly and gradually increase the speed until you reach the desired depth.
- Clean out the hole with a small paintbrush.
- Insert the wall plug and tap it in place with the hammer, ensuring it’s flush with the wall.
- Insert the screw.
Pro Tip: Remember that masonry drill bit tips have two small metal sections that jut out, as seen in the image below:
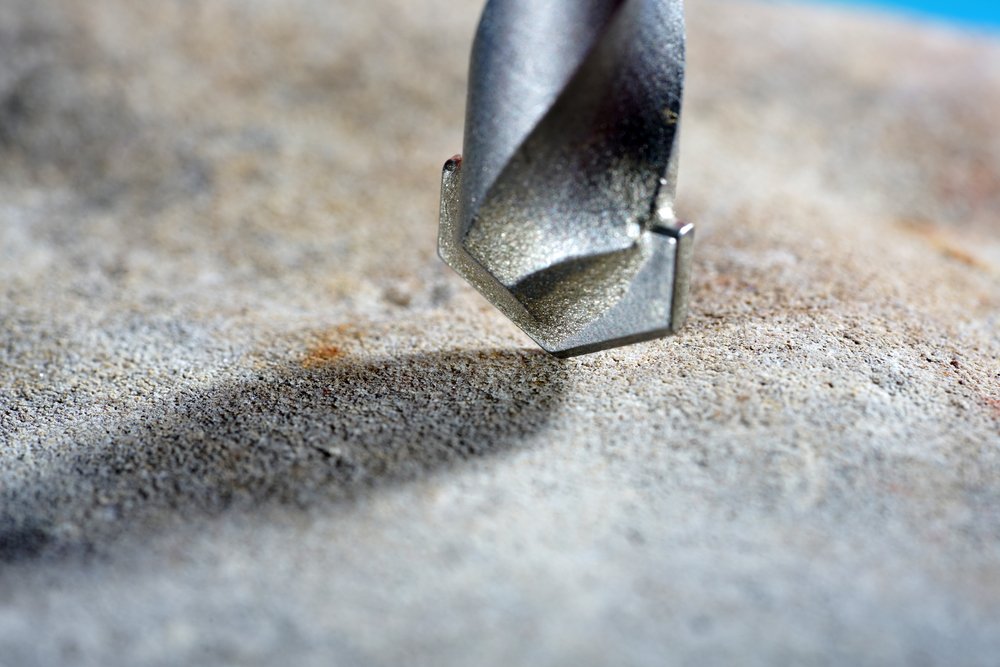
Masonry drill bit sections
Safety Tip: Don’t be tempted to blow the dust from the hole, or you’ll risk inhaling dangerous particles. According to the Health and Safety Executive, brick dust contains hazardous silica.
According to the HSE, Silica is the biggest risk to construction workers after asbestos. Heavy and prolonged exposure to RCS can cause lung cancer and other serious respiratory diseases.
The video below by Bunnings Warehouse shows you from 0.32 seconds how simple it is to insert a wall plug:

Material 3 — Breezeblock
You’ve got two options when drilling into concrete breezeblock — Wall Plugs or Concrete Screws.
Depending on which anchor type you use, you’ll need a combi drill or an impact driver because some concrete anchors have hex-shaped heads that a combi drill can’t accommodate.
As we’ve said before, take safety seriously and don the appropriate gear. Also, lay down a dust sheet when working indoors.
1. Wall Plugs
To insert wall plugs into concrete breezeblocks, the process is identical to brick, so follow steps 1 to 12 above.
2. Concrete Screws
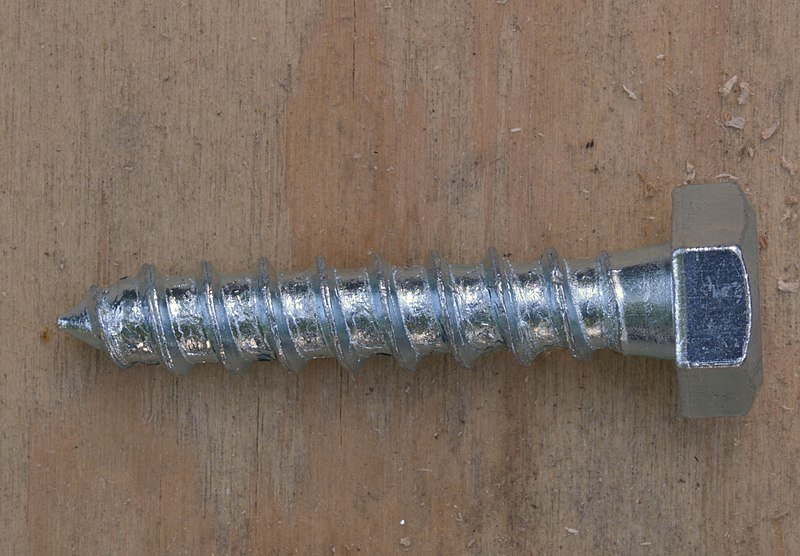
Concrete screws install directly into the material without wall plugs or other anchors. They’re suitable for light and medium-duty applications, typically weighing 22.5 to 91kg.
- Follow steps 1 to 3 in the section describing inserting wall plugs into brickwork.
- Compare the width of the drill bit against the concrete screw. It needs to be slightly thinner than the screw. Mark the depth as you did in step 4 of the ‘wall plug into brick’ section above.
- Start drilling slowly, with the drill set on non-hammer action.
- As the drill bit bites, change to the hammer setting and pick up speed.
- Once you’ve reached the correct depth, withdraw the drill.
- Swap to the impact driver because it has a hex-shaped chuck (head) that matches the head on your concrete screws.
- Insert the screw into the desired bracket or item you’re attaching to the wall and hold the screw so that the tip sits snugly in the hole.
- Start slowly, and wind the screw into the wall, taking care that it goes in straight. Pick up the pace when the screw starts to bite. Continue until your item is secure.
This short video by Essve International shows how easy it is to use concrete screws:

Final Thoughts
How you fix into wall surfaces depends on the wall material and the type of anchor you use. As demonstrated above, some methods are easy, requiring minimal skill and tools, while others are more complicated.
Always remember to use the correct fixing for the job and never exceed its load capacity. I learned this through experience, and I don’t want you to make the same mistake.
While fixing objects into various wall surfaces is relatively easy for experienced DIYers, some lack the skill or confidence. If that’s you, hire top-rated local professionals on Rated People.