Patching plaster may sound intimidating, but it’s not as complicated as you think.
If you have the time and patience to follow the seven steps below, you shouldn’t need to hire a professional plasterer to fix small to medium-sized cracks or holes.
Tools & Materials
Below is a list of recommended tools and materials to complete this project successfully. Ensure you have them all before starting.
Tools
- Step Ladder
- Trowel
- Hammer (For Loose Nails)
- Screwdriver (For Loose Screws)
- Sanding Block
- Utility Knife
- Putty Knife
Materials
- Plaster Sealant
- Wall Plaster — We recommend British Gypsum’s One Coat Plaster in our guide to plaster types.
- Protective Gloves
- Dust Mask
- Stir Stick
Patching Plaster — How to Repair Wall Plaster
Follow the steps below to repair wall plaster like a pro.
1. Prepare the Work Area
Put a canvas drop cloth or an old blanket on the floor to prevent spills, as plastering is messy. Regularly check your shoes, so you don’t track plaster throughout the house.
2. Prepare the Patch Area
First, ensure no nails or screws are in the area you’re repairing. Next, cut out any large pieces of broken or loose plaster with a utility knife.
Sand the damaged area with medium-grit sandpaper to remove all loose plaster and particles. Wipe the area with a cloth, so it’s ready to seal.
3. Apply Plaster Sealant
Using a small brush, apply a plaster sealant or bond over the damaged area. Homebuilding & Renovating recommends using a PVA bond mix.
This PVA bond mix helps the new plaster adhere to the damaged area. Wait 20 to 30 minutes to ensure the PVA mix is dry and ready for a coat of plaster.
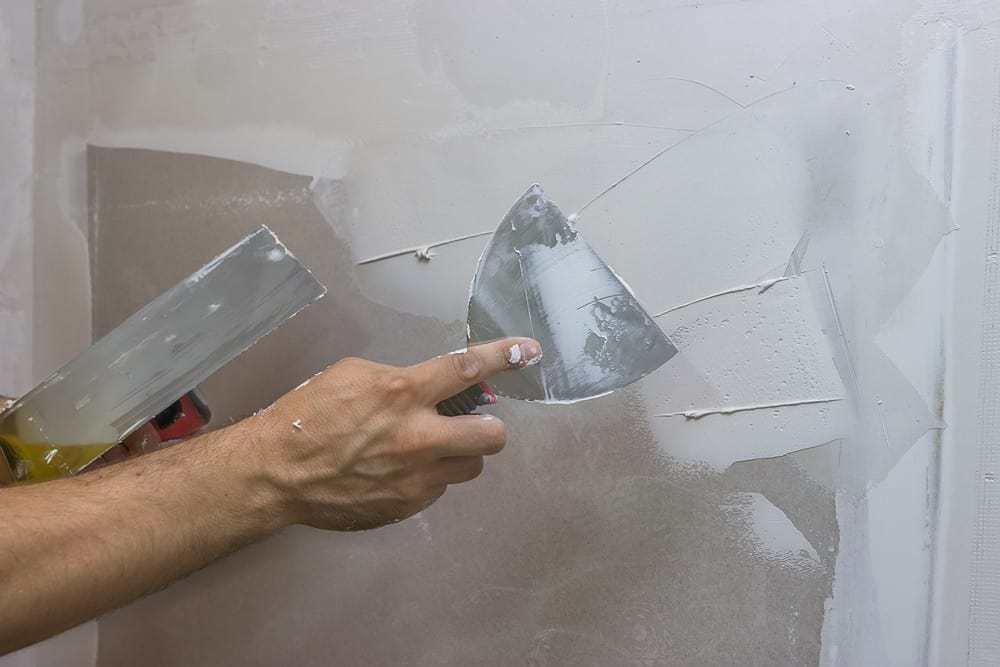
4. Apply the Plaster
Prepare and mix your plaster by following our guide to mixing plaster.
Apply a generous coat of plaster with a trowel and a putty knife.
Ensure you fill in all edges so there are no exposed cracks or bubbles. To give the plaster a nice finish, splash water on it and run your trowel over it a few times.
5. Wait for the Plaster to Dry
Wait 4 to 5 hours to ensure the plaster dries properly. During this time, regularly check the plaster to ensure it keeps its form and no bubbles or deformities occur.
6. Sand the Area
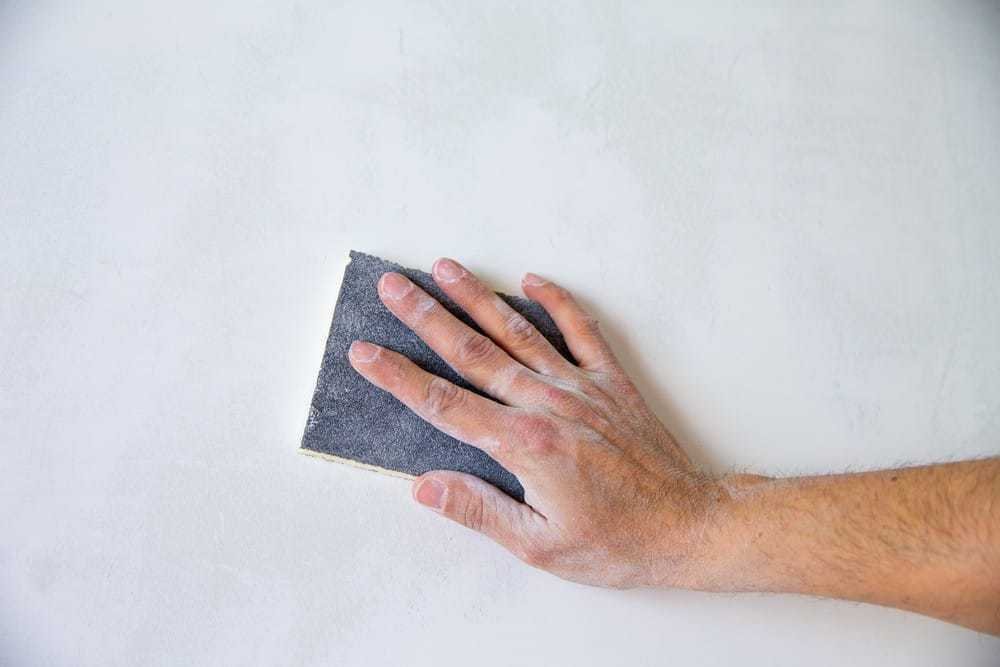
Once you’re 100% sure the plaster has dried, you’re ready to start sanding.
To begin with, use a coarse grit sanding block to sand down most of the elevated surface. Next, use a medium and light grit sanding block to sand the plaster until it’s flush and smooth.
7. Ready to Paint
Dust off any leftover plaster particles after sanding. You can now paint over the plaster.
Read our painting new plaster guide to learn how to paint on fresh plaster.
Patching Plaster — How to Repair Ceiling Plaster
If you have a crack or hole in your ceiling plaster, follow the above steps. For the best results, follow these additional steps:
- You will get dirty, so wear proper protective equipment such as protective glasses and a dust mask
- Ceiling repair is messy, so cover the surrounding area with a large drop cloth to prevent splatters and spills.
- Ceiling plaster will fall everywhere, so ensure everything in the room is adequately covered.
- Mix the plaster a bit thicker so it properly holds its form once applied to the ceiling.
Patching Plaster — Final Thoughts
Patching plaster is a rewarding DIY project you can do over a weekend, and it’s a great way to save money. If you still don’t fancy doing this job, find a top plasterer in your local area on Rated People.
To see a quick version of the whole process in action, check out the video tutorial below:
