
Save money on your energy bills and improve your home comfort levels in just a few minutes. Sound too good to be true?
I recently filled in the gaps around my window frames, and not only is my home now fully weatherproof, but I’m also able to turn down my heating, and my room looks a little bit neater without those unsightly cracks.
If you want to fill gaps between window frames and walls, follow our easy step-by-step guide for a simple and effective way to a more energy-efficient, cosier home.
Tools & Materials
You won’t need many materials or tools to complete this job. You will probably already own the vast majority.
Tools:
- Knife
- Cloth
- Brush
- Sealant cartridge gun
- Sealant finishing tool (optional but achieves better results)
Materials:
- White spirit (or another cleaner)
- Sealant remover
- Frame sealant
Alternative Materials
You’ll find several options when you’re looking to fill gaps around your window frames. Mortar is better for large exterior gaps, typically ones wider than one centimetre. If your gaps are even larger, consider using expanding foam.
In both cases, you still need to seal your window frames using window sealant afterwards. Below are my reasons for choosing frame sealant above other options:
- Excellent adhesion — window sealant adheres to wooden, PVC, polycarbonate and metal window frames.
- Flexible — frames and walls can slightly shift, contract and expand over time. As window sealant remains permanently flexible, you won’t have to repeat the job for a long time. My window sealant came with a 25-year guarantee!
- Waterproof — keep your home weather-tight.
- Easy to apply — handy cartridge format means you’ll need fewer tools and save application time.
How To Fill Gaps Between Window Frames and Walls — Instructions
All set to get started? Follow the steps below for a quick and easy way to fill those gaps around your window frames.
1. Check your equipment
Before starting any job, I like to gather everything I need and ensure they’re easily within reach. Use the list above, and don’t start until you’ve got everything.
2. Clean around the frame
You’d be surprised how many people forget this seemingly insignificant but crucial step. To seal your window frame effectively, you need the area to be completely dry and free of dirt, dust, old sealant, and whatever else. If you don’t complete this step, your sealant won’t adhere correctly to your window frames and walls.
Dampen a cloth with white spirit and rub the entire area around the frame you’re sealing. This will get rid of any grease and dirt. If the area’s extremely dirty, brush off any dirt, cobwebs or flaking paintwork before cleaning. If any old sealant refuses to budge, use sealant remover to get rid of it.
Before continuing, give your nice clean window frames a few minutes to dry completely. Depending on your frame material, this could take up to 15 minutes.
3. Prepare sealant cartridge
Cut the tip off the sealant cartridge above the screw thread. Remove the nozzle head and cut it at a 45-degree angle. Depending on the gap’s width, you need to cut nearer to the nozzle tip for a narrow bead or lower down for a wider bead. Screw on the nozzle and insert your cartridge into the gun.
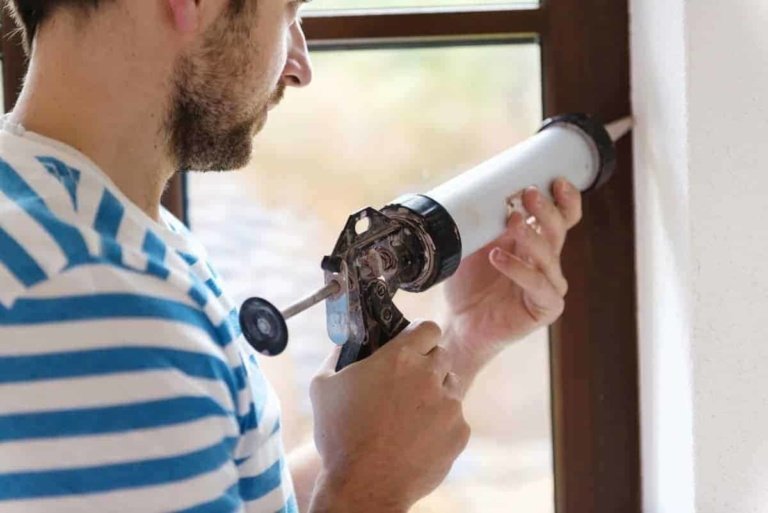
4. Apply sealant
Apply your sealant by pulling the gun trigger. You want to aim your nozzle into the gap. Apply the sealant in a smooth, continuous movement around the entire frame, even if the gap is only on one side. This will ensure your sealant lasts longer and sticks better.
5. Smooth
If necessary, smooth over your bead of window sealant with a sealant finishing tool for a perfect finish. I find wetting and lightly running my finger over the bead the best method.
Once you’re happy with your results, let your sealant dry as long as the manufacturer recommends, then paint over if needed.
If you want to see these steps in action, please watch the video below:

Final Thoughts
Don’t suffer draughts or waste money and energy. Get those gaps around your windows sealed today. Doing so will also ensure that your frames and walls remain in excellent condition. Best of all, it’s inexpensive, easy to do and takes little time.
For more sealing tips, check out our guide to replacing bathroom sealant.