Wall panelling was trendy when I started fixing up properties, but it lost its appeal and fell out of fashion.
However, I’m pleased to say it’s back in vogue, making dull spaces sophisticated and characterful.
This DIY guide first looks at various wall panelling designs and then shows you how to create a beautifully panelled wall in your home.
Tools and Materials
Ensure you have all the tools and materials below before panelling a wall.
Tools
- Hand saw (or power saw)
- Spirit level
- 220-grit sandpaper
- Orbital sander
- Tape measure
- Pencil and sketchbook
- Caulk gun
- Paintbrush
- Vacuum cleaner with a hose attachment
- Microfibre cloth
- Dust sheets
- Clawhammer
- Panel pins
- Workbench
- Clamps
- Putty knife/decorators knife
Materials
- Timber or MDF panels
- Wood primer
- Filler or caulk
- Paint
- Grab adhesive glue (liquid nails)
Safety Gear
- Goggles
- Face mask
Wall Panel Designs
Before we get into the step-by-step instructions, let’s look at the different panelling styles and where best to use them.
Modern Hallway Design
You often find this half-and-half panel design in hallways, hence its name. It’s a great way of adding character to an entrance hallway that could otherwise look dull. It also creates a stunning first impression for guests and protects your walls against scuffs and damage.
The half-panel design is an excellent way of opening up a narrow corridor while increasing the feeling of light and space when painted in darker tones on the top half and lighter colours on the base.
Shaker Design
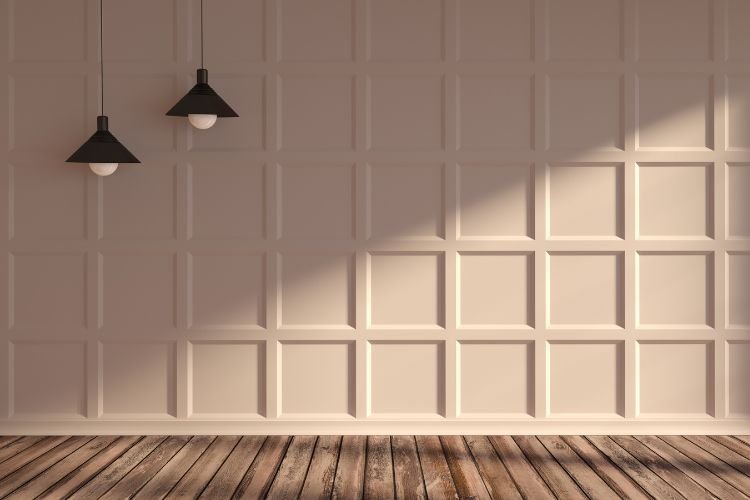
Shaker-style panelling is sometimes called board and batten and is one of the most popular styles because it’s easy to do. The three-dimensional squares add depth and warmth to any room by creating a colonial feel.
Coupled with darker shades and tones, it enables you to introduce mood lighting to create a cosy feel to any room.
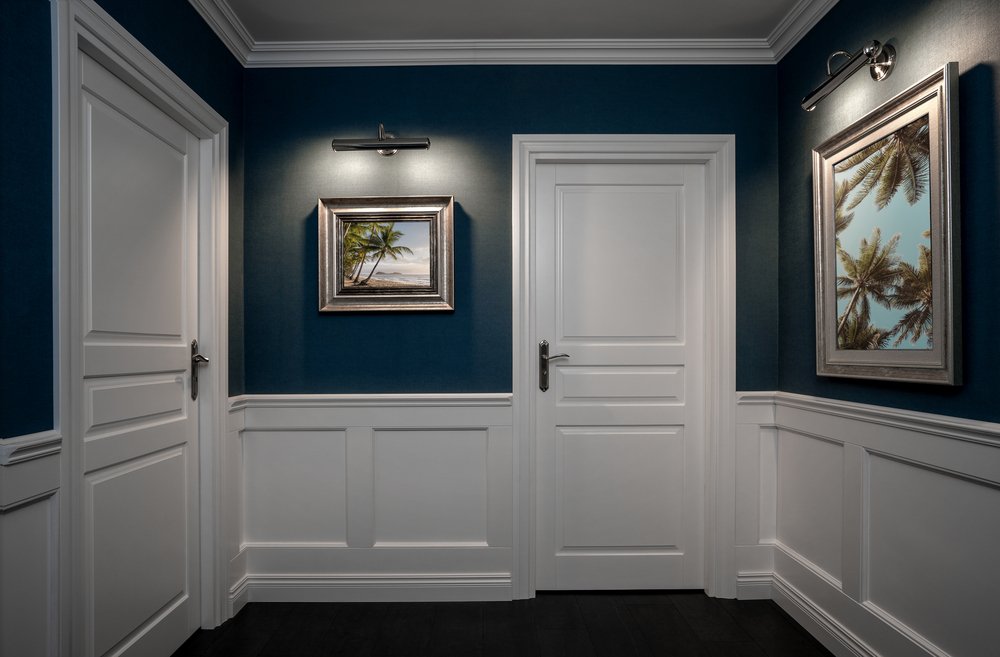
Victorian Design
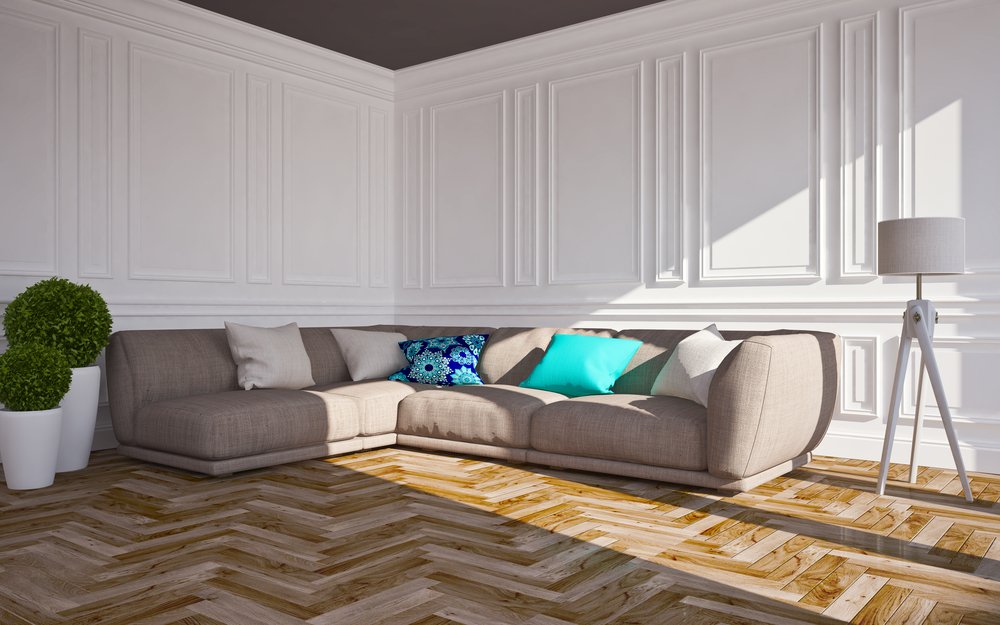
Victorian-style panelling is a chic way to brighten a feature wall in a lounge, dining room, or bedroom. It contrasts with the shaker design because it uses thinner beading to create the 3D wall effect.
You can use half-height panels or go all in with a floor-to-ceiling feature wall. Pairing your Victorian-style panels with pale creams, greys, and blues is on-trend, or if you want to win more design brownie points, use chalk paint.
Shiplap Design
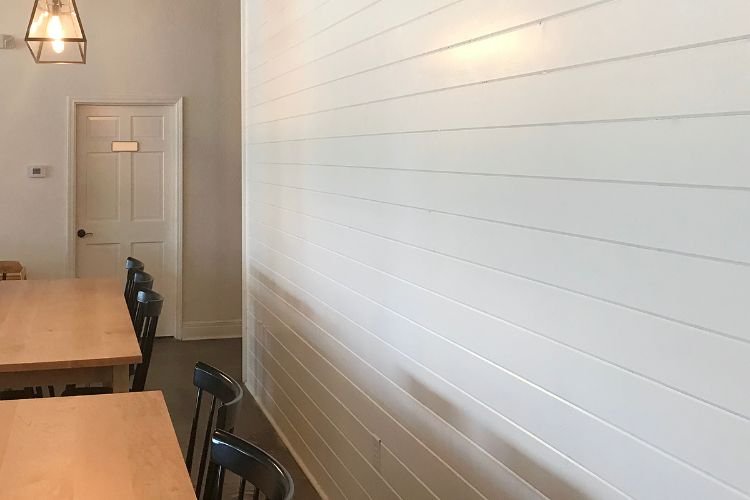
Shiplap gets its name from its original use in shipbuilding. Each plank has a groove on one edge that interlocks with the adjoining panel, creating a watertight seal. The design harks back to the rustic charm found in old country cottages.
Shiplap panelling is increasingly popular in bathrooms and country-style kitchens and creates a statement effect when painted in bold greys and blues.
Slatted Design
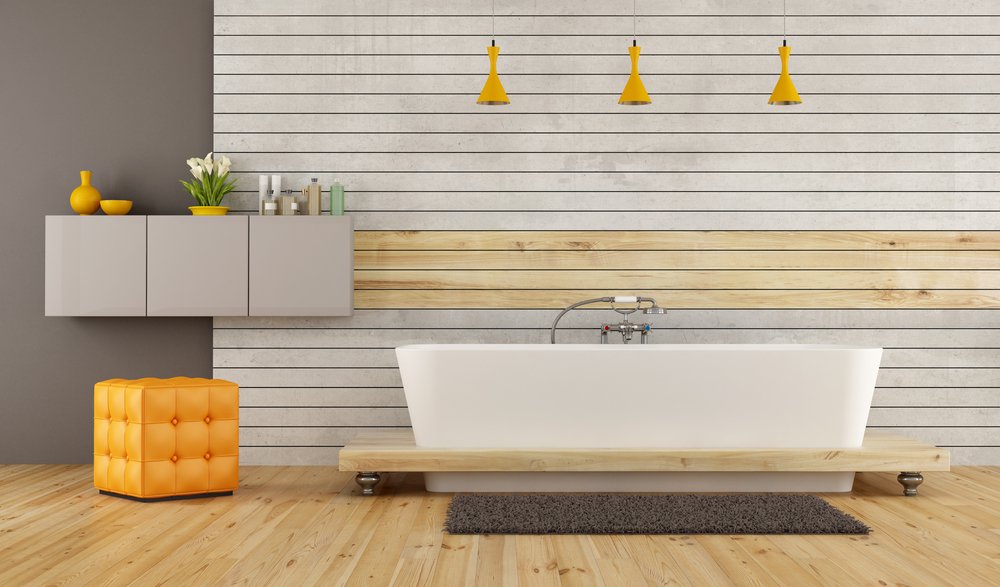
Slatted wall panels are cheaper and easier to install than other designs. This barcode effect of lighter wood strips set against a darker background is a great way to make a feature wall stand out.
You can use MDF (medium-density fibreboard) or go super trendy and use reclaimed pallets to create a shabby-chic look.
How To Panel a Wall — Step-by-Step Instructions
The steps below show you how to create shaker-style panelling.
Most of the instructions listed below are interchangeable with other designs but remember to make adjustments for different panel shapes and sizes.
1. Safety First
Wood dust and MDF fibres are hazardous. According to the Health and Safety Executive, carpenters and joiners are four times more likely to get asthma than other UK workers.
At the other end of the scale, the HSE reports that some wood particles can cause cancer through long-term exposure. Always wear a face mask and safety goggles when working in a dusty environment.
2. Plan Your Design
Without a clear plan, your panelling could become a disaster. Grab a sketchbook and pencil and draw out a rough design. Reference this sketch when you start panelling.
If you’re struggling for inspiration, check out this Pinterest board.
3. Create a Safe Work Space
If you don’t have a workshop, clear an area for your workbench and lay down dust sheets on the floor.
Clear the room of all removable obstacles and furniture that might get damaged. Cover all non-removable items with dust sheets and move them to the centre of the room.
Open windows to create airflow, and shut internal doors to keep pets and kids out of the room.
4. Measure the Wall
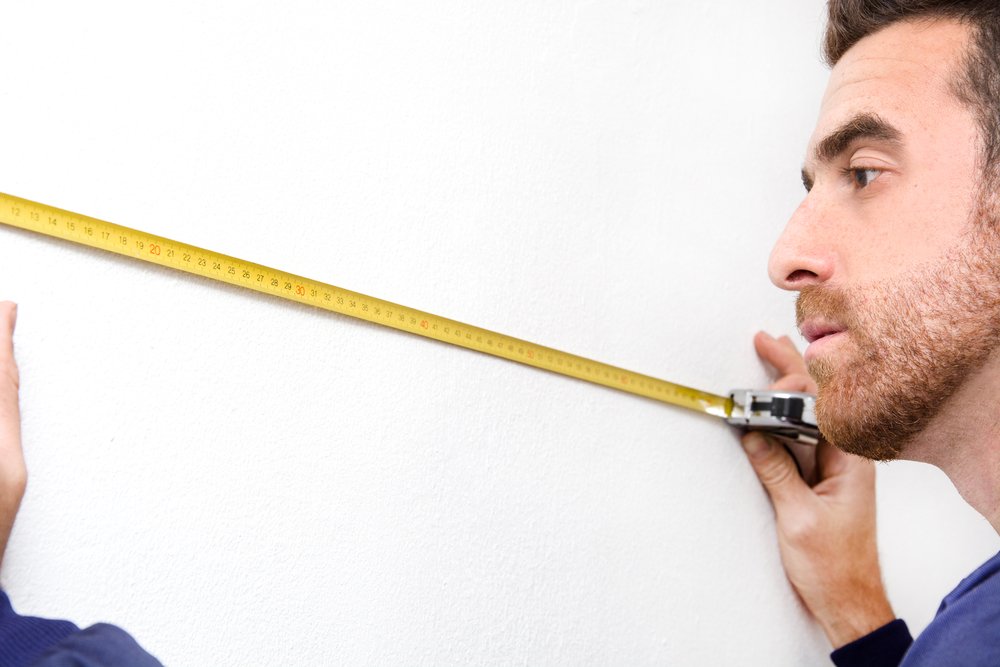
Measure the height and width of the space you want to panel and write it in your sketchbook.
Accuracy is vital, so when you’ve finished measuring, recheck it. Remember, measure twice and cut once.
Next, decide on the panel dimensions to determine how much wood or MDF you need. Consider the width of your stiles and rails (vertical and horizontal strips that create the illusion of panels).
Check out our example below. We’ve kept it simple and used 10cm wooden strips for the frame, stiles and rails.
Note: You can choose any stile and rail width; they don’t have to match. For example, you could have 5cm stiles and 10cm rails.
Panelled Wall Example
The panelling is almost halfway up a standard wall height of 240cm in the example below.
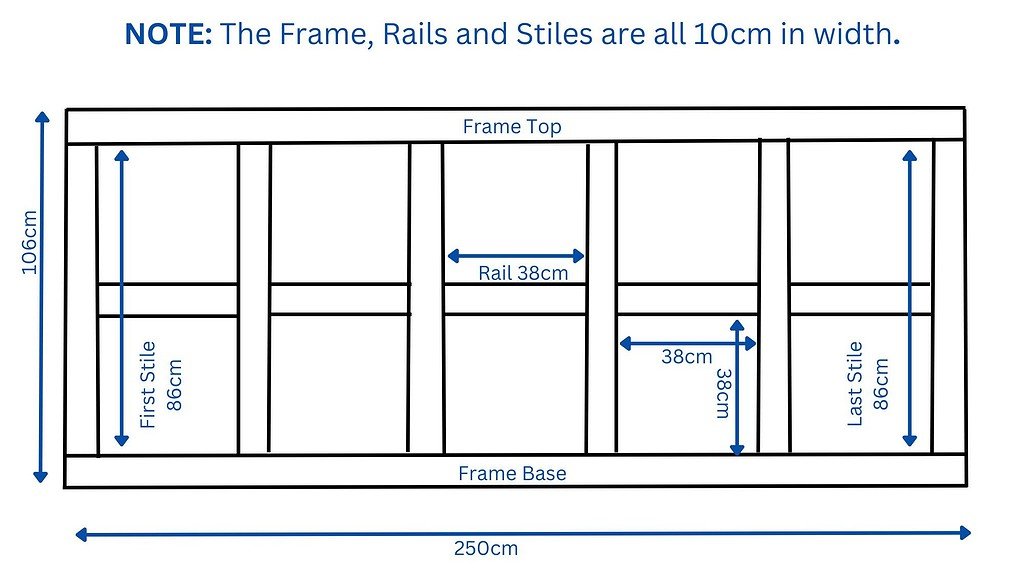
Wall Measurements
- Wall height: 240cm
- Wall/Panelled section length: 250cm
- Panelled section height: 106cm
Panel and Frame Materials
- Stiles: 6x timber battens @86x10cm
- Rails: 5x timber battens @38x10cm
- Frame Top and Base: 2x timber battens @250x10cm
Calculations
The numbers above were calculated using the following steps:
- Stile length
- The height of the panelled section is 106cm. As the frame top and base are 10cm wide, subtract 20 from 106 to get 86. Therefore, the stiles are 86cm long.
- Panel Size
- Divide 86cm by two (panelling is two panels high), and each panel is 43cm. However, the rails are 10cm wide, so to split this equally between the top and bottom panel, half it to 5cm and subtract it from 43. I.e. 43 – 5 = 38.
- As each panel is square, the panels are 38cm x 38cm (38cm2).
- Rail Length
- The rail length matches the panel width. Therefore, the rails are 38cm long.
- Number of Stiles
- The length of the wall is 250cm. Subtract the 10 cm width of the first stile to leave 240cm remaining.
- Divide 240 by the rail length plus stile width. I.e. 240/(38+10) = 5. Therefore, 6 stiles are needed (the first stile plus five).
- Note that the first and last stiles form the frame’s vertical uprights.
- Number of Rails
- Subtract the width of 6 x stiles from the length of the wall and divide the result by 38. I.e. (250 – (6×10))/38 = 5. Therefore, 5 rails are needed.
- Frame
- The frame top and base are 250cm long, matching the wall length.
5. Check for Wires and Pipes
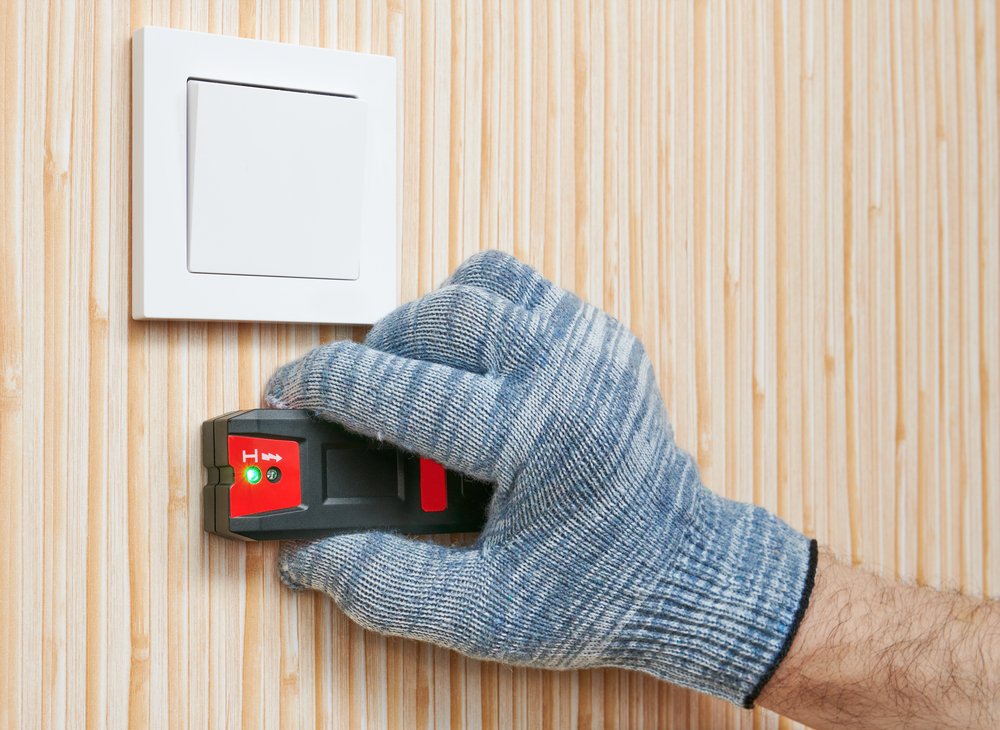
Panel pins are small, but you must avoid driving one through an electrical cable or water pipe. Use a pipe and wire meter to check the wall for hidden dangers before attaching the battens.
6. Prepare the Wall
There’s no point panelling a damaged, cracked, and pitted wall. It only ruins the overall effect.
Fill in any gaps with filler and sand the entire wall with an orbital sander to remove blemishes. It also helps the glue to adhere.
Remember to wear your goggles and face mask, as plaster dust can be hazardous — also, close internal doors to prevent dust from spreading throughout the house and open windows for airflow.
Use a brush to wipe the dust off the walls and vacuum the residue. Only remove your safety gear when the dust has gone.
7. Measure and Cut the Frame’s Top and Base Sections
Fortunately, Shaker-style panels have no 45-degree angles or fiddly corners to cut. Most DIY stores and timber merchants offer a cutting service, so tell them your measurements, and they’ll do the rest for you.
Note: It’s easier to keep the stiles (vertical sections), rails (horizontal sections), frame top, and base the same width, but feel free to mix it up.
Measure and cut 2x timber battens of the same length for the frame’s top and base. The length should match the full length of the panelled section. If the timber battens are not long enough, cut multiple sections to meet the required size.
Use the tape measure to mark the desired length of the frame, and clamp the battens to the workbench. Use the handsaw or power saw to make the cuts and clean the edges with sandpaper.
8. Measure and Cut the Rails
The rails are the horizontal pieces that fit between the stiles, so they must be of equal length.
Once you’ve marked the equal distance of each rail, clamp the battens to the workbench and cut with the handsaw or power saw.
Cutting all the rails in bulk is a great way to speed up the process and improve accuracy because practice makes perfect.
Clean the cut ends with sandpaper for a neat finish.
9. Measure and Cut the Stiles
The stiles reach from the base frame’s inside edge to the top frame’s inside edge. If you’re panelling a half-wall, like our example, you should achieve this with one complete strip of wood.
Start cutting once you’ve clamped the battens to your workbench and marked the lengths. You can use a hand saw or power saw to make the cuts.
Clean the cut ends with sandpaper.
Remember that the first and last stiles form the frame’s vertical uprights.
10. Sand
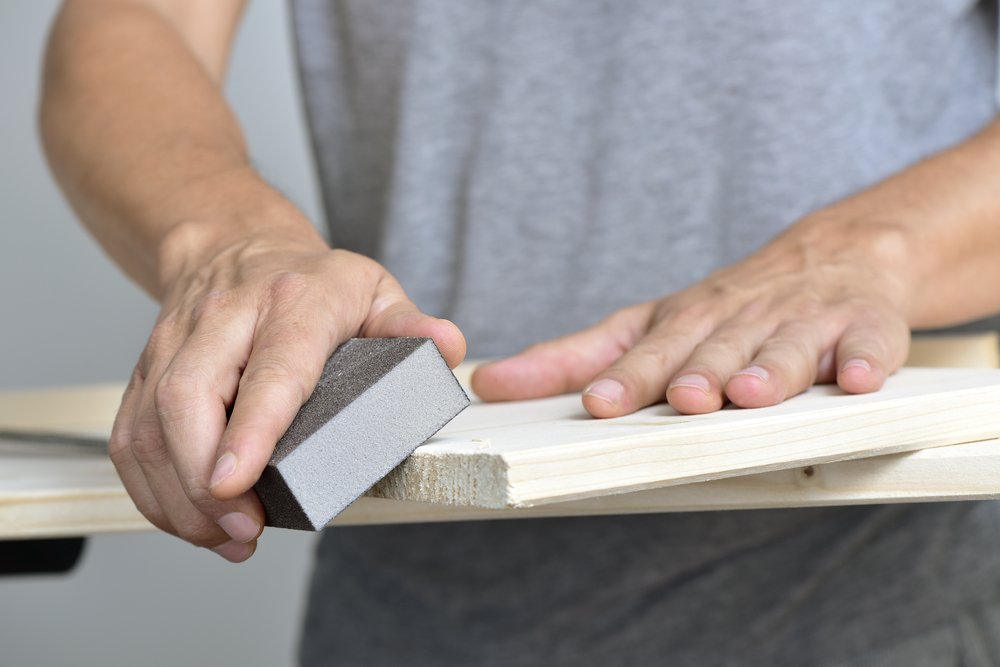
Grab the 220-grit sandpaper and clean off the rough edges. Take care not to round them off, as this will affect the quality of the joints between the vertical and horizontal panels.
Pro Tip: Don’t panic if you round the edges or remove too much material because you can mask imperfections with caulk or wood filler.
11. Attach the Frame’s Top and Base
Run a generous glue line along the back of the first section of the base frame (assuming your wall requires more than one length). Zig-zag the adhesive for the best coverage.
Press the batten onto the base of the wall and hold it as the glue grips. The amount of time the glue takes to adhere depends on your chosen brand, but 30 seconds should be enough.
Use the hammer and insert a few panel pins to hold the base frame in place, but only insert them halfway so they are easier to remove later. If multiple sections are required, repeat this process along the base of the wall until you reach the other end.
Follow the same process when fitting the top frame.
Check out the video below (at 0.31 seconds) by Homebase for a visual explanation:

12. Attach the First and Last Stiles (the frame’s uprights)
Attach the first and last stile at either end of the wall as in the diagram above (Fig. 1). I.e. place the first stile at the far left and the final stile at the far right.
The bottom of the stiles should start on the inside edge of the base frame, with the top meeting the inside edge of the top frame.
Use the same glueing technique above and tack them in place while the glue sets.
13. Attach the Remaining Stiles
There’s no need to measure the distance between each stile because you’ve already cut the rails to the correct size and can use them as spacers.
Hold a rail against the inside edge of the first stile at the base of the wall and mark the distance of the second stile. Do the same for the middle and top.
Apply glue to the back of the stile and line up the left edge with the pencil mark.
Use a spirit level to ensure it’s 100% accurate, and press it in place. Add panel pins to secure it and repeat this process along the length of the wall.
The video in step 11 shows you in more detail (see 0.49 seconds into the video).
14. Attach the Rails
To get an accurate height for your first rail, measure the required distance from the inside edge of the base frame and mark the wall with a pencil.
Start at the same end of the wall (the far left) for continuity, and glue the first rail to the wall using a spirit level for accuracy.
Again, use pins to hold it in place, but only drive them part-way in. Leave a small amount protruding, allowing you to pull them out with the claw hammer when the glue dries.
Pro Tip: Don’t worry about the holes in the wood after you remove the pins; you can use filler to hide them.
Ensure the joins between the stiles and rails are as snug as possible with minimal gaps. Repeat this process until you reach the end of the wall.
We panelled a half-wall in our example, but in the video above, they’ve chosen to panel an entire wall. The process is the same, whichever you prefer.
15. Fill the Gaps
Remove the pins and fill any gaps after you’ve left the glued wooden strips to dry for the recommended period. Wood filler is great for surface holes left by panel pins, but caulk is better for deeper crevices.
Load the caulk into the gun and cut the end nozzle at a 45-degree angle for easier control. Squeeze the trigger and wait while the caulk exits the nozzle.
Drag the caulk gun towards you while applying gentle pressure on the trigger. When you reach the end of the joint, release the trigger and press the clip to remove pressure on the base of the tube.
Wet your finger and smooth the caulk into the gap, wiping off the residue into a cloth or tissue. Repeat this process for all gaps in the panelling. Wait the recommended time while the caulk cures.
Pro Tip: Drying and curing are not the same thing. Most caulk is touch-dry within 30 minutes, but it continues to cure after that time. If you’re painting your panels, wait 24 hours for the curing process to end.
16. Sand the Joints
Once the caulk dries, sand the joints. Use an orbital sander for a smoother finish, and remember to don your face mask and goggles to avoid dust inhalation.
Wipe the excess dust away with a microfibre cloth and suck up any remaining sawdust with the hose attachment on your vacuum cleaner.
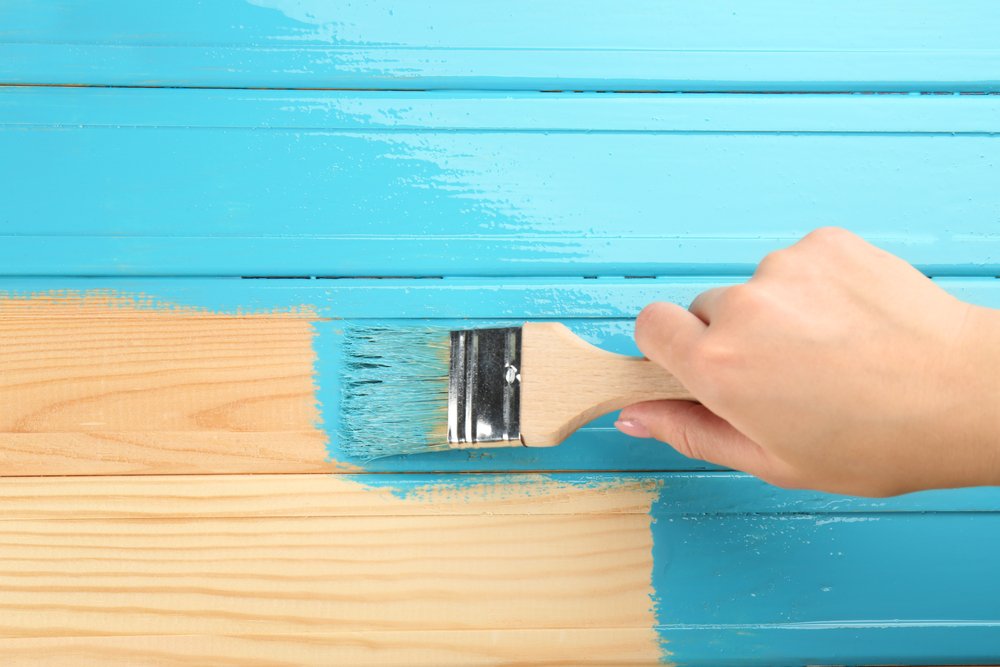
17. Apply Primer
Because you’ve used new wood or MDF, it’s probably porous and may absorb much of the topcoat. It also has a grain, which shows through the paint without primer, creating a patchy finish and using much more paint than necessary.
Using a primer seals the wood/MDF and creates a smooth surface for the topcoat to adhere to. It also helps spread the paint further, possibly reducing costs.
Always mix the paint before application to distribute the ingredients so that the primer bonds and seals the wood.
Apply the paint in even strokes, working on one section of wood at a time. Don’t overload the brush, as this encourages dripping. Only dip the first third into the primer.
Repeat this process until the entire panelled section is covered.
Pro Tip: Always start at the top and work down the wall to avoid drips on freshly painted surfaces.
18. Sand the Primer
Unless you possess the greatest painting technique in the world, there will be drips.
Use 220-grit sandpaper to remove these imperfections once you’ve waited the recommended primer drying time.
You can apply a second primer coat if the wall needs it, but typically, one layer is enough.
19. Apply Topcoat
Paint pigments separate when they sit in the tin over time, so you must redistribute them for an even coating.
Mix the contents with a stick using the same technique as Step 17, working from the top of the panelled section towards the base.
Wait for the paint to dry before sanding away any drips and blemishes with 220-grit sandpaper.
Apply a second layer of the topcoat following the same steps as before. Wait while it dries, and check for any drips or runs.
If you’re using MDF, our guide on painting MDF provides a more in-depth view of the best techniques.
You’re now the proud owner of a panelled wall, giving your home a classy and sophisticated feel.
Final Thoughts
Panelling a wall is simple enough if you invest in the prep work and get your measurements right.
My biggest tip is to sketch out the design as a template. Follow the steps above, and you’ll transform your room.
Hopefully, we’ve given you the confidence to panel a wall yourself. However, if you still think it’s beyond your skillset or lack the time, find top-rated professionals in your local area using Rated People.