Cheap and easy to use, decorators caulk is a versatile filler. Even after it’s dried, the caulk remains flexible, but only if you know how to use it properly.
This guide will show you how to use decorators caulk like a pro.
Why Use Decorators Caulk?
The flexible nature of decorators caulk makes it a great option for filling cracks with movement. The benefits don’t stop there. Decorators caulk is commonly used to fill gaps around skirting boards, door architraves, window & door frames, and coving.
Decorators caulk is easily smoothed; you can even use your finger to smooth it, although this is not recommended. You’ll also find that decorators caulk dries much faster than powder-based fillers.
Read on to get the most out of your decorator’s caulk…
Tools & Materials
Tools
- Caulking gun
- Knife or scissors
- A damp sponge, cloth or rag
Materials
- Tube of decorators caulk
How To Use Decorators Caulk — Step-by-Step Instructions
1. Prepare the Tube
Remove the nozzle from the tube and snip off the top of the sealed cap underneath. Replace the nozzle and cut an opening at the top.
Cut at a 45-degree angle, cutting off as little as possible. Remember, you can always cut more off if needed, but you can’t stick more nozzle back on!
Pro Tip: You want to make the end of the nozzle about the same size as the gap you’re filling
2. Load the Cartridge
Now load the decorator’s caulk tube into your caulking gun. First, put the nozzle through the end of the frame of the caulking gun, then align the cartridge with the pushrod. Once it’s securely in place, pull the trigger and squeeze a little caulk out to ensure it’s all working.
3. Clean the Area
Cleaning the area is important as dirt will ruin the finish. Before you start, ensure the area is clean and free of dust and dirt.
Pro Tip: Decorators caulk comes in internal and external grades, so ensure you get the one you need.
4. Mind the Gap!

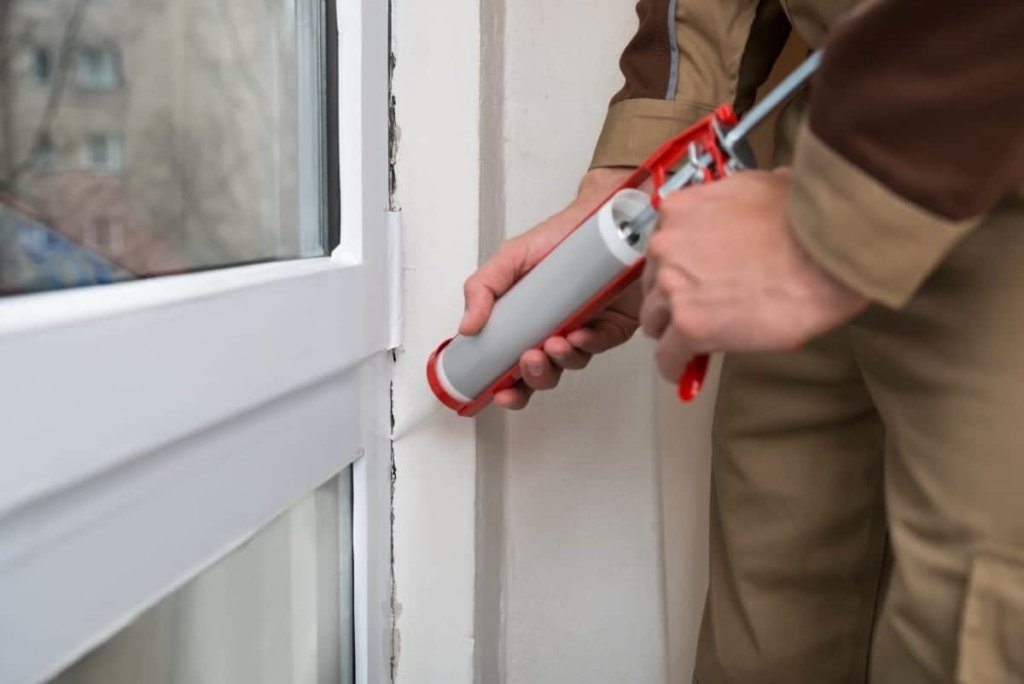
You’re now ready to fill any gaps. To achieve a professional finish, have a damp sponge or rag ready, then place the cartridge’s nozzle at the start of the crack/gap.
Pull the trigger to squeeze caulk out of the cartridge and run the nozzle along the crack, filling as you go along. Try to keep the motion smooth and application even. Work at a slight angle to the crack.
When you’re satisfied you’ve filled the length of the crack, using your damp sponge or rag, wipe along the surface of the crack.
Another option is using a wet finger and rag to clean your hands. The goal is to leave a smooth flat finish so it blends in. You may find it helpful to push the caulk into the crack as you go along. When you do this, you may need a little more caulk to fill the crack to achieve a smooth finish.
5. Allow to Dry
Once you’re happy with the finish, check the instructions on your cartridge to see how long the caulk needs to dry. Drying time is usually around an hour, but it’s worth double-checking. Once your caulk is dry, you’re ready to decorate!
6. Clean Up
You can remove the cartridge from the gun using the release trigger at the back of the handle. You don’t need special chemicals to clean up spilt caulk, which is a nice bonus. Just use warm water to clean your hands and gun.
You can put a spare nail or screw into the end of the nozzle if there is any caulk left in the cartridge. Taking this step will stop the remainder from drying out.
Pro Tip: Decorators caulk can be stored almost anywhere, but extremely low or high temperatures can affect the consistency, so be careful storing it in your shed or garage through winter
To see the whole process above in action, check out the video below:

How To Use Decorators Caulk — Final Thoughts
Decorators caulk is easy to use, extremely versatile and cheap! Cracks remain filled due to the caulk’s flexible properties, so even if there’s some movement, the caulk won’t crack but rather move with the crack.
To find the best caulking gun, check out our reviews of the best sealant guns.

