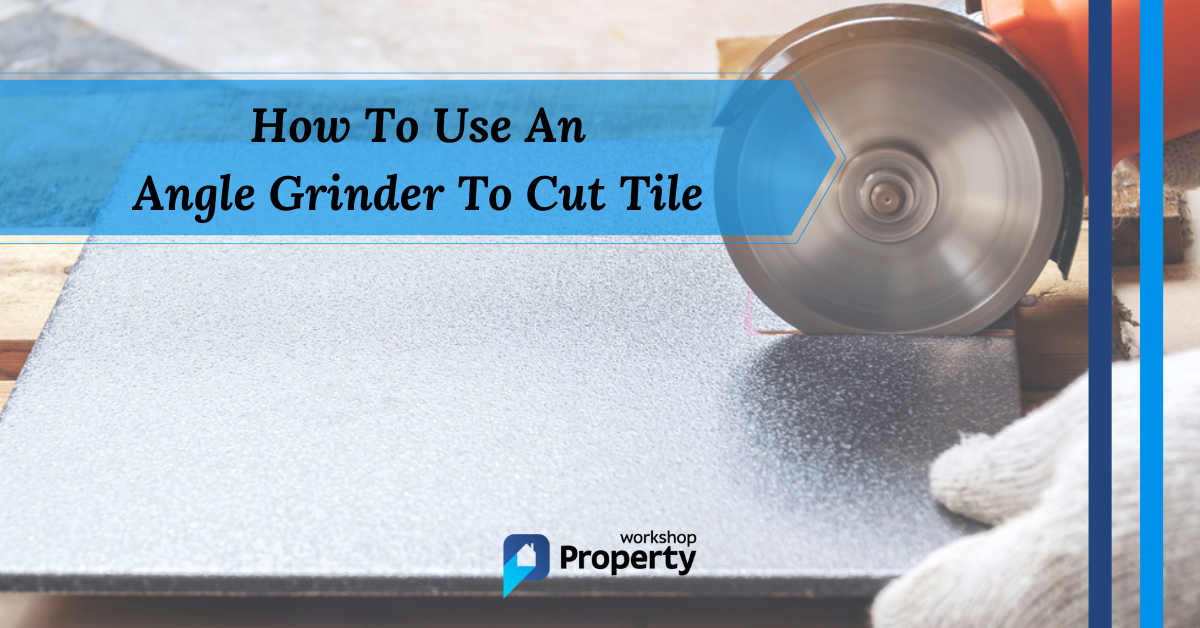
Using an angle grinder to cut tile can seem daunting, especially if you’ve never used one. Trust me; I learned quickly that angle grinders are excellent and versatile tools, but only if you know what you’re doing.
I spent hours cutting tiles in too many renovations to mention, so I thought it would be helpful to break down the process into bitesize steps.
Tools and Materials
Before we dive into the technique of cutting tile with an angle grinder, we first need the right tools and materials.
Tools
- Angle grinder.
- Dry-cut diamond blade.
- Workbench.
Materials
- Dust sheet.
- Clamps.
- Wet and dry vacuum cleaner.
- Masking tape (optional).
- Pencil and ruler.
- An old piece of wood.
Safety Gear
- Dust mask.
- Safety goggles.
- Earplugs.
Do the Prep Work
Too many DIY tasks fail because people try to skip the preparation, which starts with your work area.
If you’re cutting the tile indoors, lay down dust sheets because it’ll kick up a lot of debris. Open windows to increase airflow, and consider sealing off the doors using masking tape to prevent dust leakage in the house.
Also, keep pets and kids well away from your work area. Alternatively, why not go out into the garden to make the cuts if the weather’s good? It’s far safer and creates less mess.
Using an Angle Grinder — Step-by-Step Instructions
So, you’ve gathered the tools and safety gear, and understandably, you’re itching to get started. Here’s our easy-to-follow guide on achieving pro results using an angle grinder to cut tile.
Step 1: Buy the Right Blade
Your success (or failure) depends on the blade you use.
Choose a dry-cut diamond-coated blade for ceramic, porcelain, and stone tiles. It has a diamond coating that grinds through hard materials rather than teeth, as you find on other blades.
The upside is these blades produce impeccable cuts, which is handy given the cost of tiles, but they’re more expensive.
Step 2: Secure the Tile
Use the clamps to hold the tile securely to your workbench. The last thing you want is for the tile to slip mid-cut, which is costly and frustrating.
Pro Tip: Lay an old flat piece of wood on the workbench before you clamp the tile. The grinder blade can cut through the tile without damaging your bench.
Step 3: Don Safety Gear
Your safety is the number one priority here. Angle grinders are dangerous; their blades rotate between 5,000 and 11,000 revolutions per minute (RPM). I’ve seen too many avoidable accidents because someone got lazy or cut corners to speed up the process.
If using an angle grinder fills you with fear, find a professional in your local area on Rated People. It might cost you more, but the work is done correctly.
Alternatively, check out our How Much Does a Tiler Cost guide if you want to know the rates for hiring a pro.
Put on your safety goggles and a dust mask, and pop in your earplugs. Plug in the grinder, but don’t switch it on just yet.
Step 4: Make Your Mark
Determine the cut you want and measure your tile to ensure accuracy. A pencil and ruler will suffice if you cut a straight line.
Try using a contour gauge like this one from Toolstation for curved or awkward shapes. It hugs the shape of whatever you’re cutting and creates a template so you can draw accurately onto the tile.
Pro Tip: Use masking tape across the cut line to prevent the tile from splintering or cracking. This technique also works when drilling into tiles.
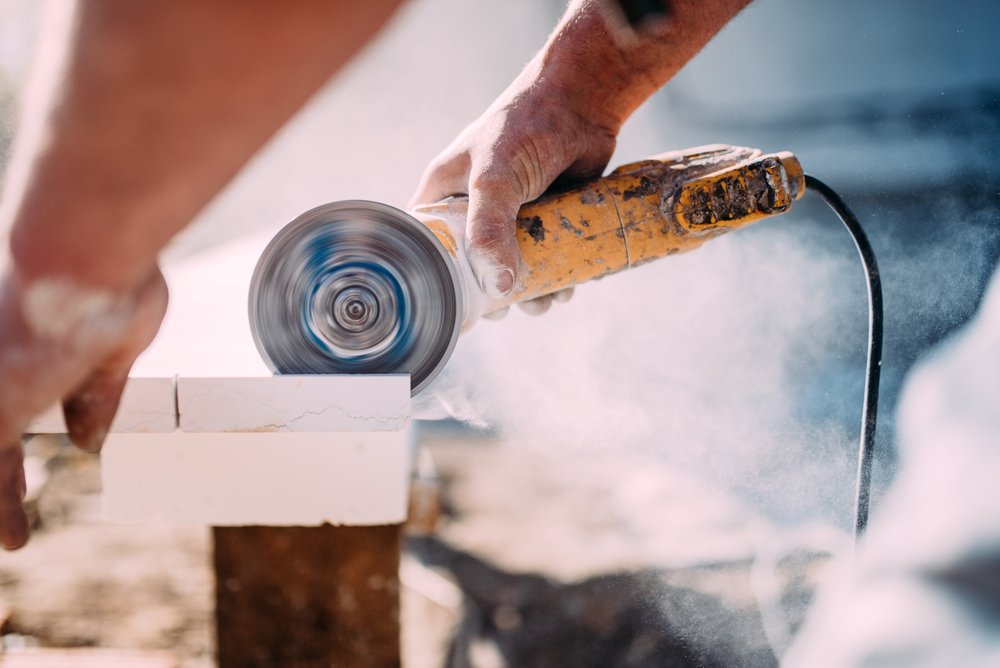
Step 5: Make the Cut
Power up the angle grinder and hold it firmly with both hands. If there is a side handle, grip it for extra stability, using your dominant hand to guide it. Hover over the tile while the grinder reaches maximum speed.
Pro Tip: Never cut with the grinder at low speed because it will cause the blade to jump across the tile’s surface, damaging it and potentially injuring you. This severe and sudden jump is called kickback and is extremely dangerous.
Hold the rotating blade over the start of your cut and apply firm and steady pressure. You’ll sense the blade bite as it chews through the tile and feels like the grinder wants to run away from you.
Keep your grip and concentrate on following the pencil mark. When you reach the end of the line, allow the grinder blade to exit the tile before powering down.
Step 6: Making Tricky Cuts
Always hold the blade vertically when making straight cuts.
Hold the blade horizontally when making intricate shapes, allowing you to grind away smaller tile sections rather than making deep cuts along the surface.
Keep working on the tile until you’ve achieved the shape you need.
Step 7: Check that the Tile Fits
Place the tile into position to see if the cut is sufficient. If needed, make additional adjustments to the shape using the angle grinder blade set horizontally with the tile. Remove small sections at a time and frequently check for a snug fit.
If happy with the results, unplug the grinder and start cleaning up.
Pro Tip: If you struggle to make intricate cuts with an angle grinder, consider using it to make the easier cuts and shaping the tile with tile nibblers.
Step 8: Clean Up Time (if cutting indoors)
Lift the dust sheets carefully to avoid tile dust kicking up. Fold the sheets in on themselves, trapping the dust in the centre, and drag them outside. Keep your goggles and dust mask on, but you can remove the earplugs.
Grab the wet and dry vacuum cleaner and suck up the remaining dust from window sills, shelves, and other locations where it settles. Now remove your goggles and face mask.
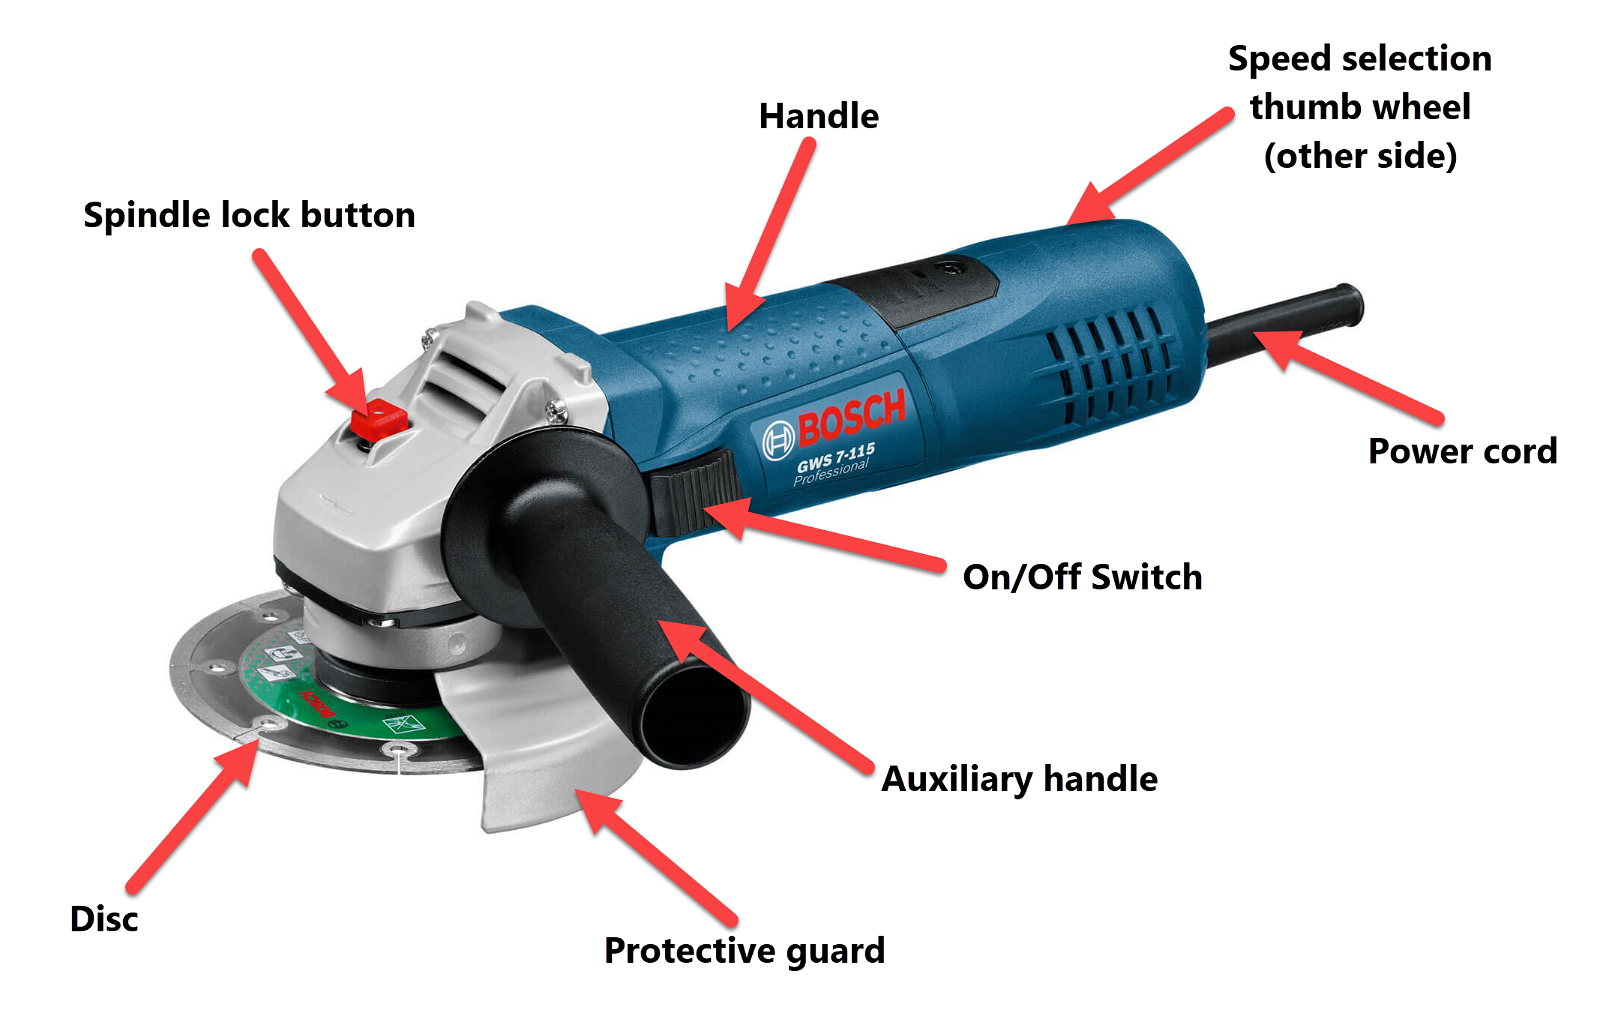
How To Load an Angle Grinder Blade
Angle grinders perform multiple functions, so your tool is unlikely to come loaded with the correct blade.
You’ll need to know how to swap it for the diamond-coated blade if you want to cut tiles successfully.
Before we get into the detail, you’ll need the right tools to ensure you swap the blade correctly.
Tools
- Screwdriver.
- Vice grip (or pliers).
- Grinder wrench.
Step 1: Cut the Power
Never change the blade while the grinder is plugged in or switched on. Remove the plug from the wall socket to avoid accidentally switching the grinder on while working on it.
Step 2: Remove the Blade Guard
Not all grinders are the same. Some have a latch that unclips to remove the guard, but most models have a screw. Use a screwdriver to remove the screw and lift off the guard.
Step 3: Press the Lock Button
Most grinders have a blade lock button on top of the tool.
Depress the button with the grinder upside down with the blade facing you. The blade should turn in your hands. If not, it’s still locked. Press the lock button a second time.
Step 4: Use the Wrench
Use the wrench that came with the grinder to loosen the centre nut anticlockwise. If you have a wrench with prongs, insert it into the pronged surface around the edge of the nut.
Pro Tip: If you no longer have the wrench, use vice grips like these Irwin Locking Pliers.
Step 5: Lift Off the Old Blade
Remove the old blade, swap it with the new one, and tighten the centre nut. Now you’re ready to attach the blade guard and tighten the screws to secure it.
Check that the blade spins evenly by turning it by hand. Finally, plug the grinder in and power it up to check the blade is mounted correctly.
If not, repeat the above procedure to reset the blade.
Final Thoughts
There are many techniques and tools you can use to cut tiles. Over the years, I’ve tried them all. However, few tools are as versatile as an angle grinder.
All you need to do is get the right diamond-coated blade and follow the steps above, including wearing safety gear.
For more pro tips on how to cut tiles using an angle grinder, watch the video below by Home Repair Tutor:

If you think cutting tiles is beyond your skill set, why not get a professional to do the work? You can find trusted traders in your local area on Rated People.
FAQ
Below are answers to frequently asked questions about cutting tiles with an angle grinder.
What blade do you use to cut tile?
A diamond-coated blade is the best to use when you’re dry-cutting tile. These blades differ from other models because they don’t have serrated edges or teeth. The diamond coating grinds through the ceramic tile like a knife through butter to leave smooth edges.
Can I use a standard blade to cut tiles?
You can’t cut tile with a standard blade with teeth; it must be a diamond-coated blade to grind through the ceramic material.
How do I prevent my tiles from chipping?
Masking tape is excellent for cutting tiles as it allows the blade to cut more smoothly and prevents chipping. You can also use it when drilling into tiles.