There’s something therapeutic about ripping up an old carpet, but there’s nothing therapeutic about the gripper rods which remain behind once the carpet lifts up.
Those timber batons lurk around every edge of a once-carpeted room, promising to inflict pain on any feet or paws which stray towards them.
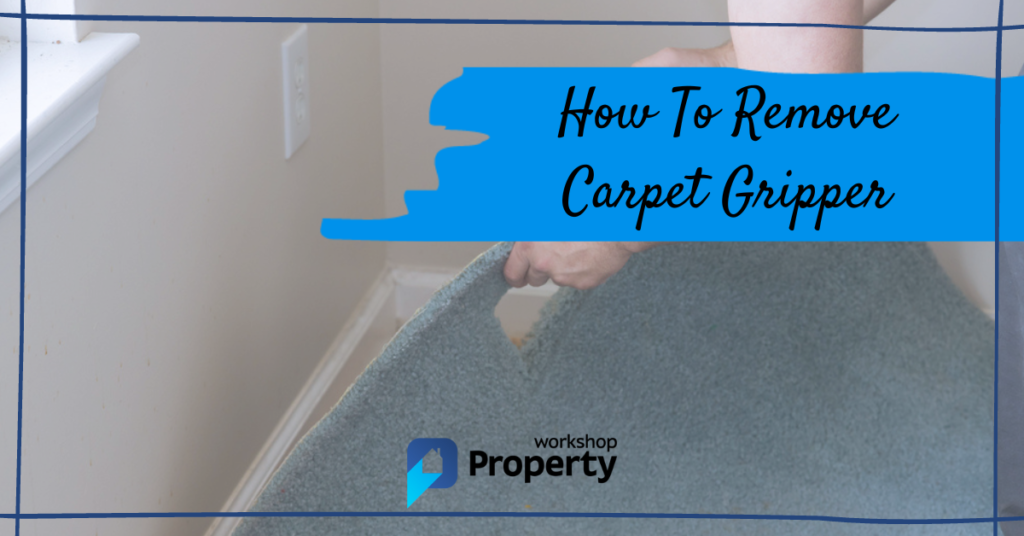
This guide will show you how to remove carpet gripper simply and safely.
Preparing to Remove Carpet Gripper
You can sometimes combine old gripper rods with a new carpet, but worn or damaged strips must be carefully extracted and disposed of. You’ll also have to remove them if you’re swapping carpet for another material, like laying laminate flooring.
To complete this job, you’ll need a few essential tools and plenty of patience – this isn’t a time-consuming task, but nor one you can rush. Even after you’ve prised away the last rod from the floorboards, there’s still significant work left to do.
Tools & Materials
Removing carpet gripper rods is a physical task which requires suitably robust tools. A crowbar or chisel achieves the same outcome, but the crowbar is more comfortable for repeat use and provides a safe distance from those sharp rods.
Note: We refer to a crowbar throughout the various steps below, but you can use a chisel similarly.
Tools
- Crowbar or chisel
- Flat-headed hammer
- Needlenose pliers
Materials
- Thick gloves
- Dust mask and eye goggles*
- Brown tape
- Reinforced black sacks (optional)
*Goggles might seem unnecessary, but the tiny metal nails and pins embedded in gripper rods can be dislodged during removal, potentially sending razor-sharp fragments of metal spinning through the air.
How To Remove Carpet Gripper — Step-by-Step Instructions
1. Remove any remaining carpet
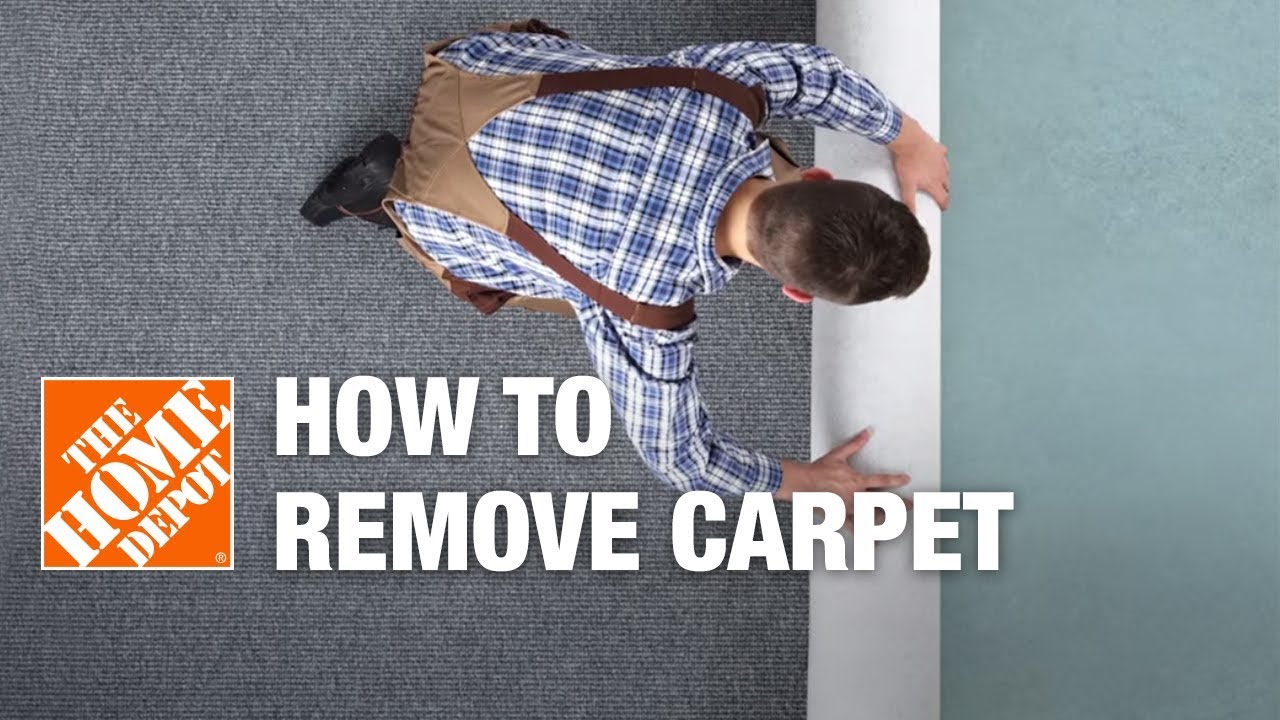
If you haven’t already lifted the carpet, stand two or three feet from one corner of the room. Grab the carpet by hand or with strong pliers, pull it up firmly, and it should pop off the gripper rods.
Walk in one direction around the room, firmly pulling the carpet upwards. Fold it in on itself to prevent it from falling back into place. You can find some helpful tips by watching the video below:
Pro Tip: Use a Stanley knife to cut a strip around the room’s periphery. This technique removes the gripper rods while leaving a central carpet portion in situ. The remaining carpet is now easier to lift and roll up.
2. Check for loose staples
Before walking on a freshly de-carpeted floor (even in shoes), shine a torch across the skirting boards to check for the tell-tale glint of exposed staples.
You may have dislodged these potentially dangerous staples as you lifted the carpet. Use needlenose pliers to remove each one, then sweep all debris into a dustpan.
It’s a good idea to open the windows before sweeping up – you’ll be surprised how much dust can accumulate, even beneath a well-fitted and regularly-vacuumed carpet.
3. Remove your first gripper rod
The first rod is often the most challenging. Avoid starting in a corner where rods are surrounded on two sides; choose a strip you can easily reach in the middle of a wall.
Slide the crowbar underneath the front edge of the rod, midway along its length. Lever the rod upwards by pushing the crowbar up or down (either way will force it underneath the rod) with increasing pressure. If it refuses to budge, hit the end of the crowbar with a flat-headed hammer or mallet.
Gripper rods usually come up easily unless damp, leaks, or spillages have warped them. If they’re not coming up in a single piece, sliding a stripping knife or spatula underneath may be better than risking them splintering under the pressure of a crowbar.
4. Repeat the process
Once the first rod is out, accessing the next one becomes more straightforward.
Work in a set direction around the room, stacking the rods in small piles as you go. Ensure children and pets can’t access the room during this process, especially if you need to step outside at any point.
5. Secure the rods and dispose of them safely
Having accumulated small piles of gripper rods, wrap brown tape around them to prevent rogue rods from escaping and double bag them in strong black sacks to prevent those razor-sharp metal teeth from attacking their new surroundings.
Pro Tip: You can also wrap them in a carpet offcut or underlay strip (though underlay can often outlast carpet). If you do this, remember to tape around the offcut so a rod can’t fall out or snag on anything.
When the last rod is out, give the room another thorough sweep to capture any metal teeth that splintered or fell out.
Gripper rods can usually be thrown into a skip or dumped at your nearest recycling centre.
Note: Gripper rods are often prohibited items in kerbside collections. Check your local council’s policies on hazardous items before disposing of gripper rods.
Final Thoughts
Now you know how to remove carpet gripper, you should feel confident tackling this simple (yet potentially dangerous) DIY task.
Remember, get everything ready before you begin pulling up the carpet or levering out the first gripper rod. You’ll also want to finish this job in one go rather than continuing it the next day.
If you’re looking for advice on fitting a new carpet, check out our guide to carpet fitting costs in the UK.