Nothing looks better than fresh varnish. It reflects light, protects wood, and seals surfaces.
However, in my experience, water-based varnish only lasts for around three years, while oil-based products fare better at ten years.
So what happens when varnish fades or gets scratched? This DIY guide will help restore your tarnished wood to its former glory.
Tools & Materials
I like to use several methods to remove varnish from wood, each with its merits. So, I’ve listed the tools and materials you’ll need for each process.
Tools
- 150 and 220-grit sandpaper.
- Sanding block.
- Orbital sander.
- Heat gun.
- Assorted decorator’s knives.
- Vacuum cleaner.
- Old paintbrush.
Materials
- Dust sheets.
- Microfiber cloth.
- Lint-free cloth.
- White spirit.
- Chemical paint stripper.
- Overalls.
- Clean rags or cloth.
Safety
- Goggles.
- Face mask.
- Rubber gloves.
- Protective gloves (for the heat gun).
How To Remove Varnish — Step-by-Step Instructions
As mentioned above, I like to remove varnish using different methods. Some are better for fiddly bits of wood, while others work well on larger, flatter surfaces.
Choosing the correct approach comes down to preference, but for the best results, give each a try.
When using solvents and chemical strippers, always work in a well-ventilated area. Open windows and doors to create airflow.
Method 1 — Sandpaper
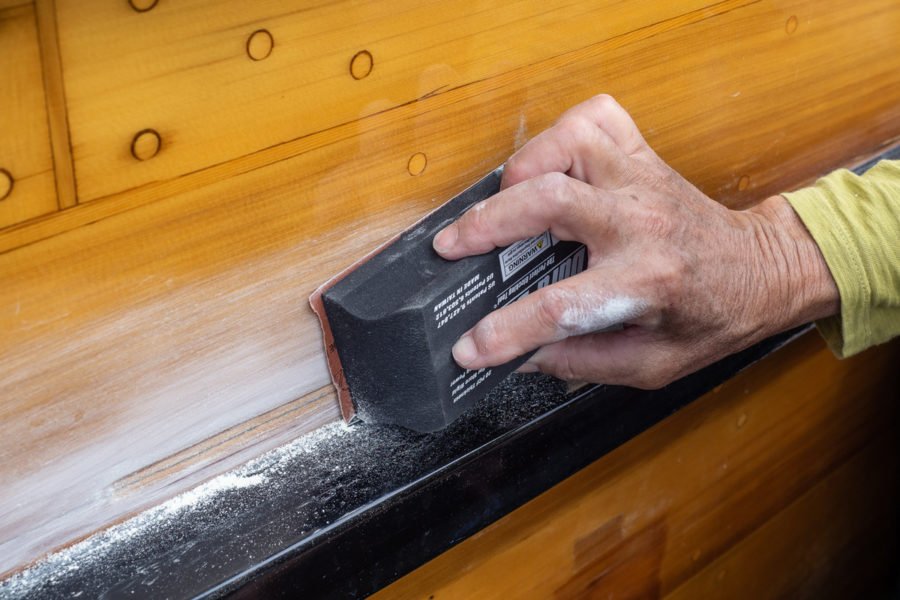
Sanding is a chemical-free way of removing varnish from wood. It also has the added benefit of preparing the surface for any new coating you want to apply. However, sanding wood is labour-intensive, so be ready for a workout.
You also need to be aware of the dangers of sanding because sawdust is toxic. According to the UK Government, carpenters and joiners are four times more likely to develop respiratory conditions like asthma than other professions, so safety is crucial.
1. Safety First
Before you start, don your face mask and goggles, and open windows and doors. Have a vacuum cleaner handy to suck up dust, and wear overalls or old clothes.
2. Sand the Surface
Use an orbital sander for larger surfaces like tabletops and a sanding block for hard-to-reach areas like table legs. Check out our sander reviews for the best orbital sanders in the UK.
Start with 150-grit sandpaper to remove as much material as possible, then switch to 220-grit to create a smooth surface.
Pro Tip: Always work along the wood grain, never across it. It keeps the wood in good condition and prevents visible scratches that show up when you reapply varnish or paint.
3. Clean-up
Once you’ve removed all traces of the varnish, use the vacuum cleaner hose attachment to suck up the sawdust, and wipe the surfaces with a microfiber cloth.
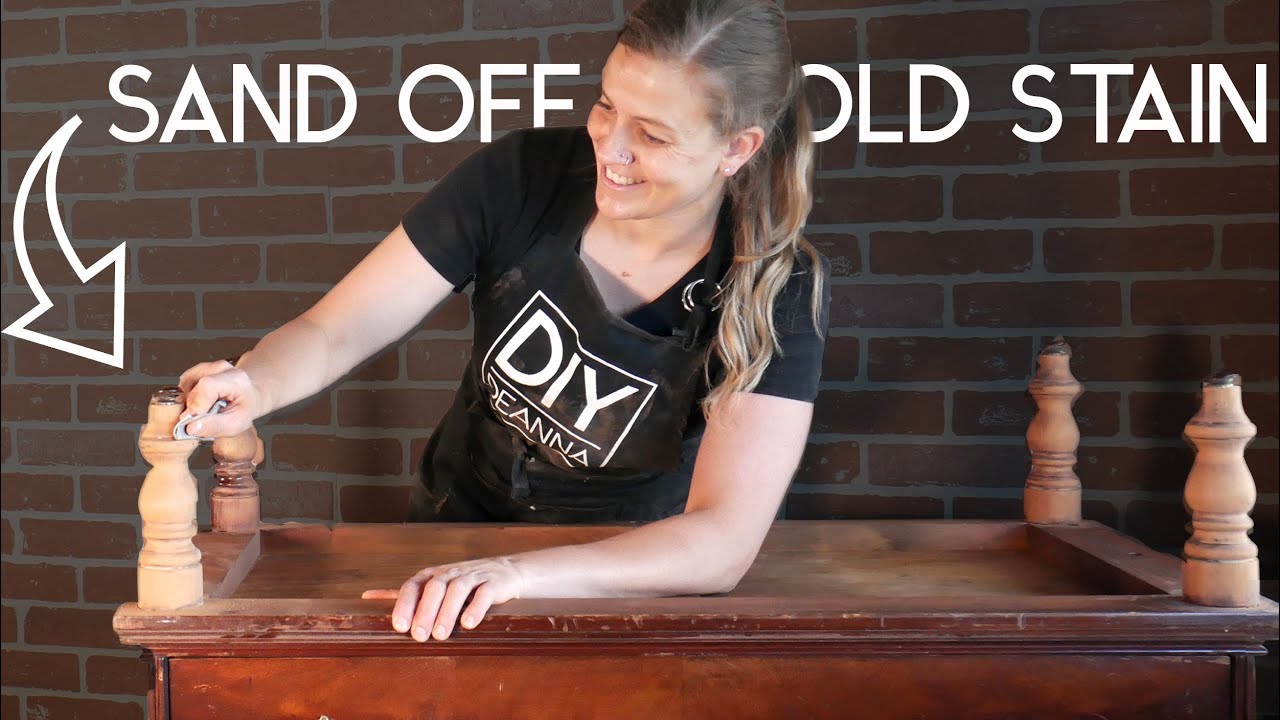
For more ideas and tips on sanding varnish and stain from wood, check out the video below by DIY Deanna.
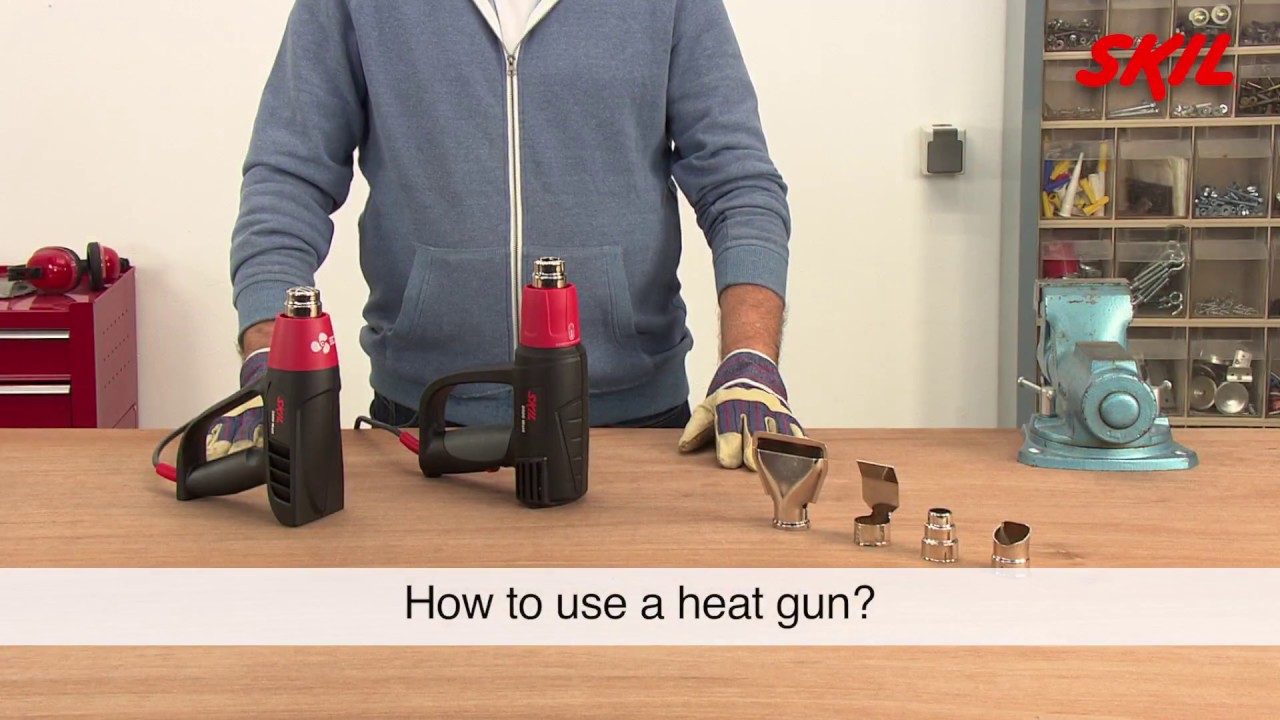
Method 2 — Heat Gun and Scraper
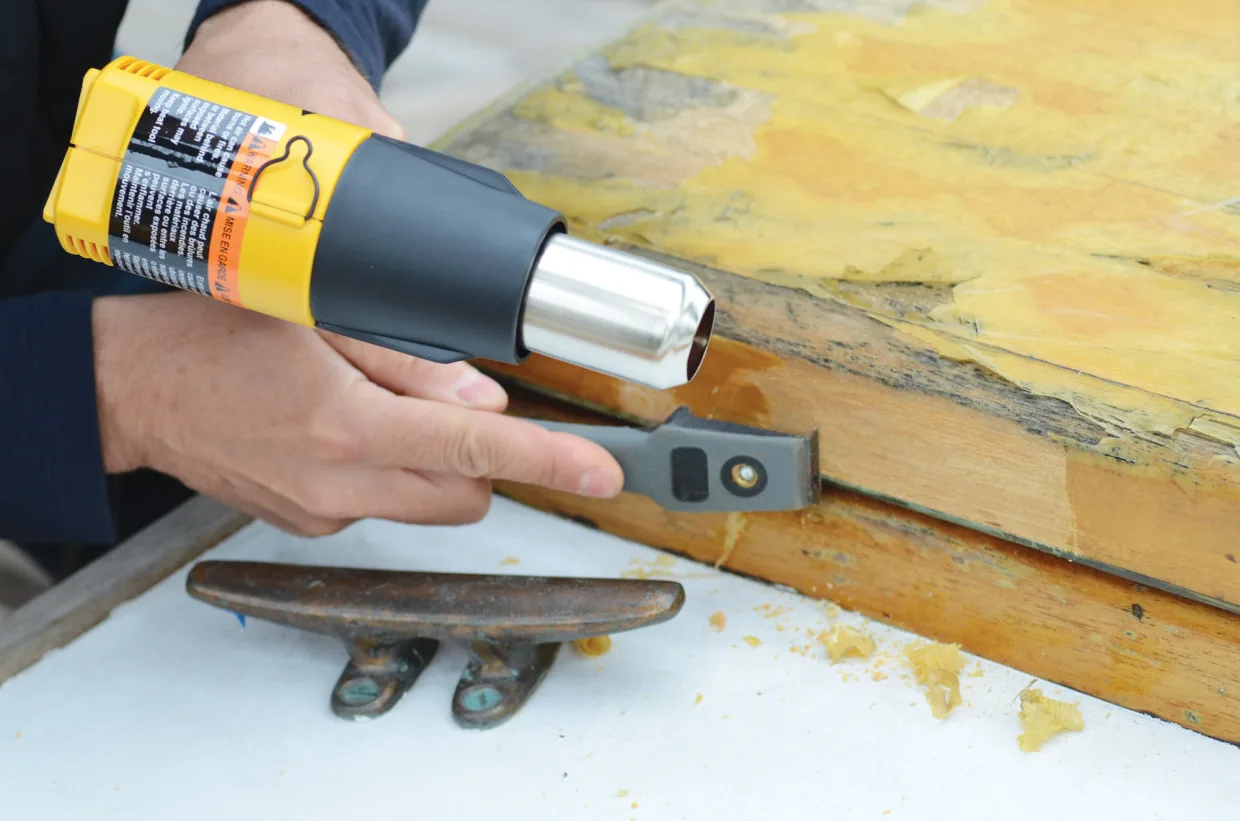
Heat guns are excellent for removing thick layers of varnish in one hit. They allow you to get into tight spots when scraping with a decorator’s knife.
Pro Tip: Lay down dust sheets because as the hot varnish falls, it may adhere to floor surfaces or, worse still, burn carpets and rugs.
A heat gun works similarly to a chemical stripper. It softens the varnish, enabling you to scrape it away. Using a heat gun can be labour-intensive but nowhere near as tiring as using sandpaper.
Here’s how to use a heat gun in easy-to-follow steps:
1. Safety First
Don your safety goggles, face mask (to protect against fumes) and safety gloves.
Heat guns can reach 649 degrees Celsius, which is enough to melt glass, so imagine what they can do to your skin!
2. Wash the Surface
Remove dust and other tiny particles that might react with the heat gun. Use warm soapy water, and then pat the surface dry with a lint-free cloth to ensure there are no fibres that could ignite.
3. Use the Heat Gun
Familiarise yourself with the heat gun before starting. Test it out on some scrap wood to get a feel for it.
Point the heat gun at the patch you want to strip and set it on low or medium heat. Avoid setting the varnish alight by gently moving the gun from side to side, just like using a hairdryer.
As the varnish starts to bubble, scrape it away with a decorator’s knife. Remove all the varnish from one area before moving on to the next.
4. Clean-up
You may find a couple of patches where the varnish is still present. Grab the sandpaper and rub them by hand to remove any stubborn spots.
Finally, clean the surface with soapy water, allowing it to dry naturally.
Using a heat gun can be daunting initially, but the video below by SKIL demonstrates the technique perfectly.
Method 3 — White Spirit
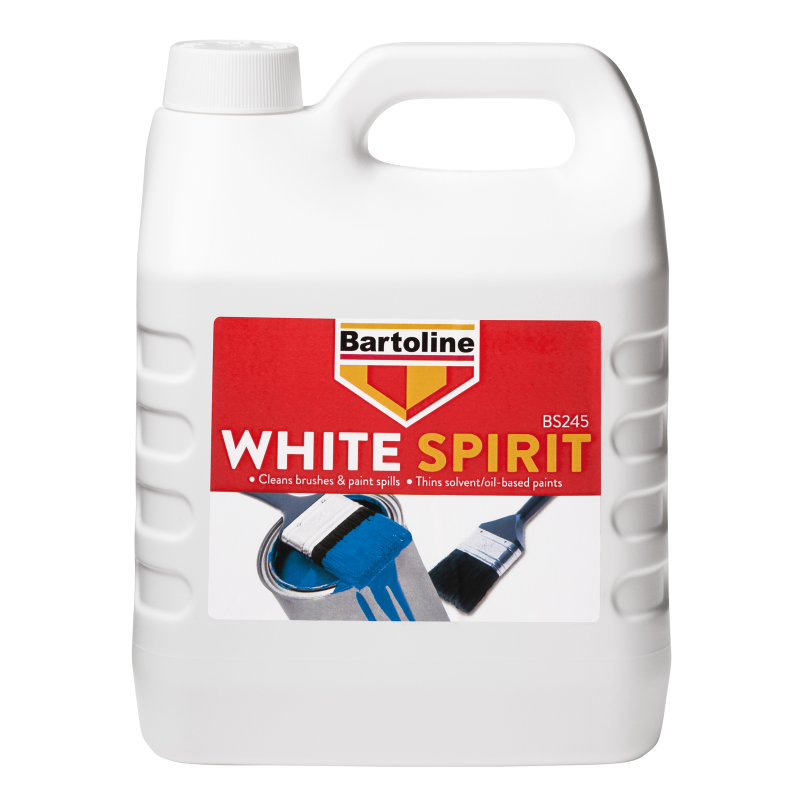
Some shellac and lacquer varnishes are solvent-based, which means you can use white spirit to remove them.
1. Safety First
Wear your rubber gloves, face mask and goggles before cracking open the white spirit. Their fumes can be overpowering, so always work in well-ventilated spaces.
2. Soak the Rag
Grab a clean rag and soak it in white spirit. The rag should be saturated but not dripping, or you risk dropping it onto other surfaces.
If you’re concerned about spillage, lay down a dust sheet or old newspaper to catch drips.
3. Apply the White Spirit
Rub your wooden surfaces with the soaked rag, ensuring they get a generous coating.
Repeat this process several times until the varnish starts to loosen. Eventually, it should begin to lift.
4. Scrape the Varnish
Using a decorator’s knife, gently scrape the surface to remove the varnish.
It may come off in layers, especially if it’s an old varnish that’s been recoated several times. Apply more white spirit as necessary, and keep working until the varnish is gone.
5. Sand Where Necessary
You may find stubborn varnish spots that won’t lift without damaging the wood. Use 220-grit sandpaper to remove them.
4. Clean-up
Wipe the wooden surfaces with warm soapy water to remove dust, white spirit residue, and varnish flecks. Allow the wood to dry.
Method 4 — Chemical Stripper
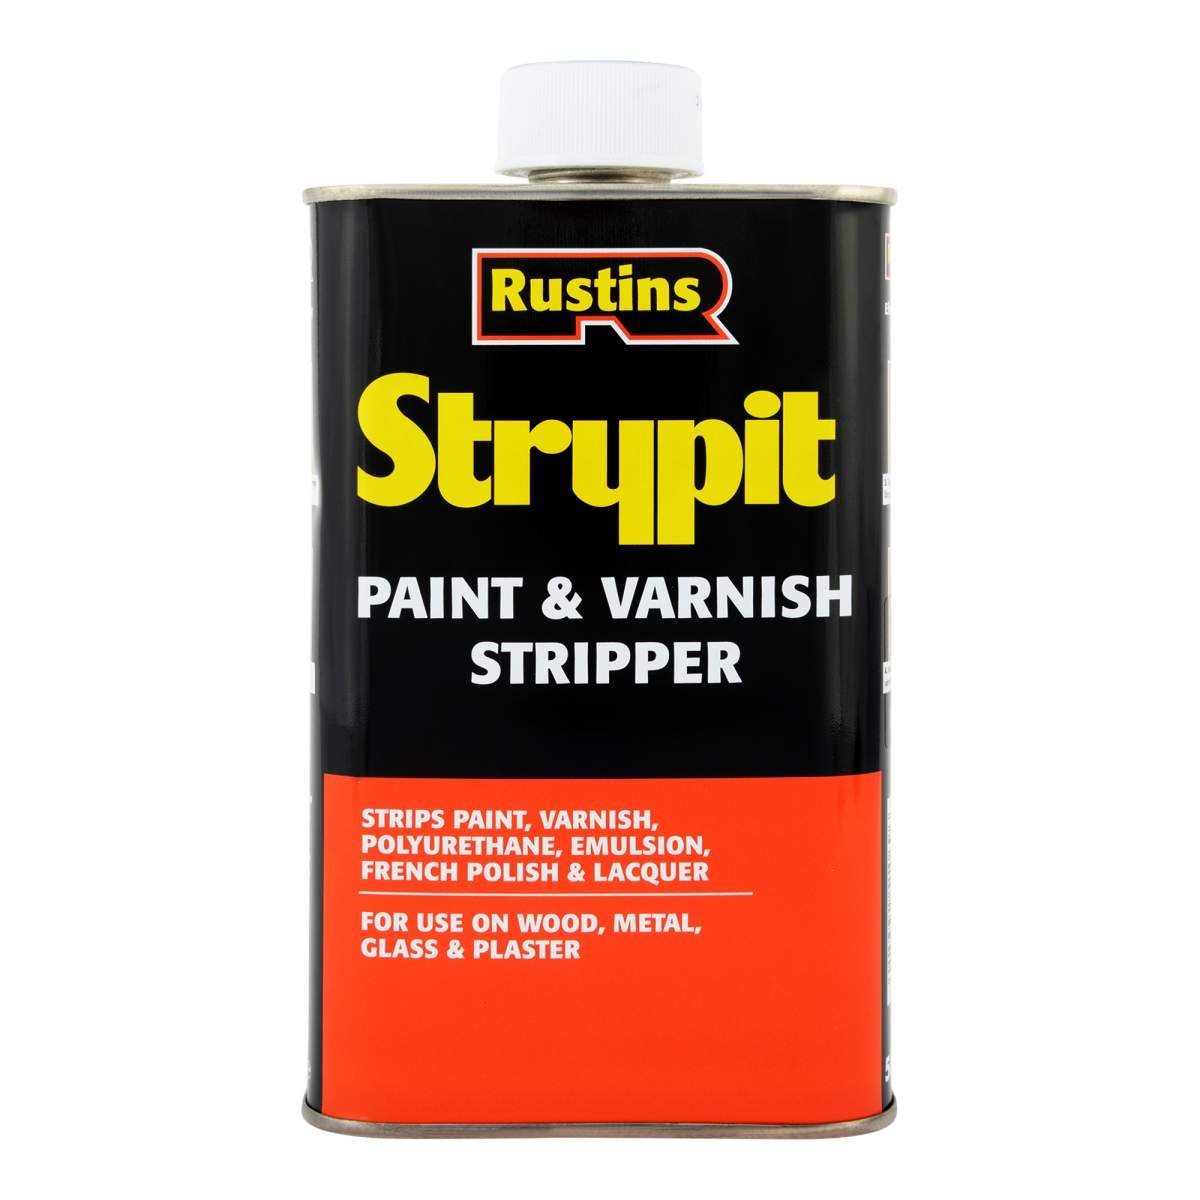
According to Ronseal.com, using a chemical stripper to remove varnish from wood is one of the most effective methods. It gets the job done quickly and doesn’t damage the woodwork. It’s also the best way of dealing with awkward nooks and crannies.
However, using a chemical stripper isn’t as straightforward as you think. Experience tells me you must treat dangerous chemicals carefully because some are incredibly hazardous.
Always read the instructions before breaking the lid seal. Know how it works and where to use it before making costly mistakes. Here is a list of considerations you must heed:
- Some chemical strippers can only be used outside as the fumes can overpower you indoors. So if you’re stripping a kitchen door, check to see if your chemical stripper supports indoor use. If not, remove it and take it outside.
- Solvent-based products penetrate deeper into the wood grain and remove thicker layers but are more damaging to the environment.
- Water-based strippers produce fewer fumes, are kinder (but still cause damage) to the environment, but are less effective at penetrating the wood grain to remove varnish.
- Solvent strippers are more toxic, restricting how and where you can use them. They’re the most harmful to your eyes, nose and throat.
- Caustic strippers are the most effective at removing deep layers of varnish, which is ideal for old furniture and wooden fittings. They also produce fewer fumes, making them better for indoor use. However, caustic strippers burn skin, so wear gloves and goggles.
- Some caustic strippers react badly with mahogany and aged oak, causing staining and scorch marks. Test a small hidden patch before embarking on your project.
Here are the steps needed to strip varnish from wood using a chemical stripper:
1. Prepare the Area
Start by protecting the work area from the damage caused by toxic chemicals.
Lay dust sheets on the floor and cover nearby objects to protect against splashes. Also, open windows and doors and ensure that children and pets cannot access your work area.
2. Don Safety Gear
Safety is paramount, so wear goggles, gloves, and a face mask. Toxic fumes can overpower you and cause damage to your eyes, nose and throat if inhaled.
3. Lightly Sand
Using 220-grit sandpaper and a sanding block, gently rub the surface of the varnish to remove the top layer.
This process helps the chemical stripper adhere to the surface and absorb into the wood.
4. Apply Varnish Stripper
Stir the stripper to distribute the chemicals evenly and apply it using an old paintbrush.
Pay attention to the hard-to-reach areas, getting into the nooks and crannies.
5. Patience Is a Virtue
When applying stripper, there is always an element of patience. You need to allow the chemicals to penetrate and break down the varnish.
Check the instructions on your packaging to get the exact timings. Typically, it should take a couple of minutes.
6. Scrape the Varnish
Once the varnish is soft enough, use a decorator’s knife to scrape it from the wooden surface. It should come away easily if you’ve waited long enough.
Pro Tip: If the varnish is stubborn, reapply the stripper and wait until it gets to work. Now try scraping again.
7. Sand Stubborn Spots
From experience, little varnish spots always get missed, so have some 220-grit sandpaper handy to remove them.
8. Clean-up
Check the varnish remover cleaning instructions before cleaning the wooden surface, as some products dry and absorb into the wood. Other products leave a stripper residue that needs removing.
Now you’re ready to reapply a fresh coat of varnish!
Check out the video below for a visual demonstration of using a chemical stripper.

Not everyone is comfortable using toxic chemicals to strip wood. If that’s you, use Rated People to find top-rated experts in your local area.
Final Thoughts
The method you choose to remove varnish from wood depends on the size and shape of the project.
Large, flat surfaces are ideal for sanding, whereas awkward shapes fare better with a heat gun or chemical stripper.
Over the years, I’ve used all three to great effect, so remember to switch it up when needed to be as flexible as possible.
To add a new protective layer to your wooden surfaces, check out our guide to varnishing wood and applying stain, wax and oil.