Emulsion paint drying patchy is a real headache for decorators and DIY enthusiasts. And often, the bad news only becomes apparent after two coats of primer and three coats of emulsion — what a waste of all your hard work!
Save yourself this headache by following my trusty step-by-step technique for preventing emulsion paint from drying patchy.
Tools and Materials
Every successful DIY task starts and ends with preparation, including gathering the right tools and materials. Here’s what you’ll need:
Tools
- 5 cm paintbrush
- Roller and paint tray
- Paint bucket
- Sanding block and 220-grit sandpaper
Materials
- Painter’s tape
- Plastic dust sheet (old sheets will do)
- Water
- Washing up liquid
- Rags
- Paint stirrer
- Emulsion paint
- Primer (optional)
Preventing Patchy Emulsion Paint — Step-by-Step Instructions
So, you’ve gathered the tools and materials and are ready to go. Before you start, remember to wear overalls or old clothes because using emulsion is dirty work.
Check out our guide to painting a room without making a mess to avoid lots of cleaning at the end of your decorating project.
Step 1: Clear the Room and Cover Immovable Furniture
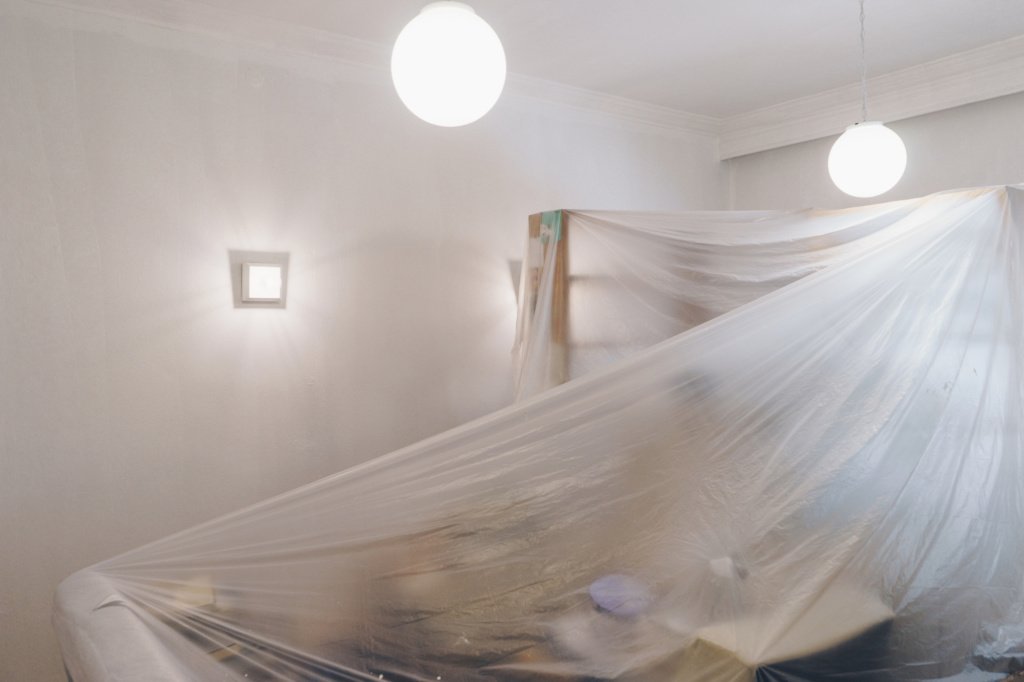
Remove as much furniture as possible, making it easier to manoeuvre around the room. It also reduces instances of paint splatters on your prized belongings. Cover the floor and any objects you can’t remove with plastic sheeting or old sheets.
While the room is clear, tape off the skirting board edges, window, door frames, and light fittings with painter’s tape. The last thing you want is the paint to bleed onto unwanted surfaces.
Pro Tip: Tape off plug sockets to prevent the emulsion from getting inside and damaging electrical circuits.
Step 2: Clean the Walls
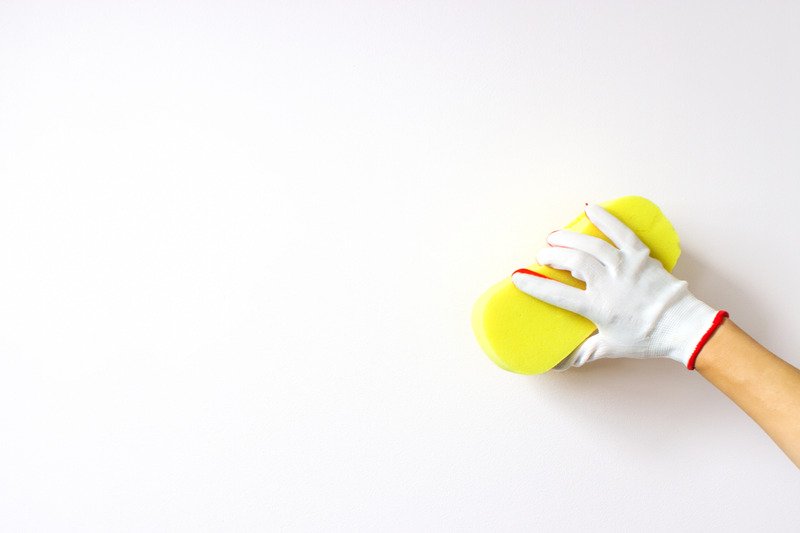
Removing grease, dirty handprints, and anything else that stops the paint from adhering is crucial.
Cleaning your walls is the first step to preventing patchy paintwork. Use clean rags dipped in warm soapy water and scrub them clean.
Wait while the wall completely dries because emulsion is water-based and may not adhere to damp surfaces.
Step 3: Make Necessary Repairs
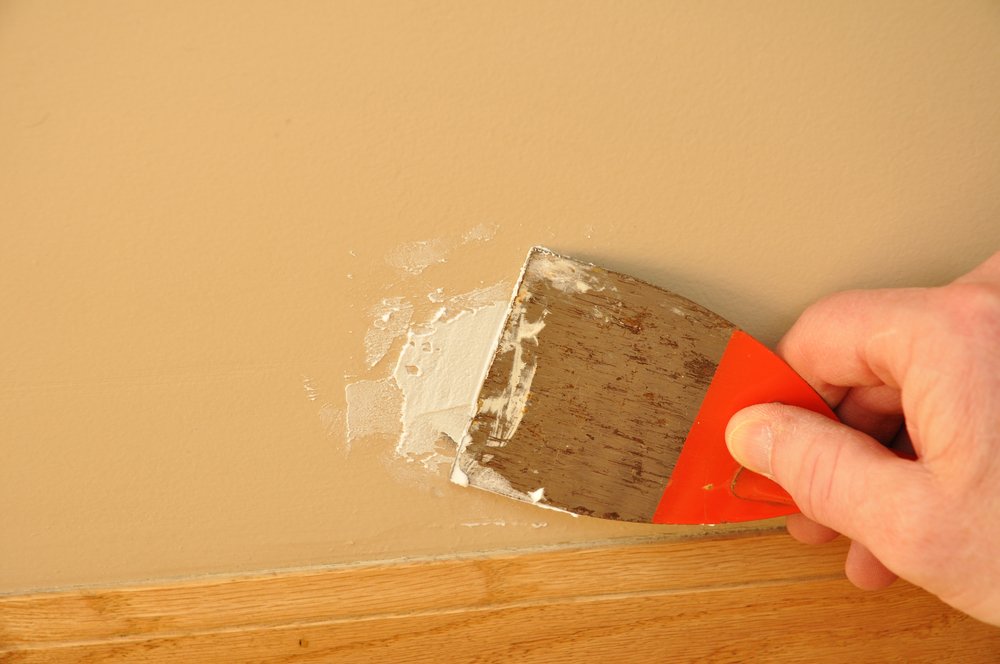
If the plaster is pitted or cracked, grab a sanding block and sandpaper and smooth the surface. You may need wall filler and a putty knife to cover gaps and cracks.
When the filler dries, use the sanding block to smooth rough edges. Wipe the walls clean of dust using a rag when you’ve finished.
Step 4: Stir the Paint
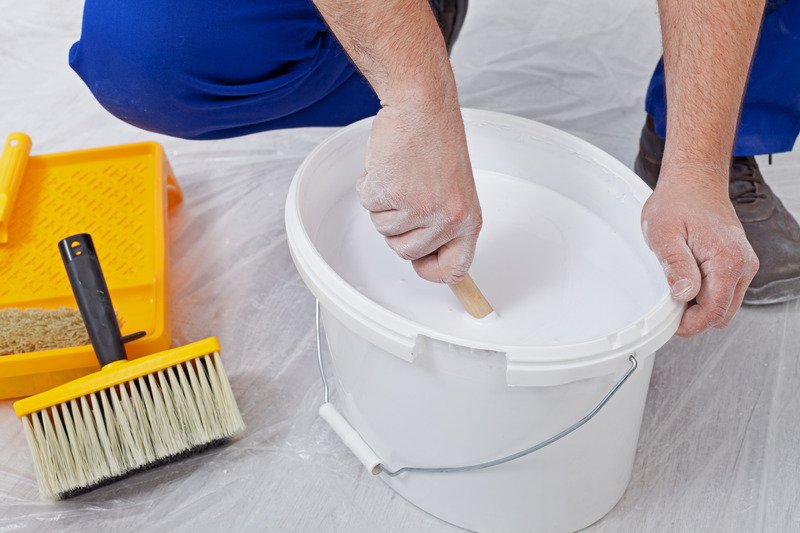
When painting onto bare plaster, you will need a primer. Primers contain less pigment but higher levels of resins, making them better at sealing porous surfaces.
Make sure you stir the paint to mix the binders and resins that enable your topcoat to adhere.
A paint bucket is easier because you’re not carting around a heavy paint tin.
Step 5: Apply Primer
When applying a primer onto bare plaster, start with the corners and edges that meet other surfaces like door and window frames. Pros call this “cutting in.” Now, fill in the central panels of the wall with the roller.
Wait the recommended drying time between coats while the paint dries. Primer contains more resin than colour pigment, sealing porous surfaces to give the emulsion a good bonding surface. This Jenolite Stain Blocker is an excellent choice.
Step 6: Sand Between Coats
Use a fine-grade sandpaper and sanding block to smooth the first and second coats between each primer layer. The pros do this to get the smoothest possible finish.
Step 7: Apply the Emulsion

Use a 5 cm paintbrush to run the paint along the seams between the door frame, window frame, ceiling, and skirting boards.
Hold the brush at a 90-degree angle and allow the bristles to spread naturally without being forced.
Keep the brush loaded with paint, but don’t overload it, as this creates drips down the wall. Wash out the paint tray and roller to remove all traces of primer. Dry with a clean rag and pour the emulsion into the tray.
Load the roller with emulsion and remove excess with the tray’s paint distribution ramp.
Work in M-shaped motions to get an even coating. Start from the middle of the wall and work outward. Then work in up and down strokes to cover the original M-shaped roller marks.
Allow the first coat of emulsion to dry, and then lightly sand the surface before laying down a second or possibly a third coat.
Pro Tip: If you want the neatest finish, consider dry brushing the surface to remove brush marks, roller marks, and air bubbles.
Possible Causes of Patchy Emulsion
If we isolate why your paint dries patchy, we can prevent the problem from occurring in the first place. Here are a few usual suspects to bear in mind:
The Wrong Emulsion
A cheap emulsion is your worst enemy, so always get the best quality paint you can afford.
The difference between cheap and good-quality paint comes down to solvent levels contained in the formula. Both look similar on initial application, but inexpensive emulsion contains higher solvent levels. When the paint dries, it thins, leaving a patchy finish.
Better quality emulsion paints have a higher pigment-to-solvent ratio, so they dry thicker for better coverage.
So, while going for the premium option might seem expensive, you’ll thank your lucky stars that you did.
Poor Quality Plaster
You’ll repeatedly hear about the importance of surface preparation, and that’s for a good reason.
Painting over poor-quality plaster with an expensive emulsion is like putting makeup on your gran. No matter how much you apply, it will still look patchy.
Lumps, bumps, and cracks make your paint job look patchy because it catches the light. The best way to get a quality paint job is on a smooth surface where the light spreads evenly.
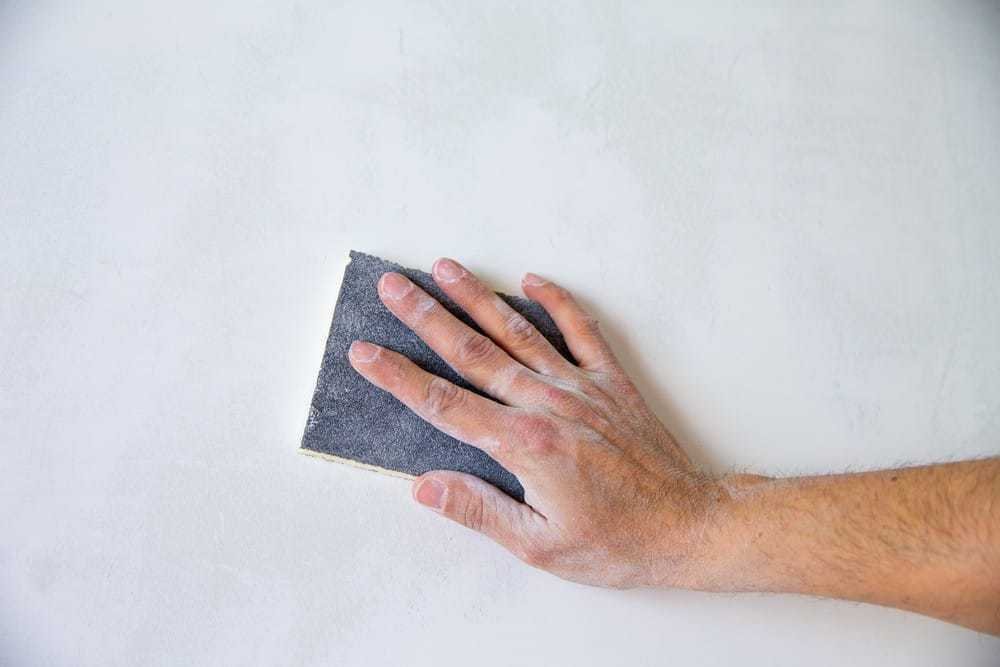
Take the time to fill cracks and bumps with a quality wall filler, and use a putty knife to get the smoothest finish possible.
Skim pitted surfaces and wait while the filler dries. Then, use 220-grit sandpaper and a sanding block to rub away rough edges.
Pro Tip: When sanding plaster or filler, always wear an N95 Face Mask to protect your lungs from airborne dust particles.
If you have poor-quality plaster walls, follow our step-by-step guide to Patching Plaster.
New Plaster
New plaster is still wet, so applying the emulsion directly to the surface releases moisture and causes blisters and bubbles.
According to Valspar Paint.co.uk, you should wait a minimum of a week before applying any decorative coating to newly plastered walls.
Flashing
Flashing is when too much light hits the wall from multiple directions. It creates light and dark spots, making the appearance of your emulsion look patchy.
The simple solution is to shut all your curtains and live in darkness (only kidding!).
The best way to avoid this effect is to buy a matte emulsion that absorbs light and reflects nothing. Furthermore, white paint is a great colour choice because it’s harder to spot flaws on the surface.
Poor Technique
Achieving a proper painting technique is half the battle for a smooth, non-patchy finish.
Painting novices make mistakes (don’t we all) and often use the wrong brushes and rollers when applying emulsion.
Another problem is insufficient amounts of paint loaded onto the roller — it leaves patchy results if you don’t get the roller evenly coated. The video below shows the best roller techniques to get you started.

Few people realise the skills that tradespeople have built over the years, but I can assure you that decorating is like a dark art, practised and honed over many years.
Pro Tip: Most patchy paint jobs start with something as simple as forgetting to stir the paint properly. When paint settles in the tin, the solvents and pigments split.
If you lack the skills, knowledge, or confidence, call in a trusted professional from Rated People.
Paint in Natural Light
Insufficient natural light is one of the biggest reasons why walls end up patchy. If you use false lights, you get shadows that fail to show the quality of the paint job.
I’ve lost count of the times I’ve decorated late into the night only to despair at the patchy results in the morning.
Avoid Dry Edges
Dry edges that butt against a wet edge show from a mile away. You can see lines on the wall like a landing strip at Heathrow Airport. The easiest way to avoid this is to paint a complete wall before stopping.
If you have to finish halfway along a wall, the best technique is to feather the edges so you don’t have a stark line that stands out.
Feathering involves applying minimal paint to the roller or brush (like it’s running out of paint) and working along the line to create an imprecise edge.
FAQs
Below are answers to frequently asked questions about avoiding and fixing patchy emulsion.
How Do You Fix Patchy Emulsion?
Spot fixes are an excellent touch-up remedy. If you only have a few patches, it’s possible to address the problem, especially if the wall is freshly painted.
You could also try laying down a new coat over the old to remove the patches. It’s easier to use a roller because you get an even coating.
How Do You Fix Patchy Wall Paint?
Wait for the patchy paint to dry, and then paint over it with a fresh coat of emulsion. You may need to do this several times before the wall looks smooth.
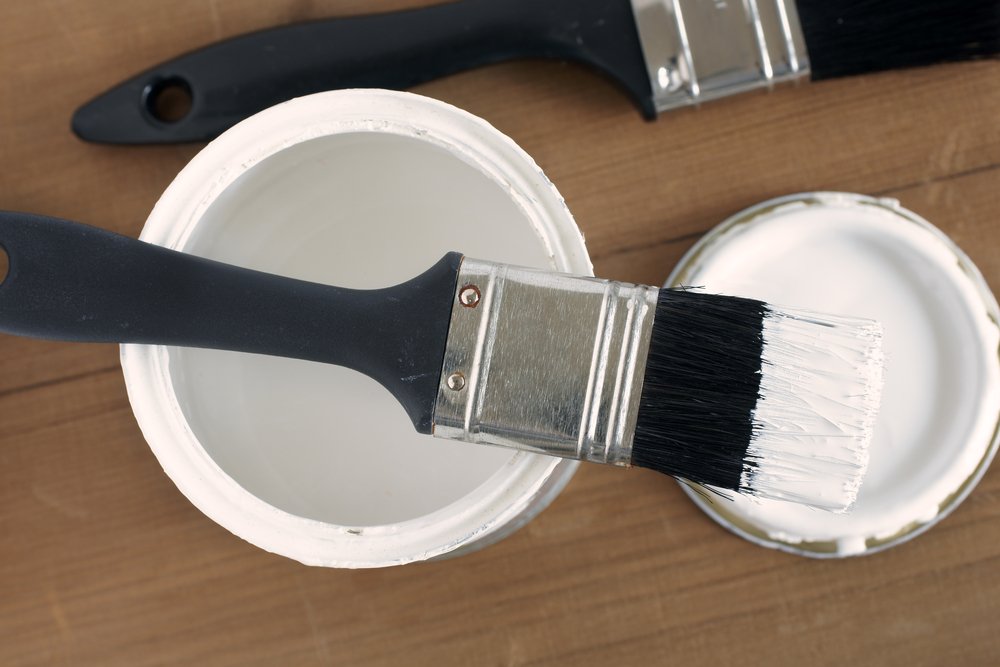
Is It Better to Brush or Roll Emulsion?
Brushing is better for cutting in and smaller tasks that require more precision. Choose no-loss brushes like this Harris Premier Set. They lose fewer bristles and spread the paint more evenly.
When using a roller, choose the correct roller cover. Rollers cover more ground and leave a neater finish. Foam naps give good coverage but leave tiny air bubbles. Wool blend sleeves spread the paint better over larger areas, but they shed fibres.
Should You Wet the Roller Before Starting?
Wetting the roller increases the amount of paint it absorbs. Remember that the first few strokes may appear watery but will vanish after two attempts.
Final Thoughts
If you carefully follow the steps above and pay attention to the prep work, you’ll have smooth and evenly painted walls and ceilings.
If you lack the time or inclination to do this job yourself, use Rated People to find trusted painters & decorators in your area.
Once you’ve completed the inside of your home, consider sprucing up the outside paintwork. Our cost guide to painting your home’s exterior helps you run the numbers and learn what to look for when hiring a professional painter.