Chances are, if you live in an older home built before the 20th century, you have distemper paint on the walls.
It’s often an annoyance because it’s difficult to remove, and nothing sticks to a wall with distemper paint.
In this guide, I’ll show you how to remove distemper paint safely, but first, let’s look at what it is…
What is Distemper Paint?
Distemper paint is a mixture of glue and whiting (chalk or lime) widely used in the past to paint and seal walls. Historically, it was the preferred method because when it dried, it tightened up and would fill any small holes or cracks in the walls and ceilings.
Whiting is combined with glue to create distemper paint. It’s soft and chalky to the touch, and if you run your hand along the wall, the paint will leave traces of dust on your hand.
Most people remove distemper paint because nothing sticks to it when repainting or decorating.
How To Remove Distemper Paint — Step-by-Step Instructions

Removing distemper paint is challenging, especially if you don’t follow the steps below. But if you plan to redecorate, remove it from your walls. So follow the steps below to remove distemper paint like a pro!
1. Prepare the Work Area
Stripping this paint can get very messy. Lay down some canvas drop cloths and cover any nearby furniture. Wear old clothes, as they will likely get covered in paint residue.
For more tips on painting preparation, check out our article on How To Paint With No Mess.
2. Wear your Proper PPE
Before you start, wear gloves and safety glasses because you’ll be handling harmful chemicals.
3. Chip and Brush Away all Loose Paint
Start by chipping away loose paint on the wall and sanding down any peeling spots. Brush away all remaining dust and debris from the wall.
4. Strip It
It’s now time to strip the distemper paint. For best results, apply a paint remover to the wall, such as Peelaway 7.
Pro Tip: DIY Doctor recommends wetting it with wallpaper paste before stripping, making it softer and easier to remove.
5. Scrape off the Remaining Paint
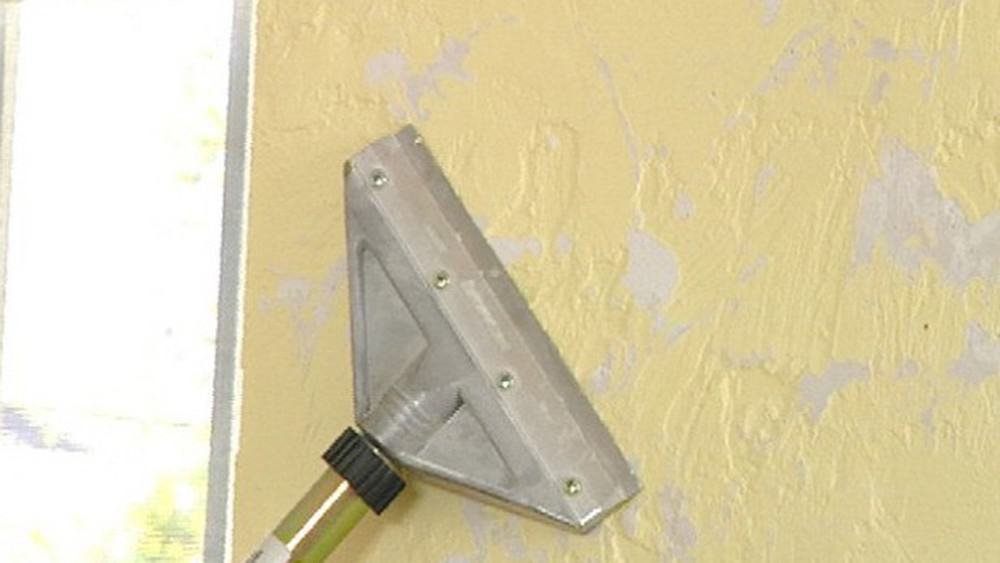
The paint should now be soft and easy to strip off the walls. Use a paint scraper and slowly scrape off all remaining paint for the best results.
6. Apply a Stabilising Primer
Now that the remaining distemper paint has been stripped off, DIY Extra recommends applying a stabilising primer to the wall immediately. This will help seal the wall and ensure the finished coat of paint applies smoothly and sticks well.
7. Apply a Fresh Coat of Paint or Wallpaper
After the primer dries, you’re ready to give the wall a fresh coat of paint or apply wallpaper to the walls. For decorating help, check out our painting & decorating guides.
Final Thoughts
Although removing distemper paint can be a difficult and time-consuming experience, it’s well worth removing it once and for all.

