Bricklaying is a surprisingly technical process, which you can only complete with the right tools.
Most people would include spirit levels and club hammers on their bricklaying tools list, but more specialised items, such as bolster chisels and hawks, may be omitted.
Avoid mid-job trips to the DIY store by stocking up on these essential items.
15 Essential Tools for Bricklaying
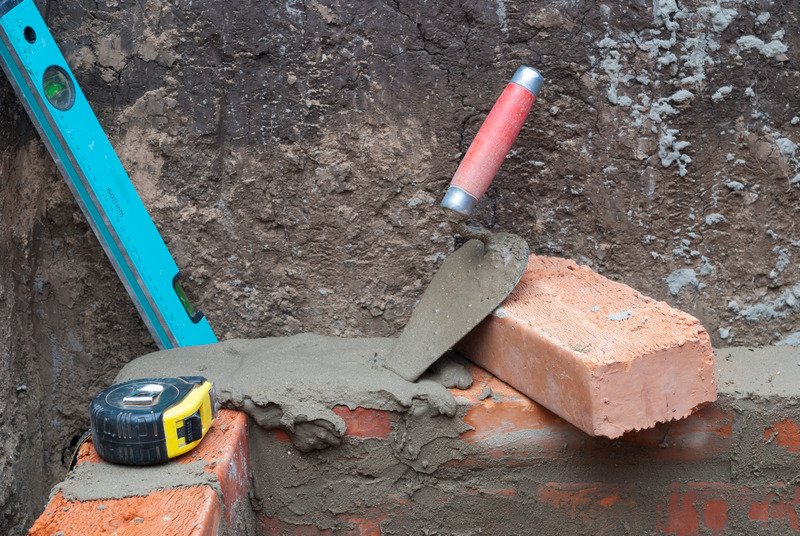
To become a successful bricklayer, you’ll need to invest in the following items:
Measurements
1. Spirit Level
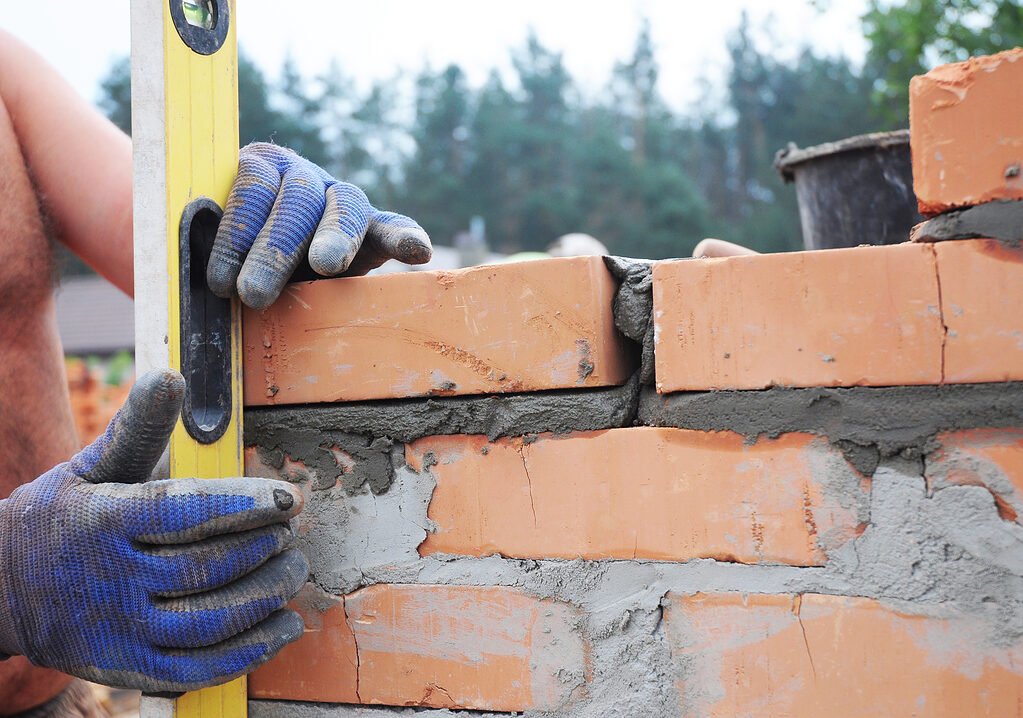
Often the most expensive component on any bricklaying tools list, look for 1200mm spirit levels made of mortar-rejecting metal.
Rubberised ends help to cushion the impact of any drops, which are highly likely mid-build. A 3D torpedo level is excellent for detailed brickwork (e.g. capping).
2. Bricklayer’s Line
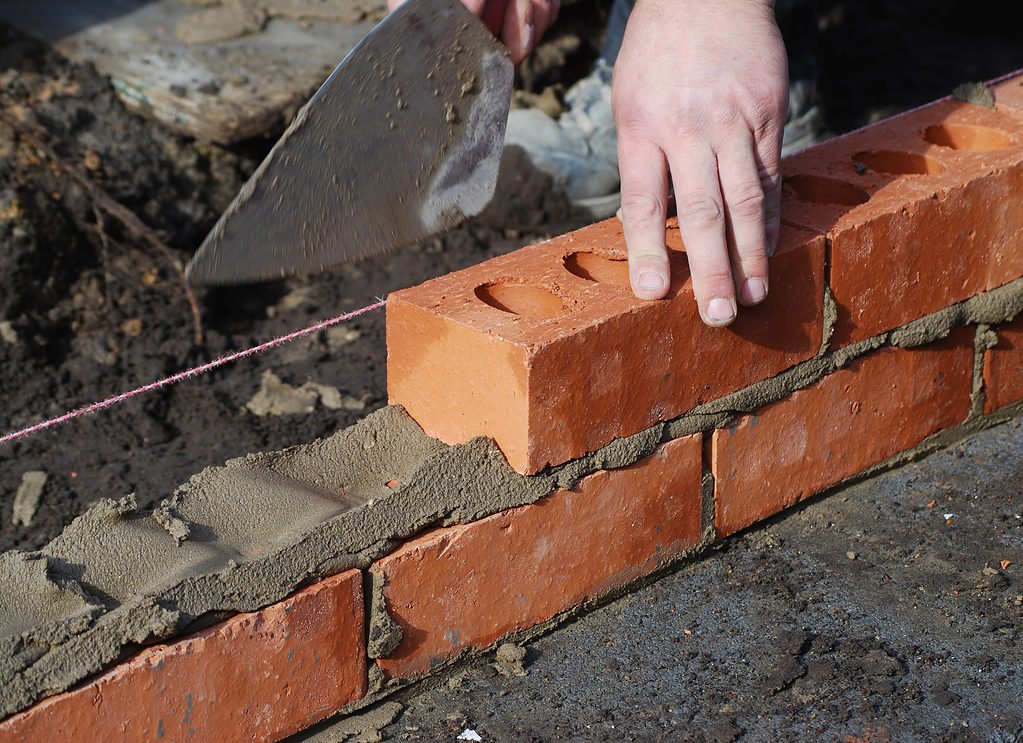
It’s easy to make a bricklayer’s line yourself by following the steps below:
- Grab a nylon line and two line pins
- Mark both ends of the space where you’re constructing the wall.
- Pin each end of the nylon line to each pin
- Position the pins at opposite ends of the space.
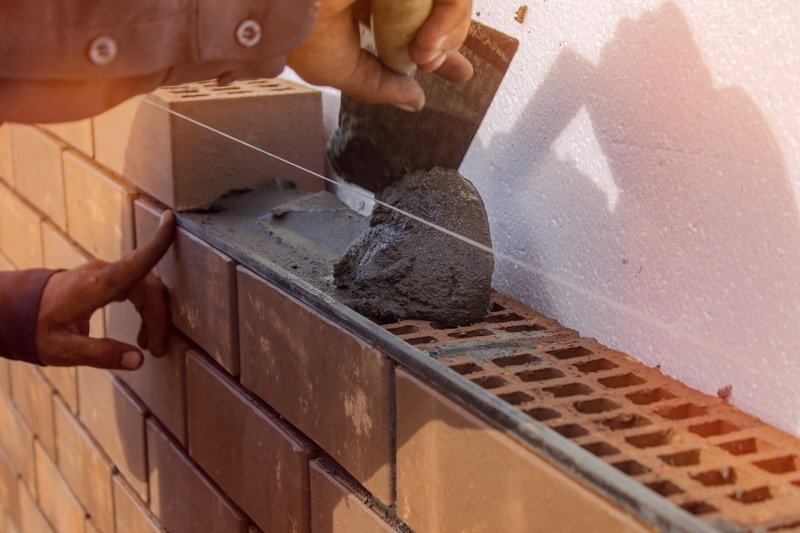
The line provides a neat, straight path to follow when laying rows of bricks, reducing reliance on a spirit level.
3. Measuring Tape
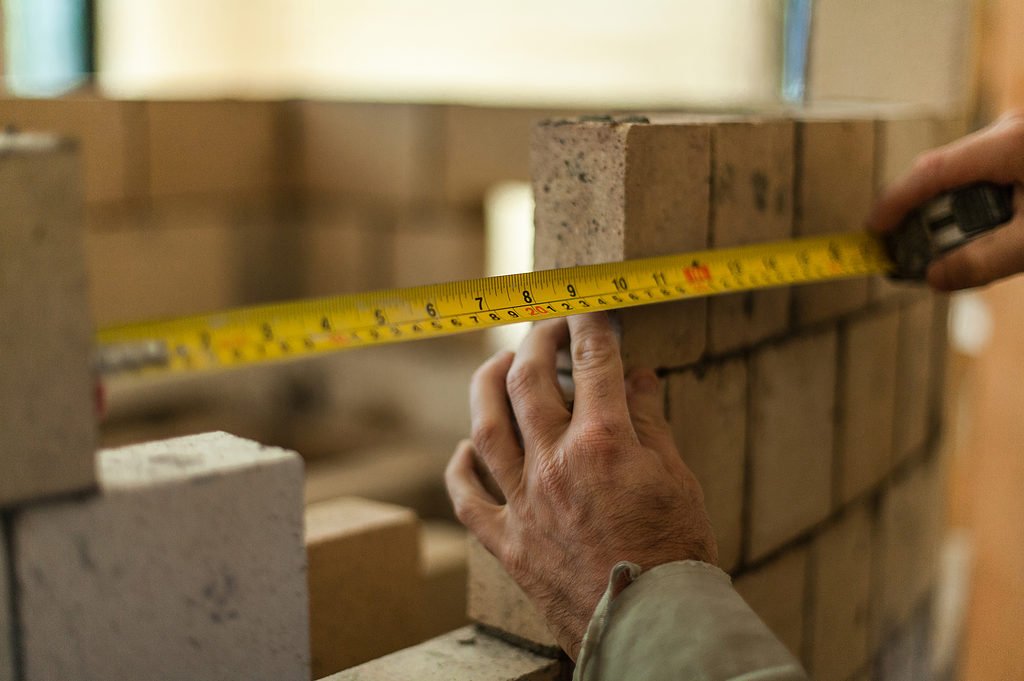
One of the most apparent tools required for any DIY project, yet often forgotten. We prefer dual-measurement tapes with robust locking mechanisms and self-retracting reels.
Shatterproof rubberised cases shrug off impacts, and a wide belt clip affixes onto most overalls or tool bags.
4. Sliding Bevel
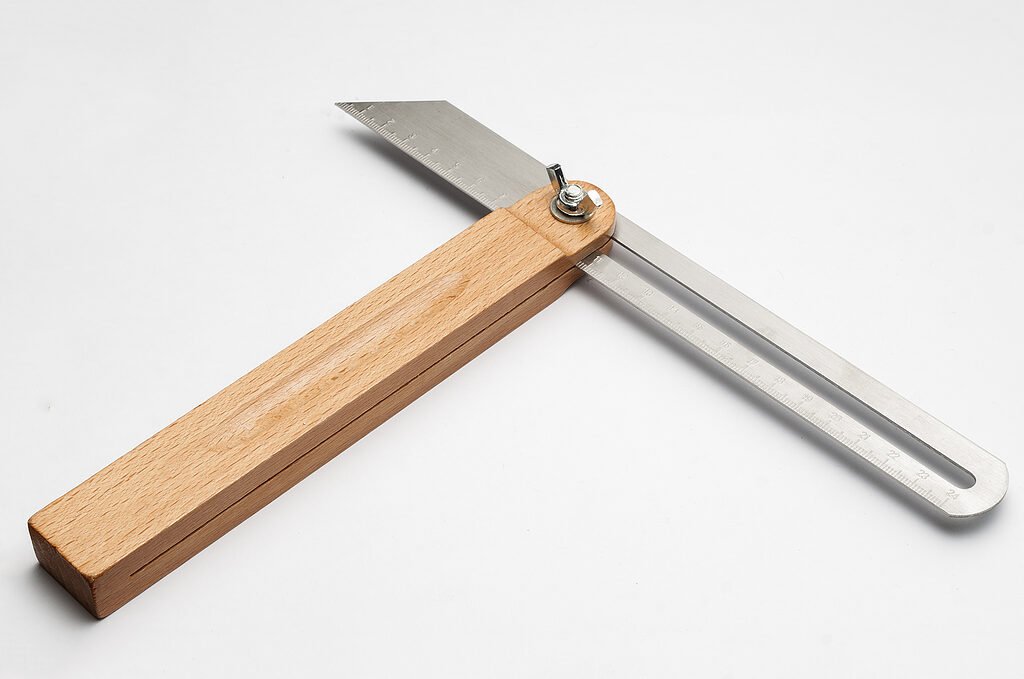
A measuring tape is great for straight lines, but use a sliding bevel to mark angles for sloping windowsills or rolled brick arches.
Trowels
5. Brick Trowel
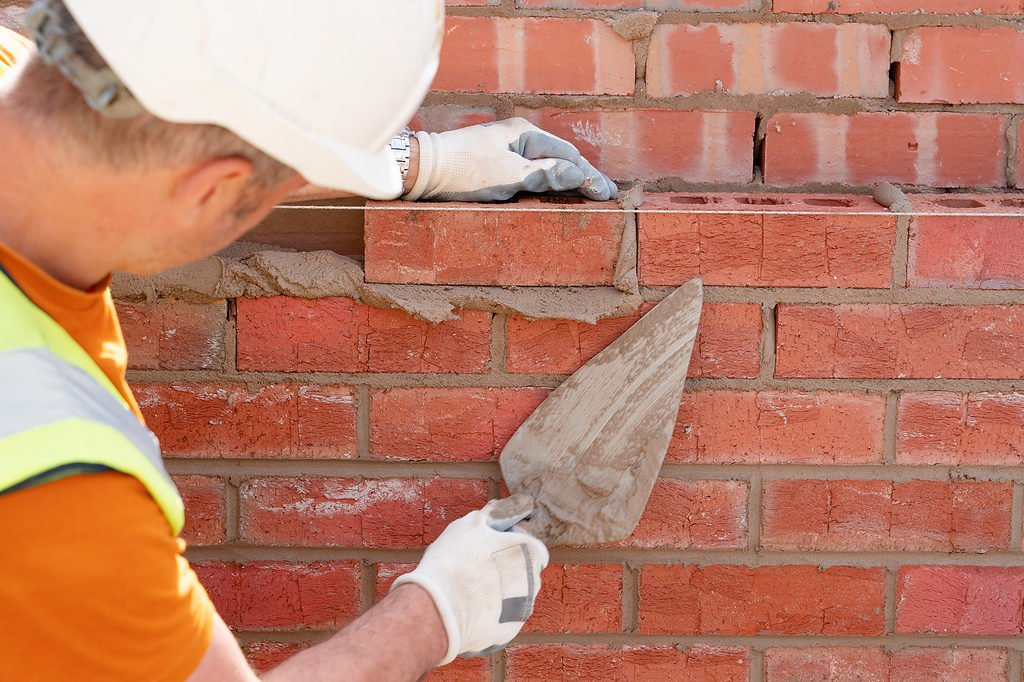
The first of two trowels on our list, the larger brick trowel generally has one straight side and another more rounded.
Smaller trowels (around 25cm) are often easier for beginners.
6. Pointing Trowel
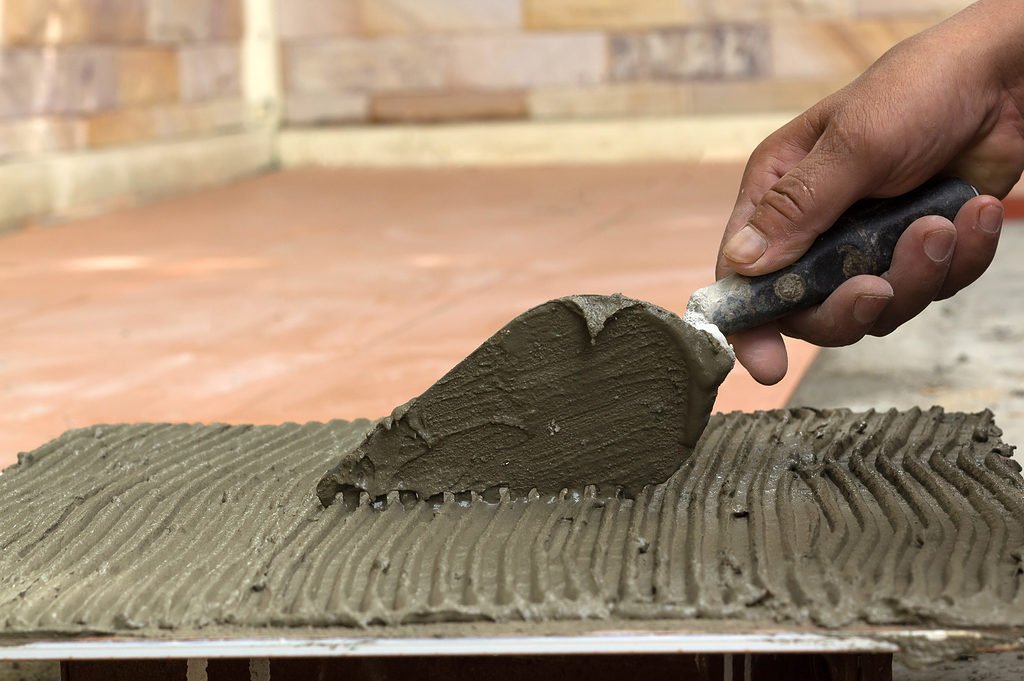
For the uninitiated, pointing describes smoothing or repairing mortar joints between bricks. This trowel is smaller than a brick trowel to achieve greater accessibility.
Pro Tip: Look after your trowels by lightly applying oil to their surface once cleaned. This trick helps prevent rust.
Hammers and Chisels
7. Bolster Chisel
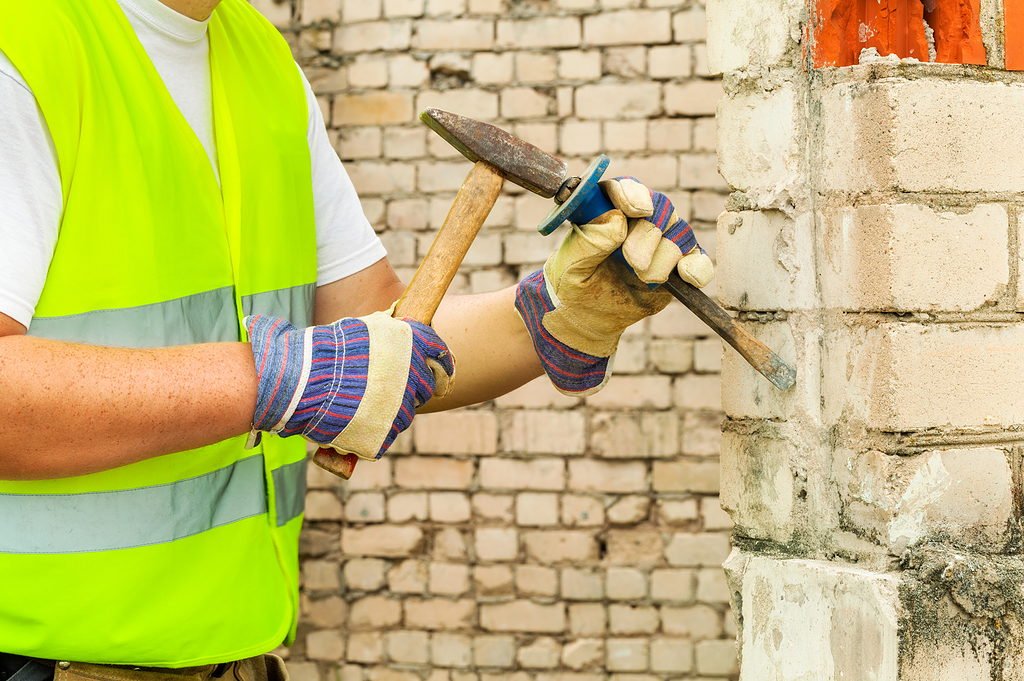
A bolster chisel has a sharp edge that splits bricks in two. It also has a solid handle that can take repeated hits from a club hammer.
You can also use bolster chisels to create a cut line before power tools slice along the indicated line.
8. Brick Hammer
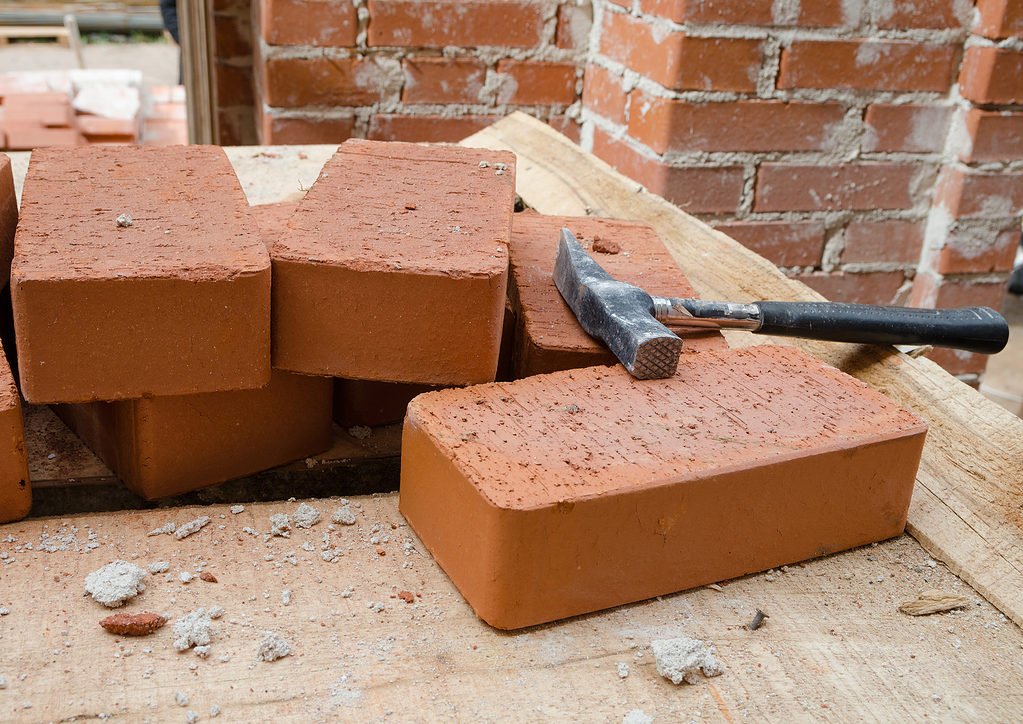
You’ll also need a pair of hammers. The first is a Brick Hammer — a multifunctional tool designed to line up bricks, trim them down to size and perform various other functions. The second is the Club Hammer below.
9. Club Hammer
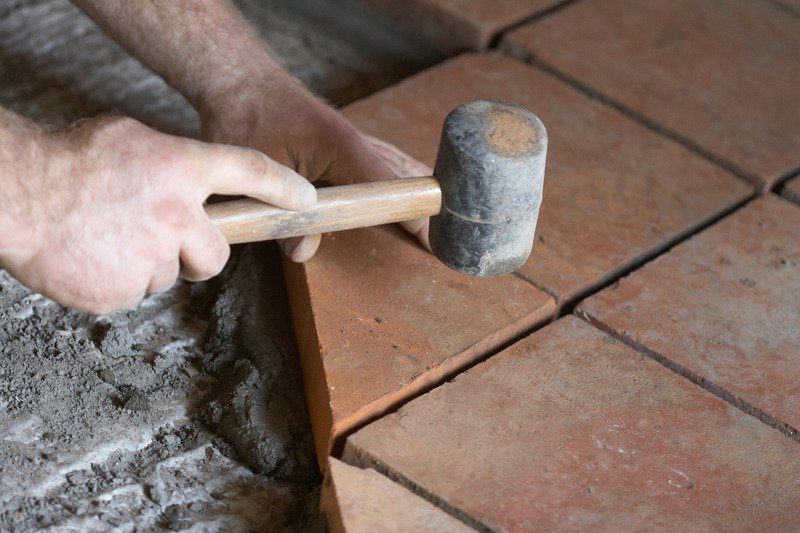
Often referred to as a lump hammer, bricklayers use club hammers to knock out old bricks or separate bricks into measured sections in tandem with a bolster.
Given the messy nature of brickwork, keeping these items in a separate holdall or tool tote is advisable. I.e. they won’t contaminate other tools with damp mortar, brick dust or mud.
Safety Equipment
10. Protective Eyewear
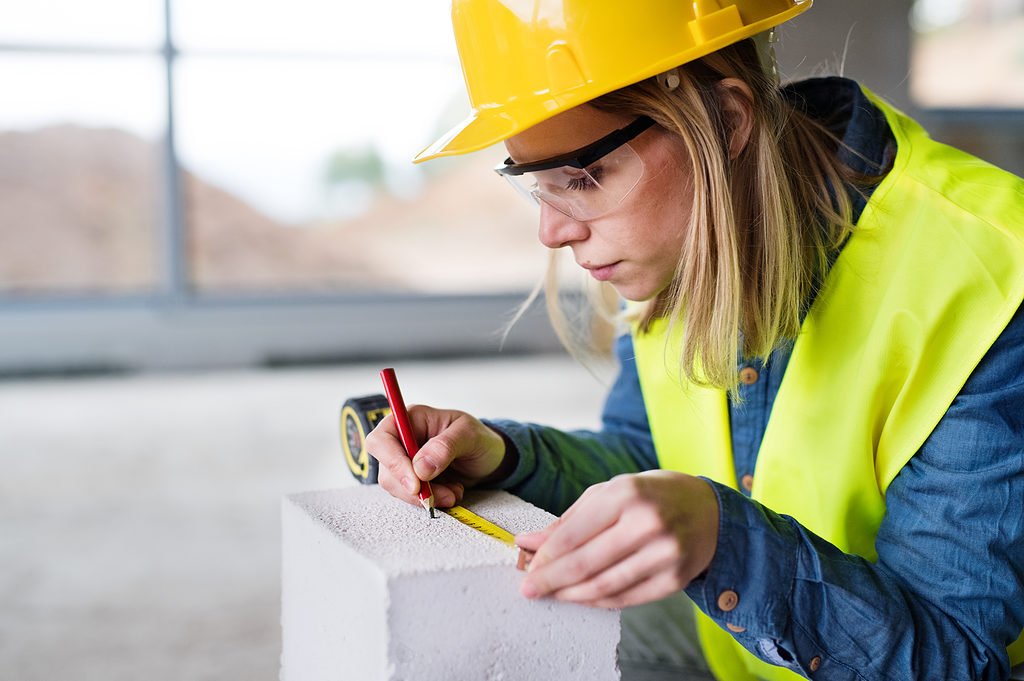
Protecting your eyes from flying shrapnel is vital whether you prefer safety goggles, a visor or a face mask.
Even if you already wear glasses, you must protect your lenses from shards of brick while ensuring your eyes aren’t stung by dust or assaulted by mortar fragments.
11. Gloves
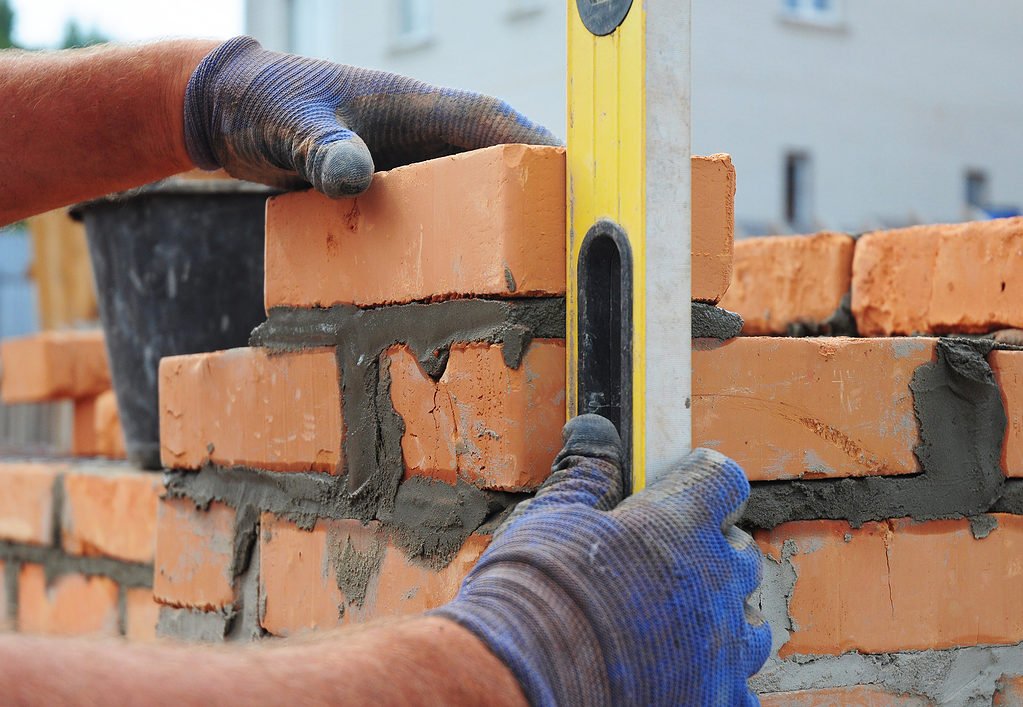
Bricks are not tactile objects; their surfaces can be rough and scratchy. The same is often true for mortar as it sets.
Look for high-quality gloves with cut resistance that’ll protect you against abrasions.
Miscellaneous
12. Hawk
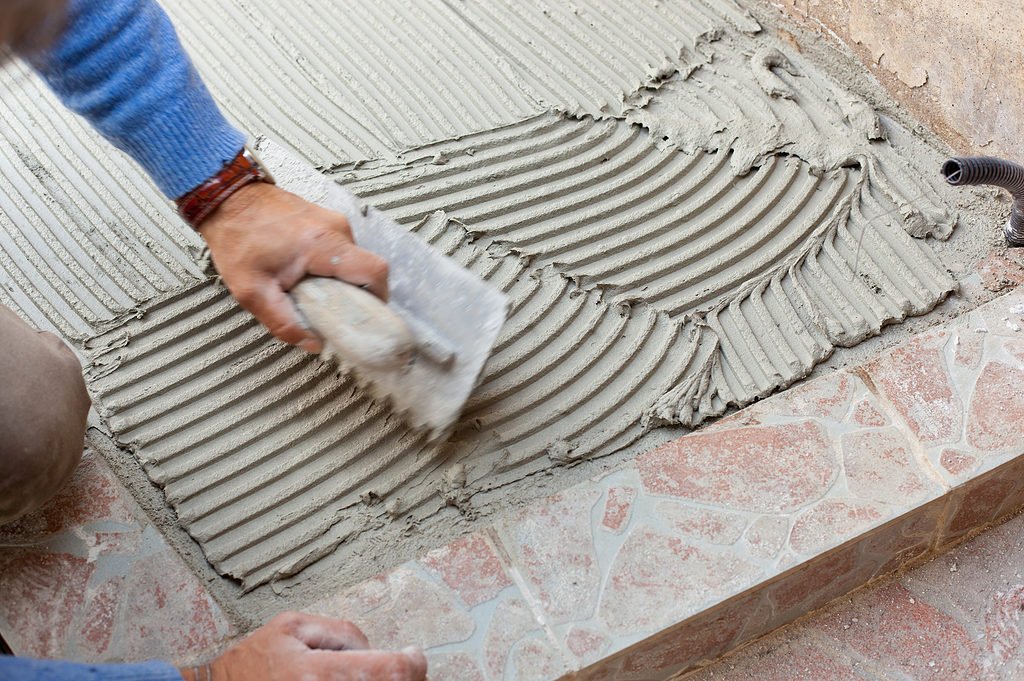
A small square tray with a handle on the bottom, a hawk, is designed to be held upright with a freshly-mixed amount of mortar on top. It’s an ideal (if routinely forgotten) tool for pointing.
13. Trolley
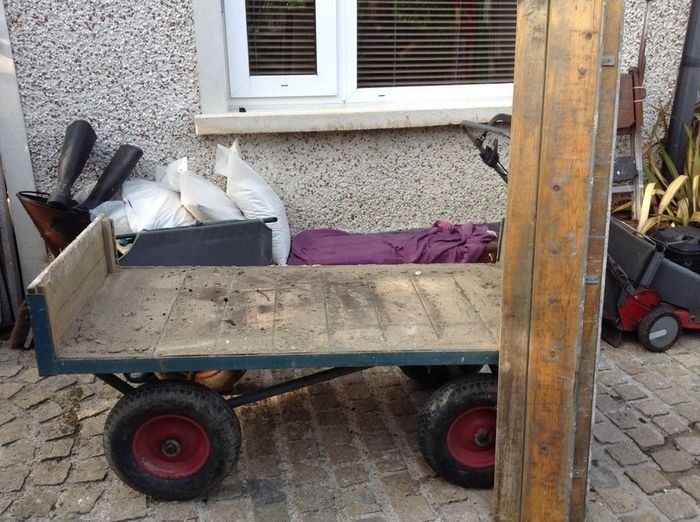
As the rock band L7 once observed, bricks are heavy. Reduce backache and save time by investing in a wheeled carrier — ideally, a four-wheeled trolley.
Wheelbarrows are prone to tipping, especially under heavy loads, so pulling a load of bricks by the handle (especially up a slope) can be easier than trying to push them.
14. Bucket
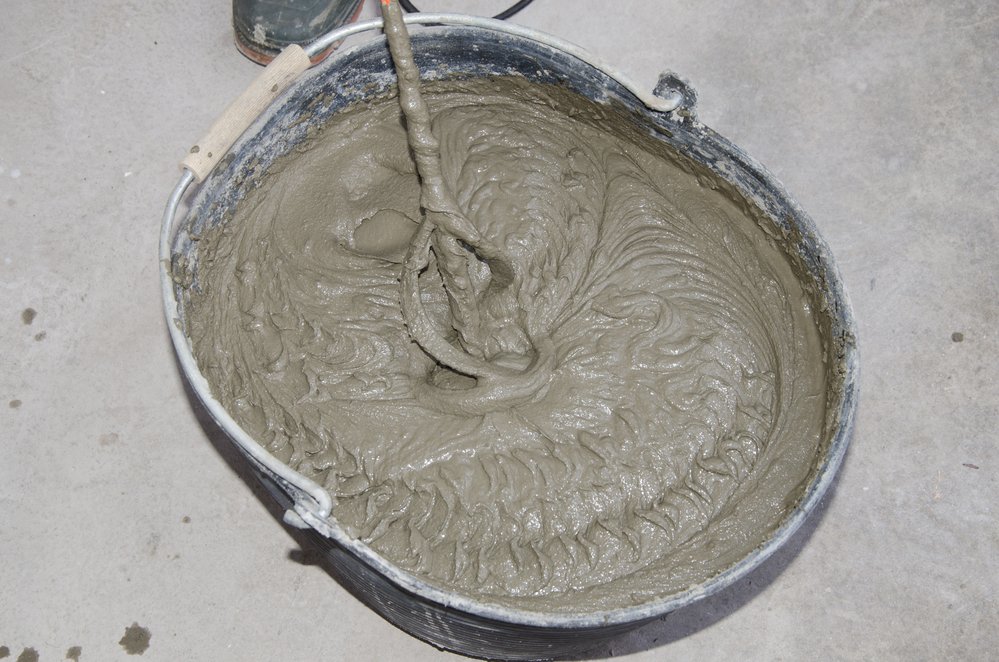
A plastic bucket is a cheap and unromantic item. However, it serves many roles, including a tool store and a mixing bowl for mortar if a cement mixer is too much.
Remember to clean your bucket after each use thoroughly. You might also want to obtain a bucket trowel, which simplifies the job of scraping out mortar.
15. Brush
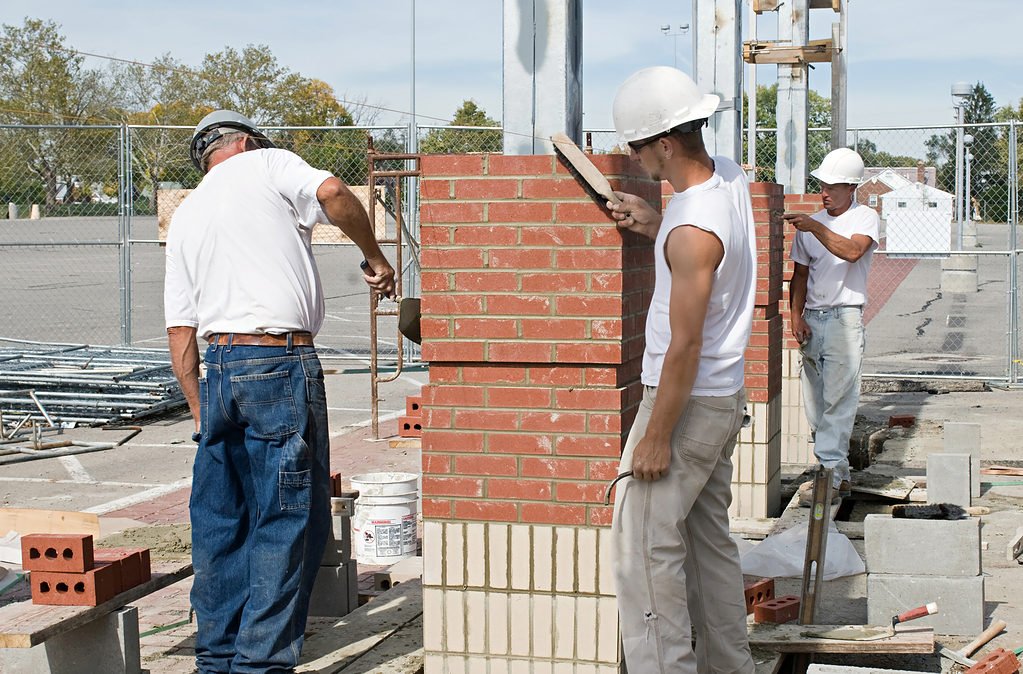
While you could invest in separate soft and scrub brushes, we suggest just one quality paintbrush. Use this brush to clean tools, remove excess mortar from exposed brick surfaces, and eliminate excess dust.
Remove any damp mortar from the walls with the brush. If it dries out, brick cleaner is an acidic substance ideal for removing excess blobs of hardened mortar from the exposed edges of freshly laid brickwork. You can also use it to clean specific tools.
Optional Bricklaying Tools
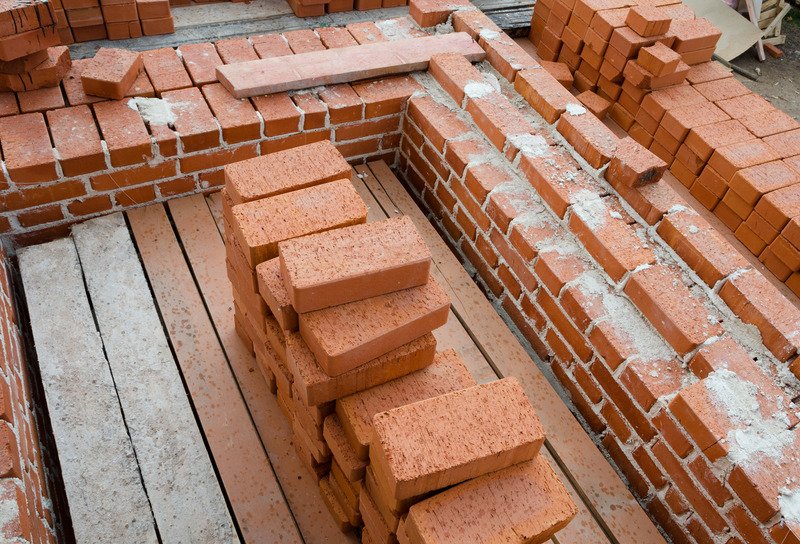
While the 15 items listed above should cover almost any bricklaying work, a few other things may qualify for your bricklaying tools list in certain instances:
Cement Mixer
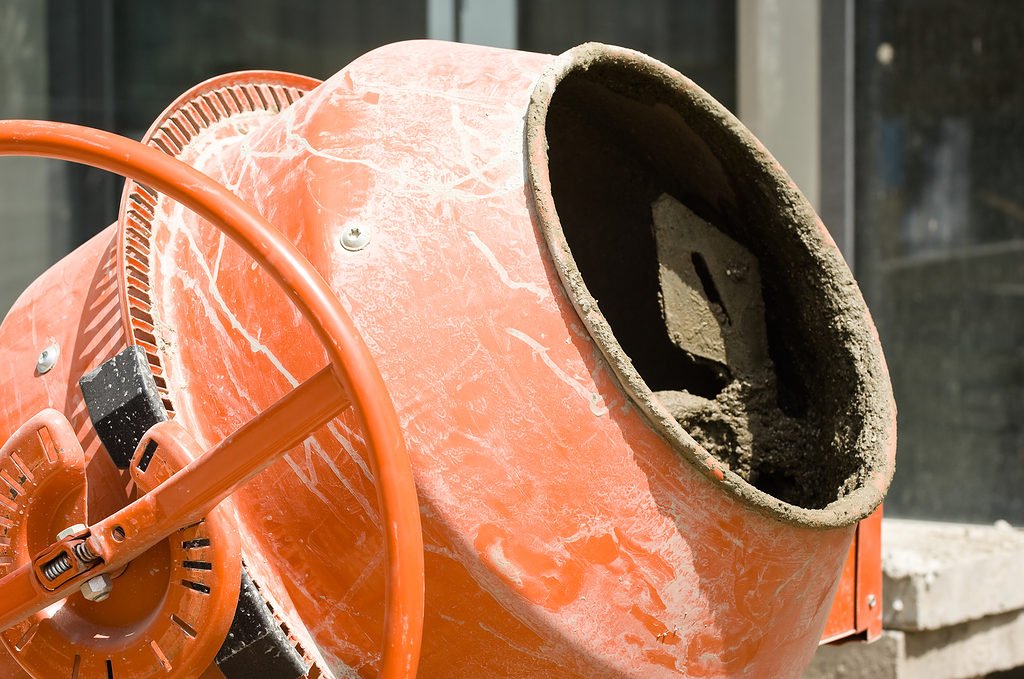
Nothing beats a cement mixer for mixing large quantities of cement while keeping it sufficiently viscous.
However, cement mixers are bulky and heavy machines, which we only recommend for major jobs like building a six-foot wall or constructing a patio.
Pro Tip: DIY Doctor has published a video guide to using cement mixers.
Jointing Tool
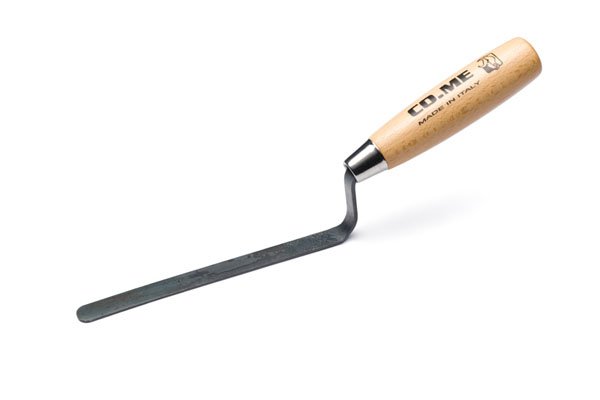
If you don’t want the mortar to stand flush with the bricks, a jointing tool creates a concave or V-shaped recess along each mortar strip.
This recess is aesthetically pleasing, but it does generate excess mortar, which is often partially dried by this point and non-reusable.
Joint Raker
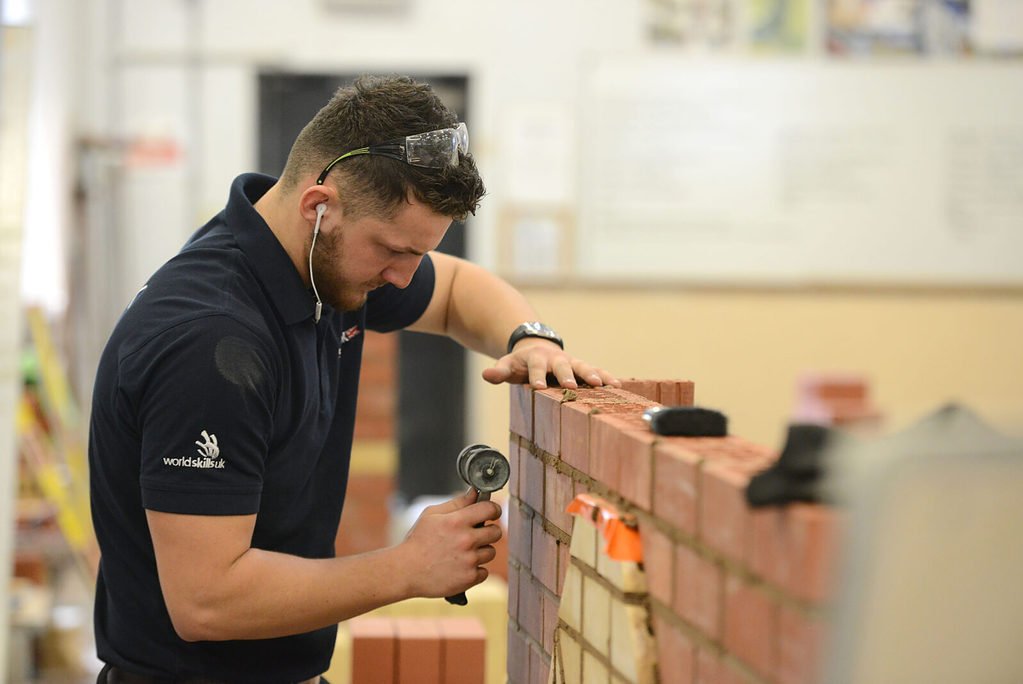
A raker scrapes out mortar to a pre-determined depth, which might otherwise be hard to reach.
Note: This tool is only valuable if you want to remove old mortar before repointing existing brickwork.
Square
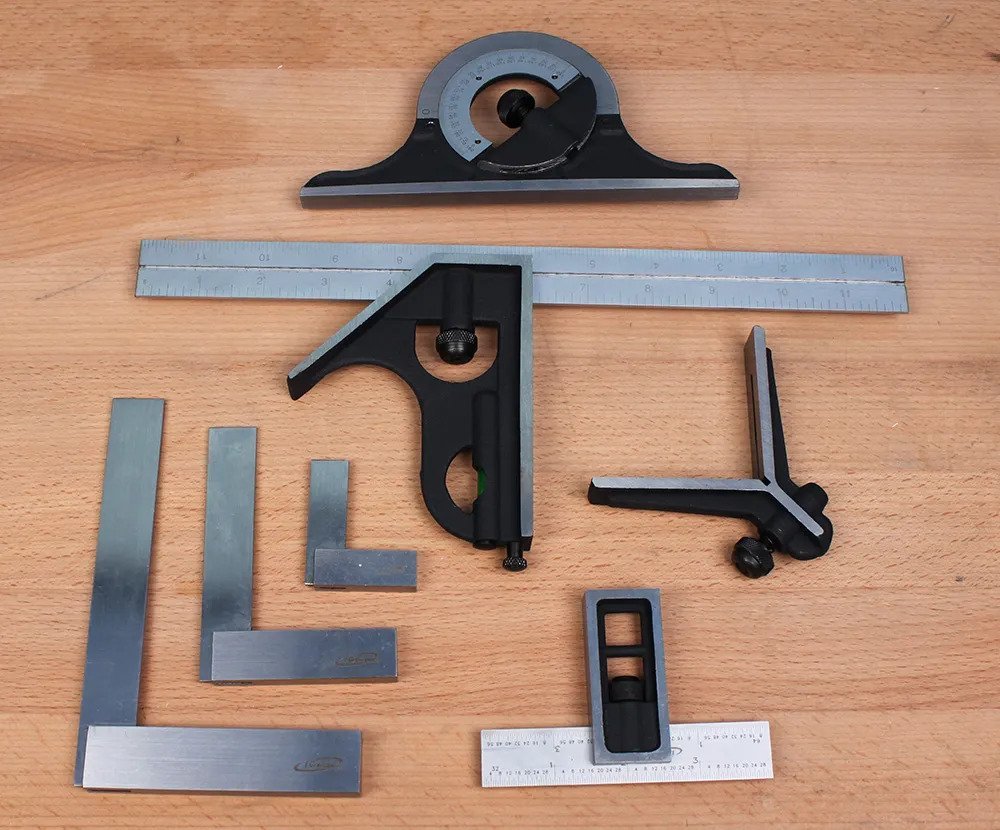
Many DIYers with a keen eye for detail are happy using a sliding bevel and spirit level to judge corners. A steel square ensures you correctly define right angles if you’re not so eagled-eyed.
Laser Level
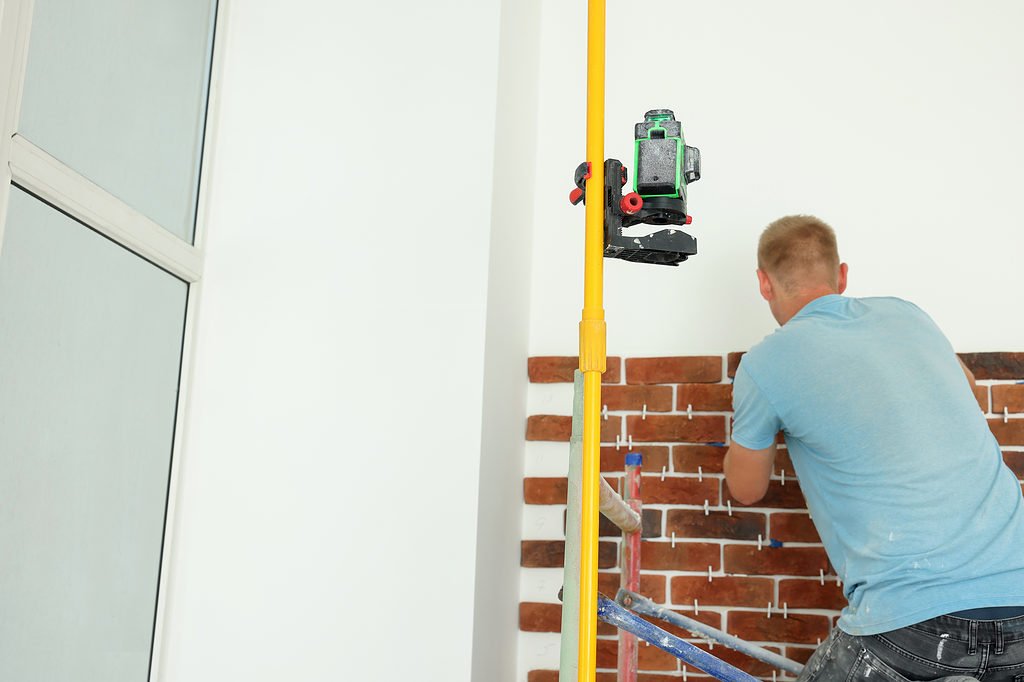
A laser level provides millimetre-perfect accuracy when you work on uneven ground or require a fully horizontal top brick line to support a roof.
You might also need a tripod to mount it; this is one area where it’s worth spending extra on a premium product.
HowStuffWorks explains the science behind laser levels and how to use these surprisingly sophisticated devices.
Final Thoughts — Bricklaying Tools List
Bricklaying jobs vary in scope, scale and complexity. We reckon the 15 items above will benefit anyone planning to construct or repair brickwork. Still, depending on the nature of your job, some of our optional extras may also be a worthwhile investment.
If funds are tight, you might manage without laser levels and set squares, but we wouldn’t recommend attempting significant amounts of brickwork without them.
Pro Tip: Many brick-based construction projects need planning permission, even if you’re working in a private back garden. Check out our list of projects which don’t need planning permission to ensure your proposed work won’t need an application to the local council.
FAQ
How many different types of trowels are there?
We recommend pointing and brick trowels as essential components of any bricklaying tools list, but other types exist. Edging trowels create smooth finishes, flooring trowels are great for corners, and finishing trowels are handy for plastering a brick wall.
Should I cut bricks manually or use machinery?
The answer often depends on convenience and practicality. For example, a circular saw is unnecessary if constructing a dwarf wall for a new patio.
If you’re building large walls with irregular angles, it’s worth investing in precise cutting equipment to minimise physical labour. However, if space or finances are tight, a hammer and chisel should be sufficient to ensure neatly cut bricks.

