Scrim tape seals the joints between plasterboard panels to prevent cracking in the outer layer of wet plaster.
Scrim tape is easy to apply, inexpensive, and essential for a smooth finish. In this guide, I’ll show you how to use scrim tape like a pro.
In a Hurry? Find top-rated plasterers in your area by clicking the button below:
Tools & Materials
Tools
- Sharp knife
- Scissors
Materials
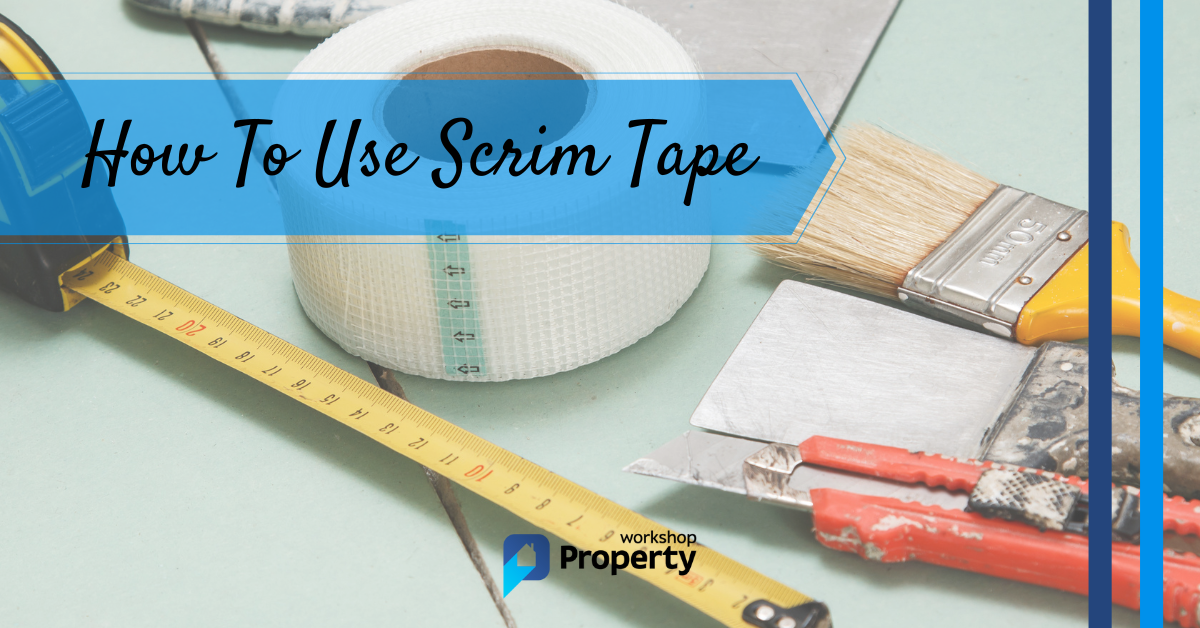
- Scrim tape (also known as panel joint tape)
Why Use Scrim Tape?
If you’re familiar with fitting plasterboard, you’ll know there are many joints between the fitted plasterboard panels. These joints become weak when you add wet plaster over your plasterboard panels. Scrim tape is the answer to this problem as it seals and strengthens the joints.
How To Use Scrim Tape — Step-by-Step Instructions
Follow the steps below to use scrim tape like a pro!
1. Secure to Start
Starting at the top of a joint between two plasterboards, stick around 2 or 3 inches of tape in place. The tape should have equal amounts on each plasterboard panel, with the joint located directly down the middle of the tape. Once you’ve stuck the scrim tape, it should hang freely, allowing you to position it in step 2.
2. Work Down the Joint
You can now secure the scrim tape the whole way down the joint by simply pressing it into place with your hands. You can use a sharp knife or scissors to cut as required.
3. Corners
Corners need a little extra attention as the scrim tape needs to sit right in the corner. It can compromise the wet plaster finish if it doesn’t fit well.
You can do this by securing at the top of the corner joint as in step 1, then use your scissors and run the blunt edge straight down the corner joint pressing the tape into the corner as you go.
You can then secure the edges of the scrim tape by hand.
Pro Tip: Don’t overlap pieces of tape; it will compromise the finish
4. Don’t Forget Small Joints
Don’t forget the small sections! For example, you may find small joints around windows that need finishing. You will need smaller sections of scrim tape, but no matter how small, no joints should be left unfinished.
Pro Tip: Only use scrim tape for flat joints and internal corners. For external corners, beading should be used.
5. Time to Finish the Job
Once the tape is secured, you can plaster directly over it. You won’t be able to adjust or remove the tape once you’ve plastered, so make sure you are happy with the positioning before you begin plastering.
For help finding the right plaster for your job, check out this guide on the most commonly used plaster types and how to use each one.
Don’t fancy doing this job yourself? Find top-rated plasterers in your area by clicking the button below:
How To Use Scrim Tape — Final Thoughts
Scrim tape is an easy and cost-effective way to make sure your plasterwork looks good for longer. It’s straightforward to use and effective at preventing cracks*.
*Pro Tip: If you want to repair cracks, try using jointing tape and watch the video below from Bunnings:

From painful experience, we know you shouldn’t skip scrim tape when plastering over the plasterboard.
For more dry-lining tips, check out our guide to plasterboarding a stud partition wall.