Property Workshop is proudly reader-supported. When you buy through links on our site, we may earn a small Amazon affiliate commission but this does not affect the price you pay. Learn more here.
Choosing the best plasterboard fixing is tricky, and picking the wrong one can mean disaster for your favourite painting or mirror.
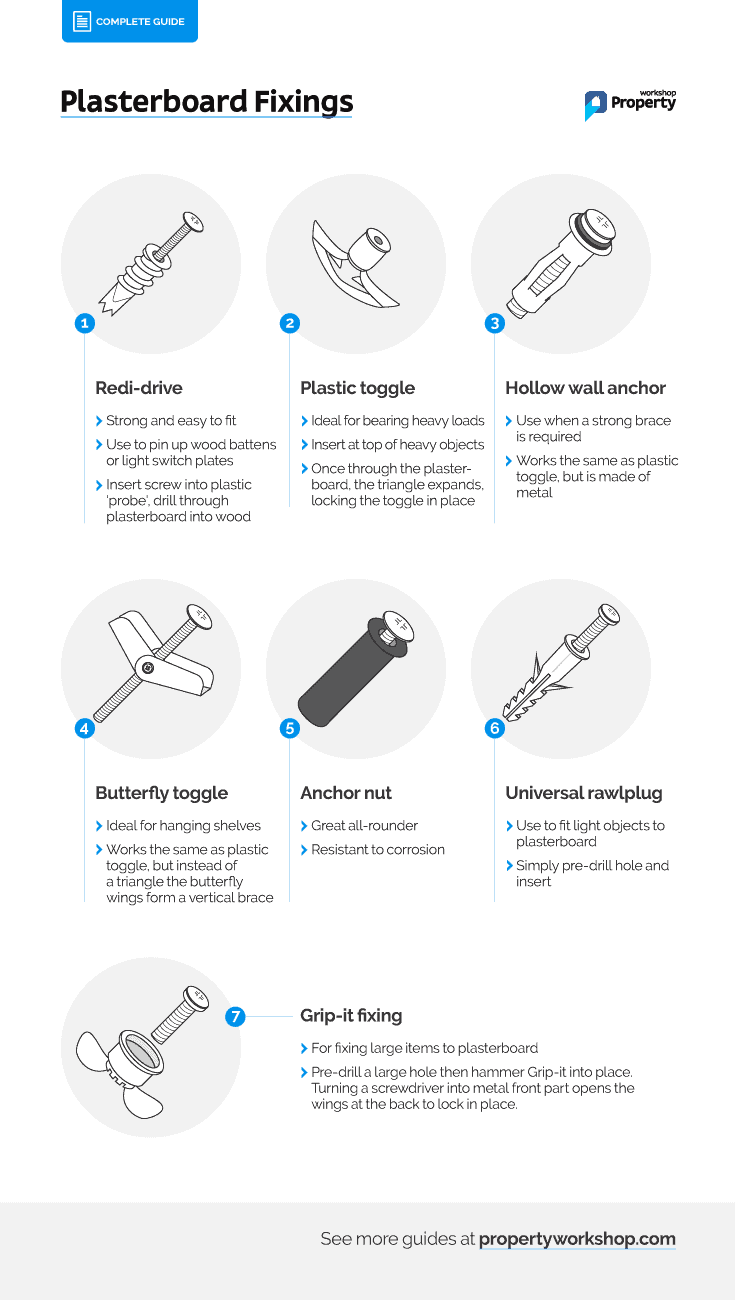
In this guide, we’ve spent hours narrowing down a huge selection of plasterboard fixings to seven essential types. These seven types cover any fixing job you’re likely to undertake.
The 7 Best Plasterboard Fixings In 2024
Below are the seven most commonly used plasterboard fixings and their uses.
Pro Tip: Although we provide brief instructions on how to use each fixing below, always check the instructions on the packaging for more details.
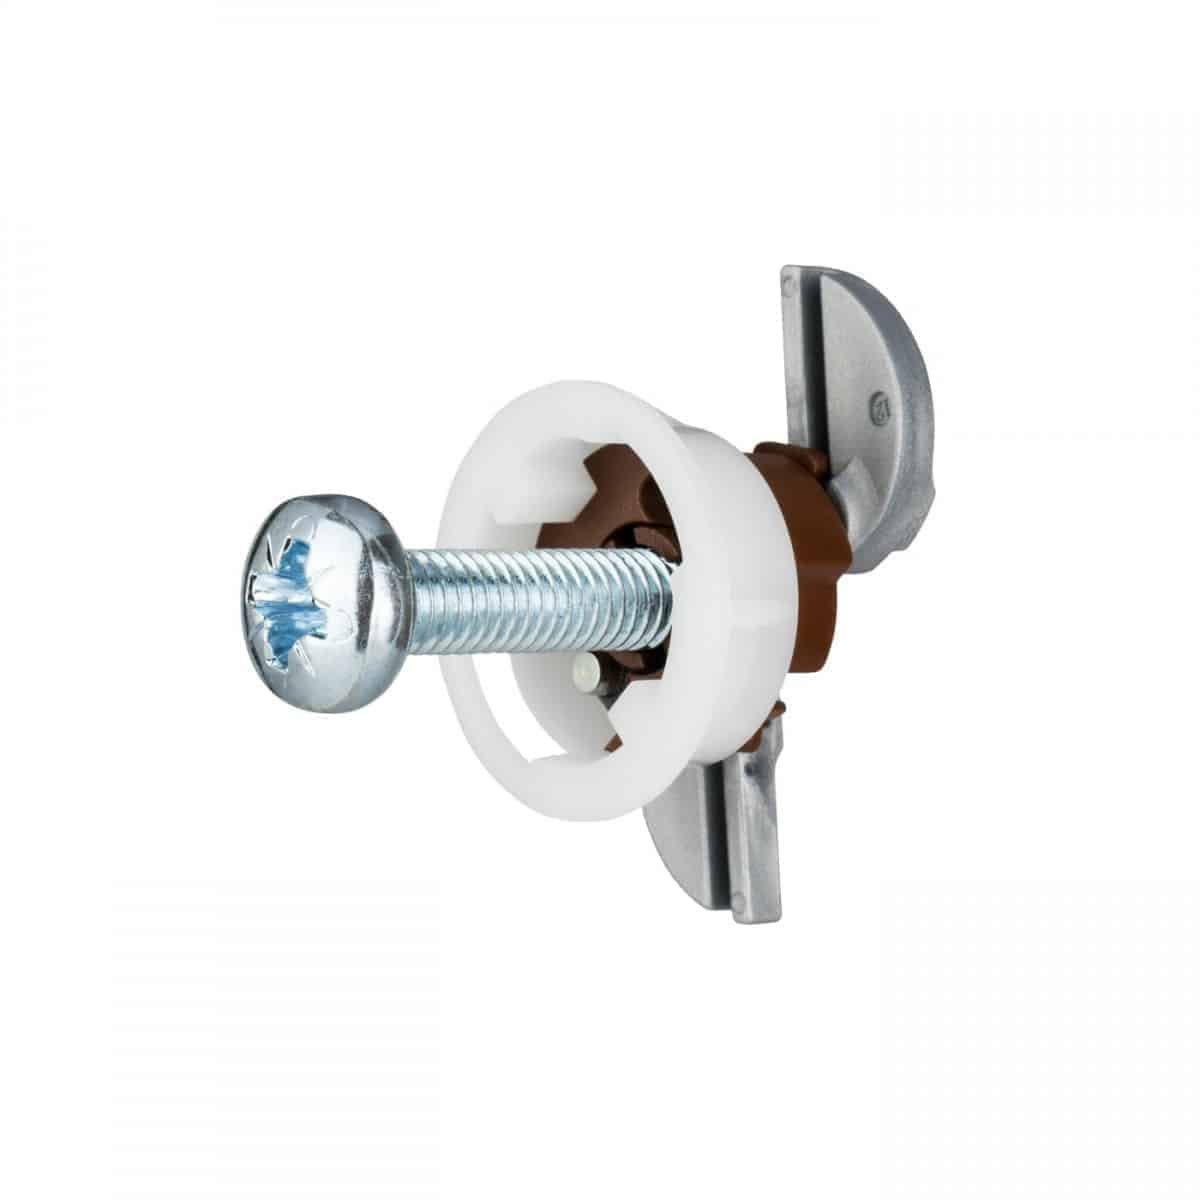
1. GRIPIT Fixings
When To Use GRIPIT Fixings
Use GRIPIT for fixing large items, such as TVs, to plasterboard.
How To Use GRIPIT Fixings
- Select the proper GRIPIT fixing based on the weight it must support. There are four types of GRIPIT fixings, each rated by the maximum weight it can hold:
- Blue (113kg)
- Brown (93kg)
- Red (74kg)
- Yellow (71kg)
- Drill a 15–25mm hole in the wall.
- The exact size depends on which of the four types you use — see packaging for hole diameter.
- Lightly tap the fixing into the hole with a hammer.
- Insert a screwdriver into the fixing and turn it clockwise to rotate the metal wings at the back, locking the GRIPIT in situ.
At PWS, we’re big fans of the GRIPIT Blue fixing below because it’s the strongest of all four types.

GRIPIT Blue
- Gripit blue holds up to 113KG.
- A unique 3-way gripping system adjusts to plasterboard depth and distributes weight more effectively.
- The collar adjusts to the thickness of the plasterboard from 9.5-15mm.
- The wings open to hold Gripit in place, and the ribs stop it from rotating.
- The screw draws the wings into the back of the plasterboard for a more effective hold.
- Made from ultra-strong and extremely lightweight Polyacetal.
- The white collar has a slim profile which is easy to conceal, and the turning mechanism makes it super easy to retract the wings for reuse or repositioning.
And here’s a great video on how to use them for fixing TVs to plasterboard:

2. Redidrive (self-drive)
When To Use Redidrives
Redidrives are sturdy, easy to fit and great for pinning plasterboard to wood battens.
How To Use Redidrives
- Insert a long screw and drive through the plasterboard into the timber stud.
- Drilling a small pilot hole isn’t necessary, but it guards against the screw snapping.
- Only use redidrives on timber stud walls because they cannot affix plasterboard to masonry.
Pro Tip: Confusingly, people often refer to these fixings as ‘Ready Drive’.
We’re big fans of the redidrive fixings below:

fischer Self Drill Cavity Fixing
- Fixing requires less space behind plasterboard due to a short fixing length.
- Suitable for lightweight objects only.
- No drilling is needed when used on simple planked gypsum plasterboard.
- Suitable for pre-positioned installation.
3. Plastic Toggle
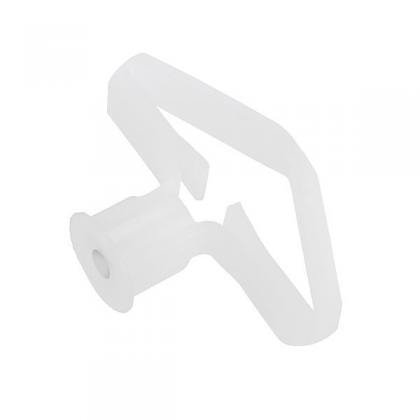
When To Use Plastic Toggles
Plastic toggles are ideal for bearing heavy loads.
How To Use Plastic Toggles
- Drill a hole in the plasterboard.
- See packaging for hole diameter.
- Push the fixing into the hole.
- The triangle part collapses so you can push it through a pre-drilled hole.
- Once through the hole, the triangle bounces back, fixing the toggle in situ.
- Drive a screw through the fixing and into the plasterboard.
- The triangle is drawn up towards the plasterboard, creating a robust fix.
We’re big fans of the plastic toggles below:

TOGGLER Hollow Wall Anchors
- Reinforces the plasterboard and spreads the load.
- Vibration and shockproof.
- Anti-Rotation fins prevent spinning.
- Non-magnetic/conductive.
And here’s a great video from TOGGLER on how to install them:

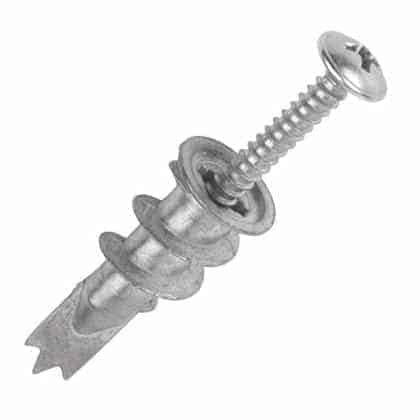
4. Hollow Wall Anchor (or cavity fixing)
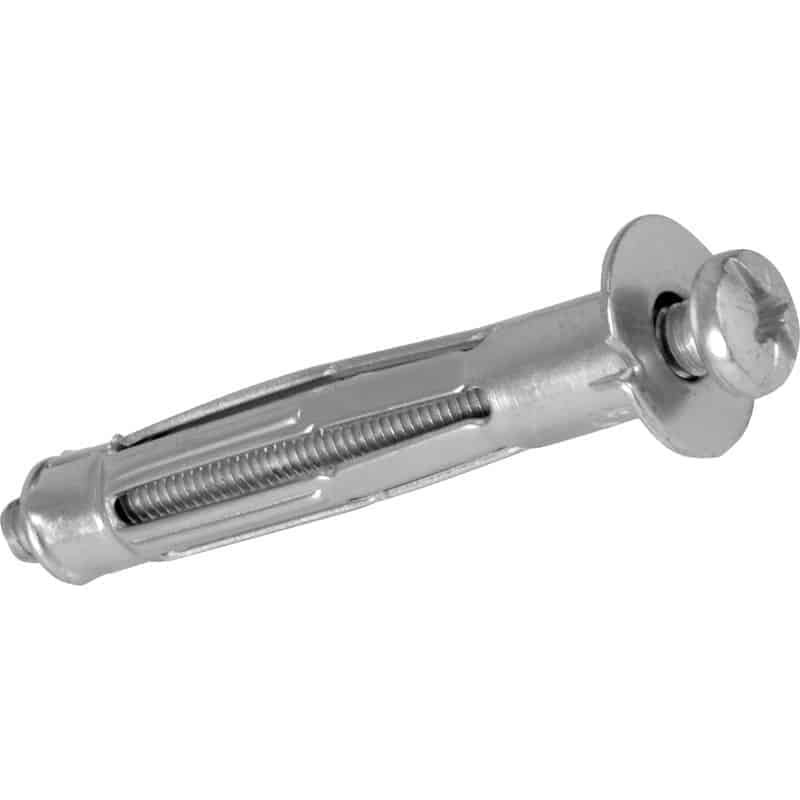
When To Use Hollow Wall Anchors
Also known as cavity wall fixings, hollow wall anchors fix large objects to plasterboard.
How To Use Hollow Wall Anchors
- Hollow wall anchors work like plastic toggles, although the anchor part is metal and not triangular.
We love the cavity fixings below:
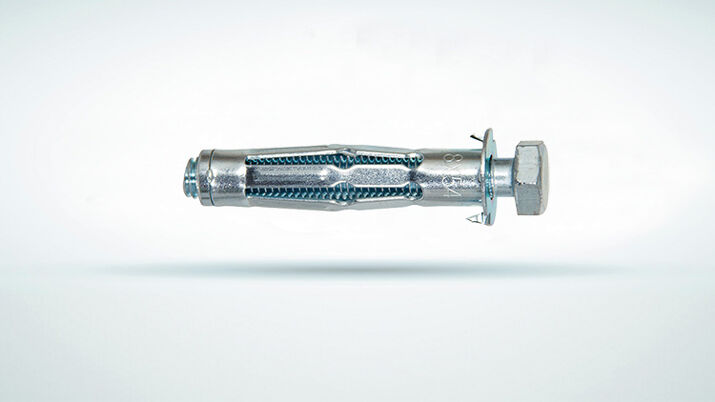
fischer Metal Cavity Fixing
- Repeated removal and installation don't reduce load-carrying properties.
- High-load capacity due to expansion arms.
- Claws secure fixing in plasterboard.
- Suitable for pre-positioned installation.
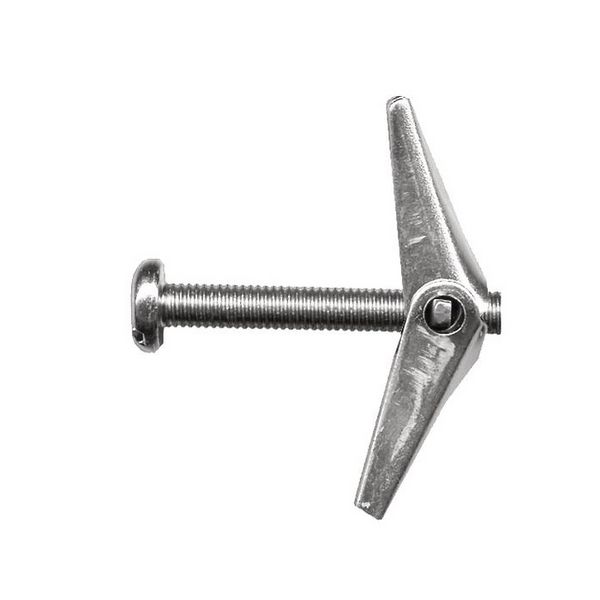
5. Butterfly Toggle
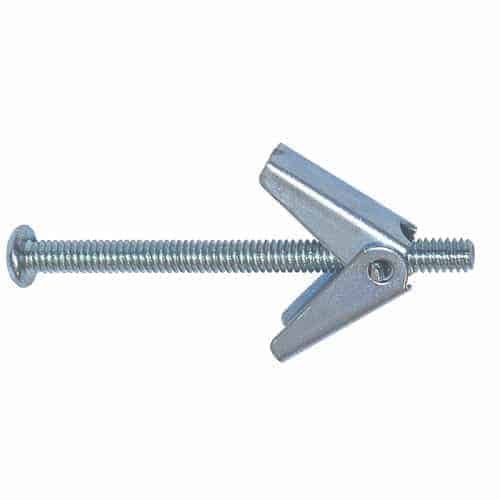
When To Use Butterfly Toggles
Butterfly toggles, or spring toggle cavity fixings, are ideal for hanging shelves.
How To Use Butterfly Toggles
- These fixings work almost the same as plastic toggles and wall anchors.
- The metal toggle flattens back against the plasterboard when you insert the screw, forming a vertical brace.
We love the butterfly toggle fixings below:
fischer Spring Toggle Fixing
- Work great on gypsum plasterboard, fibreboards, chipboard, plywood and cavity slabs.
- Suitable for overhead applications.
- Toggle expands behind plasterboard, securing the fixing
- Sprung-loaded pre-assembled head for simple installation
6. Rubber Anchor Nut
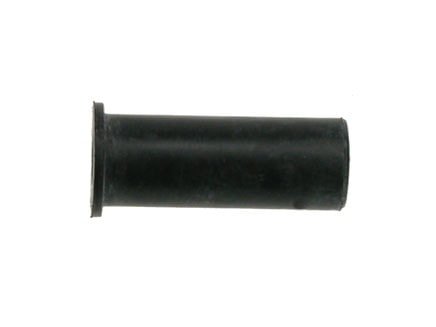
When To Use Rubber Anchor Nuts
A rubber anchor nut is a great all-rounder, fitting into irregular holes and resisting corrosion.
How To Use Rubber Anchor Nuts
- Drill a hole in the plasterboard.
- See packaging for hole diameter.
- Bash the fixing into the hole with a hammer.
- Drive a screw into the cylinder.
- A metal thread inside the rubber cylinder guides the screw.
7. Universal RawlPlugs
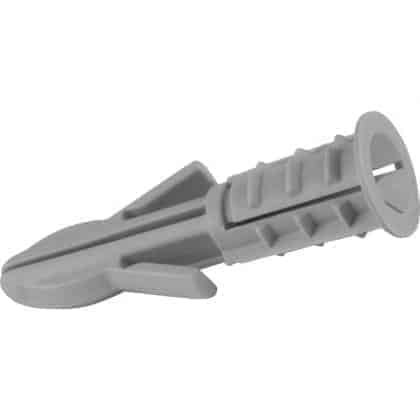
When To Use Universal RawlPlugs
Only use universal rawlplugs for lighter objects, such as small picture frames. As always, check the instructions on the packaging for maximum load details.
How To Use Universal RawlPlugs
- Drill a hole in the plasterboard.
- See packaging for hole diameter.
- Insert the plug.
- Drive a screw into the plug.
We love the rawlplugs below:
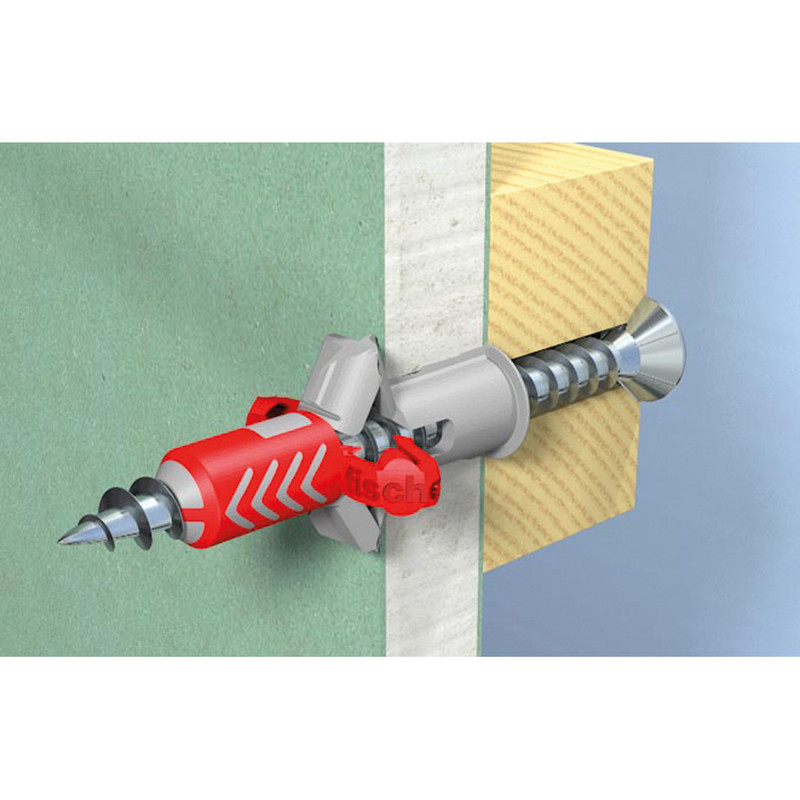
fischer DuoPower
- Composite parts produce better performance.
- Works on solid, hollow and panel building materials.
- Easy installation - Narrow edge prevents fixing from falling deeper into the drill hole.
Final Thoughts
When choosing a plasterboard fixing, always consider the material (e.g. timber, masonry or metal) behind the plasterboard, if any, and the maximum load the fixing must support.
Pro Tip: Run a stud detector over your walls to prevent drilling/driving through water pipes or electric cables.
If you want more info about wall fixings, check out our guide to fixing into plasterboard, brick and breezeblock.
Plasterboard Fixings Infographic