On too many occasions, I have tried to cut corners using the wrong tools, and always to my cost.
In this guide, I provide the definitive plastering tools list so you can avoid my mistakes and plaster a wall like a pro.
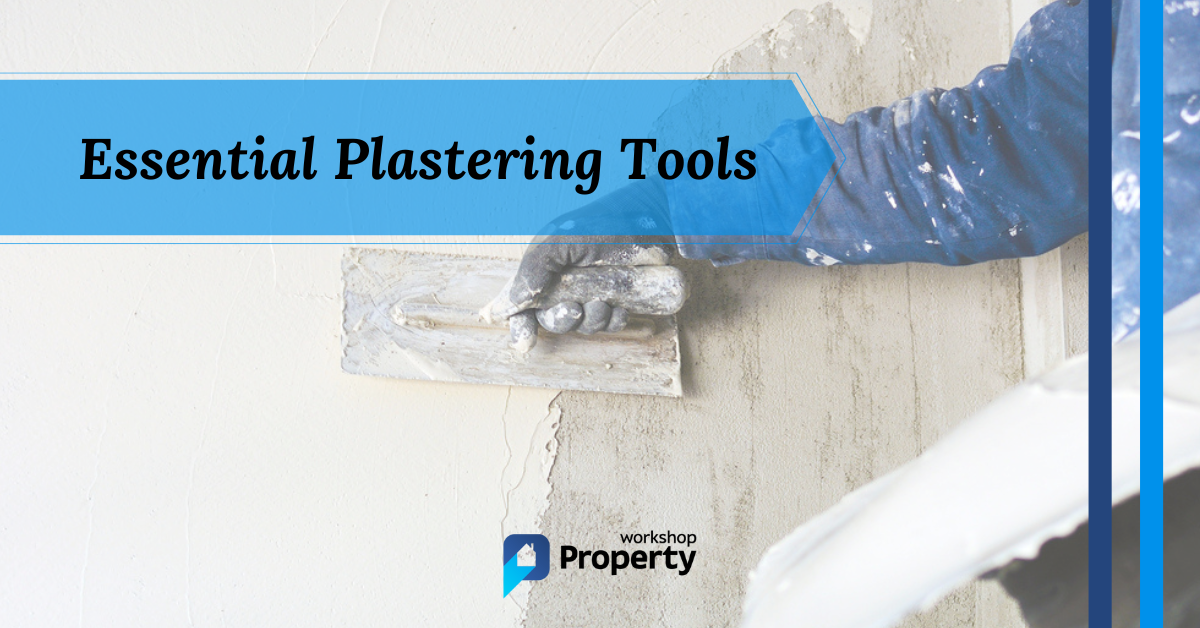
14 Must-Have Plastering Tools
Let’s dive right in with our definitive list, starting with the single most crucial tool any plasterer needs:
1. Hawk
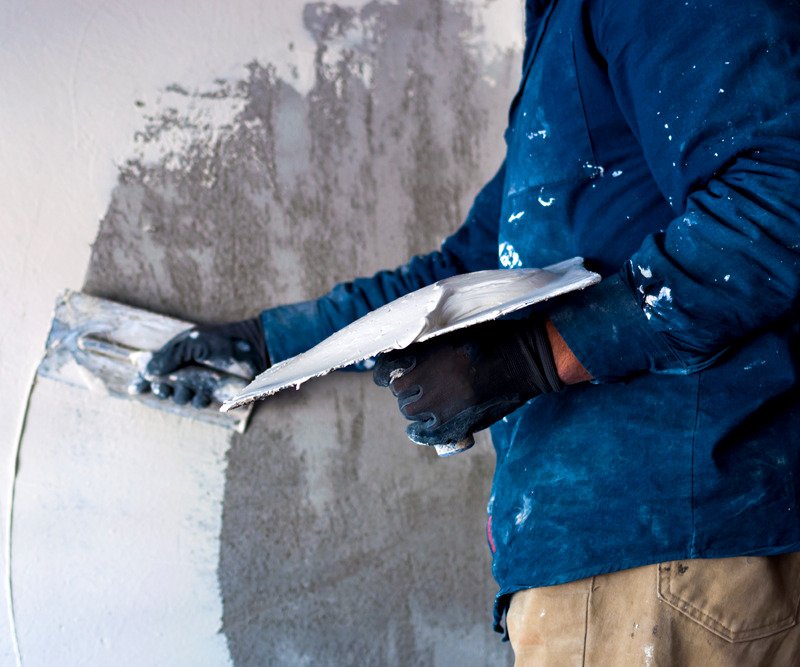
The plasterer’s hawk is a flat board with a straight handle beneath. It enables the plasterer to hold the render with one hand while applying it to the wall with the other.
Hold it next to the wall and push the plaster with the trowel to get maximum coverage and minimum wastage.
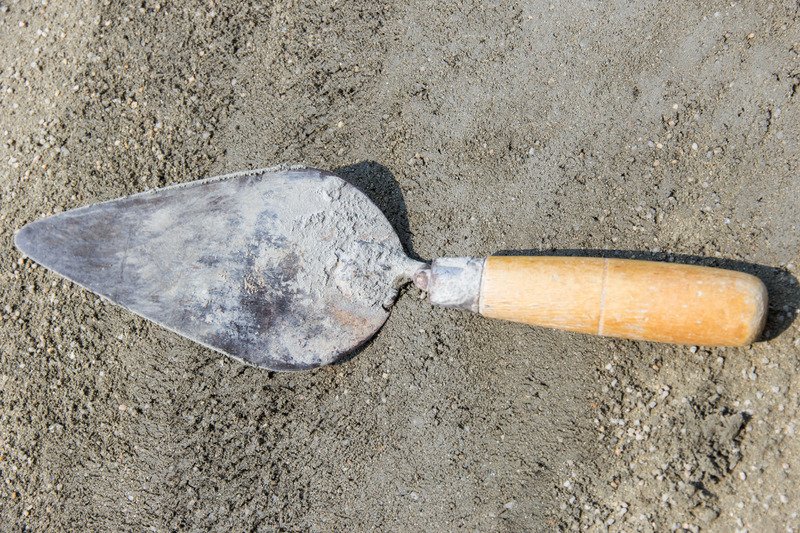
2. Bucket Trowel
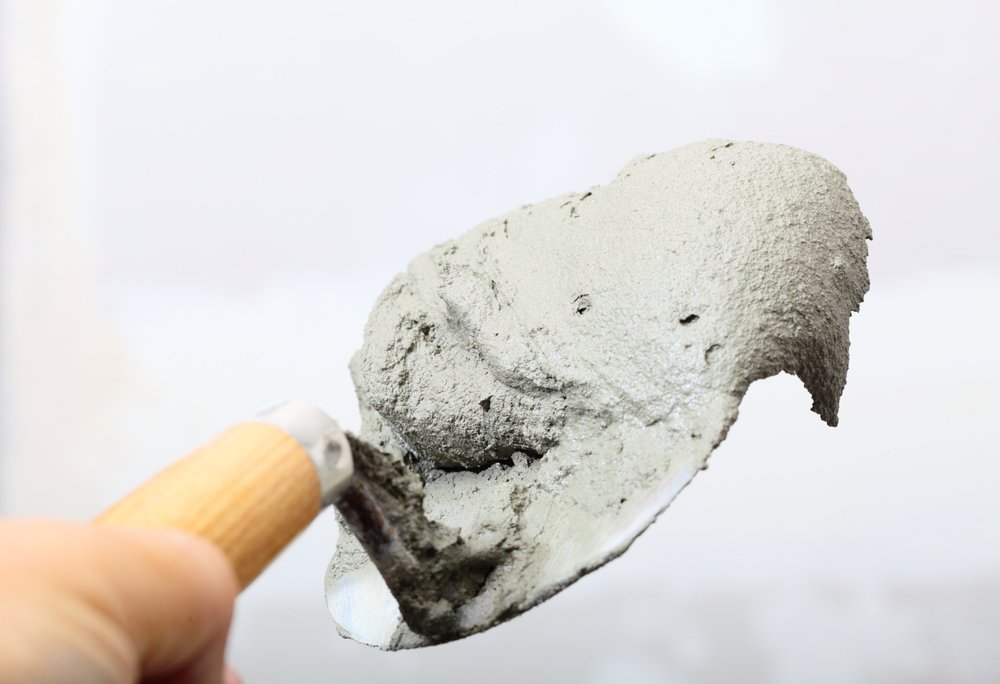
The bucket trowel (you guessed it) scoops wet plaster from your bucket onto your hawk.
The bucket trowel needs to be sturdy because wet plaster is heavy. It’s another “must-have” in any plasterer’s tool kit.
Pro Tip: Look for a model with a comfortable handle because hand fatigue quickly sets in when you scoop plaster for hours on end.
3. Mixing Bucket
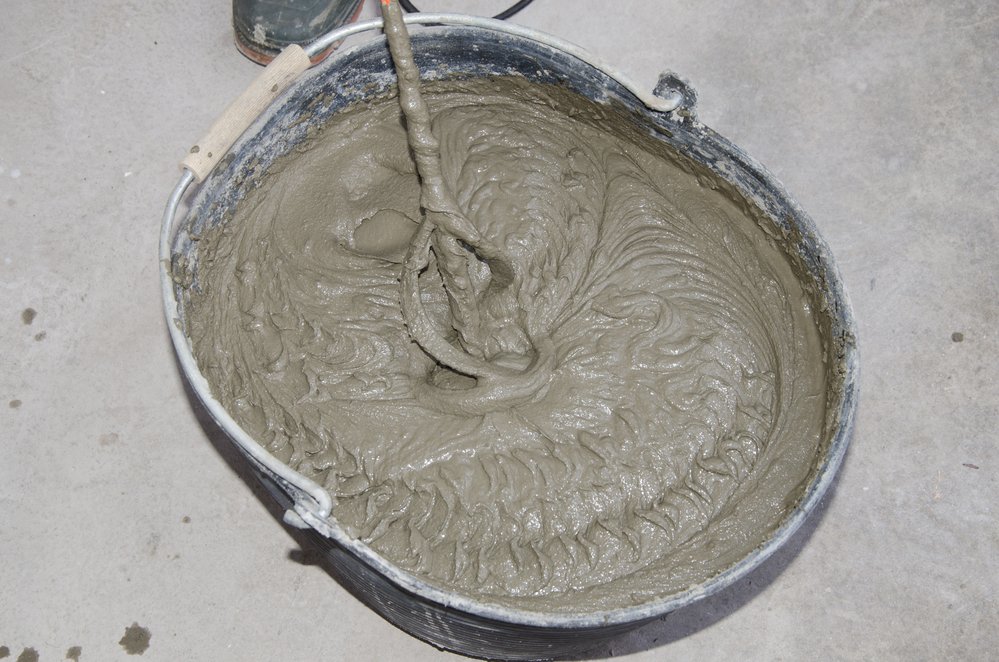
Without a mixing bucket, you won’t be making any plaster.
Look for a decent size bucket like this flexible builder’s bucket from Wickes that holds 75 litres.
Pro Tip: Ensure that the bucket is clean before you mix the plaster because it could compromise the final finish if you get hard lumps.
4. Finishing Trowel
A finishing trowel smooths the plaster once it goes onto your chosen surface. It leaves a neat and uniform finish, ready for the next tool in the arsenal.
5. Corner Trowel
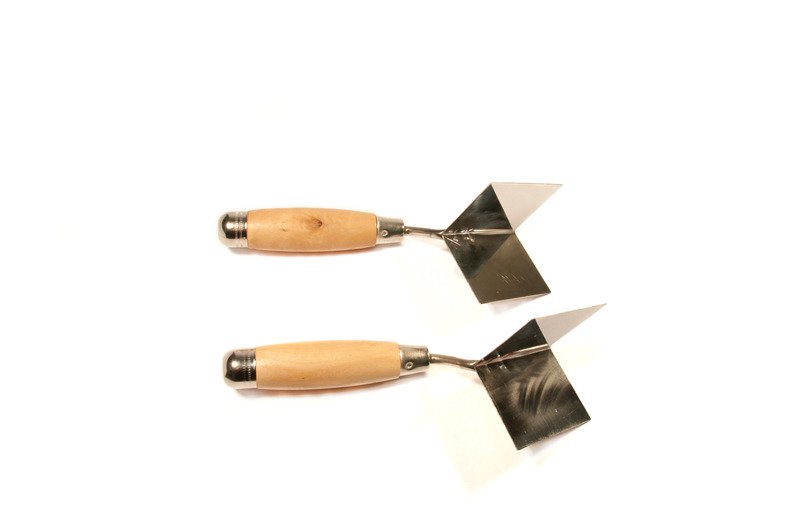
Corner trowels come in outside and inside models. They’re essentially V-shaped trowels that help create smooth and sharp edges where walls meet or window recesses begin.
They make light work of corners compared to a traditional flat blade and produce a more professional finish.
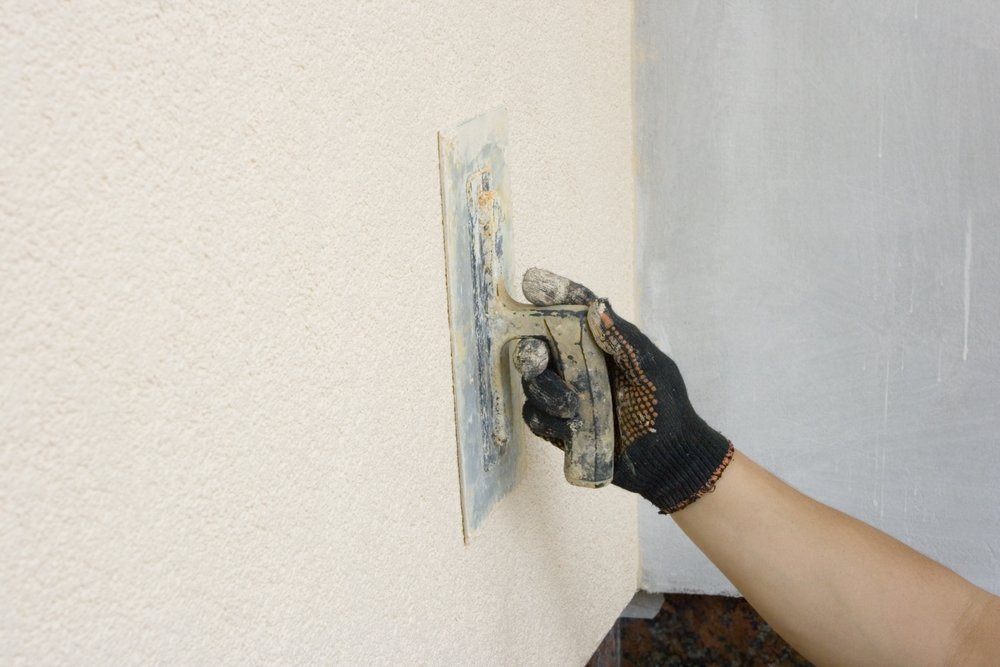
6. Plaster’s Float
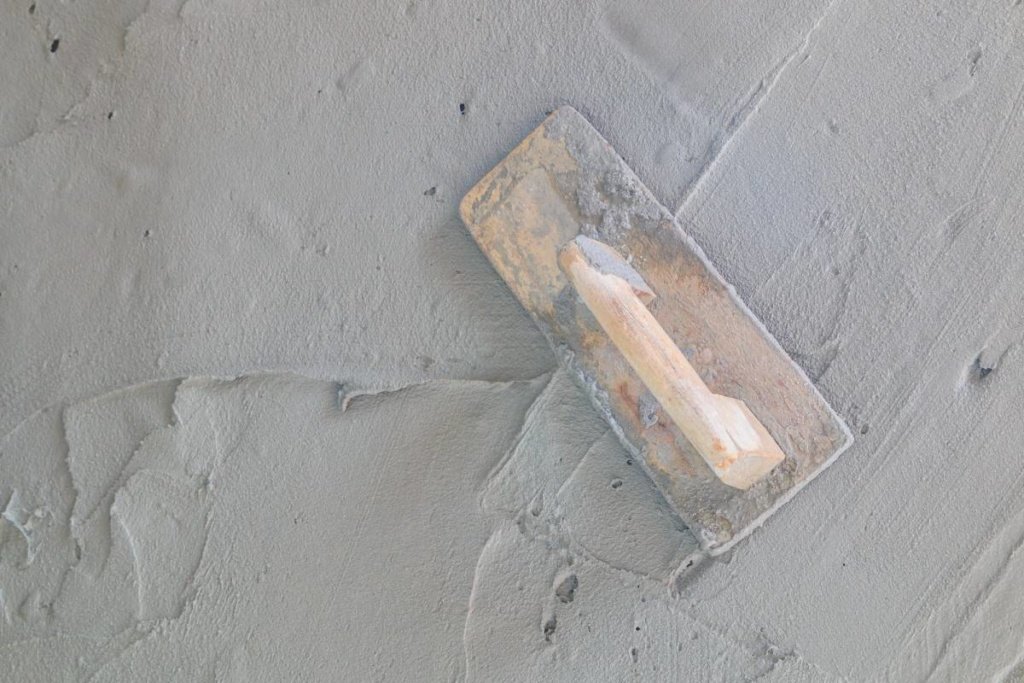
Once you’ve added the final layer of plaster, you must sweep across the surface with the float to add smoothness for a professional finish. The plasterer’s float is crucial because you’ll never achieve a flat surface without it.
Once the plasterwork has dried, check out our guide to painting new plaster for step-by-step painting instructions.
7. Window Trowel
As the name suggests, the window trowel helps you get fine detail in and around windows. It has a smaller blade, so you can access hard-to-reach areas and work on irregular shapes and surfaces.
8. Mortar Stand
A mortar stand makes life easier when you want to store tools or stand the mortar bucket. It’s a simple accessory with folding legs that prevent bending down to scoop plaster onto the hawk.
Pro Tip: If you don’t have a mortar stand, a set of steps with a flat surface will do.
9. Sponge and Sandpaper
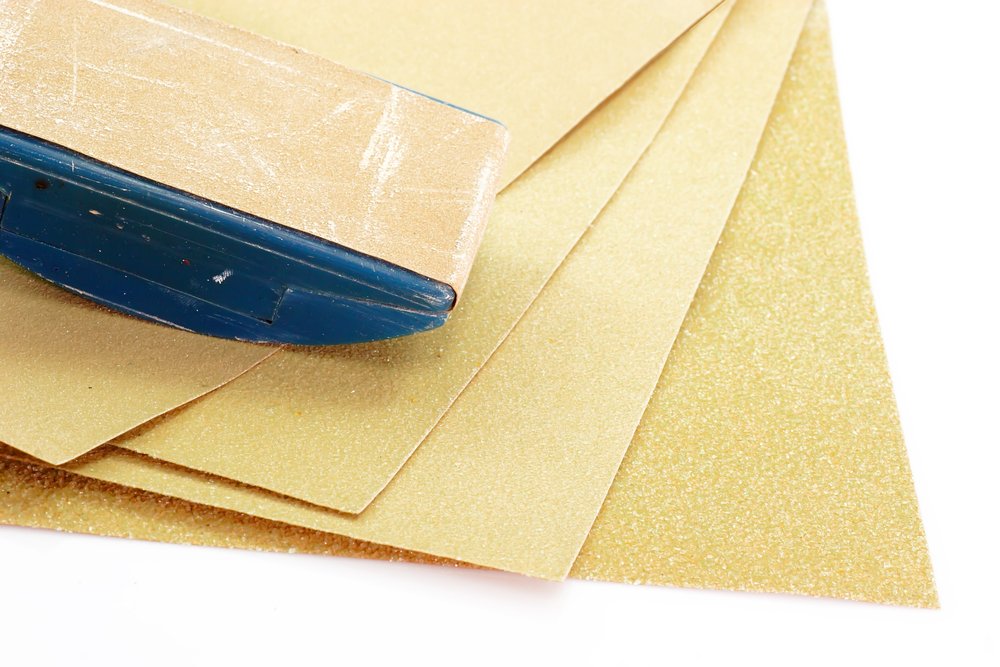
Sandpaper is perfect for smoothing out uneven surfaces as the plaster dries. Use finer grit sandpaper for the best results.
A sponge works by wetting the plaster and smoothing it to a high-quality finish just as it starts to set.
Many plasterer’s floats have a sponge base to get that silky-smooth finish, so combining the two could save you money.
10. Jointing Knife
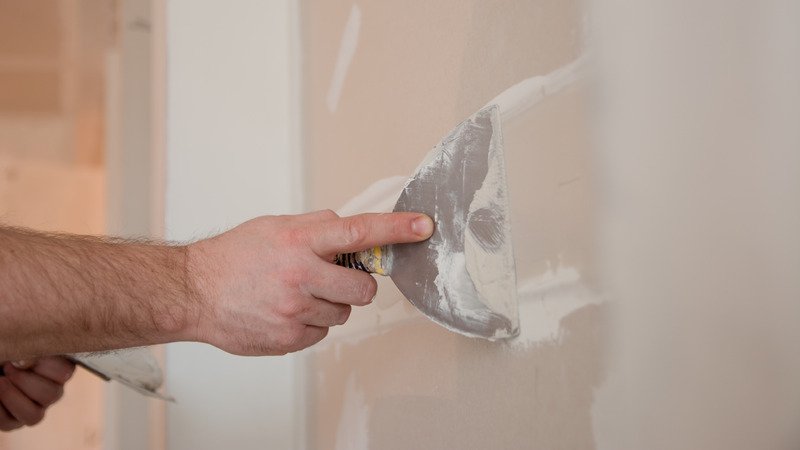
The jointing knife smooths cracks, holes, and gaps between two sheets of plasterboard. It has a wide, flexible blade, allowing you to work in larger sections without compromising smoothness.
A jointing knife is vital when smoothing plasterboard sheets on your ceiling because you need to conceal the gaps between each panel. For more tips, check out our guide to plastering a ceiling.
11. Ladder
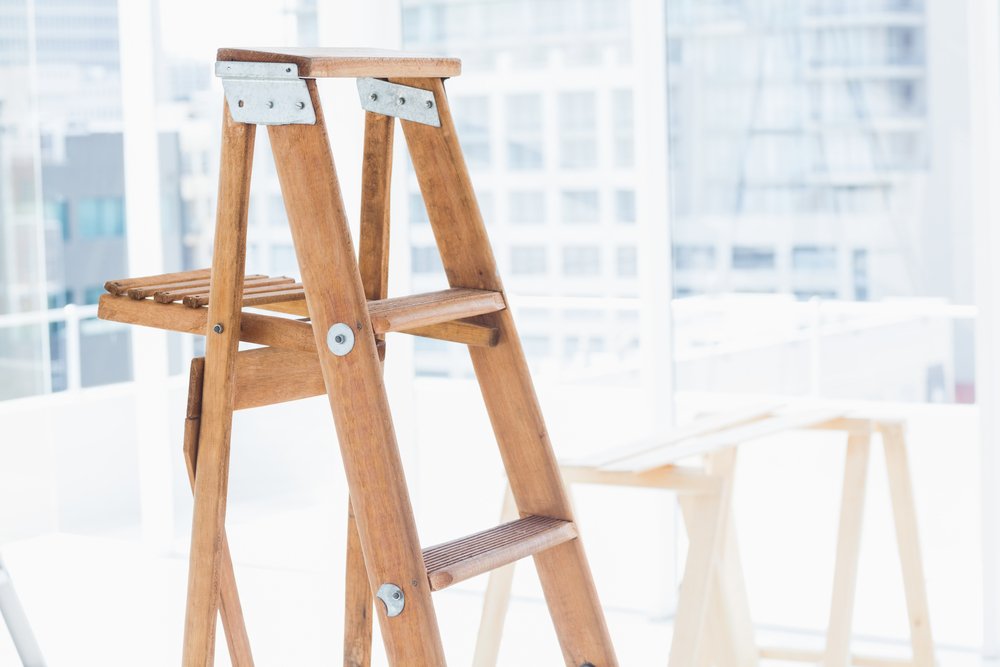
Without a ladder, you’re restricted to plastering at lower levels. Step ladders are the most commonly used because they’re stable and safe and give you a platform to place your tools.
You could invest in a multi-ladder that adapts into several shapes. This model by Little Giant has four rungs, transforms into a wall ladder and step ladder, and copes with uneven surfaces like stairs.
12. Plasterer’s Stilts
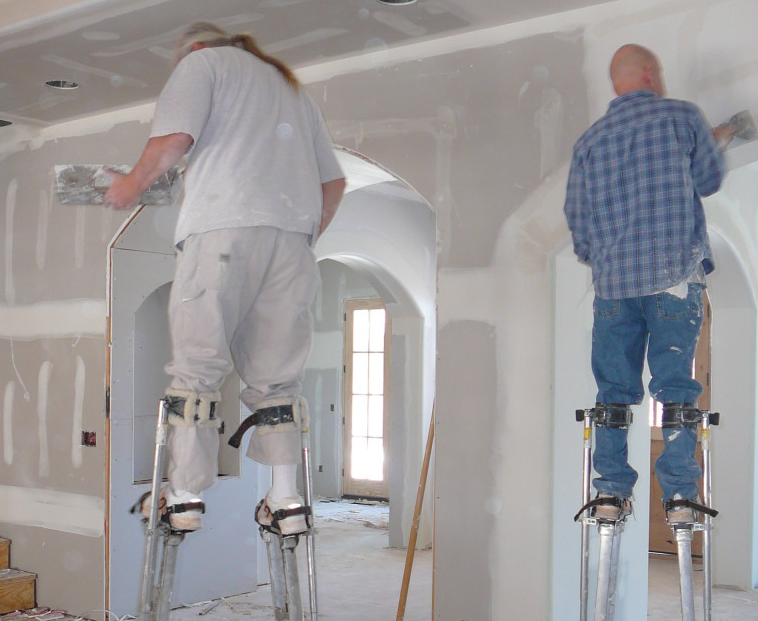
Plasterer’s stilts enable you to move about quickly and speed up the process because you don’t have to climb ladders.
However, they’re more of a luxury than an essential item because a ladder works just as well.
Not everyone can walk on plasterer’s stilts, so make sure you practice or risk a severe injury and a trip to A and E.
13. Scarifier
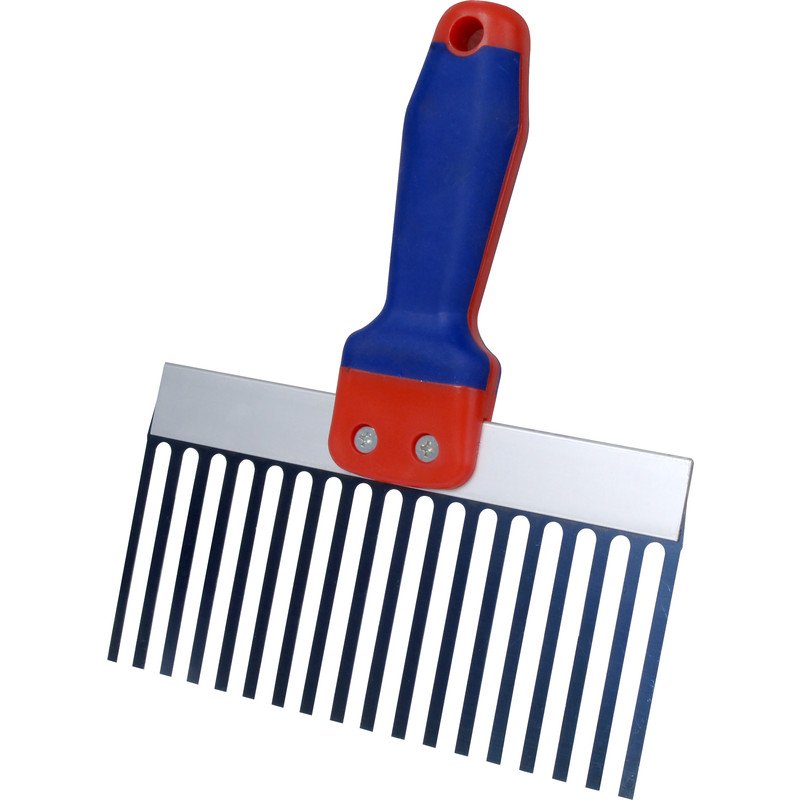
A scarifier is like a giant metal comb that scratches the render before applying the second plaster coat. Because you can comb lines straight onto the render, it gives the second plaster coat a better bonding surface.
A scarifier should be high on your shopping list if you care about the finish.
14. Snips
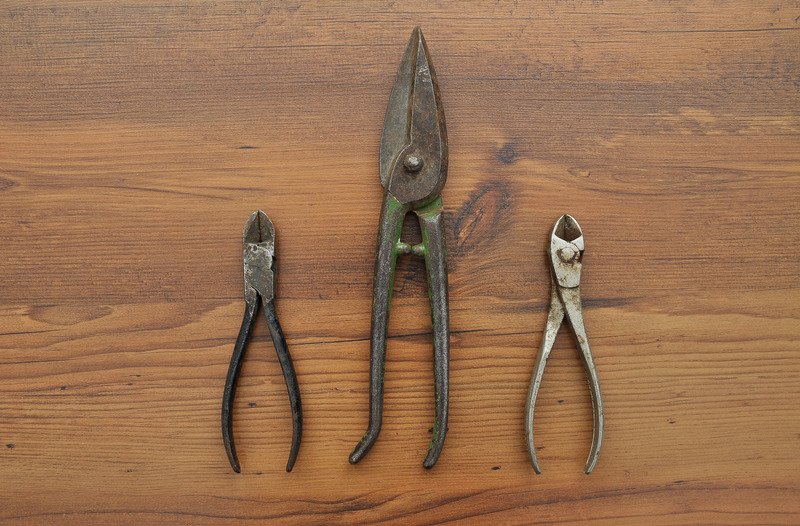
Snips may not seem like a plastering tool, but modern plasterers use metal beading to get sharp edges on walls where corners meet.
You’ll need a sturdy pair with long handles to make light work of cold and stainless steel beading.
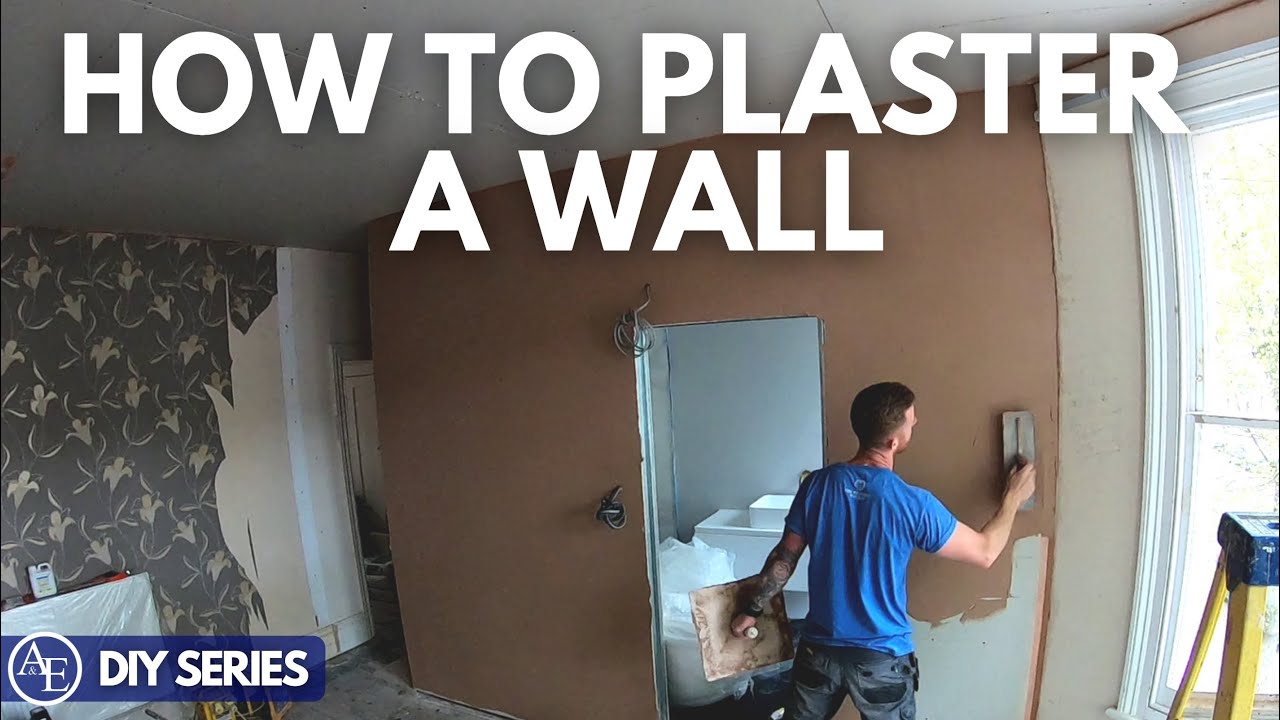
For some great tips on plastering a wall for beginners, watch the video below:
Safety First!
We’ve covered every tool you need when undertaking a plastering project, but we haven’t spoken about safety. Plaster contains gypsum, which can cause respiratory problems if inhaled.
Long-term exposure could lead to COPD (chronic obstructive pulmonary disease), which causes shortness of breath. Plaster dust also irritates your skin, nose, and eyes, so you must wear a face mask and safety goggles to avoid contact when mixing plaster.
Final Thoughts
Plastering is tricky and can take years to master. So if you don’t fancy doing it yourself, check out Rated People and find top-rated plasterers in your local area.
If you decide to do it yourself, remember this; a shoddy worker always blames their tools. However, experience tells me they blame the tools they don’t have, but with our definitive list, you always come prepared.
For more information on plastering prices, check out our plastering cost guide.