Wallpapering is a surprisingly complex DIY skill, requiring planning, focus and meticulous measuring.
My first teenage DIY memory involved wallpaper paste slopping off my dad’s brush mid-stroke, leaving a slug trail across our carpet and prompting rare paternal fury.
I realised there must be a more efficient approach, but it’s taken 30 years (and extensive personal research) to produce this guide on hanging wallpaper.
Tools & Materials
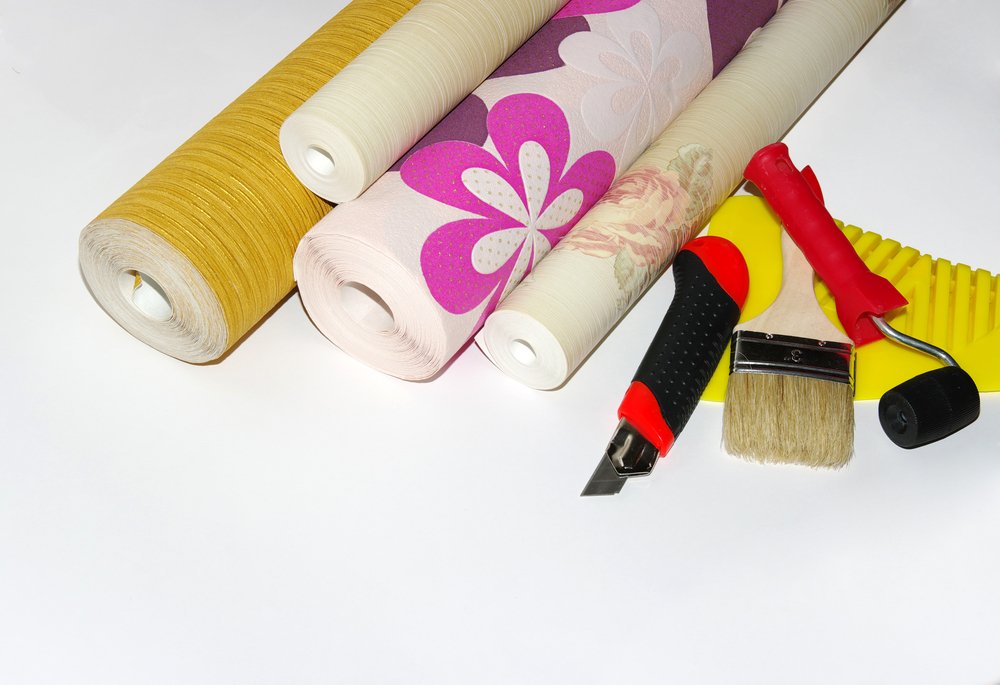
From preparation to pasting, the following tools are essential for hanging wallpaper.
Tools
- Sharp scissors
- Retractable knife or trimming wheel
- Tape measure
- Soft pasting brush
- Clean bucket
- Scraper
- Soft roller
- A plumb line
Materials
- Wallpaper — ideally a paste-the-wall brand, though we cover both main options below
- Wallpaper paste
- Dust sheet
- A stepladder tall enough for you to reach your ceiling comfortably
- Notepad and pencil.
Pro Tip: While some DIYers swear by pasting tables, a kitchen worktop is equally good if it has a six-foot expanse without any hobs, sinks or immovable objects along it. Don’t worry if it’s in a different room than the wall you’re pasting — we offer advice below on how to move pasted wallpaper around safely. However, you won’t need a table or a clear worktop if you choose a paste-the-wall solution.
How To Hang Wallpaper — Step-by-Step Instructions
If your walls are smooth and ready to paper, jump to step one on our list below. If not, the following paragraphs are drawn from first-hand experience and should help prepare the ground for a successful paper exercise.
Flat Out
New wallpaper can cover scratches, marks and stains, but it won’t flatten out lumps and bumps.
- Strip off any existing paper using a spatula or a wallpaper steamer, drying the surfaces thoroughly.
- Next, sand down any plaster lumps and fill sizeable indentations with ready-made plaster before sanding down to a reasonably smooth finish.
Buff-coloured lining paper also hides slight imperfections, though it takes much longer to cover each wall in lining paper and then add wallpaper.
You’re better off using lining paper for high-end refurbs or your home than in a buy-to-let investment or a flip. If you choose to go down this route, hang the lining paper horizontally, so there are no duplicated ridges between the two layers, and don’t worry about millimetre precision.
If you have screws, nails or other fixings in your wall that you need to reinsert through your paper, remove them and indicate their place with cocktail sticks or matchsticks (with the sulphur heads removed first).
This approach protects your fixings from being pasted or papered while ensuring you can re-hang objects in their original positions once you’ve hung the paper. This method also applies to screw holes that hold sockets and switches in place, which should be removed and marked similarly.
Paper Talk
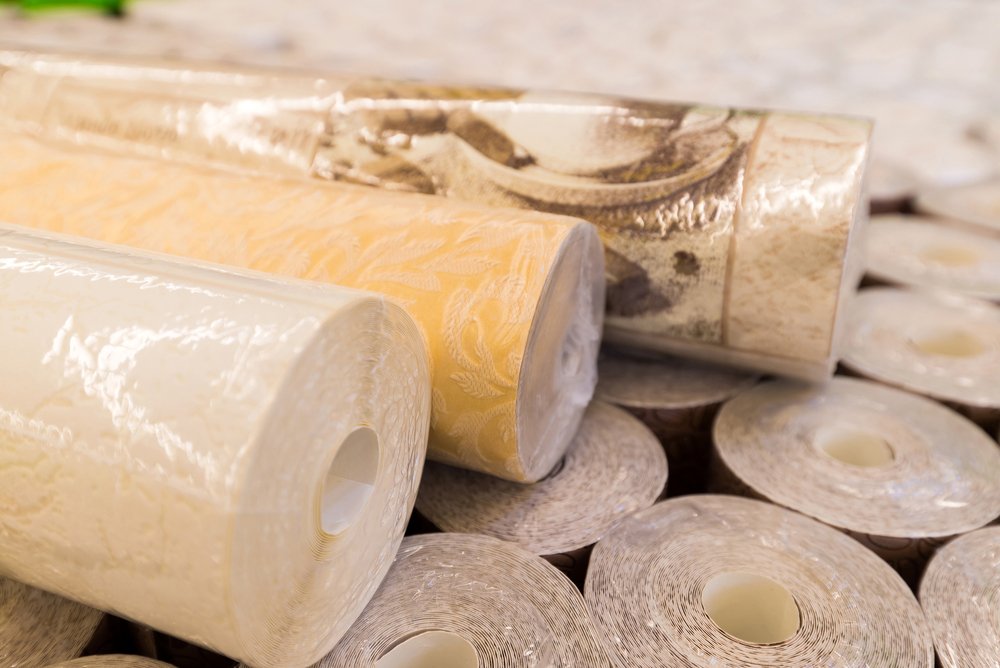
You’ll need to purchase enough rolls of wallpaper to cover your room, with a few strips left for subsequent repairs.
Manufacturers often discontinue wallpaper designs after a year or two, and even if they remain in production, there could be colour differences between the rolls you buy now and the ones available in future.
When purchasing paper in-store (which we recommend to get a better feel for the material and how it catches the light), always check the batch numbers are identical. If they’re not, there may be slight colour differences between rolls. However, you could mitigate this by putting non-identical strips against a back wall or around a window where there will inevitably be differences in how much light falls on each strip.
Wallpaper comes in numerous forms and styles, but the expensive hand-printed paper is prone to smearing if the paste mixes with the ink, making it inadvisable for non-experts.
Washable paper is excellent for homes with young children, whereas paper-backed fabrics are intricate to hang and hard to maintain. Textured papers add dimensional interest but can look dated anywhere other than in a period property.
Size Matters
Calculating the area you want to paper is a simple matter of Height x Width — the maximum height between your skirting board and ceiling multiplied by the width of your walls.
A typical wallpaper roll measures 10 metres long and 52 centimetres wide, but always check this when making your purchases.
To calculate how many wallpaper rolls you need, use this wallpaper calculator. Always buy ten per cent more than your calculations suggest for non-patterned paper, and keep your receipt so you can return unused rolls.
Pro Tip: If you’ve bought wallpaper with a recurring pattern or motif, you’ll need to ensure subsequent sections line up with the first one you’ve hung. This matching can lead to a lot of wastage — a 30-inch recurring pattern could involve losing the equivalent amount of paper on each section. That increases the amount of trimming you’ll have to do and the number of rolls to cover an entire wall. If you’re going for a pattern, try to recycle offcuts for the narrow strips above doorframes and windows.
1. Give the walls a coat of universal primer
If you’re not using lining paper, universal primer helps wallpaper bond directly to the wall. Moreover, universal primer is great if your walls are bare plaster, wood or covered in silk/gloss paint.
You can also treat matt paint surfaces this way, although using a baking soda solution or sugar scrub to roughen the surface will improve adhesion. Either way, you must wait at least 12 hours before setting to work, so this is a job for the day before decorating commences.
Pro Tip: If you have freshly plastered walls, an application of wall sealer closes up these porous surfaces and prevents wallpaper paste from soaking into your plaster.
2. Shut away children and pets
Wallpaper paste is often poisonous to pets, who might lick it or walk on it and then try to clean it off their paws.
You must also keep children away from ladders, sharp knives, paste buckets and scissors — wherever possible, try to work while your kids are at school or in bed.
We recommend hanging paper in daylight since artificial light is prone to shadows, and it’s harder to spot excess paste or small tears under the dull glow of a filament bulb. Your phone torch will help while scanning for imperfections or paste blobs.
If you’re wallpapering a staircase, always ask someone to hold the base of a tall ladder since you’ll be climbing up and down while holding a brush and carrying long strips of wallpaper.
Alternatively, lay a strong timber plank between the upper rungs of two ladders, firmly wedged in position — this ehow guide explains how to make two ladders into a platform.
3. Clear the room
Move furniture away from your walls and into the centre of your room, or relocate them elsewhere in your house if they’re not too large & heavy.
Extend a dust sheet along the floor where you’re going to start papering, moving it around, so it catches any paste or sticky sections of trimmed wallpaper. Have a strong black sack on hand to store these scraps, which have an unfortunate propensity for sticking to shoes and other objects.
Fling open as many windows as possible throughout the work since fresh air ensures the paste dries more quickly and helps dissipate that sickly sweet smell from the air.
4. Prepare your paste
There are two kinds of wallpaper — those you apply the paste to directly and those where you paste the wall first. Either way, you’ll need a significant volume of paste to finish even a modestly sized room.
Ensure your paste mix contains no lumps, which might harden into a three-dimensional blob behind your paper.
Pro Tip: Although you should follow the manufacturer’s instructions to achieve optimal consistency, from personal experience, adding a little less water thickens the mix enough to reduce the risk of dropping slug trails across your floor.
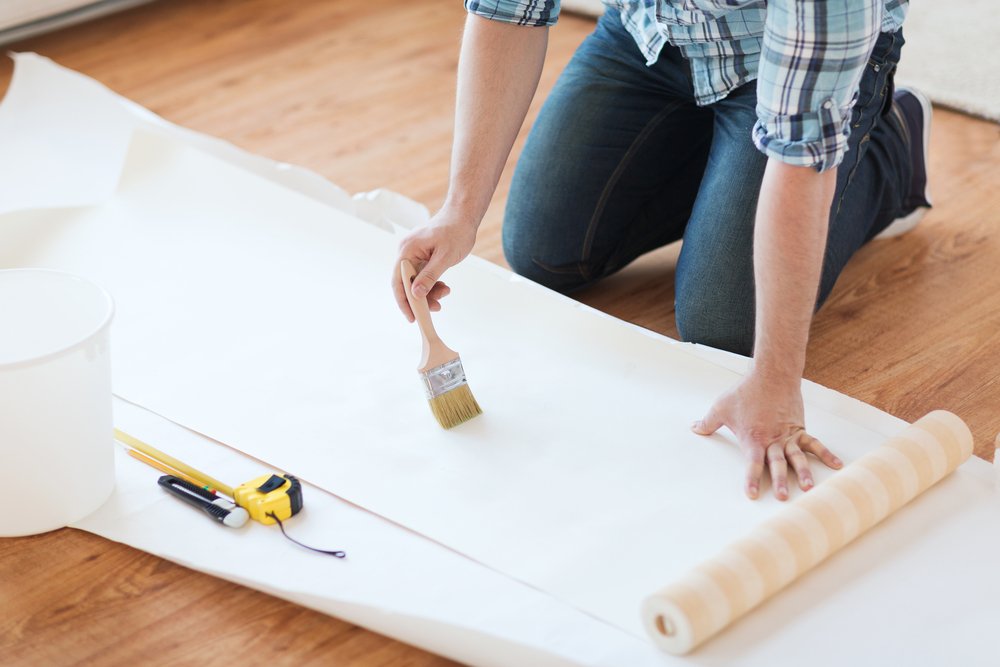
5. Prepare your paper
Applying wallpaper once you’ve cut it to size is much easier.
Precisely measure the area each strip of paper will go, starting in the least noticeable corner of your room and working in a fixed direction around window frames, door jambs and suchlike, aligning each sheet with the previous one.
Measure the paper’s required height first, cutting it around 10cm longer than it needs to be — you’ll trim the bottom off once it’s in situ.
Tackle sockets and switches by making a small incision in the paper at the approximate centre of the socket’s position, then cutting four diamond-shaped tabs, which will tuck in underneath the socket once you loosely reposition it. Your cuts will be hidden below the faceplate when it’s tightened down.
Identify where stick markers have been lodged into holes, and use the tip of your retractable knife (if you’re using one) or a cocktail stick to create a tiny hole in the paper where you need to reposition screws or brackets.
Ignoring this step means you’ll forget where the holes are once you’ve positioned your paper, and may prevent alignment with any rawlplugs or electrical connections inside your wall. Note: Always ensure the hole you make is smaller than the object which will insert into it.
6. Cut your paper
Trace an outline on the back of each trimmed section with a pencil to denote any intrusions or objects. Try to avoid marking the patterned side when working around doorframes and windowsills — if you need to, draw a faint pencil line.
Use sharp scissors to carefully trim along your pencil line, and hold the sheet in position to ensure it wraps around windowsills or other intrusions. This method is also the way to vertically trim if you’re finishing a feature wall and want to ensure the paper doesn’t overlap with your next wall.
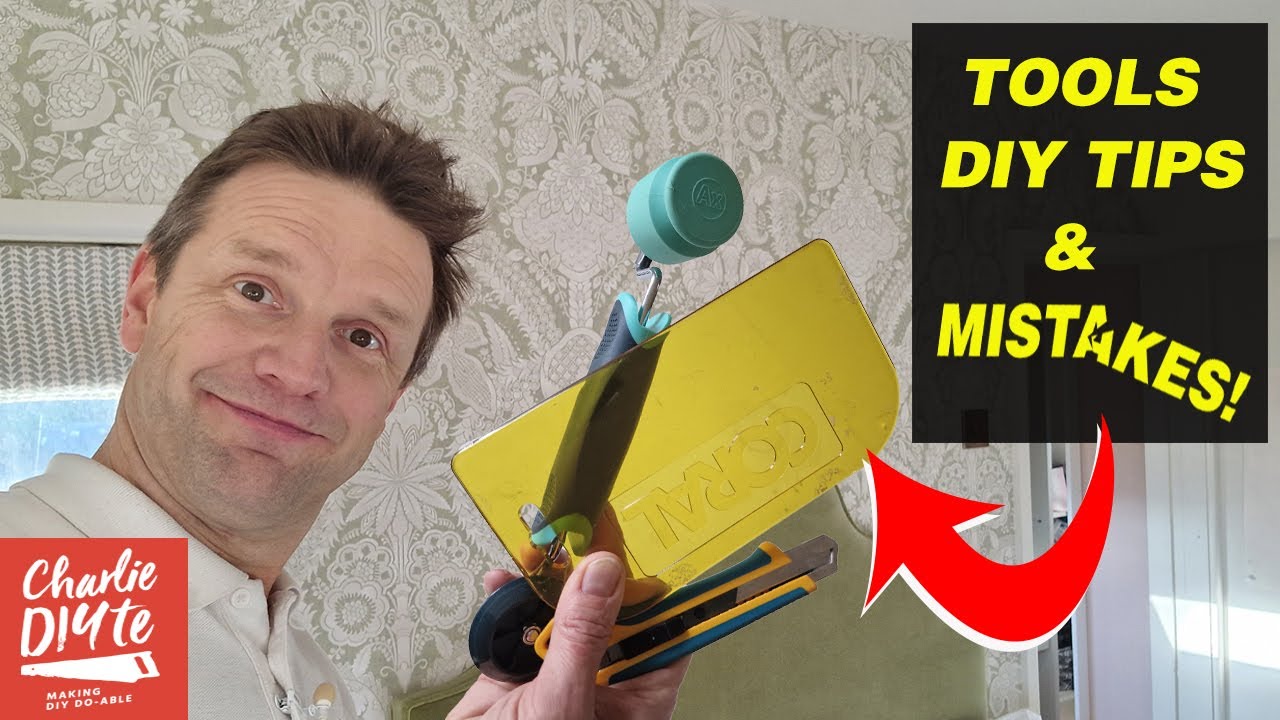
Remember that you’re working back-to-front when marking the back of the wallpaper. During the chaos of redecoration, it’s easy to forget this and erroneously cut your paper as a mirror opposite! Even Charlie DIYte made this mistake in his tutorial below:
If you’re trimming around an immovable object like a radiator bracket or pipe, cut a slit in the paper. You can enlarge this slit with scissors to wrap around the extrusion.
You may need to slit your paper down to the bottom, but effective pasting and positioning should ensure the slit is no more evident than the seam between one panel of paper and the next.
Always ensure radiators and pipes are cold before you start working around them. You can see tips for working around objects in the short video below:

Pro Tip: Although it’s rare for the paper to require horizontal hanging, where it’s necessary, you should apply lining paper vertically to prevent double ridges.
Next, you have a pivotal decision to make.
7a. Apply paste (to the wall)
This method is our preferred option, though we also discuss applying paste directly onto wallpaper (see 7b below).
Using a wide brush or roller, add a light and even coating of paste across the first section of the wall to be pasted, going slightly further than you need at the side.
Use a stepladder to reach higher areas, and always work from the top down.
Pro Tip: If you’re not good at judging widths, draw faint pencil lines along your wall to indicate the width of each strip of paper and then paste inside those lines one section at a time.
A key advantage of the paste-the-wall method is that paper sections can be unpeeled and repositioned more easily than if the paste is applied directly.
Always push the paper down from the middle outwards, forcing out the excess paste and air bubbles.
The clip below shows an advanced technique for applying paper to a ready-pasted wall, pulling it directly off the roll, so only one cut (along the bottom) is required.

7b. Apply paste (to the paper)
The time-honoured (if messier) solution is to apply paste directly onto the back of wallpaper.
Start in the middle and extend the paste to each edge, keeping the paper steady so it can’t slide around in excess paste, which might then mark the patterned side.
When you’re satisfied enough paste is on the paper, fold it into a concertina, with one pasted section pressed against another. Once you’ve folder the entire section, it’ll be easy to carry into position and hang snugly beside the previous strip.
When hanging your first strip of wallpaper, position it in a corner but use a plumb line to ensure you’ve placed it vertically. This first strip will act as your guide for every subsequent strip.
8. Trim the bottom
Whichever method you used to hang your paper, it’s now necessary to trim a little excess from the bottom.
This stage matters because walls aren’t always symmetrical, and your paper might need to be fractionally longer on one side than the other if skirting boards aren’t on neatly or if your floor slopes.
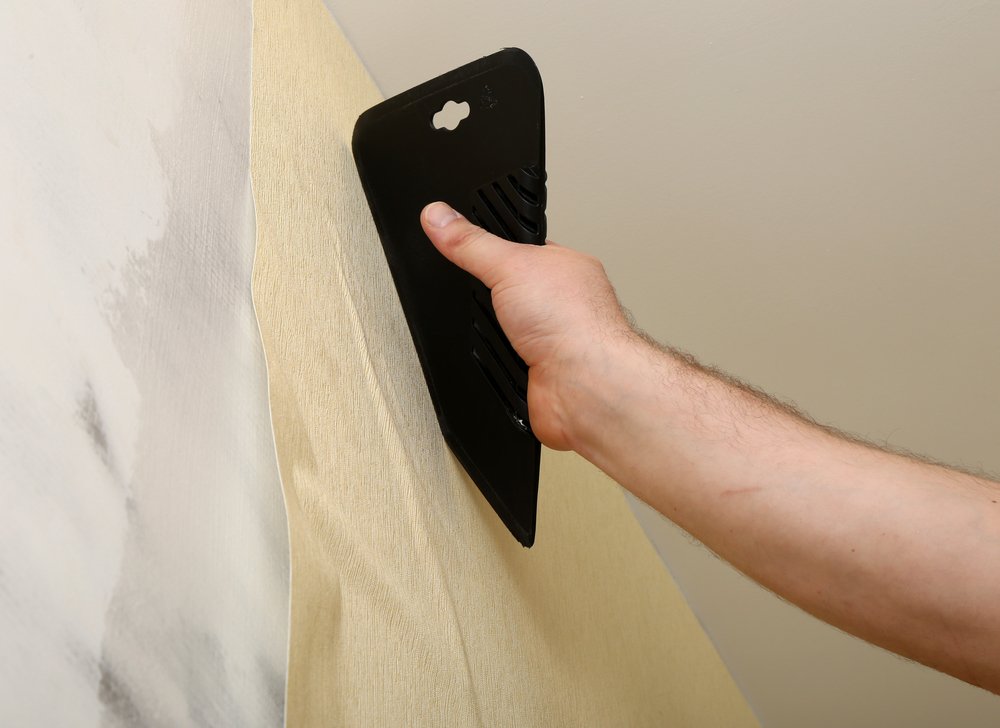
Use a scraper to flatten the paper downwards from your ceiling, ironing out air/paste bubbles and ensuring it’s neatly in place.
Press the paper firmly against the skirting board lip with a scraper until a crease forms. Pull the bottom a few inches away from your wall and use sharp scissors to trim your paper to the correct length.
Fold the strip back into position, and step back to check your handiwork.
Pro Tip: If you have a steady hand, you could use a sharp knife or trimming wheel, running it below the scraper as it presses against the corner of your wall and skirting board.
Be careful; textured or thin paper may begin to split and tear beneath a knife blade, especially if it’s already weakened with wet paste on the reverse side.
9. Tidy the paper
Before the paste can fully dry, wipe off any excess from your paper’s patterned side with a lightly dampened cloth — especially where one sheet abuts the next.
If there are air bubbles, use a cocktail stick or pin to puncture a tiny hole and then use a spatula or scraper to flatten your paper out — the hole won’t be noticeable once you’ve finished.
10. Clean up
Gather all the sticky paper trimmings and blobs of paste into a sack, take it outside and dispose of it in your non-recyclable bin.
Wash your paste brush and bucket thoroughly in hot water to remove any poisonous residue — you shouldn’t need any cleaning products unless the packaging stipulates otherwise.
Leave your windows open to help the paste dry more quickly, and only let children or animals back into the room once it’s safe for them to be there.
Don’t push your furniture back until your paper has completely dried into position since the back of a sofa or sideboard might catch on a damp sheet and drag it out of position.
Final Thoughts
If you’re planning a whole-home redecoration project, or want a little practice, start in your least-used room along the least-seen wall. This way, you can iron out rookie errors before papering more important spots like feature walls.
There’s nothing unduly technical about wallpapering, but you’ll become more adept with practice, and your speed will also increase. Always remember that walls can slope or be slightly trapezoidal — it’s rare to find perfect 90-degree angles in corners or where walls meet the ceiling.
Speaking of ceilings, although others recommend decorating a room from the top down, painting your ceiling after wallpapering may be advisable since paste tends to leave a glossy patch behind if it gets onto the ceiling. If you haven’t used masking tape, remove any spots of paste on your ceiling using warm water with a splash of washing-up liquid and a tablespoon of baking soda.
If this article has been helpful, our wallpaper cost guide and money-saving tips could be invaluable if you want to calculate how much a wallpapering project will cost.