My wife is the instigator of paint jobs around our house, and she often puts down the first few strokes — slap bang in the middle of the wall — and then I pick up the roller and finish the job.
Painting a room is not difficult, but it does take a lot of planning. You have to do things in the correct order, or you’ll be going over spots you’ve already painted.
Preparation is critical to producing a professional job, so I put together this guide on painting a room.
What Do You Need to Paint a Room?
One of the first DIY jobs my dad taught me as a young teenager was to paint my bedroom.
My parents weren’t enamoured with the bedroom colours I chose, but my finish was good. It was so good I ended up painting doors and windows for family & friends, earning some extra cash along the way.
This experience taught me one important lesson. Painting is all about preparation, and that includes the choice of brushes and paint.
There is an enormous range of tools and materials to choose from when painting a room — brushes, rollers, paint pads, sprayers — and each has its merits. In the end, it comes down to what suits you.
Brushes
You will always need brushes, no matter what. Paint brushes are great for painting around borders and light switches, but you can use broad brushes to paint an entire wall, floor or ceiling.
However, most people only use brushes for cutting in and painting woodwork.
Rollers
For walls and ceilings, rollers make an excellent choice.
For textured ceilings, use a long pile roller. This roller gets into crevices, ensuring you get a consistent finish. A short pile roller is best if you have a flat surface to paint.
Again, there is an enormous choice of rollers, so I recommend you look at our guide on the best roller for emulsion before going any further.
You can also use smaller rollers for gloss paint. These are ideal for larger surfaces such as doors and radiators but not for skirtings and frames.
To use a roller, you need a paint tray, which often comes with the roller. Paint trays comprise a paint reservoir and a sloping section to drain excess paint off the roller, ensuring paint is evenly applied.
To find the best roller for a particular job, check out this handy guide from Dulux.
Paint Pads
I often see paint pads advertised as a revolutionary way of painting walls and ceilings, but they’ve been around for decades and never replaced the roller among professionals.
One advantage of paint pads is they get into tight corners, unlike rollers. They even have specially shaped pads for corners.
The problem I experienced with paint pads, though, is getting an even finish over the main area of the wall or ceiling. It looks easy in the videos, but it’s not that simple. Applying uneven pressure is too easy, resulting in a streaky finish.
However, if you’re interested in using this method, our guide to using paint pads tells you how to go about it.
Sprayers
Paint sprayers don’t immediately come to mind when painting a room, but they’re great for large areas like walls and ceilings. You will, however, have a lot of covering up and masking to do if you don’t want everything the same colour.
I wouldn’t recommend buying a paint sprayer only for this project, but if you have other possible uses, check out our reviews of the best paint sprayers in the UK.
The Right Paint
Water-based, oil-based, acrylic, latex emulsion… the list goes on and on. Then you can choose matt, eggshell, silk, satin, and gloss.
Fortunately for you, our comprehensive paint guide explains what all these paints do and the pros and cons of each type.
Pro Tip: If you’ve experienced damp issues, check out our reviews of the best anti-mould paints in the UK.
Tools and Materials
Below is a list of everything you need to complete a successful paint job, from preparation to the final coat.
Note: You’ll require other tools and materials for stripping wallpaper and cleaning up.
Tools
- Sanding block
- Sponge and bucket
- Scraper and filler knife
- Roller and extension pole
- 3 paint brushes — 12mm, 25mm and 50mm
- Ladders
- Paint kettle and paint tray
- Paint stirrer
Materials
- Filler
- Masking tape
- Cover sheets
- Sugar soap
- Paint for walls and ceiling
- Paint or stain for woodwork
Health & Safety Measures
A significant hazard with any painting project is inhaling paint fumes. To reduce this risk, purchase low-VOC paints and open all your windows and doors.
Also, take care when working on a ladder, ensuring it’s secure, safe to use, and never over-reach.
How To Paint a Room — Step-by-Step Instructions
This B&Q video on painting a room provides a good overview of what needs doing, but read on for a detailed explanation.
Step 1: Planning
Before you do anything, plan what you will do and in what order. The usual sequence is as follows:
- Ceiling
- Walls
- Skirtings
- Door and window frames
- Doors
If you are covering or painting a floor, this should be the last operation.
Measure the areas and buy the right amount of paint from the same batch to ensure colour matching.
Depending on the paint type and colour and the surface texture, you may need more than one coat, and you may also need an undercoat.
The paint tin will provide the coverage details, but this B&Q wall painting calculator is a helpful tool for a general guide.
Step 2: Preparation
The steps below prevent a colossal mess when painting a room, and this starts with preparation.
- Remove all loose furniture and fittings.
- Cover any furniture you can’t remove in sheets of polythene. Floors are best protected using cotton sheets, which are more hard-wearing and slip-resistant.
- In most cases, you can paint over existing emulsion, but if it’s loose or flaky, you must remove the paint first.
- If your walls are papered, and you don’t want to paint over them, check out our guide to removing wallpaper.
- Remedy any damp issues (see below).
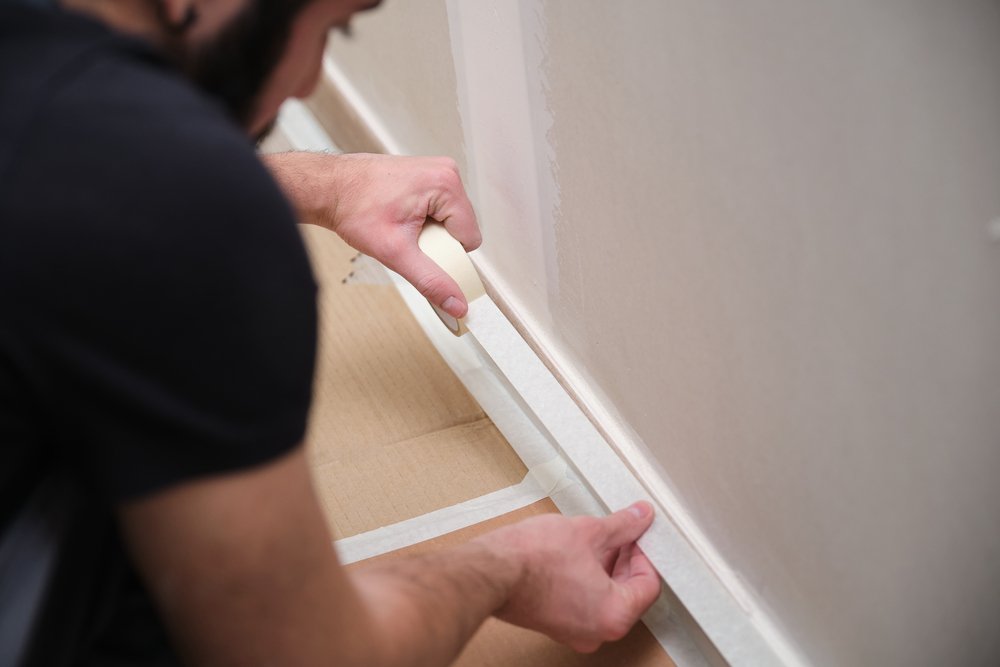
- Use masking tape to protect surfaces you don’t want painting. These surfaces include skirtings, frames, plug sockets and light switches. It may seem like a laborious job, but it saves time in the long run.
- Fill any cracks or gaps. For gaps around doors and windows, use decorators’ caulk or sealant.
- Sand down the walls and sponge using sugar soap and water to achieve a smooth, grease-free finish.
- Once you’re ready to paint, give the paint a good stir using, preferably, a paddle stick attached to a combi drill. The video below shows you how to do this and why a paddle stick beats a piece of wood.

Dealing with damp patches
There are four types of damp you’ll likely come across, and you must deal with them before painting. See our guide on how to treat damp walls for more information.
Step 3: Paint the Ceiling
We will start with the cutting in, which involves painting with a brush around the perimeter and any light fittings. A margin of around 70mm gives you enough leeway to avoid getting paint from your roller on the walls.
If the walls and ceiling are the same colour, this isn’t so critical, but you must still cut in to ensure you get paint into the corners and the junction with the walls.
Where you start doesn’t matter, but most pros suggest starting from the corner nearest the door.
Pro Tip: Pour some paint into a paint kettle and work from this, as it’s easier than taking the full paint tin up a ladder. Be careful not to overload the brush, or it will run down your arm.
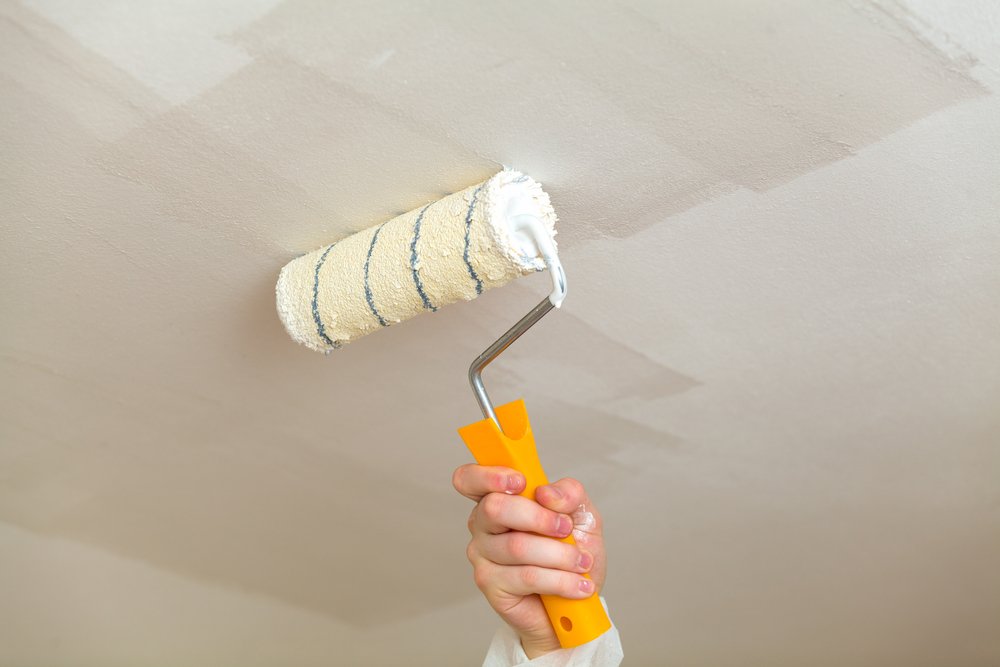
I prefer a roller for the main area but ensure you use the right type for the surface you’re painting and the finish you want.
The great thing about rollers is you can attach them to an extendable pole and work from floor level. Not only is this much safer than working from a ladder, but it also gives you a better view of your progress.
Don’t overfill the paint reservoir, as you can always add more as you go. Also, don’t put too much paint on the roller; it could drip and splash onto the walls as you roll it on.
Pro Tip: If you spill a drop of paint on the floor, even though it may be covered, clean it off immediately. I guarantee you will tread it throughout the house if you don’t. Check your footwear for paint splashes before leaving the room or remove any shoe protection.
Apply the paint to the ceiling in straight lines using even pressure. I prefer to cover a square area of around 1.5m each way, working in both directions to get an even finish with no “tram lines”. Alternatively, some like to use a “W” formation.
Whichever method you choose, always apply an even coat at a moderate pace. Too fast, and you splash everywhere. Too slow, and the paint will start to dry before you’ve finished the first coat.
After about 4 or 5 hours, you should be ready for the second coat. Open doors and windows to remove odour and help the room dry out naturally.
If you follow the steps above, you should get a smooth, even finish. However, if your surface becomes patchy after drying, check out our guide on how to prevent this from happening.
Step 4: Paint Walls
Primer and Undercoats
If you’re painting new plaster, you must prime the wall first.
When painting over a dark colour, you may need to apply an undercoat to prevent the darker shade from showing through.
Where to start?
I’ve never understood why, but my wife starts in the middle and works from there. I always start from the top and work down. Use whatever method works best for you.
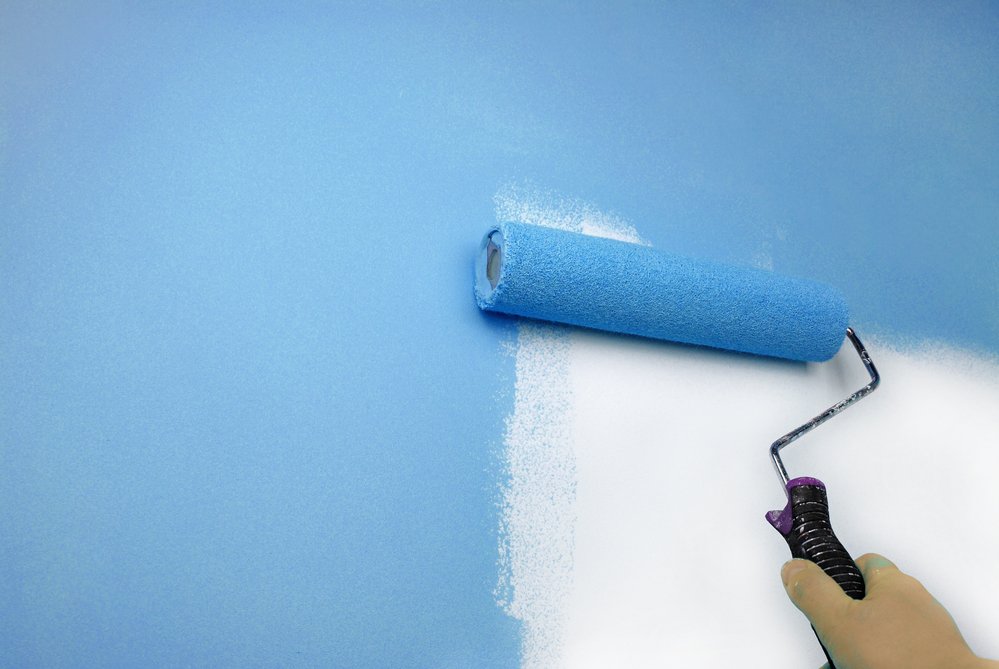
Apply the first coat in the same way as you did for the ceiling, up-down and side-to-side, using an extension pole for the highest parts.
Apply the second coat when the first coat is dry to the touch.
Pro Tip: You don’t have to clean all your brushes and rollers when you’ve finished painting for the day. Instead, wrap them in cling film or polythene bags for use the next day. Leave the cleaning until the end.
Step 5: Paint Skirting, Frames and Architraves
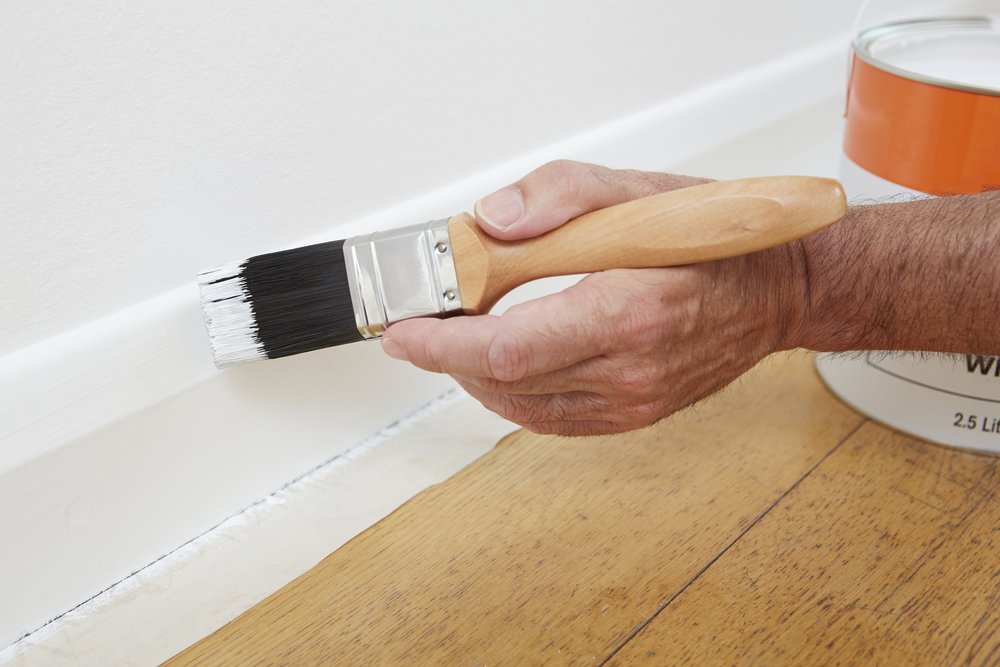
Some people prefer to paint their woodwork before the walls, which is advisable if you’re planning to hang wallpaper.
However, when painting, emulsion walls first and gloss woodwork last because gloss shows through emulsion, especially if it’s a stark contrast. Also, it’s easier to cut in using a small paintbrush.
- Mask the walls and floor around your woodwork.
- Sand down the existing paintwork to remove the sheen.
- Apply the paint in even strokes along the length of the woodwork.
- Skirtings get a lot of wear and tear, so apply at least two coats for a tough finish.
- Paint door frames and architraves.
Pro Tip: Paint window frames and boards first, so you don’t kick newly painted skirting as you paint the windows.
Step 6: Paint Doors
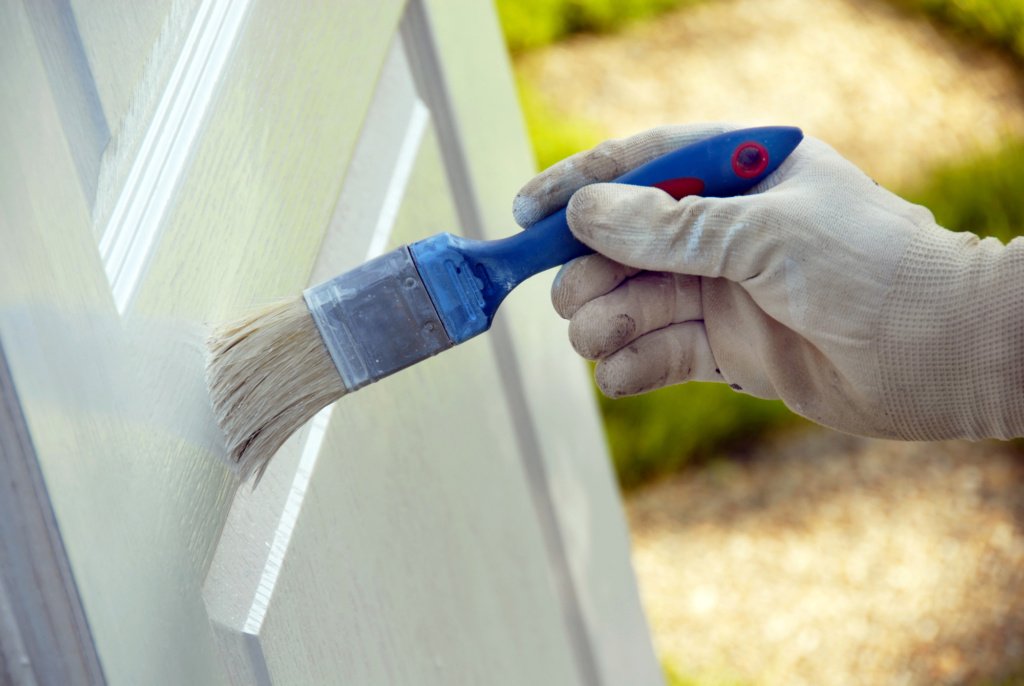
See our guide on painting a door for a detailed account of what you must do. Preparation is the same as painting skirtings and architraves, but you must remove or mask any door furniture, like lever handles.
Place newspaper or thin cardboard underneath the bottom edge if you leave the door in situ.
Use a roller on flush doors to get a smooth, even finish. Use a brush on panel doors and along the edges.
Avoid painting over the hinges, making the door difficult to close.
Step 7: Paint Radiators and Pipework
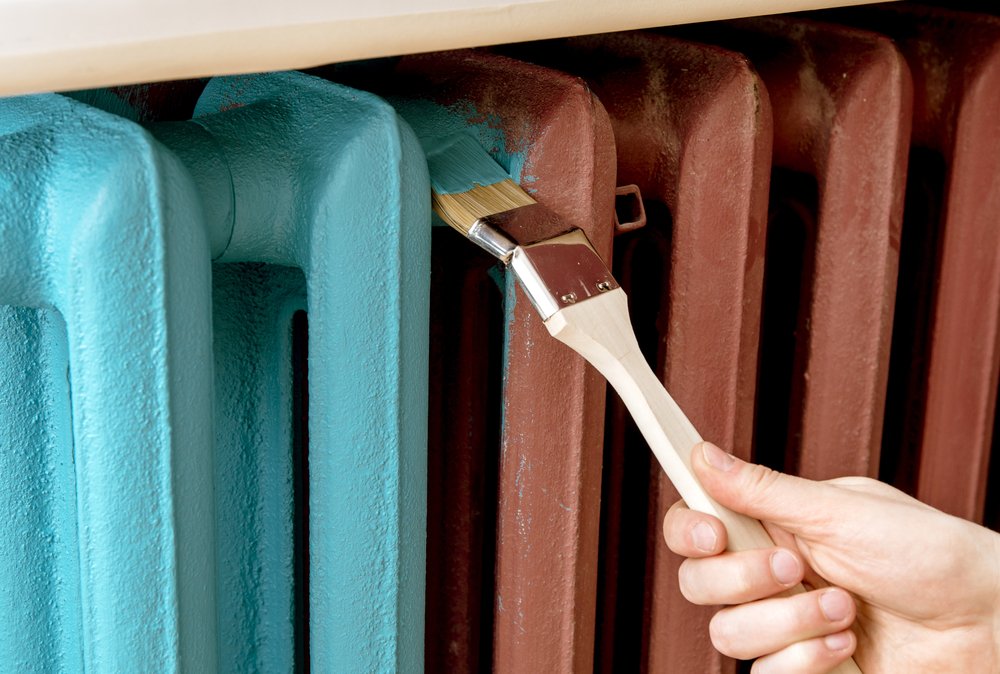
This guide on how to paint a radiator takes you through each step in detail, but here’s a good summary:
- Clean the pipes and radiators using a sponge and soapy water.
- Remove any flaking or blistered paint and sand down the surfaces with fine-grade sandpaper. You may need a wire brush to remove hardened blobs of paint or rust spots.
- Use a long-reach roller to get behind the back of the radiator.
- Use these special brushes on old-style radiators to get between the ribs. These brushes are also suitable for pipework. For flat-panelled radiators, use a roller.
- I recommend using special radiator paint for this job because radiators and pipework are prone to extreme temperature changes. Ordinary paint is prone to blistering and flaking off.
- If you sand down to bare metal, apply a primer before the finish coats. The number of coats depends on the type of paint.
Step 8: Paint the Floor
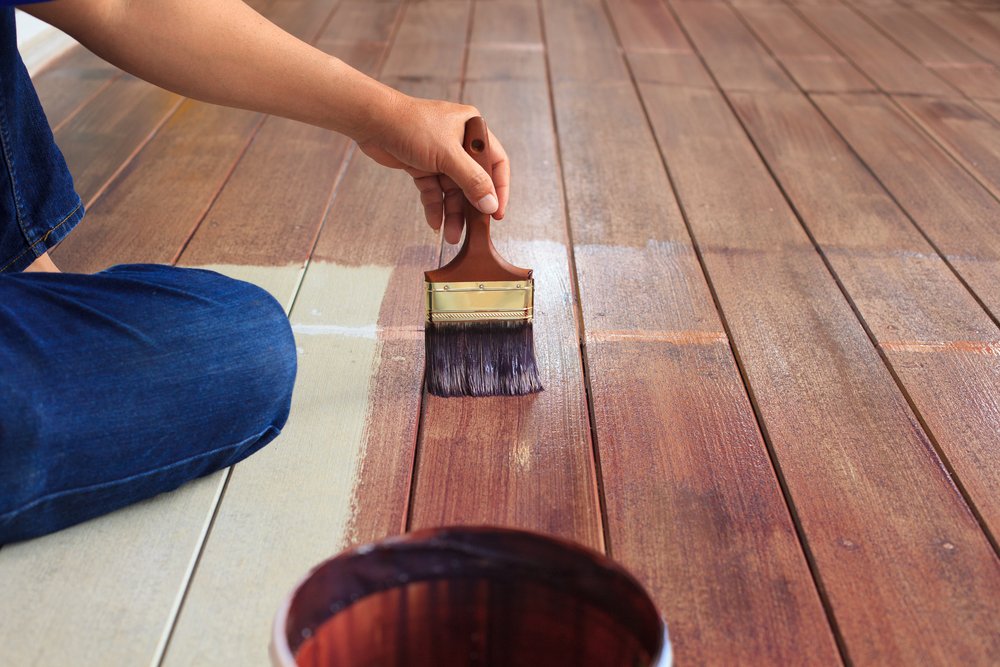
- Remove all protective sheeting.
- Clean the floor to remove all dust and debris.
- Remove any tacks or staples and hammer in any protruding nail heads for bare floorboards. See this guide on painting floorboards for more details.
- Apply masking tape to your freshly painted skirting boards, but ensure they’re completely dry beforehand, as otherwise, you risk pulling off paint when removing the tape.
- Bare wood might need a primer coat first — check the guidelines on the tin.
- To avoid painting yourself into a corner, start at the point furthest away from the door.
- Use a brush to cut in around the edges for walls and ceilings. Use a roller for the main area. Always allow one coat to dry before applying the next.
- Work toward the grain if the floor is wood or laminate.
- For a hardwearing finish, apply a coat of floor varnish.
Pro Tip: It’s also possible to paint laminate flooring if it looks tired.
Step 9: Cleaning Up
- Remove the masking tape and other coverings.
- Scrape off any paint splashes from window frames and glass.
- Clean your brushes and rollers thoroughly. Wash off emulsion using tap water*.
- Rinse out paint kettles and trays.
- There are several ways to clean equipment for non-emulsion paints, with most using methylated or white spirit. This Paintwell guide provides further information.
- After cleaning, give all equipment one final rinse in hot water to remove any chemical residue.
- Dry equipment and store it for the next job.
*Pro Tip: Use a hosepipe and a bucket outside your home if possible.
Final Thoughts
So that’s it; your room is painted, and all the furniture is back in place — time to relax and enjoy your new surroundings.
If you’re looking for alternative ways to decorate, this video from Homebase has some good tips. However, my favourite is the one below by TV celebrities Dick and Angel (the couple from the chateau) — They’re always worth watching.

For more painting tips, check out our guide to painting kitchen cabinets.