Paint pads are a great option for painting those tricky spots in your house. This article shows you how to use paint pads effectively.
In a Hurry? Find top-rated painters in your area by clicking the button below:
Why Use Paint Pads?
Paint rollers are great for painting flat walls and ceilings, but they struggle to get into tight corners.
Paint pads are a cost-effective alternative for painting tight spots with a smooth and even finish. Furthermore, they’re easy to replace and avoid much of the mess paint rollers produce.
Tools & Materials
Tools:
- Paint Pads
- Paint Pad Handle
- Painters Tray
Materials
- Canvas Drop Cloths
- Painters Tape
- Old Clothes
- Gloves
How To Use Paint Pads — Step-by-Step Instructions
Follow the steps below to use paint pads like a pro!
1. Prepare the Work Area
Prepare the area you will paint by putting canvas drop cloths down. Next, tape up all light fixtures, switches, and wall plugs.
Cover any exposed furniture with drop cloths if you plan to paint the ceiling. Remember to wear old clothes that you are not afraid to get dirty.
Check out this guide to painting a room without making a mess for more tips on painting preparation.
2. Prepare Your Tools & Materials
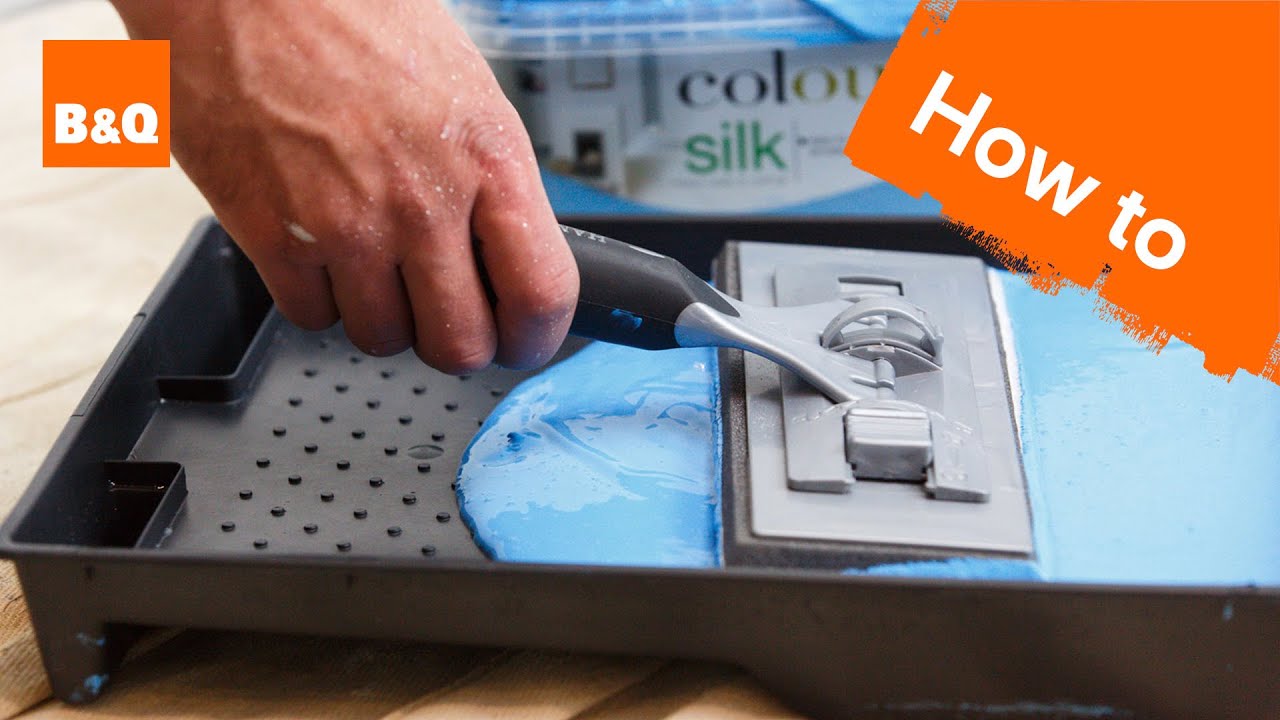
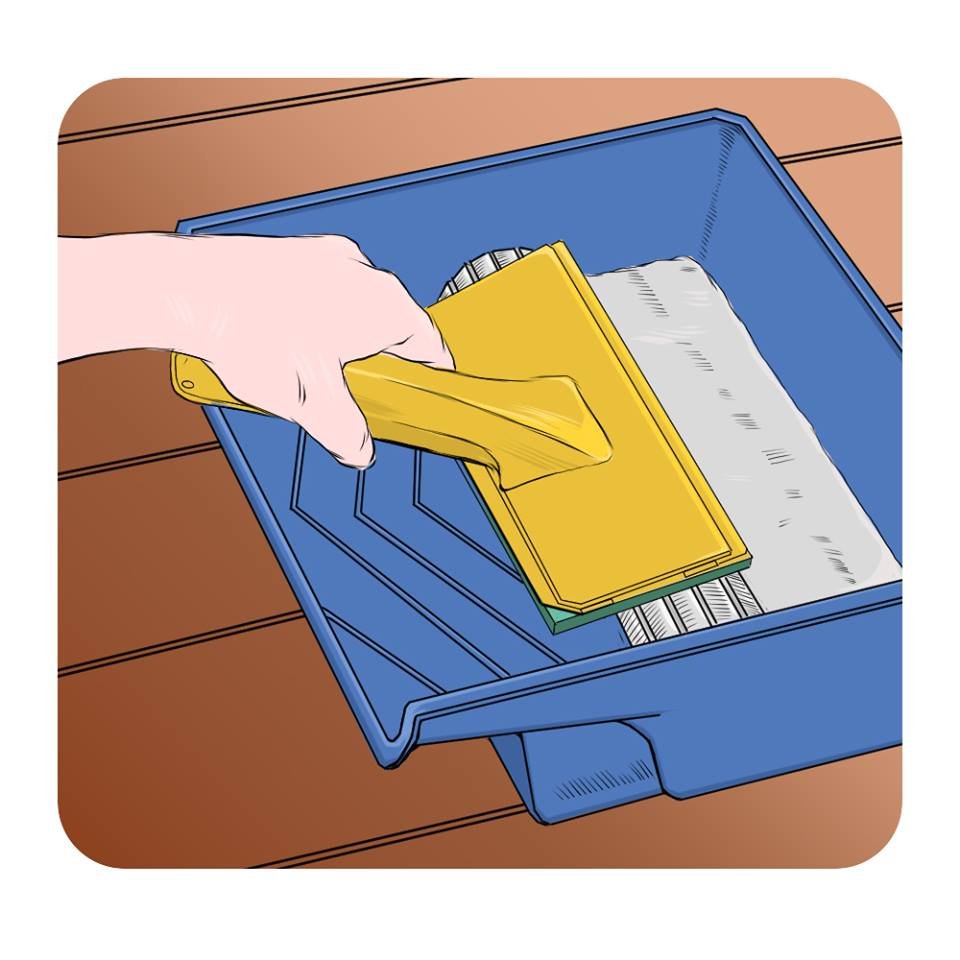
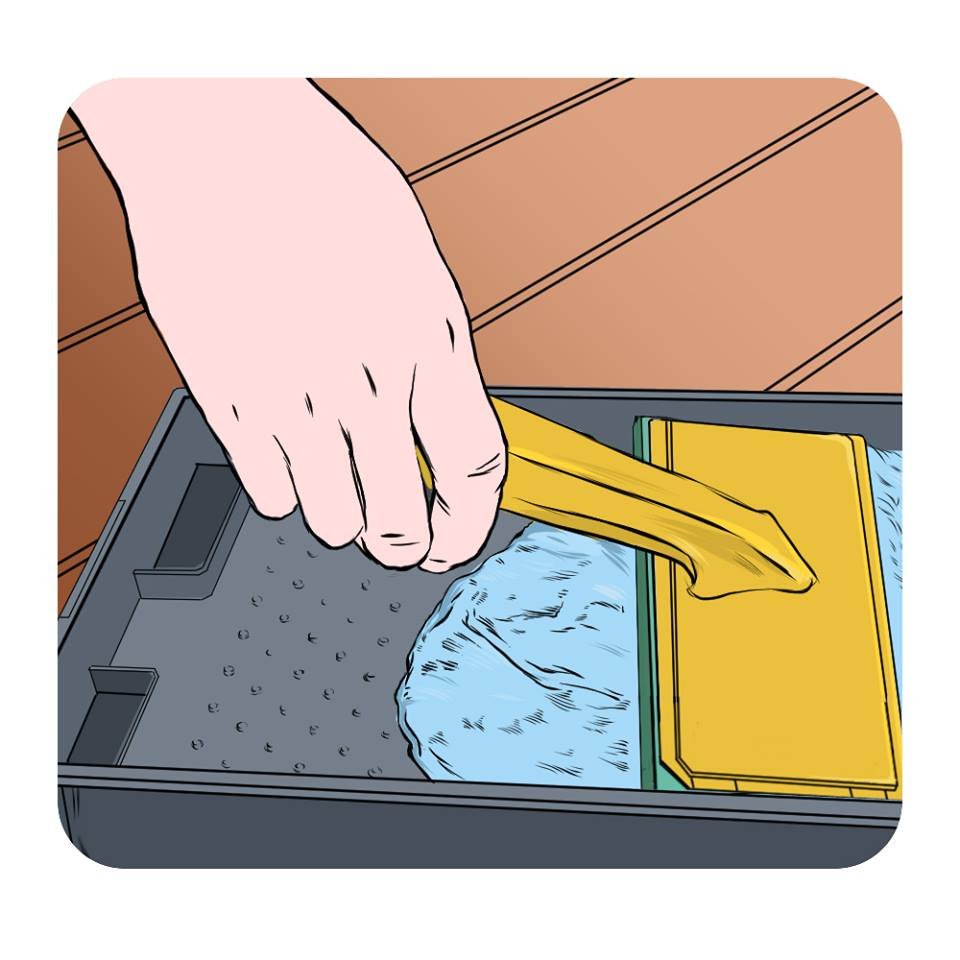
Assemble your paint pad and handle. Fill the painter’s tray with a generous amount of paint. Next, dip your paint pad into the tray and let it soak for about 4 seconds. Carefully remove the paint pad and begin to paint the wall.
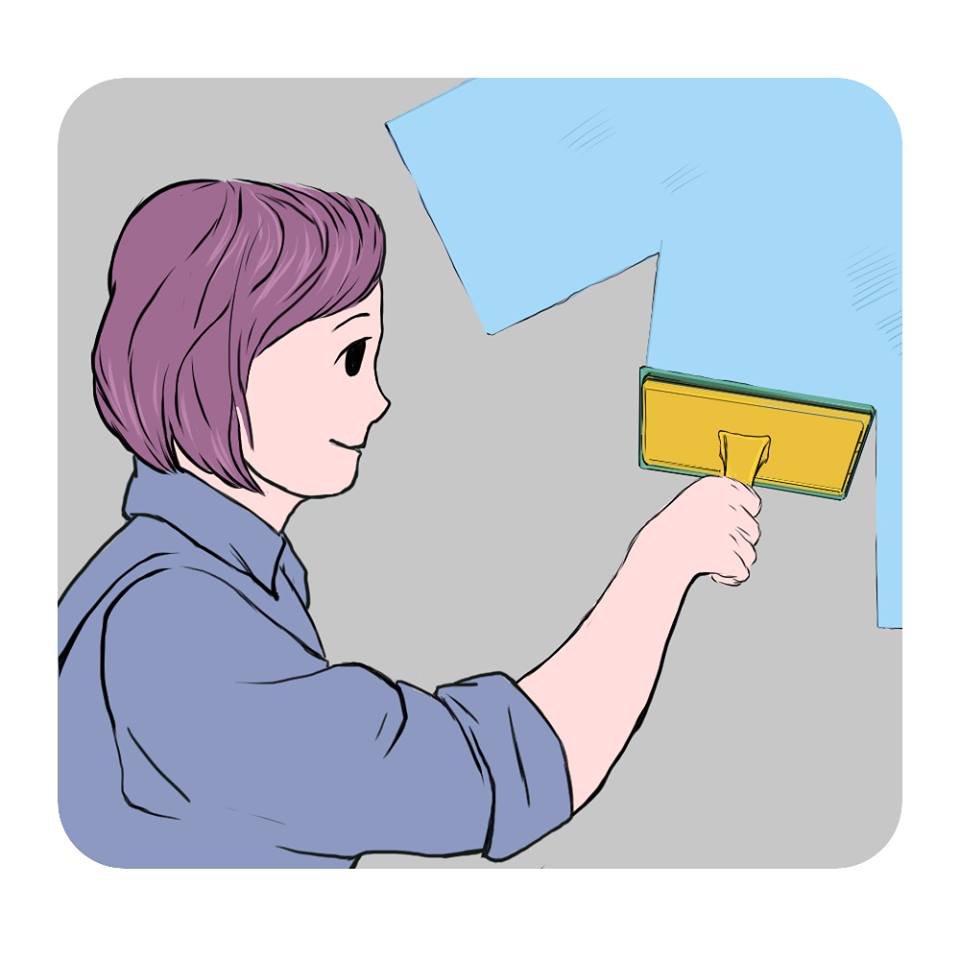
3. Begin Painting
Begin painting from the corner of a wall. Keep the paint pad and handle level directly in front of you while you paint. Move the paint pad up and down and try for a smooth and even finish throughout the wall. Spread the paint out as much as you can using long brush strokes.
4. Refill the Paint Pad Frequently
Refill the paint pad frequently and wipe off excess paint on the tray. This will allow for a nice blended finish as you continuously paint.
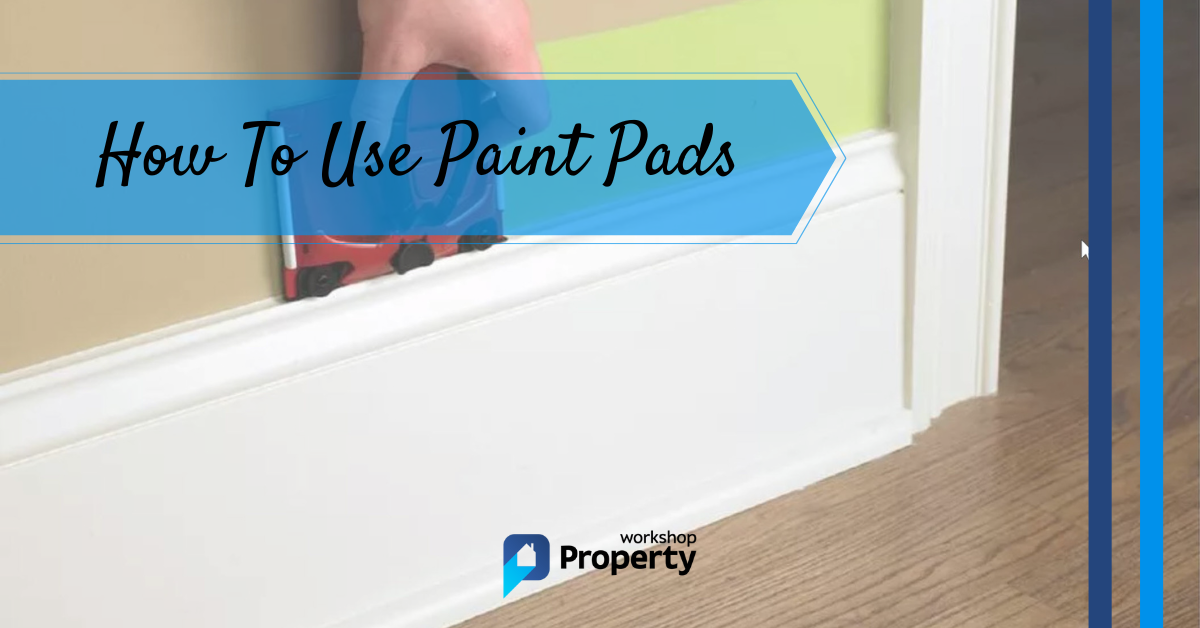
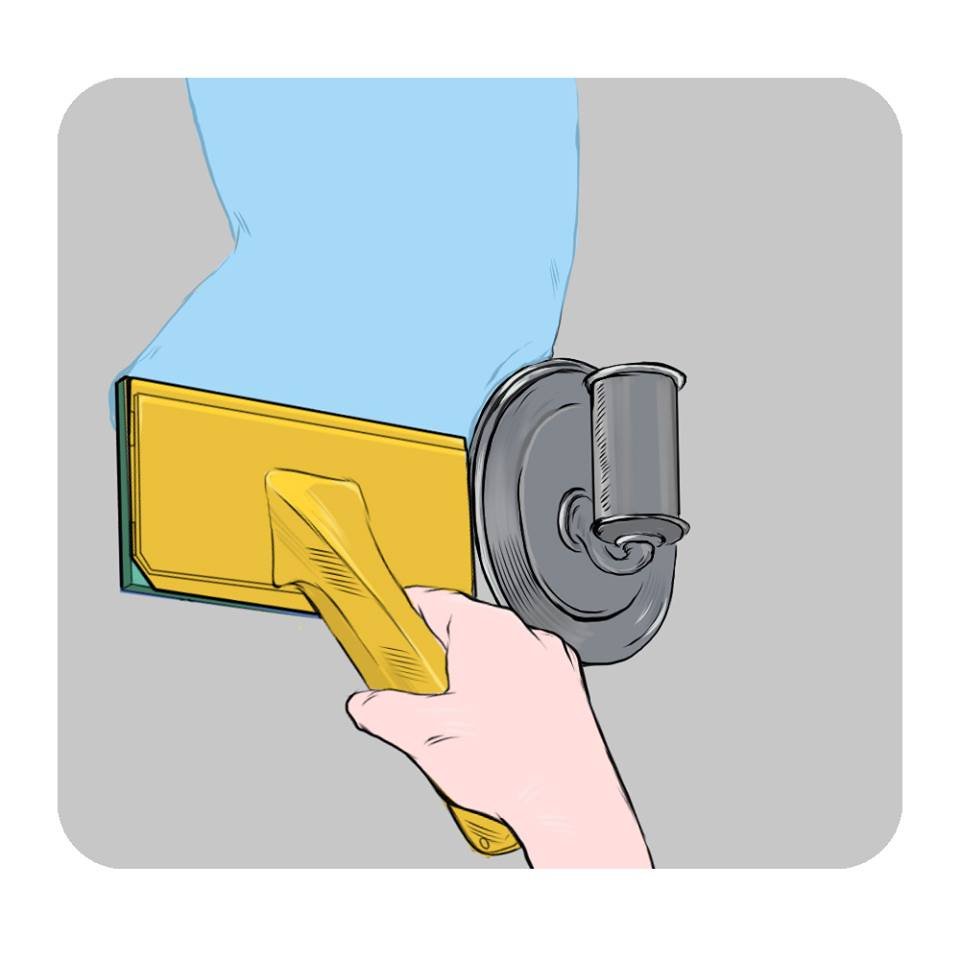
5. Use Caution Around Light Switches and Plugs
Paint pads are known for their ease of painting around tight corners. Make sure to get up nice and tight around the taped light switches and plugs.
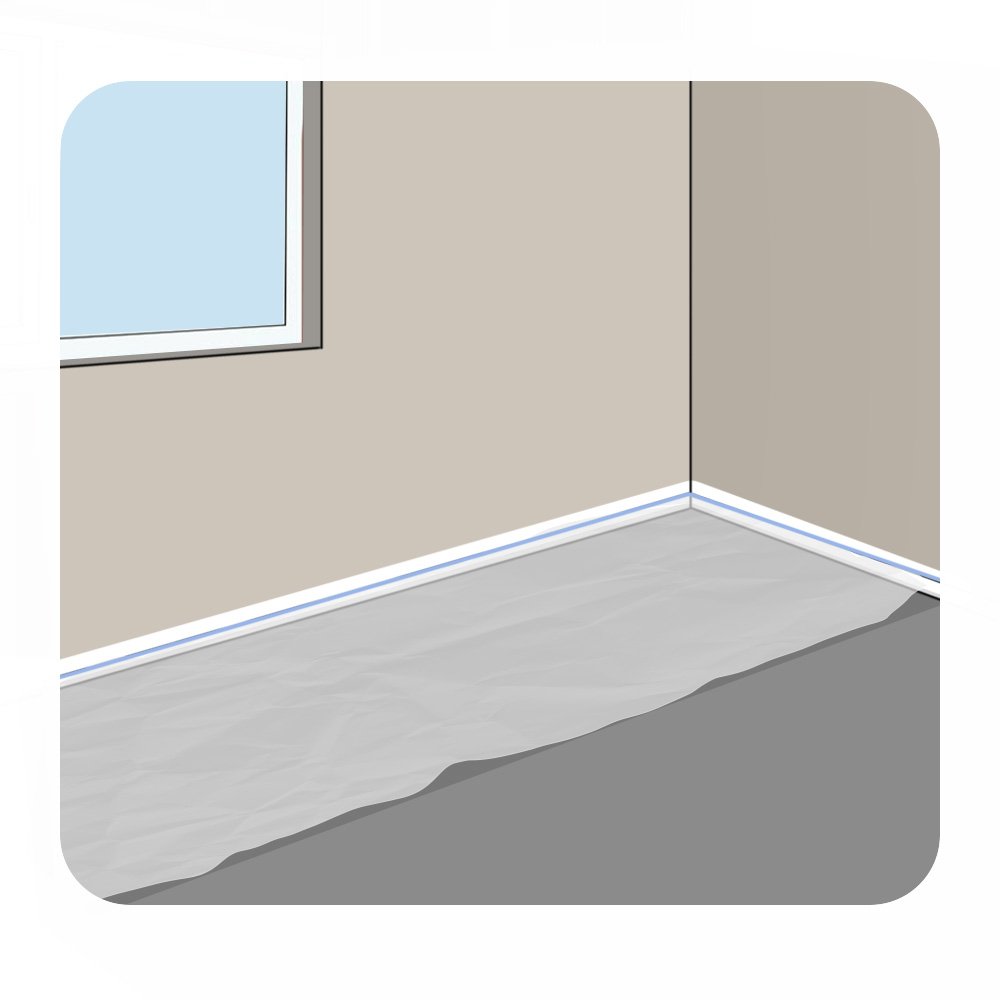
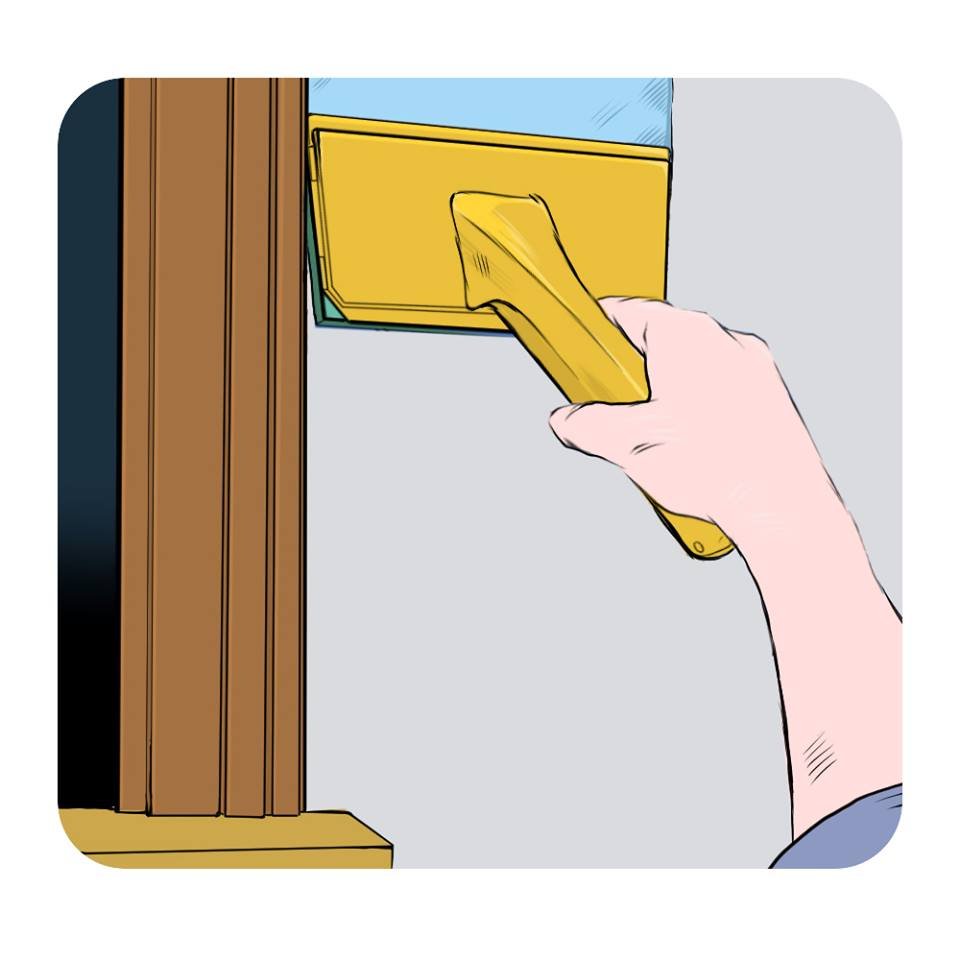
6. Ensure Wall Corners are Evenly Painted
Ensure all corners are painted evenly, and no spots are missed. Paint pads are designed to paint right up to the internal wall. Check out this page for help painting wall corners.
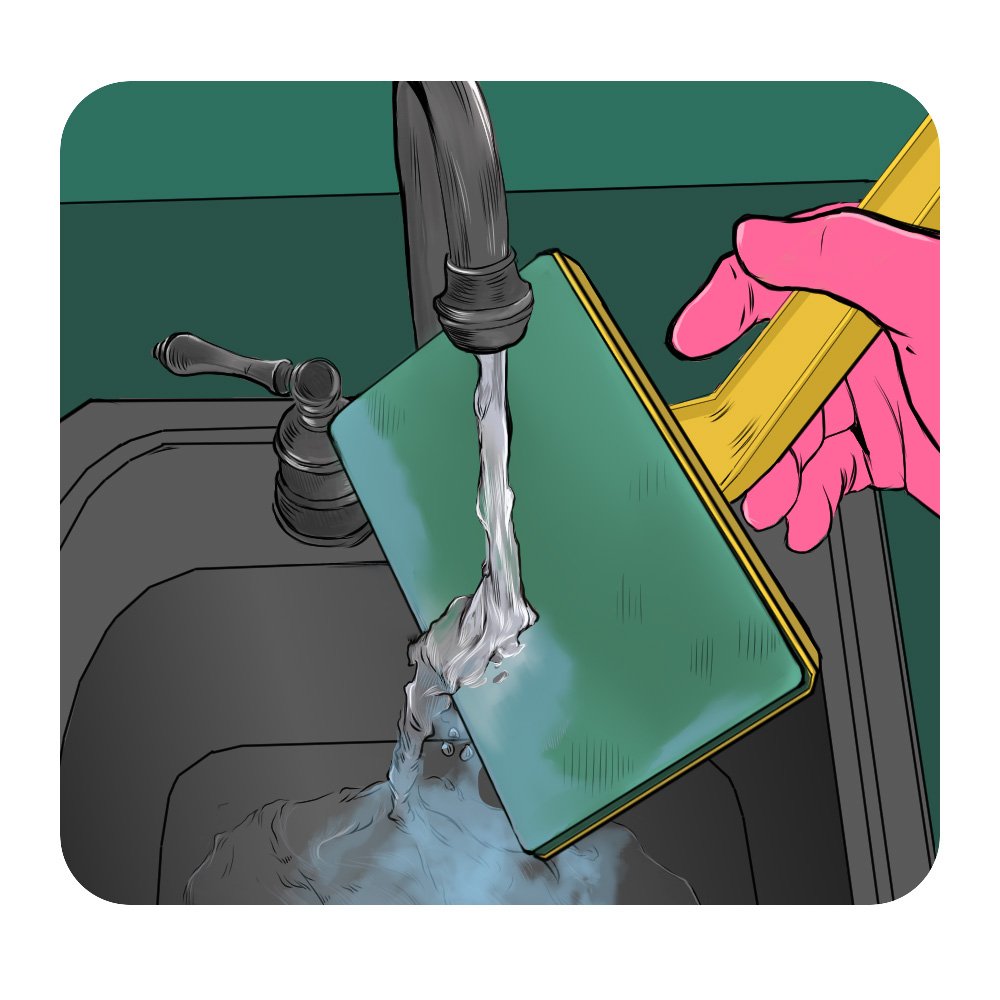
7. Clean-up Time
Pack up all the drop cloths, ensuring you don’t track paint through the house. Carefully peel off all the painters tape on the light switches and wall plugs. Dispose of any extra paint and rinse all painting gear with a garden hose.
Don’t fancy doing this job yourself? Find top-rated painters in your area by clicking the button below:
Final Thoughts
You now know how to use paint pads like a professional. If you follow the instructions outlined above, you’ll be well on your way to having perfectly painted walls and ceilings.
For more info on paid pads, check out the video below: