Plastering is messy and requires a lot of effort and skill. This guide makes the process less daunting and shows you how to plaster a ceiling like a professional.
Tools & Materials
Make sure you have the following tools and materials before you get started.
Tools
- Step Ladder
- Trowel
- Hawk
- Small Tool
- Sanding Block
- Hammer
- Screwdriver
- Utility Knife
- Putty Knife
- Canvas Drop Cloths
- Plastic Sheets to cover furniture
Materials
- Wall Plaster
- Mixing Buckets
- Eye Protection
- Protective Gloves
- Dust Mask
- Stir Stick or Electric Drill with Mixing Paddle
How To Plaster a Ceiling — Step-by-Step Instructions
1. Prepare Your Work Area
Plastering a ceiling is incredibly messy, so cover your whole floor with a few large drop cloths. Splatters and spills are a part of the process, so ensure surrounding furniture is protected. Ideally, you should remove all furniture from the room, but if this isn’t possible, cover them with plastic sheets instead.
Check out our ‘Painting A Room With No Mess‘ post for more tips on preparing your work area.
Wear safety goggles, a dust mask and some old clothes you don’t mind ruining. You’ll also need a few buckets for mixing plaster and a bucket of water for cleaning your tools.
2. Prepare the Ceiling
Remove any nails or screws from the ceiling. Ensure all light fixtures are taped and covered up before you begin.
If there are any high spots or crumbling plaster, you’ll need to sand these spots down with a sanding block.
3. Mix Up Your Plaster
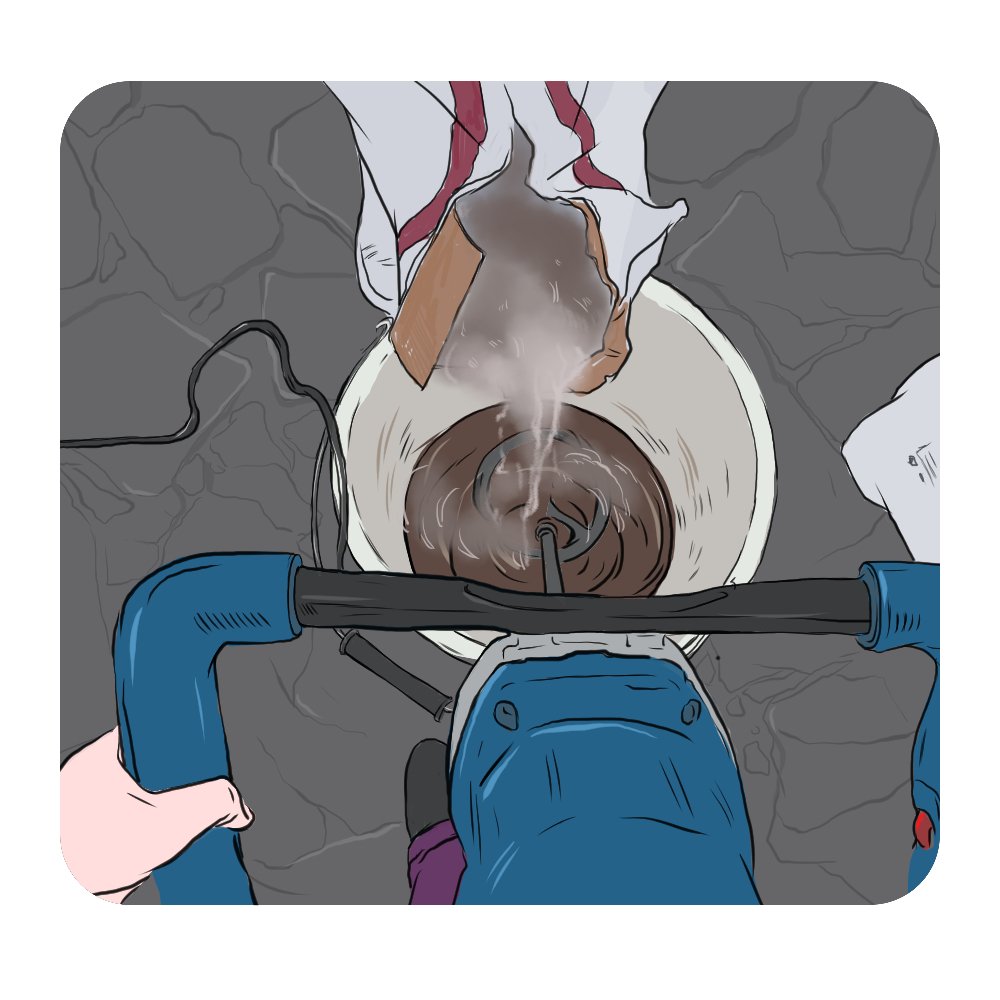
Next, start mixing up the plaster. Make sure you give it a good mix so that everything blends in and you get an even texture and consistency throughout the plaster.
You don’t want your plaster to be too thick or too runny, so add water as you work. Refer to your plaster package instructions for the correct mixing ratio.
Pro Tip: Buy or borrow a mixing paddle for your electric drill if you don’t want to mix your plaster by hand
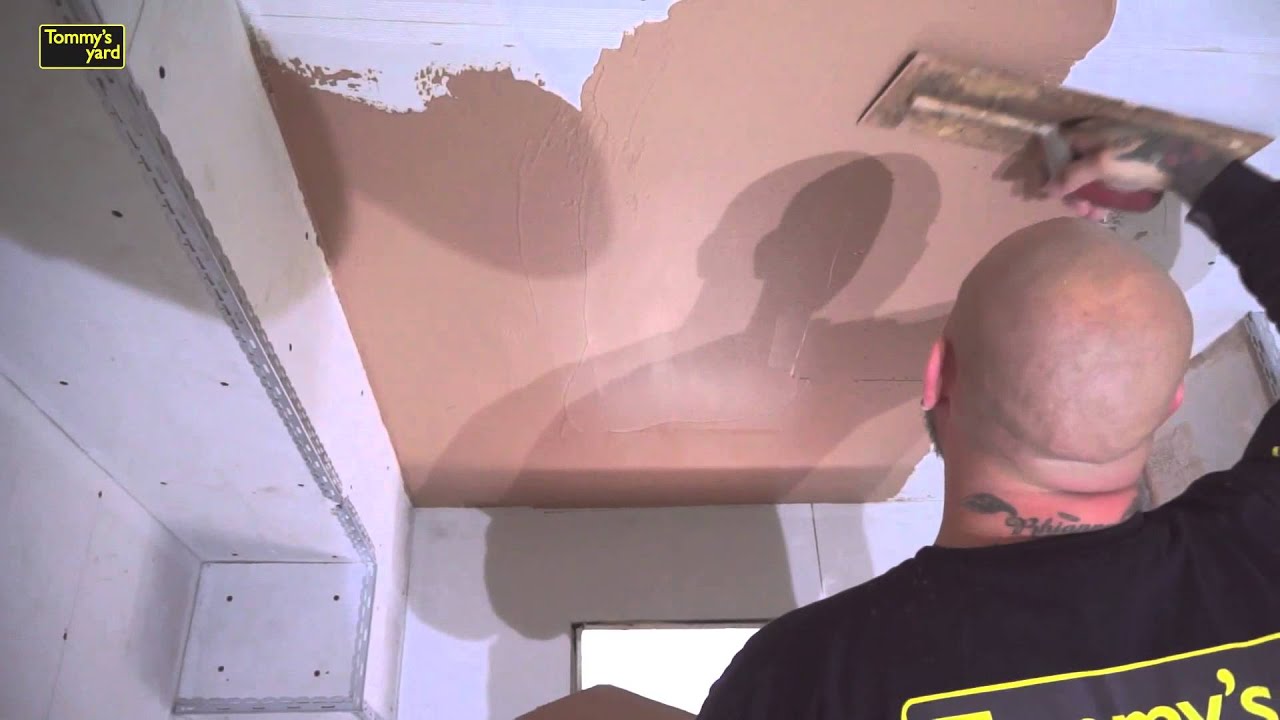
4. Skim Coat
Now you’re ready for the action! A ‘Skim Coat’ is a thin first layer of plaster you will apply to your ceiling.
Plastering will be hard at first and will take plenty of practice before you perfect it. Therefore, please be patient and start with minimal plaster, as it’s easier to apply and control.
Scoop a generous amount of plaster onto your hawk, and then scoop a bit off with your trowel. Starting from the edge of the wall, trowel the plaster onto the ceiling in thin (roughly 2mm thick) and even rows. Try and keep it as even and consistent as possible while minimising the lines left from the trowel.
Check out the video below by Tommy’s Yard around the 3:55 mark for a lesson on skim coating.
5. Second Coat
Your first coat of plaster will dry rather fast, so it’s safe to trowel on the second coat.
After the two coats have been applied, you should end up with around 4–5mm plaster on the ceiling.
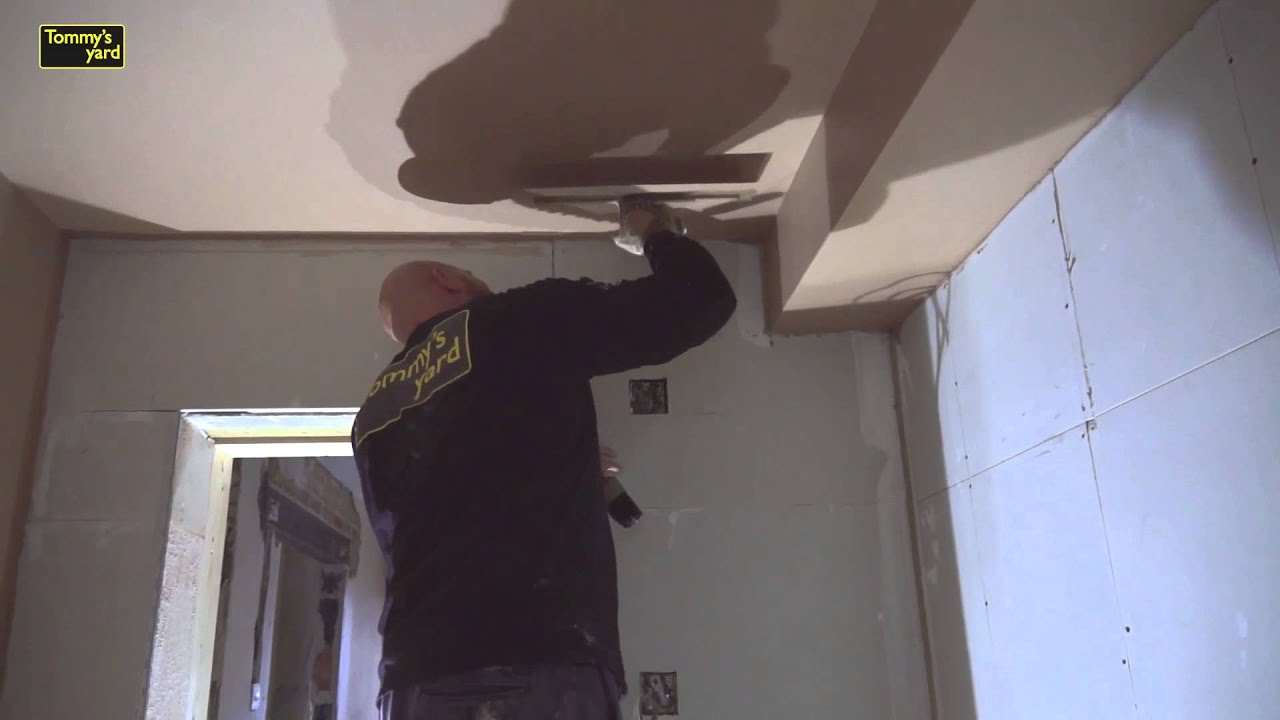
6. Trowelling Up
You’re now done applying plaster to the ceiling, so give all your tools a quick wash before we start the ‘Trowelling Up’ process.
Trowelling up is the finishing process of smoothing the plaster, ensuring there are no high spots and everything is even. For more info, Gypsum Tools has a good explanation of ‘trowelling up‘.
Work the plaster and smooth out the trowel lines in between. Take this opportunity to fill in any blemishes before the plaster gets too hard. Work the plaster back and forth with the trowel until the ceiling is smooth and consistently even.
Watch the video below by Tommy’s Yard around 8:00 minutes for a professional lesson on finishing plaster.
Pro Tip: Don’t forget that a landing will have a riser beneath it, just like any other step on your stairs. Make sure to include the height of that riser in your measurement of the landing’s depth.
7. Final Trowel
As the name suggests, the final trowel is your last before the plaster fully sets. Continue ‘Trowelling Up’, but add water while trowelling.
Many Professional plasterers wet a paintbrush and flick the water onto the ceiling. The Pros then proceed to trowel back and forth as explained above. Using water while trowelling up will add a smooth, glowing finish to your plaster.
8. Clean-Up Time
As mentioned earlier, plastering is incredibly messy. While cleaning up and carrying tools through your house, ensure you don’t track plaster throughout your floors and carpets.
Give all your tools a final wash and clean all buckets and mixing gear.
How To Plaster a Ceiling — Final Thoughts
If you followed the steps above correctly, you should now have a freshly plastered ceiling ready for painting!
For more plastering tips, check out our guide to patching plaster.