Wallpapering is a surprisingly time-consuming job, whether you’re redecorating an entire room or merely papering a feature wall. Yet the success of any wallpapering project literally and metaphorically hangs on the quality of your wallpaper paste.
By ‘quality’, we don’t necessarily mean the brand you choose or how much you paid for it.
We’re referring to how it’s prepared, as most wallpaper pastes do a good job securing paper to a wall.
Read on to learn how to mix wallpaper paste like a pro and why your time-honoured technique might not be up to the job.
Tools & Materials
Your wallpapering budget may affect your choice of tools and materials. For instance, you could invest in a dedicated paint scuttle or use a large bowl.
Tight budgets can also rule out our first recommended tool — a pasting table. This handy tool is a fold-out trestle table whose long and narrow dimensions make it easy to stand on one side and reach every corner of a lengthy strip of paper.
A clear kitchen worktop makes a good substitute if your budget doesn’t stretch to a pasting table. Avoid textured surfaces, where paste might be tricky to remove from cracks and crevices.
You ideally want a glossy, smooth horizontal plane at least eight feet long, which is easy to wipe down after each paper section is lifted and stuck to the wall. Otherwise, you’ll be laying the next strip of fresh paper pattern-side down on top of blobs of drying paste, which might affect its appearance once hung.
Tools
- Strong paste table
- Stirring stick
- Bucket or scuttle
- Gloves
Although you can touch wallpaper paste, many leading brands contain fungicides, so we advise wearing gloves to minimise exposure to these harmful chemicals. More importantly, you must keep children and pets away from this paste. For the same reason, never bite open a packet of wallpaper paste.
Materials
- A large jug of water
- Wallpaper paste
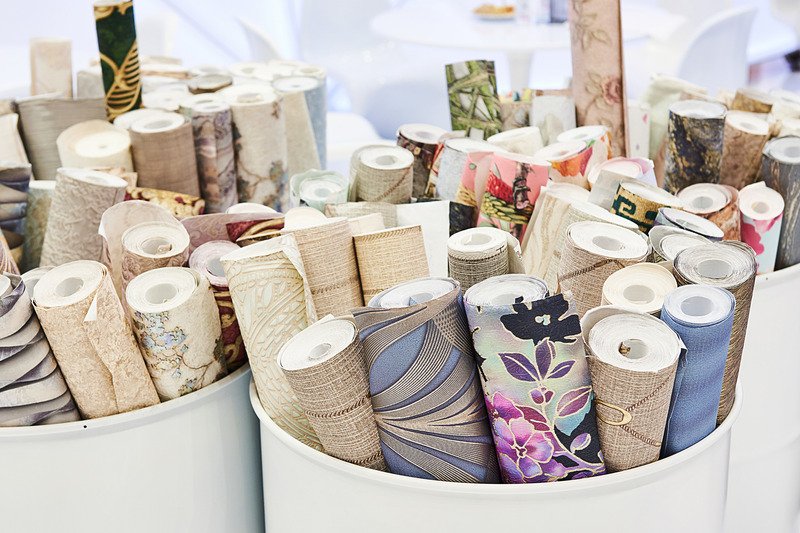
We’ve focused on all-purpose wallpaper paste in this article, of the kind you’ll find in any DIY store. However, there are a couple of alternatives suitable for more specialised projects:
- Heavy-duty paste. Also known as thixotropic paste, this provides additional adhesion for heavier materials like embossed rolls or paper-backed fabrics.
- Stain-free paste. This paste has a specific composition that helps prevent thicker pastes from being visible on the display side of the paper.
How To Mix Wallpaper Paste — Step-by-Step Instructions
Doing all your wallpaper cuts is generally advisable before mixing the paste. Not only does paste dry out relatively quickly, but it also has a knack for getting everywhere. As a result, you should have all your strips of paper pre-cut before starting on these steps.
1. Estimate your likely coverage
Wallpaper paste comes in various sizes and concentrations, but you may only need to use part of the available mixture to complete your wallpapering assignment.
Calculate how many square metres your walls cover and then determine how much of the packet you need.
Always err on the side of caution — it’s better to have leftovers than to run out at a critical juncture. We explain in step 5 how to dispose of any excess paste.
2. Measure your water
The instructions will specify the volume of water needed for the entire packet or by weight.
Measure the required amount of cold water into a jug and pour it into the bucket or bowl. Keep one litre aside for now, as you will add it later.
3. Combine the ingredients
Agitate cold water in the bucket before slowly pouring the paste in from side to side to evenly disperse it and prevent lumps from forming.
Keep stirring for a moment, then wait for the manufacturer’s recommended time (usually between five and ten minutes) for the paste to thicken.
Tipping the whole bag into stagnant water will result in the paste clumping together in the bottom, with dry powder in the centre of each clump failing to dissolve fully.
4. Add the remaining water
Next, start adding in the water you kept back earlier.
Keep stirring firmly until the paste reaches your desired consistency. You might have some water left over because it’s always better to have a slightly thicker paste than the manufacturer’s recommendations.
The paste should hang on the back of a spoon without falling off, and an occasional stir during papering will help to maintain its consistency.
5. Dispose of your leftovers.
Unless your calculations are exact, you’ll probably have surplus wallpaper paste left in your bucket once you’ve hung the last sheet of paper and tacked down any upturned corners.
You could leave the residual paste to dry for a couple of days and then scrape it into a black sack, or immediately dilute it with water and empty it into the drain or toilet.
Solvent-based pastes require dry disposal, as they’re unsuitable for pouring down the drain. You can read more about how to dispose of wallpaper paste in our guide.
Pro Tip: Prevent wallpaper from moving around while you’re pasting it by securing it at one end. On a pasting table, tie some string around the end of the paper and the legs. On a worktop, place a heavy object in one corner to hold it in place.
Final Thoughts
As we’ve seen, there’s a lot to learn about how to mix wallpaper paste. If the prospect daunts you, you could invest in a ready-mixed paste. This approach is akin to buying pre-grated cheese — much more expensive but quicker and easier. It should also keep for a while, as our guide to the lifespans of wallpaper paste explains.