I always thought hanging a picture on a wall was simple, but there’s more to it than you first think. It took me a couple of attempts to get it right and a few more to master it.
In this DIY guide, I will show you how to hang a picture on plasterboard and masonry walls and offer hints & tips along the way. Let’s get started…
Tools and Materials
Before getting into the nitty-gritty of hanging a picture, we must gather the right tools, materials and safety gear.
Tools
- Cable and pipe detector.
- Spirit level.
- Philips screwdriver.
- Hammer.
- Drill.
- Masonry drill bit.
- Pencil.
- Tape measure.
- Carpenter’s awl.
Materials
- Picture frame.
- Screws and wall plugs.
- Dust sheet.
- Masking tape.
Safety Gear
- Face mask.
- Earplugs.
- Goggles.
How to Hang a Picture — Step-by-Step Instructions
Hanging a picture on a wall differs depending on the wall type.
Plasterboard walls require fewer tools and effort, while masonry walls are the opposite. We’ve split the procedure into two sections for clarity.
Before we begin, let’s discuss the perfect height and location to hang a picture.
The Ideal Height to Hang a Picture
Where you hang the picture is a matter of choice. The style police won’t arrest you for choosing a quirky location; however, there are some simple rules to follow.
The ideal height for your picture is roughly 140cm to 153cm high, depending on furniture placement and natural light.
Your eye line should be approximately two-thirds of the frame’s height.
However, these measurements won’t work if you hang your picture above a bed or sofa because it would be too low. In this case, make a judgement call about what seems right.
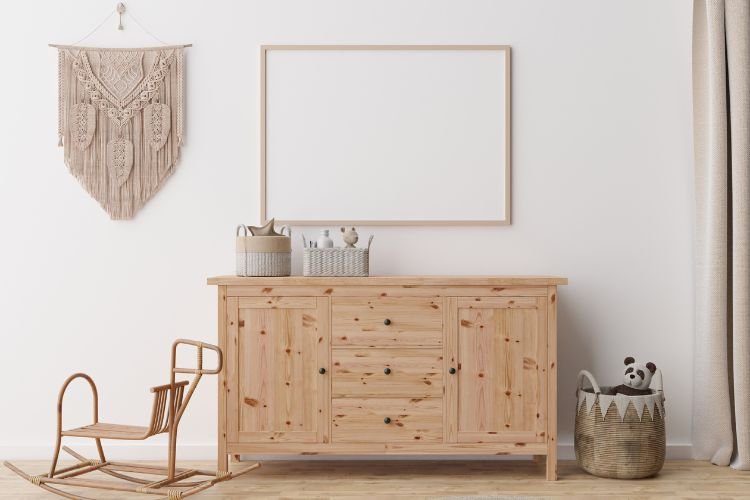
If you’re hanging a single picture on a wall, the centre of the wall is the best location for aesthetics. It also depends on what furniture you have. For example, hanging a picture over a chest of drawers sometimes helps improve the room’s balance, as shown in Fig 1 below.
1. Find the Centre of the Wall
Measure the width of the wall and divide it by two to give you the centre measurement.
Use the tape measure and pencil to mark the centre of the wall at approximately eye height. Don’t worry too much about height accuracy at this stage; we’ll rectify that in step two.
2. Find the Correct Height
Measure 140 to 153cm from the floor, and mark the wall with a pencil.
To prevent you from veering off course, when making this measurement, use the spirit level as a guide for your tape measure by placing it vertically on the centre spot.
Pro Tip: Hold the frame to the wall and measure and mark the centre of the frame’s top edge. It helps when you measure the drop height later.
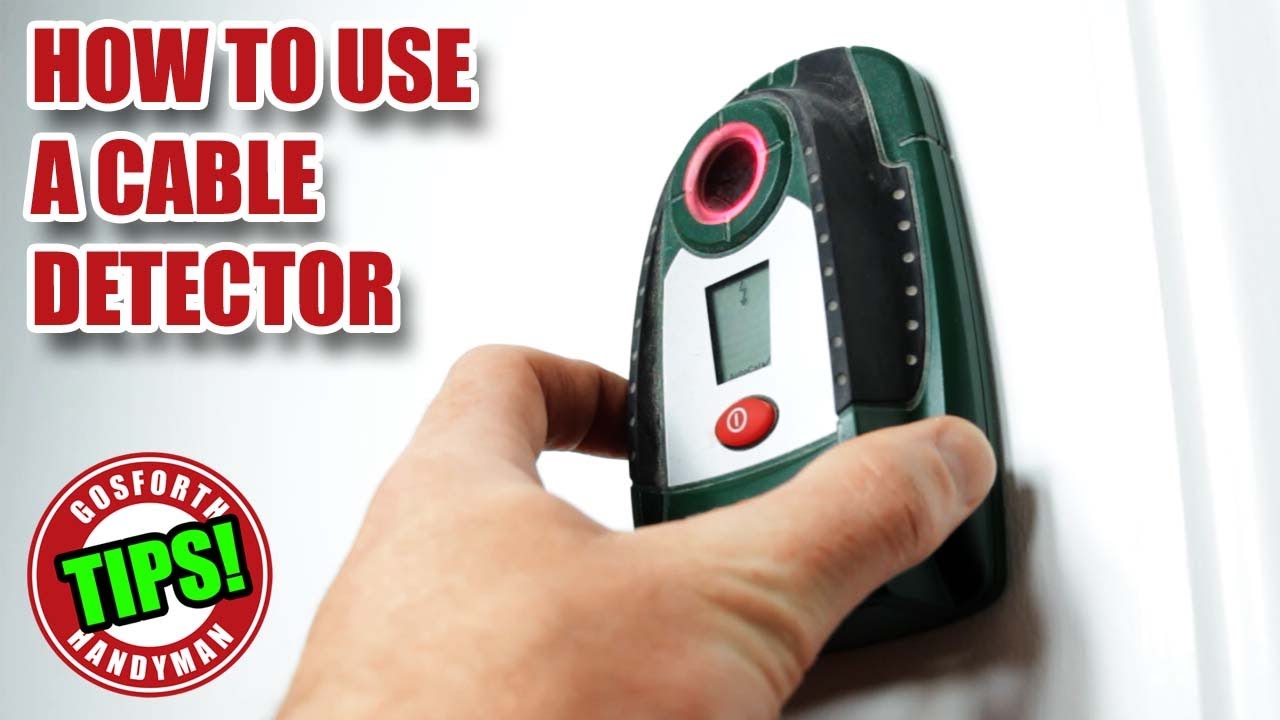
3. Check for Pipes and Wires
A pipe and wire detector is the simplest way to avoid nasty accidents.
Follow the manufacturer’s instructions on operating the detector, but also check out the video below by Gosforth Handyman for the correct techniques.
Pro Tip: Use a detector to check for studs when hanging a heavy frame on a plasterboard wall.
4. Measure the Hanging Cord
Flip the frame over so the hanging cord is visible.
Pull the cord taught to replicate the frame’s weight and measure the distance between the cord and the top of the frame.
5. Mark the Wall
Measure from the pencil mark you made in step 2, marking the drop distance of the cord from step 4 (see 1.24 in the video below). Draw an X where the fixing will go.

Option 1 — Hanging a Picture on a Plasterboard Wall
According to the Health and Safety Executive, breathing plasterboard dust is dangerous and should be limited as much as possible. It’s better to safe than sorry, so wear your safety gear.
Sanding plasterboard jointing can produce high levels of gypsum dust, which is potentially harmful to your health.
The size and type of fixings you use to hang your picture vary depending on your plasterboard’s condition and the frame’s size and weight. This section provides four methods of hanging a picture to cover all bases.
To find the right fixing for your frame, check out our guide to the 7 best plasterboard fixings.
1. Using a Two-Pin Hook
This method is the easiest of the four techniques and is sufficient for lightweight pictures. You’ll need a hammer, a two-pin picture hook and two small nails (typically provided with the picture hook).
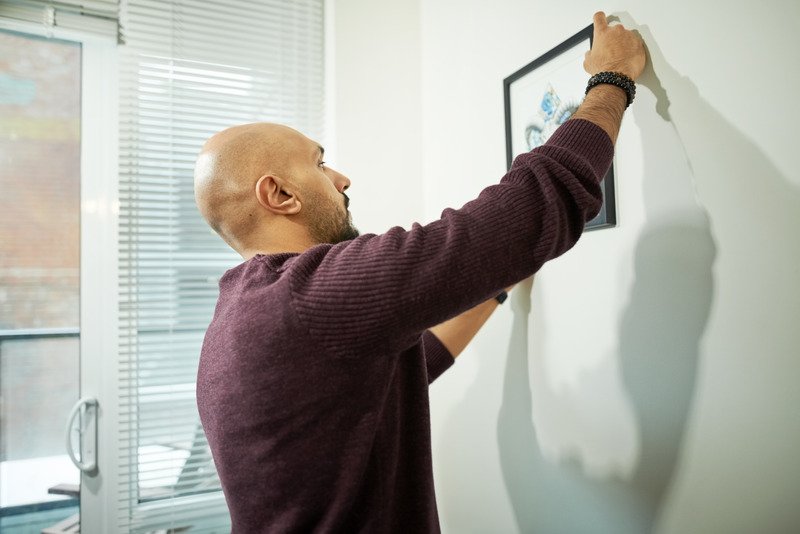
Hold the hook against the wall, so the base aligns with the X from step 5 above. Use the hammer to drive both nails through the hook and into the wall.
Check it’s secure and hang your picture, using the spirit level to ensure it’s level.
2. Using a Screw
You’ll need a more robust solution if your frame is heavier than 6.5kg.
Use a stud finder to locate the upright studs. Typically, most builders space studs 400mm to 600mm apart, so once you’ve located the first two, use a tape measure to find the rest.
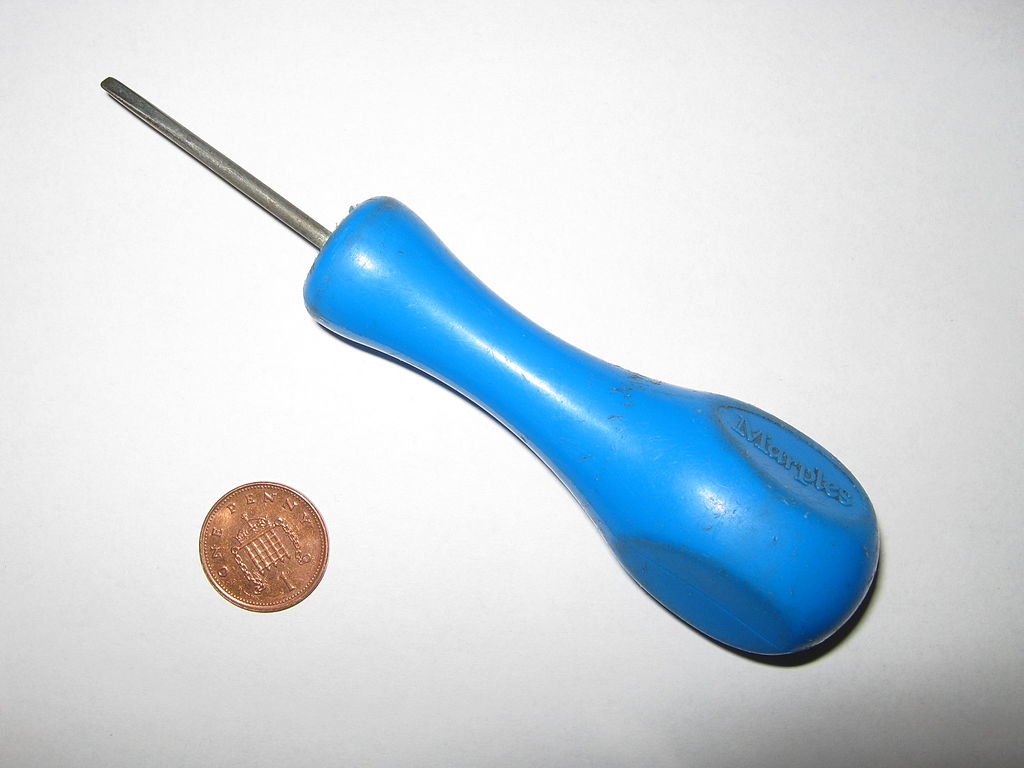
Use a carpenter’s awl (Fig 2) to create a pilot hole for the screw. It also helps confirm the location of the stud is correct.
Next, drive the screw through the plasterboard and into the wooden stud with the screwdriver. Remember to leave enough of the screw protruding from the wall to hang the picture.
3. Using a Self-Drill Fixing
Self-drill fixings are commonly used on plasterboard walls when you hang pictures in the void between the studs.
Before hanging the frame, check the manufacturer’s instructions for the maximum load weight.
Make a pilot hole with the carpenter’s awl and screw the fixing directly into the plasterboard. As the fixing winds into the wall, it grips tight (see 3.13 in the video below).
Note: Be careful not to overtighten the fixing, or you risk compromising its load capacity
Now you’re ready to insert the screw, leaving enough sticking out of the wall to hold the frame’s cord.
The video short below by Tool Tips demonstrates the simplicity of self-drill fixings:

4. Using a Hollow Wall Anchor
Hollow wall anchors are the best fixings for heavier pictures because they clamp the reverse side of the plasterboard when you tighten the screw. They also have screws pre-inserted to make life easier.
Using a drill bit that matches the anchor’s width, drill through the plasterboard and insert the wall anchor.
Tighten the pre-inserted screw; the anchor will expand behind the plasterboard to grip securely. Now you’re ready to hang the picture.
The video below by Charlie DIYte shows two ways of installing hollow wall anchors. Method one demonstrates the technique perfectly.

Plasterboard generally holds up to 10kg of weight, depending on its condition, the number of wall plugs, and their spacing.
Option 2 — Hanging a Picture on a Masonry Wall
You have two options when hanging pictures on solid walls — Adhesive Strips or Screws.
Adhesive strips are perfect for lightweight frames, while screws are a permanent solution for heavier objects.
1. Using Adhesive Strips
Before using adhesive strips, there are a few things to consider:
- Don’t hang valuable items with adhesive strips.
- Only apply the strips when the temperature is between 10°C and 38°C.
- Wait seven days for freshly painted walls to dry.
- Never hang items over a bed using adhesive strips.
- Don’t attach them to wallpaper or other wall coatings that may rip.
Remove all the hanging hardware from the back of the frame. Clean the back of the frame with surgical spirit to remove dust and debris to help the adhesive bond better. Never use household cleaners that leave a greasy residue, as it stops the adhesive from sticking.
Once dry, apply four strips to the back of the frame in the positions listed below:
- Top left corner
- Top right corner
- Halfway down the frame — left side
- Halfway down the frame — right side
Because the adhesive strips use a two-part velcro-locking system, attach a second strip to each of the four strips above, locking them together.
Remove the backing and press the frame against the wall, applying 30 seconds of pressure to the top strips and then 30 seconds to the bottom strips.
Remove the frame and press firmly on each strip for 30 seconds to ensure the strongest bond. Wait for one hour before attaching the picture frame back to the wall.
The video below by Command shows the process from start to finish:

Note: Most adhesive strips can hold approximately 6.5kg, but check the instructions before use.
2. Using Screws
Lay down a dust sheet to protect floor coverings before you start. Hold your wall plug against a masonry drill bit and use masking tape to mark the depth you need to drill.
Pop in your earplugs, and don your face mask and goggles. Insert the bit into the drill and set it to hammer action.
Hold the drill bit tip on the X pencil mark and start drilling slowly until the bit begins to bite into the wall, then speed up until you reach the required depth.
If you are in the market for a new drill, check out our reviews of the best cordless combi drills in the UK.
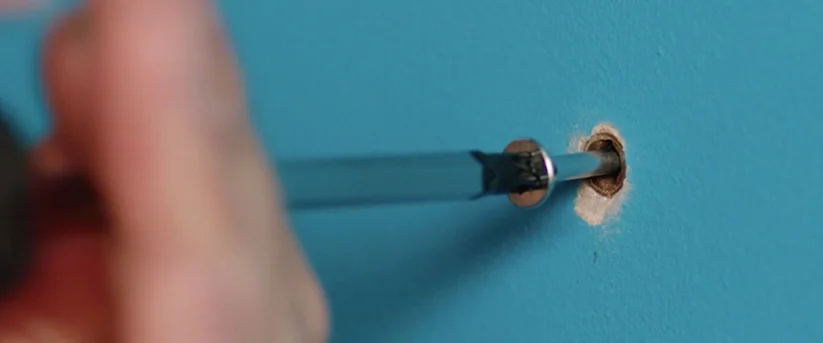
Remove the drill and clear out excess dust from the hole. Tap the wall plug into the hole with a hammer. Insert the screw into the wall plug so there is enough protruding to hold the picture frame (Fig 3.).
Some people prefer to make a pilot hole with a smaller diameter drill bit before using a larger bit. This approach isn’t always necessary, but it may make the drill easier to control for novices.
Pro Tip: A dry plaster wall in good condition should hold a maximum weight of 20kg.
Final Thoughts
If you want to see the entire process in action, check out the video below by Wickes:
Pro Tip: If you’re short on time and don’t fancy doing this job yourself, use Rated People to find top-rated professionals in your local area.