I’m always using my mitre block when cutting trim or replacing damaged skirtings, but is the mitre joint the best option for all situations?
In this guide, I’ll explain the different types of joints used in joinery work and explore the pros and cons of each.
So, let’s look at mitre joint advantages and disadvantages versus the alternatives.
Pros & Cons of a Mitre Joint
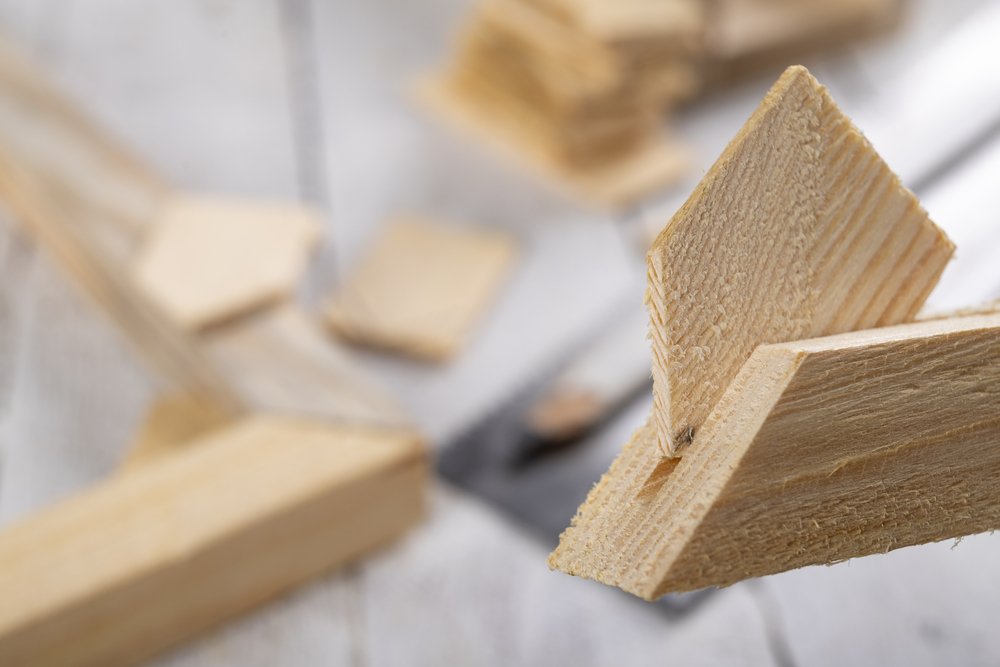
A mitre joint is one of the easiest joints to form when abutting two pieces of wood at an angle of 90⁰, although you can form practically any angle using this method.
The main advantage of a mitre joint is that no end grain is visible, and it works particularly well with moulded sections where it’s essential to align the shapes through a right angle.
One disadvantage is the tendency of adjoining pieces to move as the humidity changes. Timber tends to shrink and swell across the grain, opening the joint over time if the wood isn’t fully seasoned.
On its own, a mitre joint isn’t the strongest of joints, relying on the glue between the adjoining end-grain surfaces to hold it square and true. However, you can strengthen this joint in several ways, which I’ll explain later.
Pro Tip: When glueing a mitre joint, there’s a tendency for the adjoining surfaces to slip and move out of alignment, so use a special mitre clamp that works in both directions simultaneously.
Where to Use a Mitre Joint
There are five situations where a mitre joint is most likely the best option:
- Architraves and trim
- Skirtings
- Picture frames
- Cornices and coving
- Door and window frames
Architraves and Trim

Architraves can be plain or moulded. Either way, a mitre joint ensures a tight fit at the corners with no visible end grain.
To achieve a perfect 45⁰ angle, use a standard mitre block as a guide.
Cut smaller trim sections across the face as you would with architrave or along the edge like skirting.
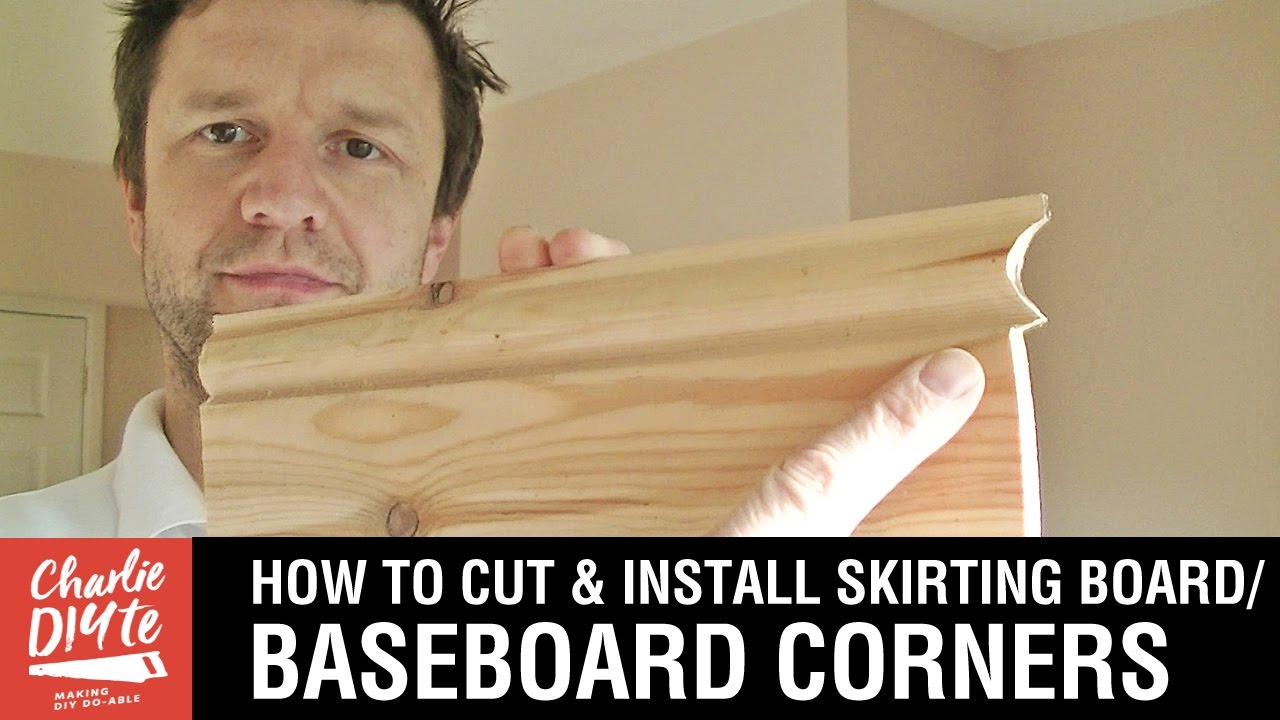
Skirtings
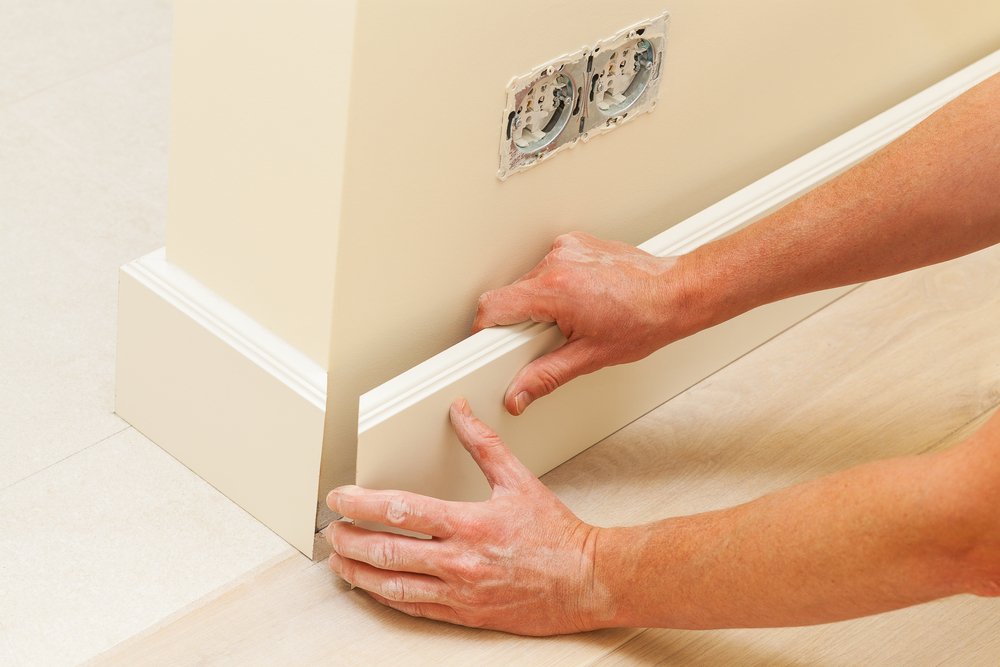
Most skirtings are too deep to cut using a hand saw and mitre block, but it’s still essential to get a neat finish, particularly on the external joint. To achieve this, consider using an electric mitre saw for consistent, accurate cutting.
If you prefer not to use a power tool for cutting skirtings, the video below by Preston Worktop shows you how to cut a perfect mitre joint in deep skirting using only a hand saw.

Picture Frames
Picture frames must be mitred because you don’t want to see any end grain, and you also want to keep any patterns or moulding continuous around the frame.
You can strengthen the frame using splines – thin sections of wood or veneer – set into the corners. Using splines instead of nails is advantageous because they’re completely invisible.
A more straightforward method is to glue or pin the splines to the back of the frame.
Cornices and Coving
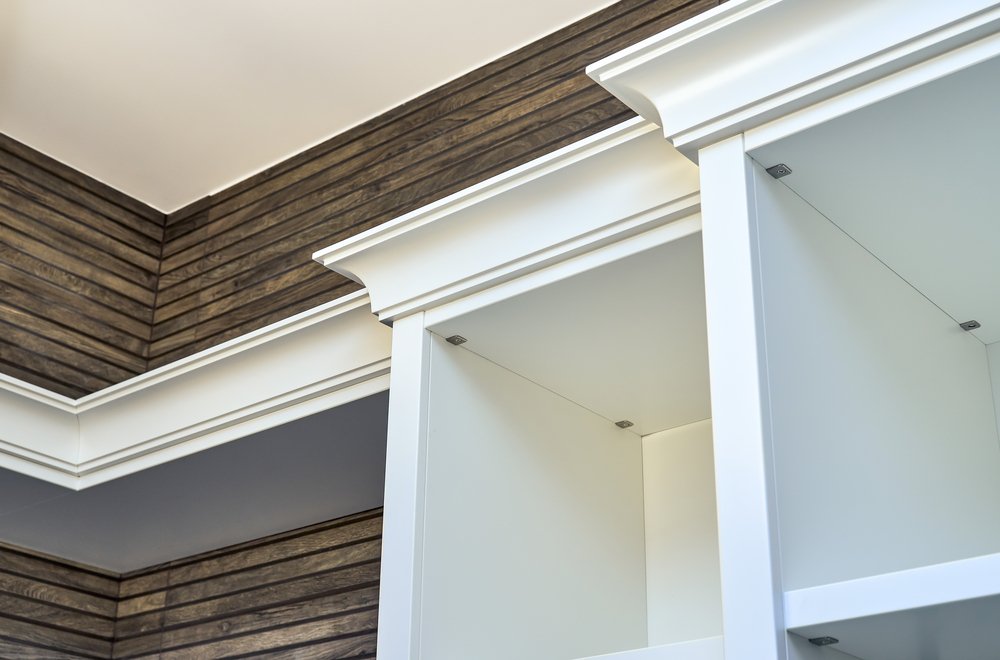
Cornices and coving are usually moulded, so the mitre joint is the best solution in these circumstances.
Using a hand saw and mitre block, you can form internal and external angles. Alternatively, use an electric mitre saw for the perfect fit.
Door and Window Frames
Door frames typically include two simple components – the frame and the doorstop. I mention this because sometimes the frame and stop are formed from the same piece of timber – fire doors, for example, are moulded from one section.
As mentioned above, mitre joints aren’t super strong. So the way to achieve strength while maintaining the neat appearance of a mitre joint is to use mortice and tenon joints with a mitred face. This type of joint exposes end grain. However, this doesn’t matter because you conceal the grain after fitting the frame into the opening.
Other Types of Joints
When looking at the pros and cons of a mitre joint, it’s essential to understand the alternatives.
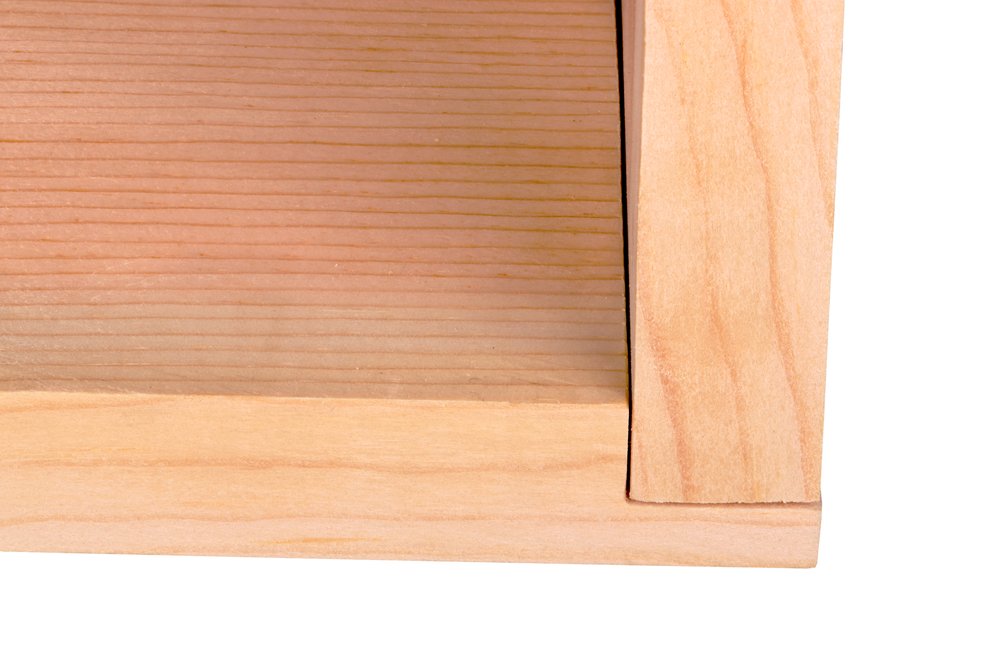
Butt Joint
Perhaps the simplest of all joints, the butt joint works by abutting two pieces of wood and glueing them together. This joint isn’t particularly strong unless you use dowels, and end grain will always be visible on one piece.
You can use butt joints for simple mouldings such as quarter round or torus, but only when fitting internal angles. Charlie DIYte shows you how to do this in the video below:
Rebated (or Rabbet) Joints
Rebated joints are similar to butt joints, but a rebate is cut into the end of one section to house the uncut piece.
As with the butt joint, some end grain is always visible. However, the rabbet joint is more robust than a butt joint because you glue two surfaces together.
Pro Tip: Only use a rabbet joint for flat timber, such as cabinets and furniture.
Mortice and Tenon, Dovetail, and Finger Joints
This group forms the strongest joints, but they require a lot of work and are favoured mainly by the keen, accomplished joiner.
You should use these joints for drawers and cupboards where you’re likely to get a lot of stress and strain on the joint.
Mitre Joint Advantages and Disadvantages – Final Thoughts
When joining timber with a moulded profile, the mitre joint is the best way to get the moulding to follow around the corners without exposing the end grain.
If you want to learn more about forming a mitre joint, this article by DIY Doctor provides everything you need to know to make the perfect joint every time.